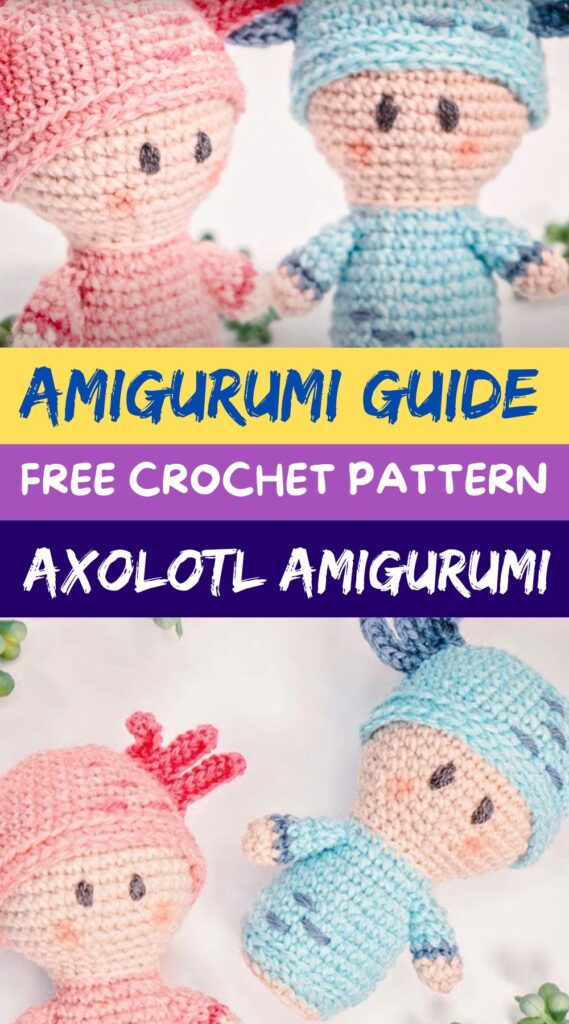
Adorable Axolotl Amigurumi – A Fun & Easy Crochet Pattern!
Today, I’m beyond excited to share a super cute amigurumi project with you—an adorable axolotl crochet doll! 🦎💕 Whether you’re making this for yourself, a little one, or just because you’re obsessed with these quirky little salamanders (I mean, who isn’t?!), this pattern is sure to bring a smile to your face.
The best part? It’s beginner-friendly, fun to make, and you can personalize it with your favorite colors. So grab your yarn and hooks, and let’s get started! 🎉
Why an Axolotl?
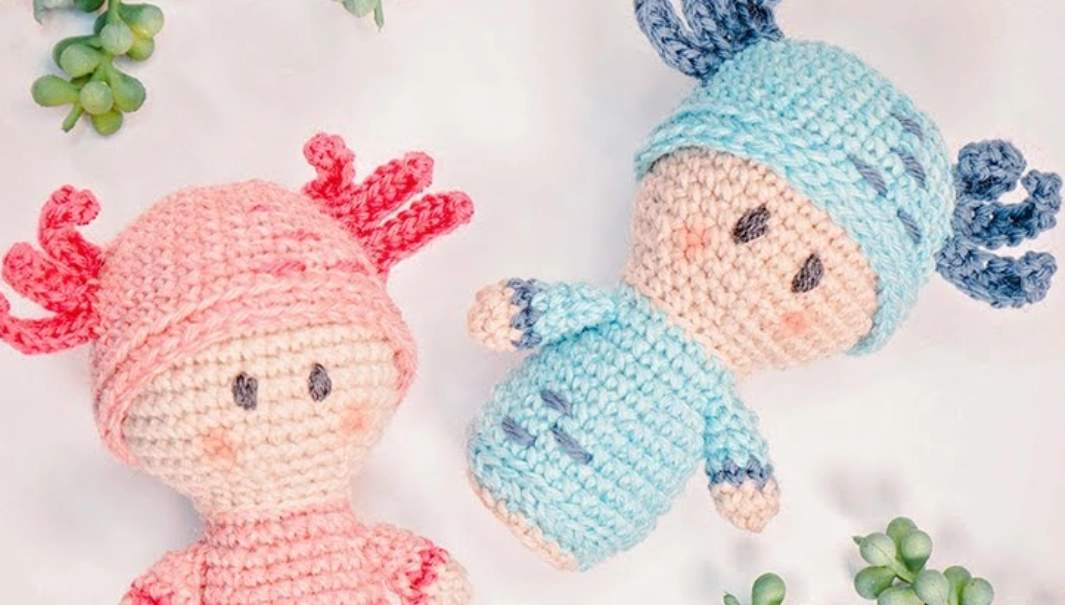
This little project was inspired by my son, who really wanted a pet axolotl. As much as I love animals, keeping one seemed like a big commitment. So, I did the next best thing—crocheted him one instead! He originally wanted a pink one, but today he announced that blue axolotls are rarer in Minecraft, so we’re going with blue this time!
No matter what color you choose, your amigurumi axolotl is guaranteed to turn out adorable and huggable.
What You’ll Need 🧵
Materials:
✔ Yarn: I used Wool of the Andes (colors: Wonderland Heather, Superwash Cadet, and Oyster Heather) from WeCrochet. Feel free to substitute with your favorite yarn!
✔ Eyes: Fingering weight yarn in a dark color (or safety eyes if you prefer).
✔ Crochet Hook: Tulip Rose 3.5mm (or any similar size you love).
✔ Stuffing: Poly-fil or scrap yarn for stuffing your little buddy.
✔ Weight (Optional): Washers or popcorn kernels (to help your axolotl stand).
✔ Scissors & Yarn Needle
✔ Stitch Marker
Step-by-Step Crochet Instructions
1️⃣ Let’s Start With the Head!
- Begin with a magic circle (or chain 2, then work 6 single crochets into the second chain from the hook).
- Work continuous rounds to increase the head size, marking the first stitch of each round.
- Use the yarn under method for tighter stitches (this makes a crisscross “X” effect rather than a “V” shape).
- Increase each round until the head is fully formed, then start decreasing to shape the body.
🧶 Tip: If the piece starts curling inward—don’t worry! This is normal. It will flip the right way as you keep working.
2️⃣ Shaping the Body
- Change colors for the body. I switched to blue (you can use pink, white, or any color you like!).
- Work rounds of single crochet to create the rounded shape.
- Add washers or weight at the bottom to help it stand up.
- Continue working down to shape the little belly, using invisible decreases to smooth it out.
3️⃣ Crafting the Arms & Gills
- The arms are made separately with tiny rounds and then sewn onto the body.
- The gills (those cute little frilly things on the sides) are made using a simple chain-then-half-double-crochet method.
- Sew everything securely in place!
4️⃣ Making the Hat (Yes, Your Axolotl Gets a Hat! 🎩)
- The hat is crocheted separately and follows the same increase pattern as the head.
- You’ll work rounds 1-14, then finish with a back-loop-only row to create a nice defined edge.
- Attach the hat or keep it removable for extra fun!
5️⃣ Bringing Your Axolotl to Life! 👀
Now for the cutest part—the details!
✔ Eyes: I stitched vertical eyes (inspired by classic video games like Mario!). If you prefer, you can use safety eyes or experiment with different shapes.
✔ Blushy Cheeks: I dabbed some eyeshadow onto the cheeks for a soft, rosy look (yep, makeup works great on amigurumi!).
✔ Extra Details: Add little embroidered lines or dots for extra personality.
Final Touches & Tips 🎉
✨ Give your axolotl a gentle steam block if needed, to shape the frilly gills.
✨ If you want the hat to stay on permanently, you can sew it in place.
✨ Want a chubby axolotl? Stuff it a little extra for extra squishiness!
Ta-Da! You’ve Made Your Own Crochet Axolotl! 🎊
And just like that—you’ve got an adorable, squishy, and completely pet-friendly axolotl friend! 😍 These make perfect gifts, desk buddies, or just fun keepsakes for yourself.
I hope you had fun making this little cutie! If you try it, I’d LOVE to see your version—tag me on social media or share in the comments.
Happy crocheting, and see you next time for more yarn-filled fun! 🧶💖