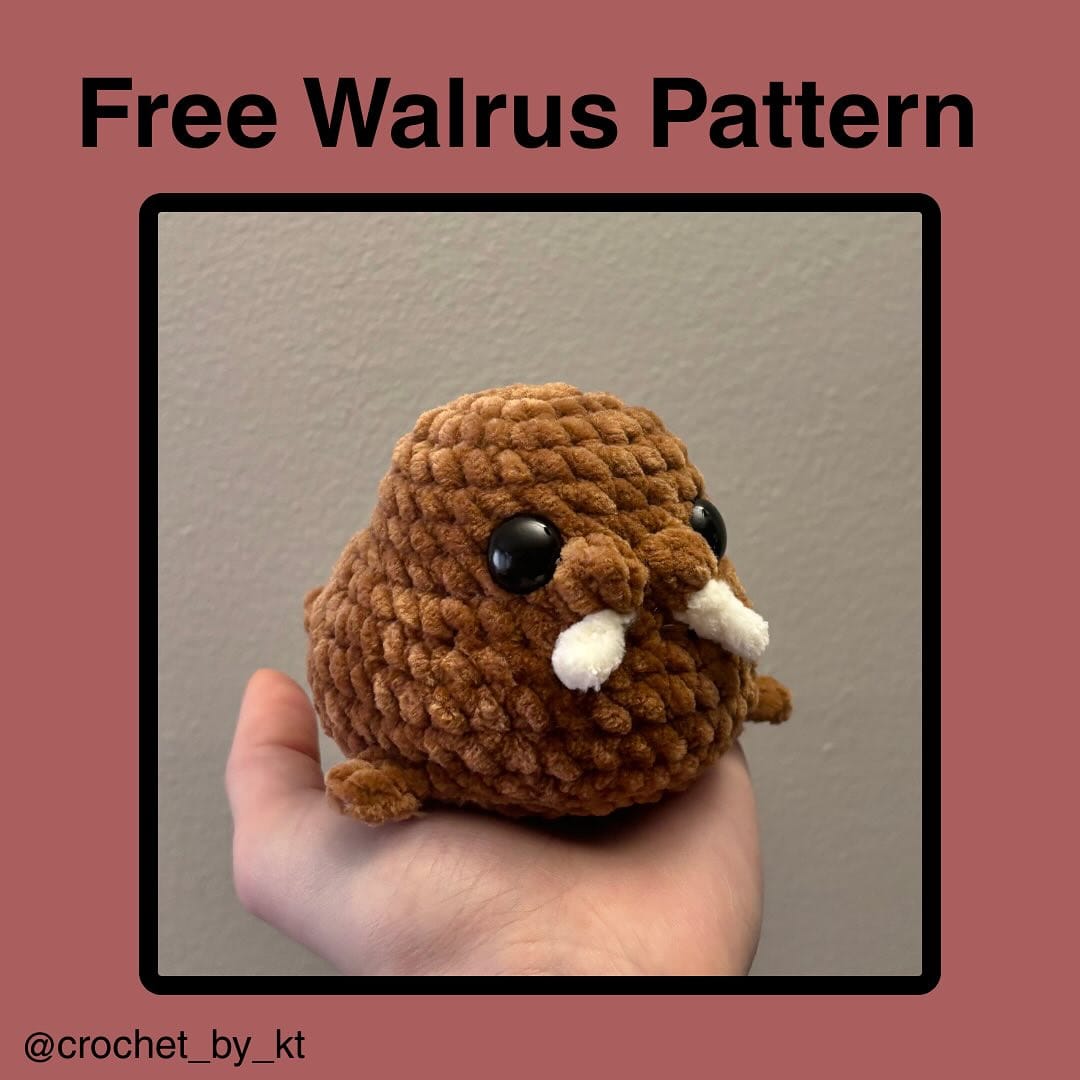
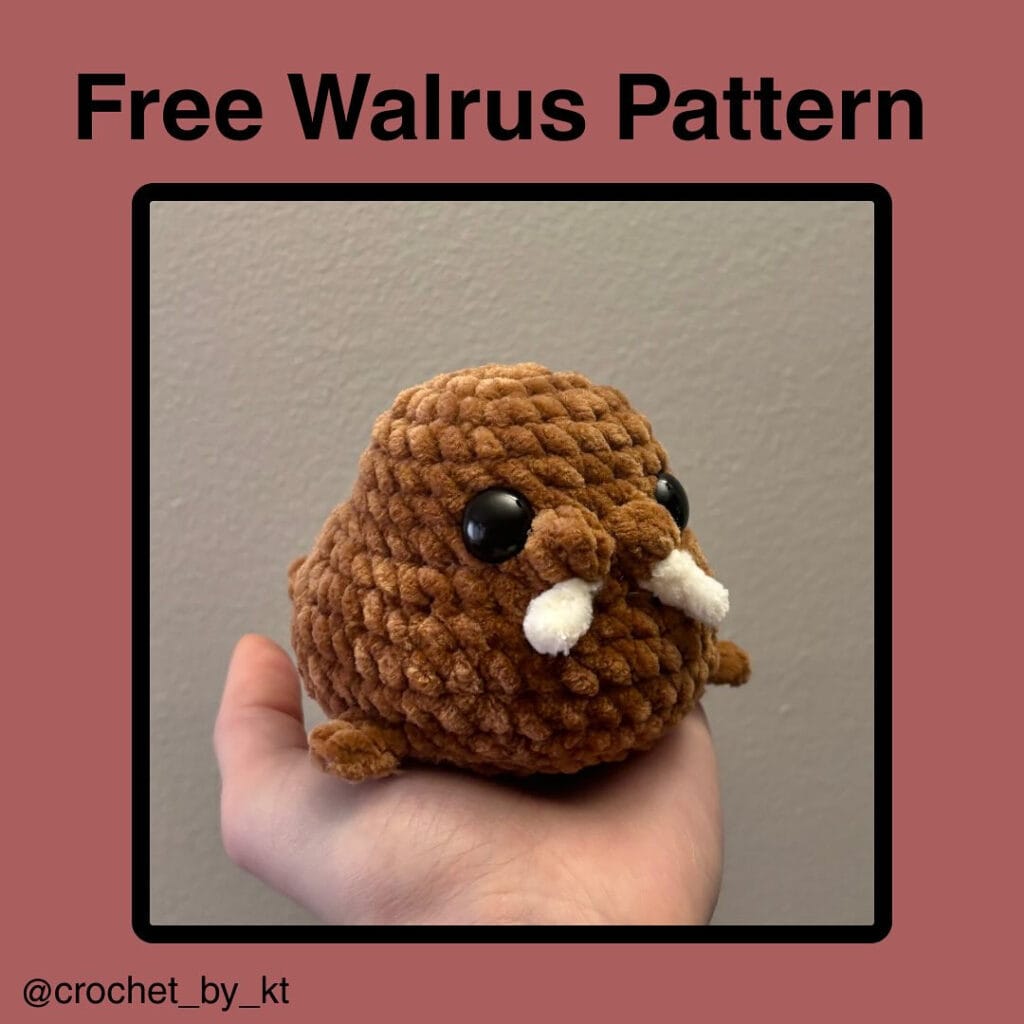
Free Crochet Walrus Pattern: An Adorable Amigurumi Chart
Get ready to dive into a sea of cuteness with our free crochet walrus pattern! This adorable amigurumi chart guides you through creating your very own charming walrus, perfect for gifting or adding a whimsical touch to your collection. Best of all, this design features a clever no-sew construction, making it a joy to create from start to finish. Let’s gather our materials and begin this delightful project!
Notes
Designed by @crochet_by_kt.
This is a no-sew pattern.
Permission to sell finished products, with credit to the designer.
Materials
Yarn in brown and white colors.
12mm safety eyes.
5mm and 4mm crochet hooks.
Sewing needle.
Scissors.
Stuffing.
Abbreviations
Mr: magic ring
sc: single crochet
inc: increase
dec: decrease
flo: front loop only
blo: back loop only
bob: bobble with 5 loops on hook
sl st: slip stitch
hdc: half double crochet
dc: double crochet
ch: chain
Walrus Pattern
Using brown yarn and a 5mm hook:
R1: 8 sc in Mr (8)
R2: 8 inc (16)
R3: (sc, inc) x8 (24)
R4-6: sc around (24) (3 rounds)
R7: flo (inc, sc) x4, inc, in both loops 6 sc, bob, sc, bob, 6 sc (29)
R8: (4 sc, inc) x3, flo (2 sc, inc) x2, sc, (inc, 2 sc) x2, in both loops inc (37)
R9: (5 sc, inc) x3, 2 sc, flo 13 sc, in both loops 4 sc (40)
R10-11: sc around (40)
Insert 12mm safety eyes between R6-7, right next to the bobble stitches on either side.
R12: 9 sc, (flo slst, ch 4, starting in second ch sc, hdc, dc) x2, flo slst, in both loops 10 sc, flo slst, ch 3, starting in second ch sc, hdc, flo slst, in both loops 13 sc, flo slst, ch 3, starting in second ch sc, hdc, flo slst, in both loops sc (40)
Start stuffing your walrus firmly.
R13: in blo, (3 sc, dec) x8 (32)
R14: (2 sc, dec) x8 (24)
R15: (sc, dec) x8 (16)
R16: 8 dec (8)
Finish stuffing firmly. Fasten off and close the remaining hole.
Walrus Tusks Pattern
Using white yarn and a 4mm hook:
Insert your hook into the bottom of one of the bobble stitches from the main body.
Slip stitch (slst) into chain 4 and fasten off (f/o).
Carefully weave in the yarn ends up through the tusk to secure it.
Repeat this process on the other bobble stitch for the second tusk.
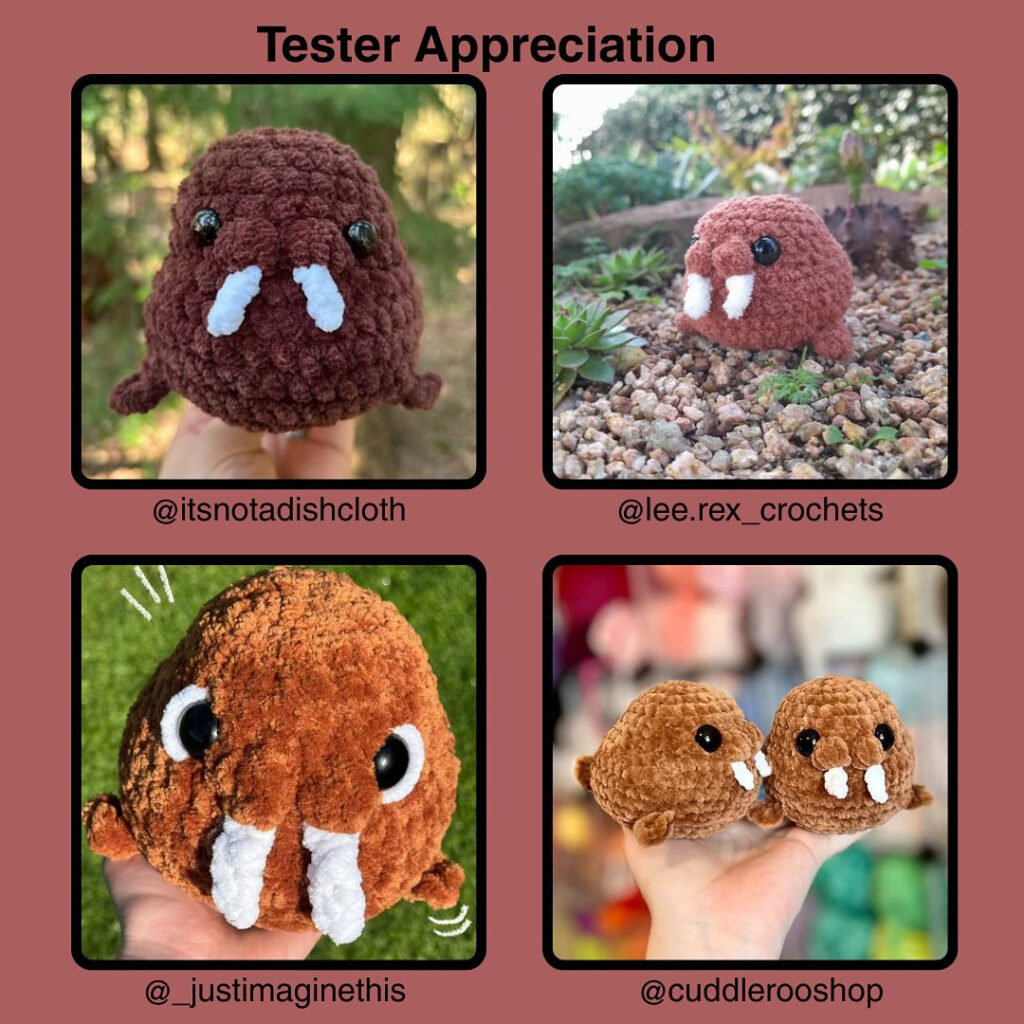
Congratulations on creating your adorable amigurumi walrus! We hope you enjoyed bringing this charming creature to life with our free pattern. Don’t forget to share your finished walrus with us on social media by tagging @Crochetto – we love seeing your beautiful creations! Happy crocheting, and stay tuned for more delightful patterns.