Free Pattern: Crochet Your Own Adorable Puppy!
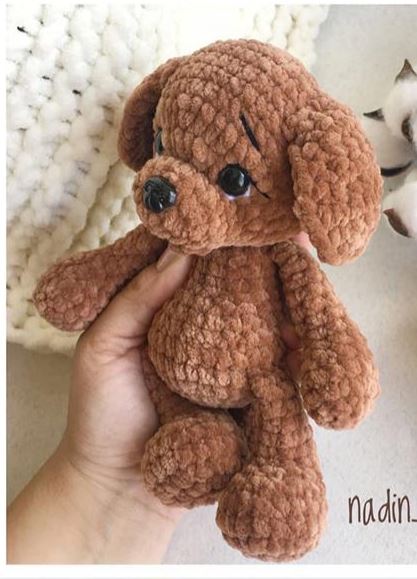
Adorable Plush Puppy Amigurumi: A Free Crochet Pattern
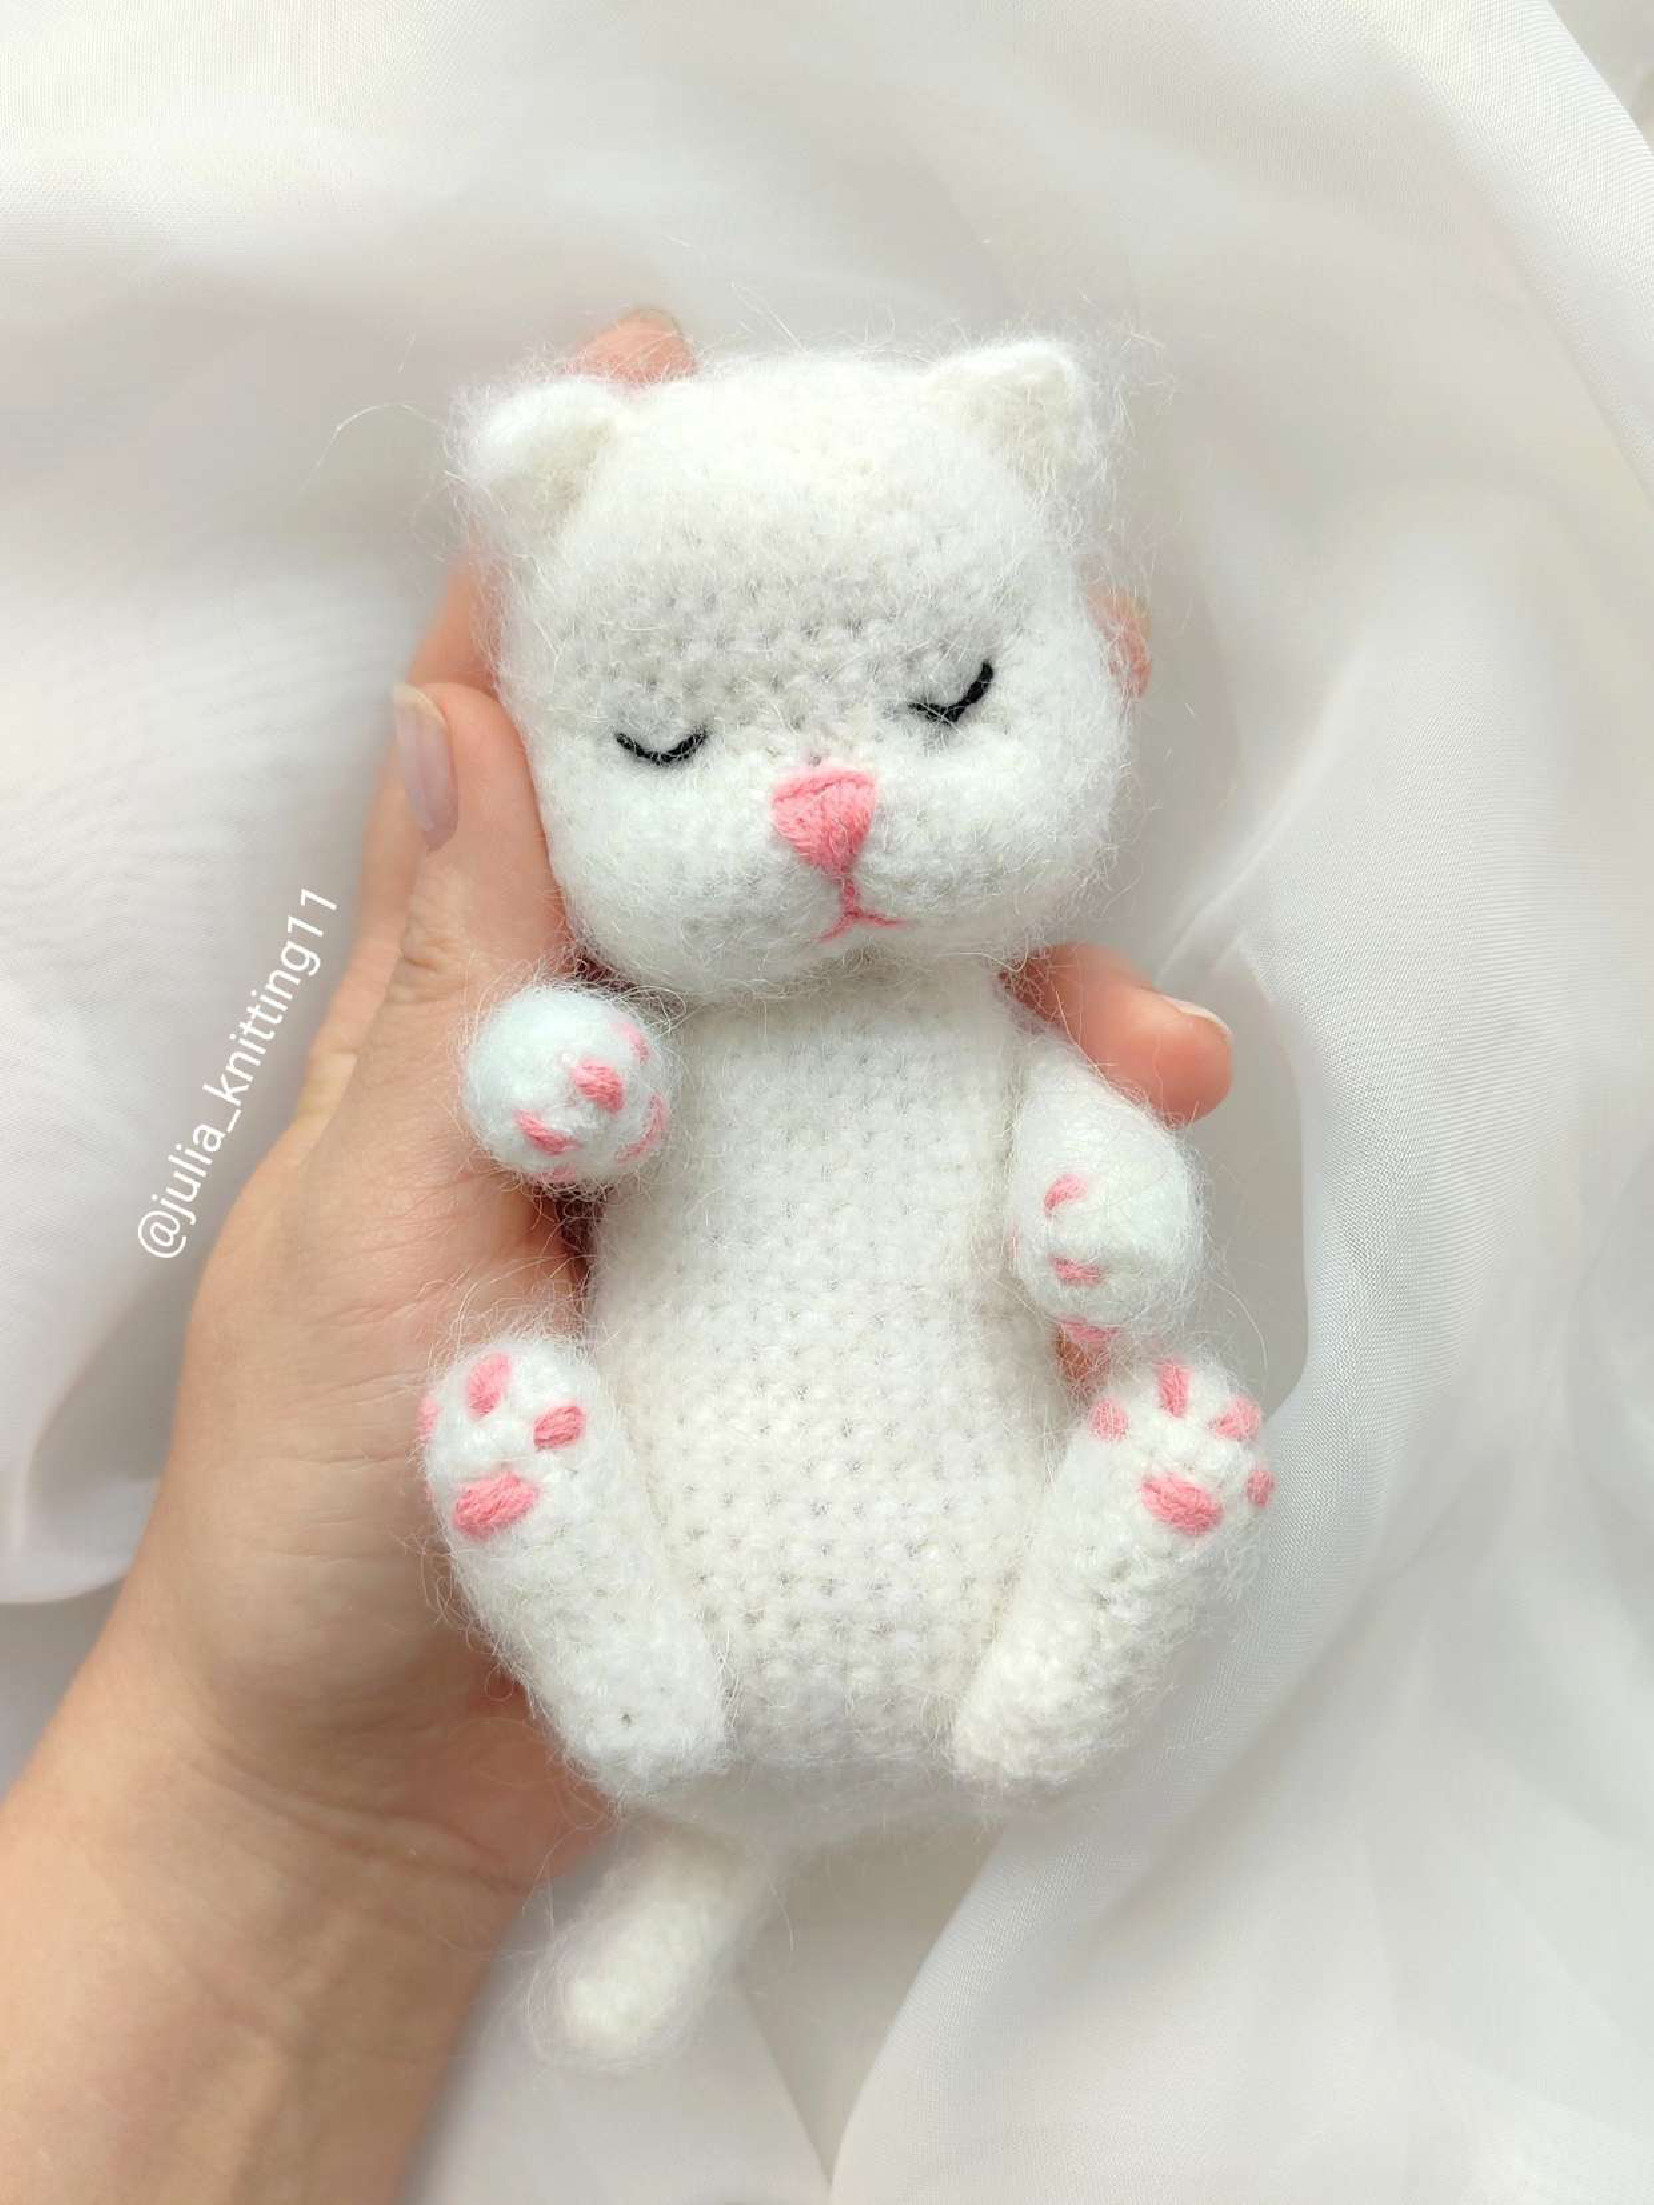
Welcome to Crochetto! Get ready to embark on a delightful crochet journey with this adorable plush puppy pattern. Designed to bring joy and charm, this amigurumi puppy makes a perfect gift for loved ones or a cute addition to your own collection. With clear instructions and a cuddly finish, you’ll love watching this little friend come to life stitch by stitch. Let’s gather our materials and begin creating!
Materials You’ll Need:
* Himalaya Dolphin Baby yarn in main color (approximately 55g for one toy)
* Himalaya Dolphin Baby yarn in white for eye whites
* Vita Coco yarn in black for embroidering eyelids and eyebrows
* Hook 4.0 mm
* Safety eyes 12mm
* Safety nose approximately 16x12mm
* Fiberfill
* Long needle
* Scissors
* Strong thread for sculpting
* A good mood!
Finished Toy Size: Approximately 18-19 cm tall
Abbreviations:
* MR – magic ring
* ch – chain stitch
* sc – single crochet
* inc – increase
* dec – decrease
* sl st – slip stitch
* offset st – offset stitch (for realigning rows)
* hdc – half double crochet
* (…) x N – repeat instructions in parentheses N times
* (numbers) – total number of stitches at the end of the row
Arms (Make 2)
Chain 4
1. Starting from the 2nd chain from hook: 2sc, 3sc in the last chain, then work along the other side of the chain: 1sc, inc (8)
2. inc, 1sc, 3inc, 1sc, 2inc (14)
3. 14sc
4. (5sc, dec)x2 (12)
5. 2sc, dec, 8sc (11)
6. 3dec, 5sc (8)
7-12. 8sc (6 rows) + 1 offset st (or sl st to join)
Stuffing: For the arms – lightly stuff only the palm. For the legs – only stuff the foot.
Fold the piece in half and crochet through both walls 4sc. Fasten off and cut the thread.
Legs (Make 2)
1. 7sc in MR
2. 7inc (14)
3. (1sc, inc)x7 (21)
4-5. 21sc (2 rows)
6. 3sc, (1sc, dec)x5, 3sc (16)
7. 3sc, 5dec, 3sc (11)
8. 4sc, dec, 5sc (10)
9-13. 10sc (5 rows)
Fold the piece in half and crochet through both walls 5sc. Fasten off and cut the thread.
Tail (Make 1)
1. 5sc in MR
2-8. 5sc (7 rows)
Do not stuff the tail.
9. 4sc, inc (6)
10. inc, 5sc (7)
11. 6sc, inc (8)
Fold the piece in half and crochet through both walls 4sc. Fasten off and cut the thread.
Ears (Make 2)
Chain 4
Starting from the 2nd chain from hook, crochet:
1. inc, 1sc, inc (5)
From this point forward, at the end of each row, make 1 chain (turning chain) and turn.
2. inc, 3sc, inc (7)
3-4. 7sc (2 rows)
5. dec, 3sc, dec (5)
6. 5sc
7. dec, 1sc, dec (3)
8. 3sc
Make 1 chain stitch (turning chain) and single crochet around three sides of the ear, making increases at the corners.
Fasten off, cut the thread, leaving a long tail for sewing.
Body
1. 6sc in MR
2. 6inc (12)
3. (1sc, inc)x6 (18)
4. (2sc, inc)x6 (24)
5. (3sc, inc)x6 (30)
Stuff the body firmly as you crochet, shaping the belly.
Incorporate the lower paws and tail as you crochet:
6. 5sc, 5sc (through Leg 1 and Body), 10sc, 5sc (through Leg 2 and Body), 3sc, 2sc (joining the first two stitches of the Tail and Body) (30)
7. 2sc (continuing near tail attachment), 28sc (30)
Next, place a stitch marker strictly in the middle of the back. If needed, realign your rows using offset stitches.
Shape the belly with decreases:
8. 8sc, (1sc, dec)x6, 6sc (24)
9. 7sc, dec, 6sc, dec, 7sc (22)
10. 8sc, dec, 2sc, dec, 8sc (20)
11. 8sc, 2dec, 8sc (18)
12-13. 18sc (2 rows)
Now, incorporate the upper paws. Ensure they are positioned strictly on the sides of the body.
14. 2sc, 4sc (through Arm 1 and Body), 6sc, 4sc (through Arm 2 and Body), 2sc (18)
15. (1sc, dec)x6 (12)
16. 12sc
Fasten off, cut the thread, leaving a long tail for sewing the head (you can sew with plush yarn).
Lip (Make 1)
Chain 3
Starting from the 2nd chain from hook: 1sc, 3sc in the last chain, then work along the other side of the chain: 1sc (5sc)
Fasten off, cut the thread, leaving a long tail for sewing.
Head
Stuff the head firmly as you crochet. Do not realign your stitch marker during this section (no offset stitches).
1. 6sc in MR
2. 6inc (12)
3. (1sc, inc)x6 (18)
4-5. 18sc (2 rows)
6. 3sc, 12 hdc increases, 3sc (30)
7. 4sc, inc, ((4hdc, hdc inc)x4), 4sc, inc (36)
8-12. 36sc (5 rows)
At this stage, insert the safety eyes and nose:
* Insert eyes in row 6.
* First eye post between the 3rd and 4th hdc increases.
* Second eye post between the 8th and 9th hdc increases.
* (5 increases between eye posts)
* Insert nose between rows 2 and 3 exactly in the middle (orient by the eyes).
13. (4sc, dec)x6 (30)
14. (3sc, dec)x6 (24)
15. (2sc, dec)x6 (18)
16. (1sc, dec)x6 (12)
17. 6dec
Close the opening with a needle, hide the thread end inside the toy.
Muzzle Sculpting
1. Mark two points with pins (in the lower central part of the head) between rows 7 and 8. The distance between them is 1-2sc.
2. Sculpt both eyes towards these points, one at a time.
3. Tighten the thread, tie several knots. Hide the thread ends inside the toy.
1. Mark two points with pins (in the lower central part of the muzzle) between rows 3 and 4. The distance between them is 1-2sc.
2. Sculpt the puppy’s mouth.
3. Tighten the thread, tie a knot.
4. Repeat the sculpting several times.
5. Hide the thread ends inside the toy.
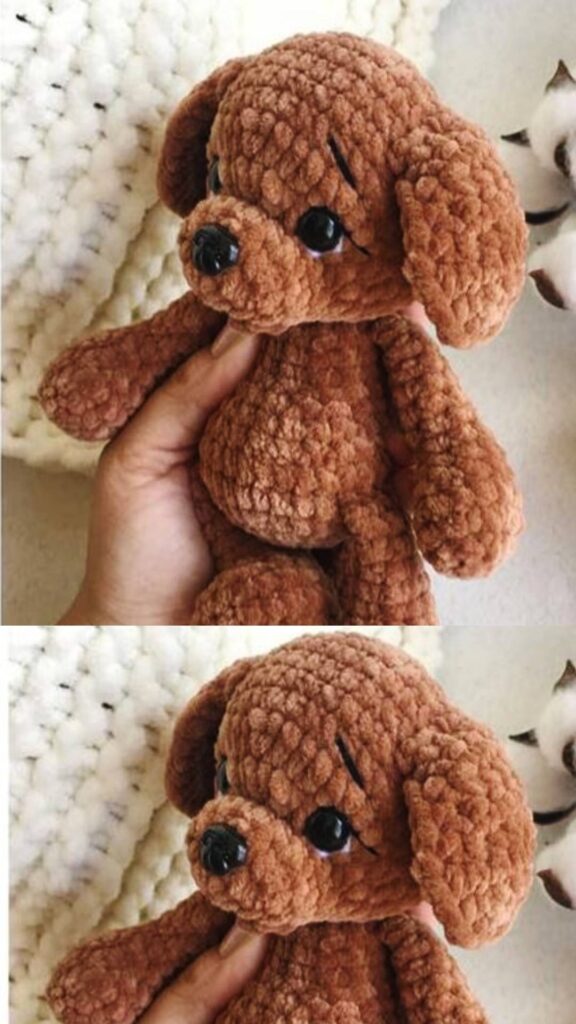
Assembly and Finishing
* Pin the lip’s position and sew it on with the tail left for sewing.
* Using two knitting needles, mark the head’s position and firmly sew it on. Don’t forget to add a little stuffing to the neck before fully closing. Ensure the head is evenly positioned relative to the body.
* Pin the ears’ position and sew them on:
* Sew the ears between rows 9 and 15.
* Leave 9-10 stitches between the ears.
* Embroider the whites of the eyes with white plush yarn.
* Embroider eyelids and eyebrows with black Vita Coco thread held in two strands.
We hope you’ve enjoyed creating this adorable plush puppy! At Crochetto, we love seeing your finished projects. Share your creations with us on social media, tag us, or simply send us a photo. Your beautiful work inspires our crafting community every day. Happy crocheting!