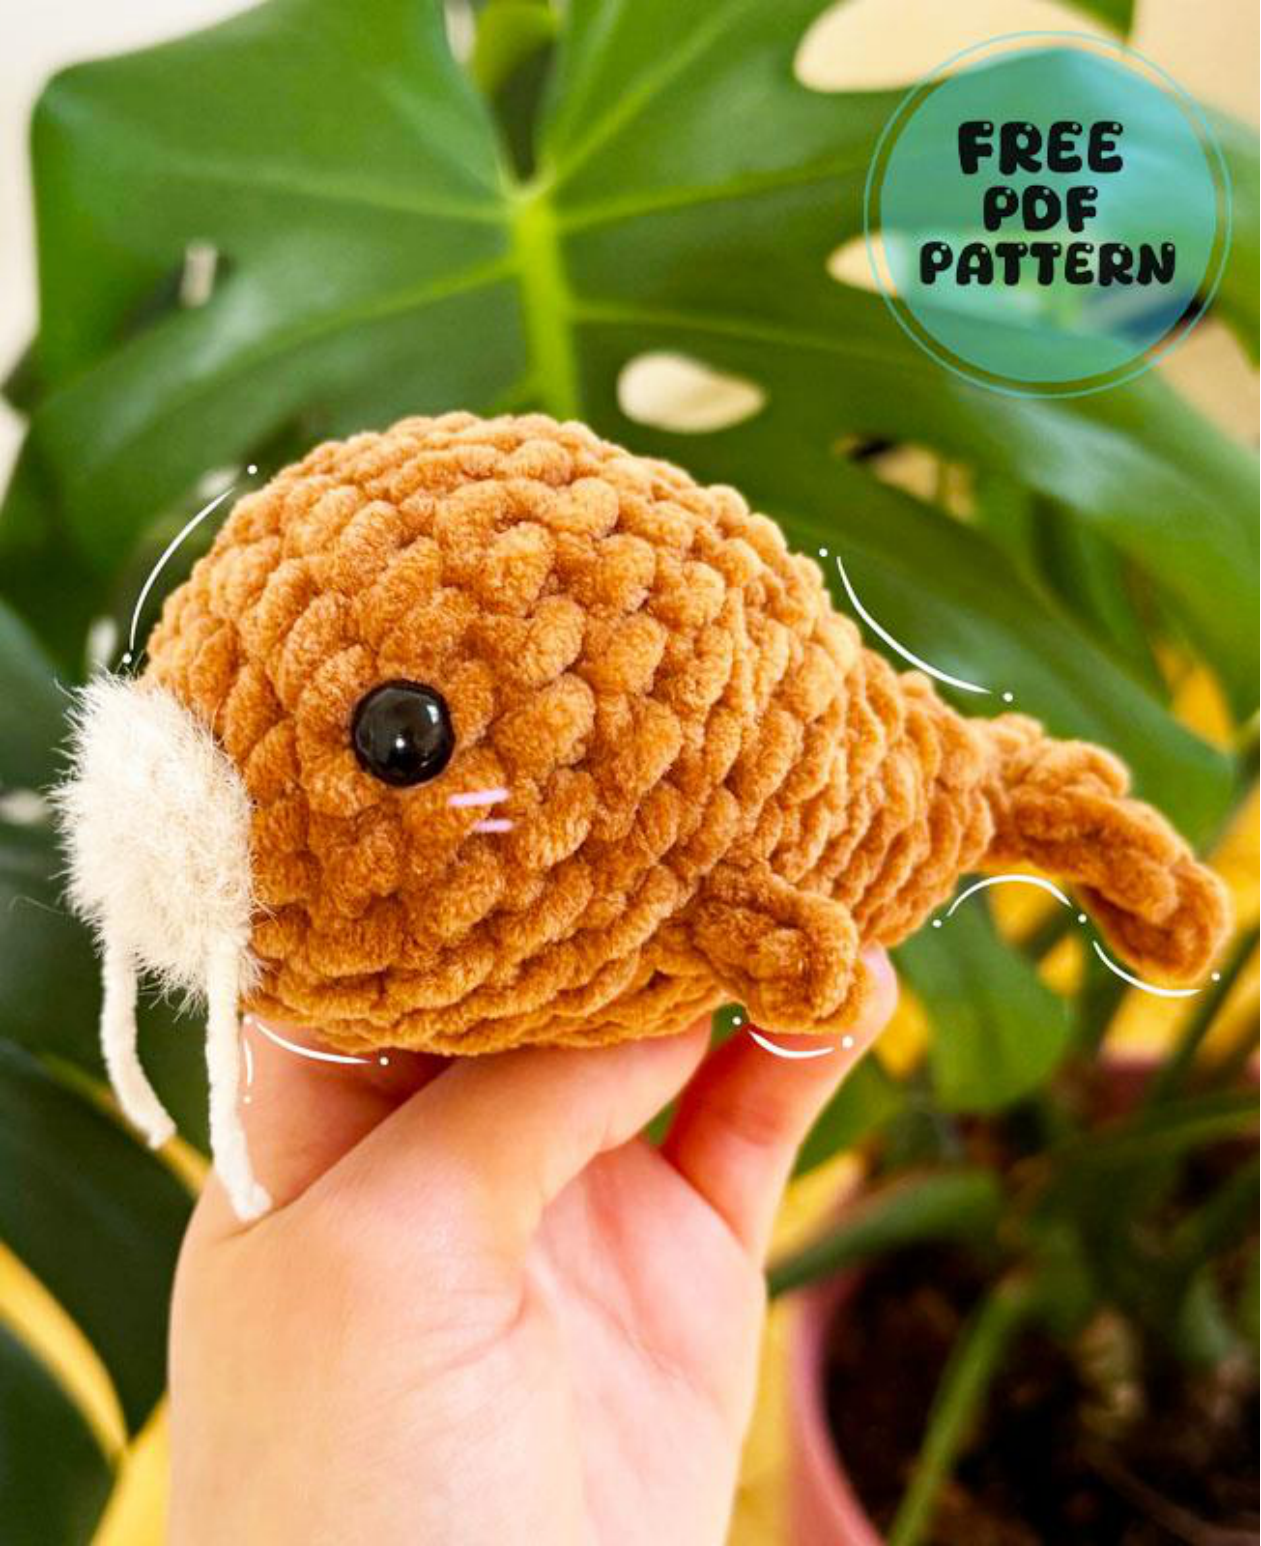
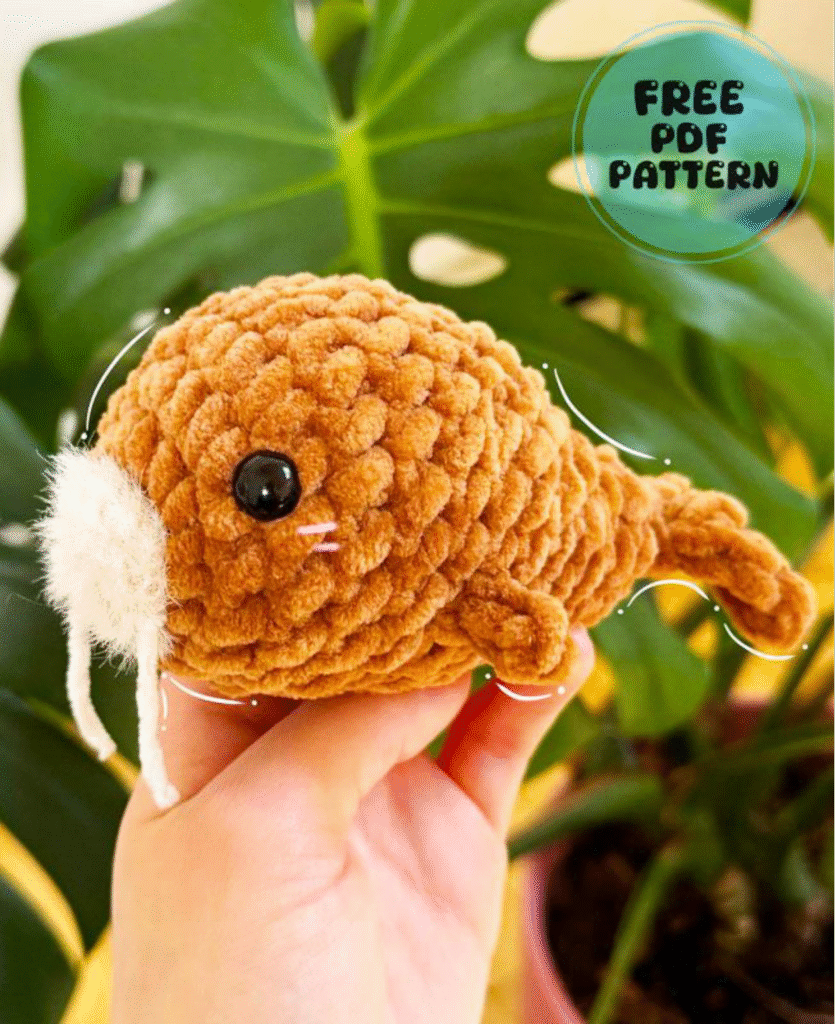
Easy Amigurumi Walrus: Free Plush Crochet Pattern!
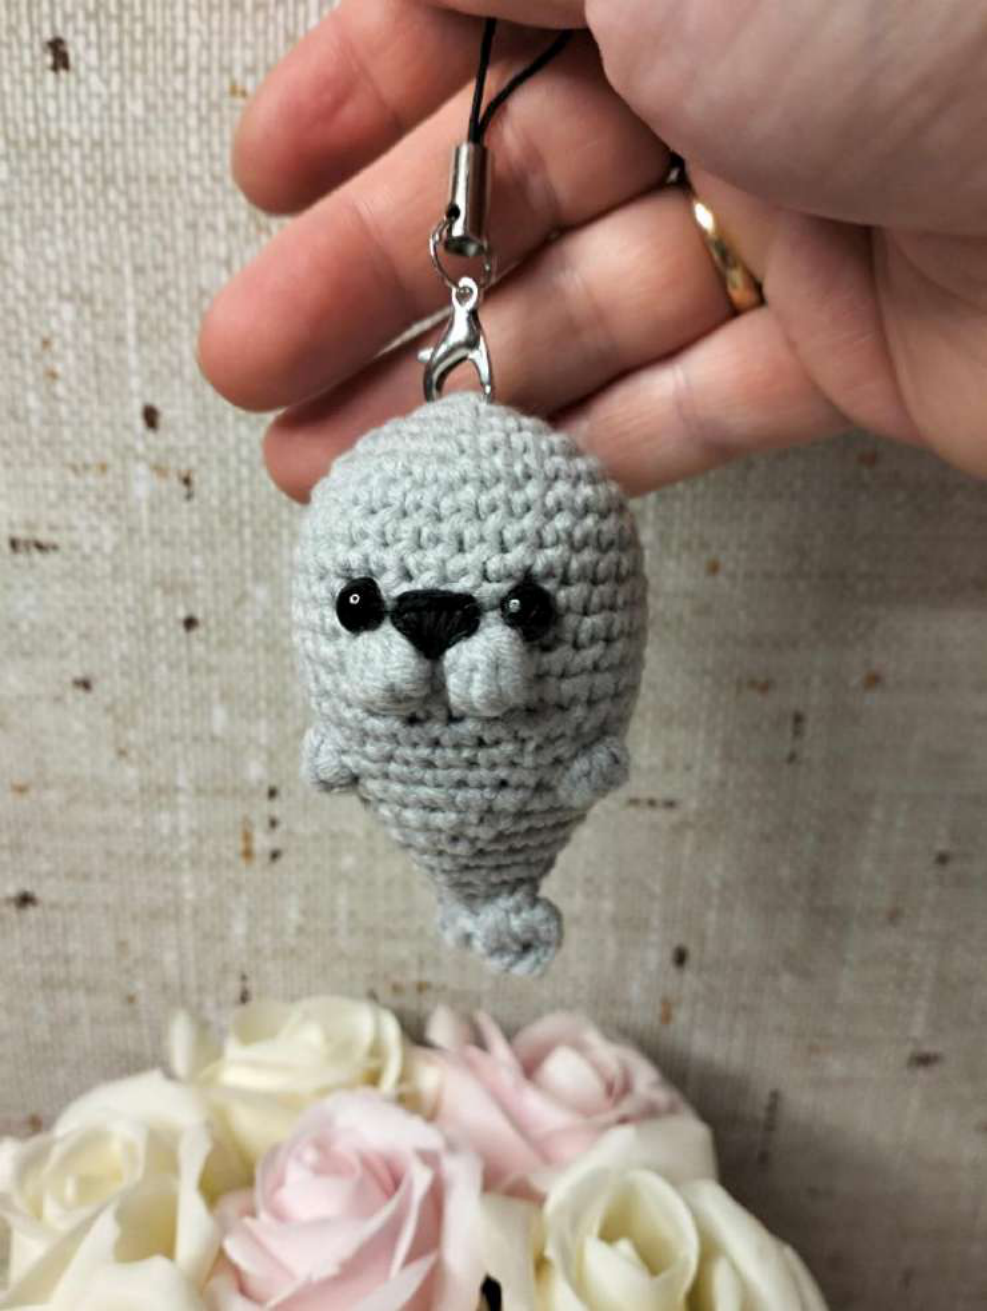
Welcome, fellow crafters, to another delightful journey with Crochetto! Today, we’re thrilled to share a super adorable project that will warm your heart and bring a smile to your face: a cuddly amigurumi walrus. Designed by the talented rubygroovycrochet, this charming sea creature is crafted using soft, fluffy Premier Parfait Chunky and Lion Brand Feels Like Bliss yarns, giving it that irresistible huggable texture. Its sweet, lively expression is brought to life with shiny black safety eyes, characteristic cream-colored whiskers, and tiny pink details for a subtle mouth. Complete with short, rounded fins and a gently curved tail, this walrus has a wonderfully natural silhouette. It’s perfect for gifting, decorating, or simply adding a touch of oceanic cuteness to your home. Even if you’re new to amigurumi, you’ll find this pattern approachable and rewarding. Let’s dive in and create your very own plush walrus!
Designer:
rubygroovycrochet
Materials:
- Yarn:
- Premier Parfait Chunky in Teddy Bear (yarn size #6 – super bulky)
- Lion Brand Feels Like Bliss in Cocoa (yarn size #5 – bulky)
- 4.5 mm crochet hook
- 12 or 14 mm safety eyes (whichever size you prefer)
- Sewing needle
- Scissors
- Stitch marker
- Poly-fil stuffing
Abbreviations:
- ch: chain
- dec: decrease
- fo: fasten off
- inc: increase
- mr: magic ring
- r: round
- tremble: tremble
- hdc: half double crochet
- sc: single crochet
- slst: slip stitch
- st: stitch
General Information:
- Crochet Level: Beginner/Intermediate
- Pattern Terminology: US terminology
Pattern Instructions:
Body
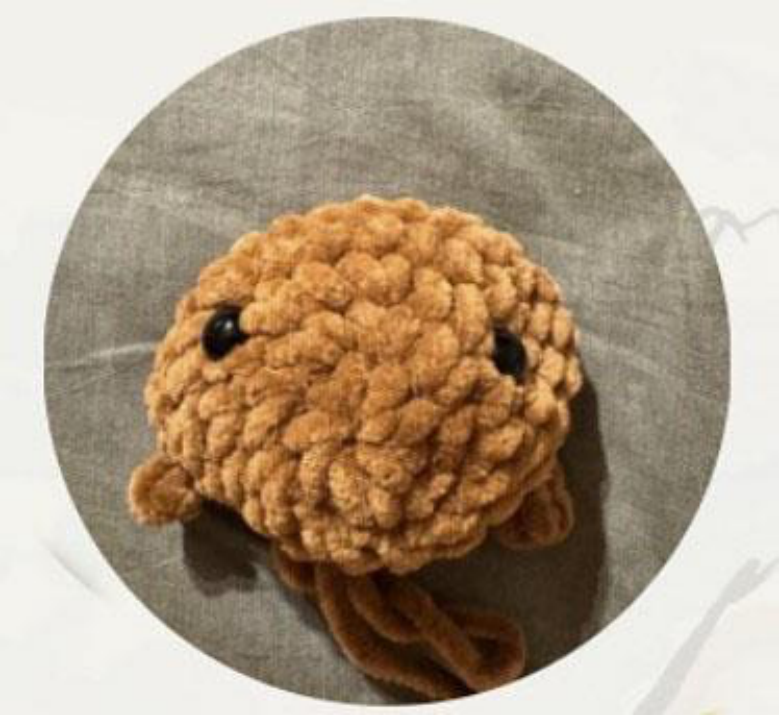
- R1: 8 sc in mr [8]
- R2: (inc) x 8 [16]
- R3: 4 sc, (1 sc, 1 inc) x 4, 4 sc [20]
- R4: 4 sc, (2 sc, 1 inc) x 4, 4 sc [24]
- R5-R6: 24 sc (2 rounds)
- R7: 4 sc, ch 3, starting in 2nd ch from hook (1 slst, 1 sc), slst into same st as ch, 17 sc, ch 3, starting in 2nd ch from hook (1 slst, 1 sc), slst into same st, 3 sc
- R8: 4 sc, (2 sc, 1 dec) x 4, 4 sc [16]
Place eyes between R3 & R4, 7 stitches apart. - R9: 20 sc [20]
- R10: 4 sc, (1 sc, 1 dec) x 4, 4 sc [16]
Begin stuffing. - R11: 4 sc, (dec) x 4, 1 sc [9]
- R12: 9 sc [9]
- R13: (dec) x 4, 1 sc [5]
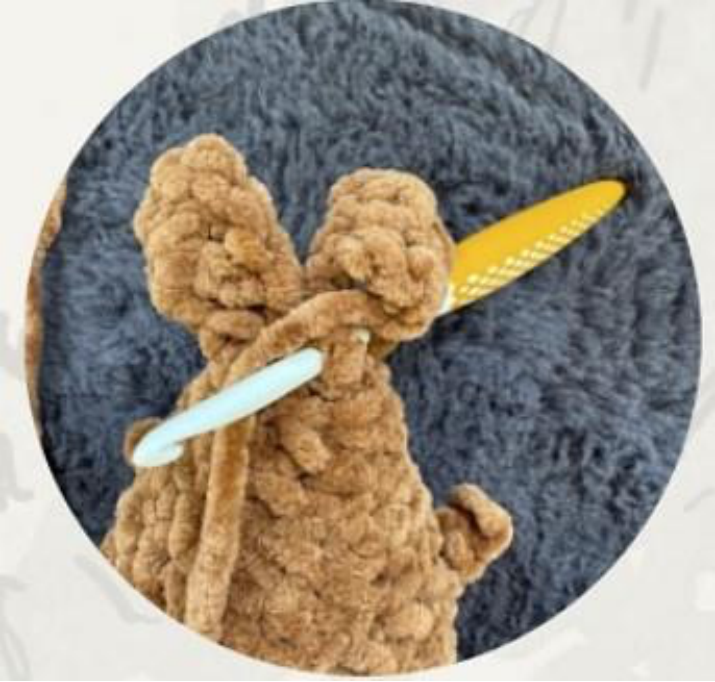
Tail
- R14: ch 4, starting in 2nd ch from hook (1 hdc, 1 dc, 1 tremble), slst into next stitch, ch 4, starting in 2nd ch from hook (1 hdc, 1 dc, 1 tremble), slst into next stitch
Mouth
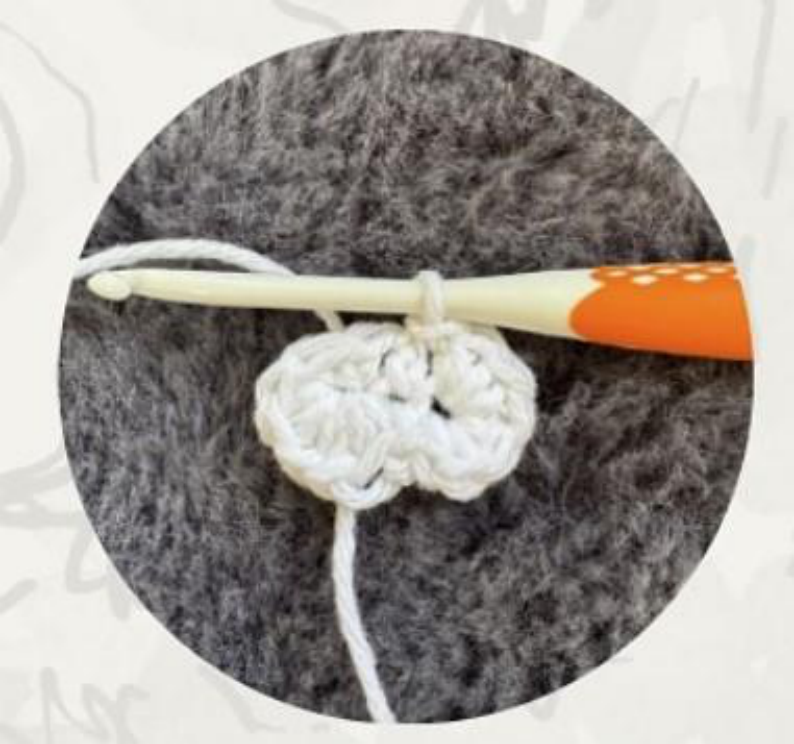
You’ll be working in an oval shape.
Note: The designer used an easy-to-see cotton yarn for demonstration in the images.
- ch 4, starting in 2nd ch from hook, 3 sc down, turn, you’re now working in the other side of the ch, 6 inc in 1st, 1 slst, 6 inc in 1 st, 1 slst.
- Fasten off (FO), leave a long tail for sewing.
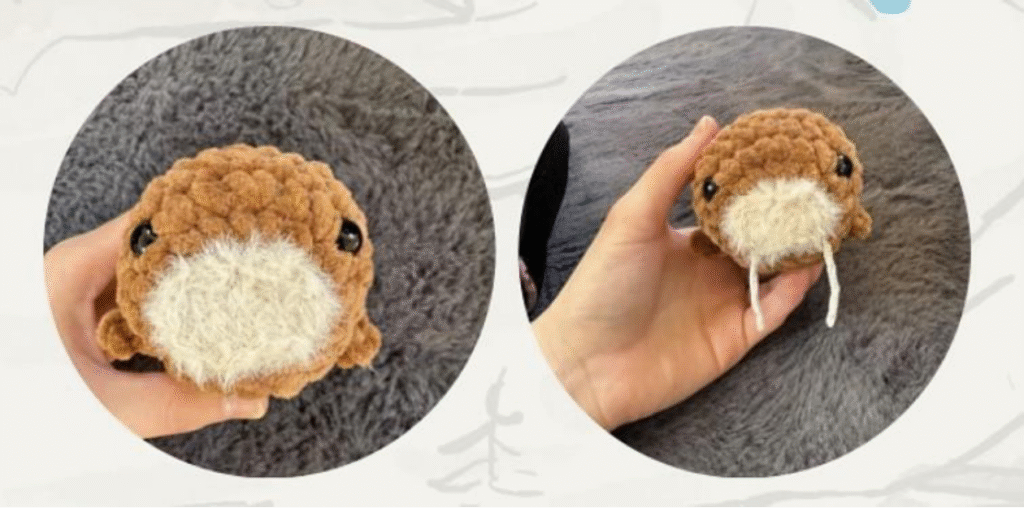
Assembly:
- Sewing mouth to body: Sew the mouth starting at Round 2 (R2) of the body, all the way around.
- Adding tusks: Use a piece of white yarn to sew two strings for the tusks.
Congratulations! Your adorable Amigurumi walrus toy is now ready to be loved and admired. We hope you enjoyed creating this charming project as much as we enjoyed sharing it with you. Don’t forget to share your finished walrus creations with us on social media using #CrochettoMakes – we love seeing your beautiful work! For more inspiring patterns and helpful tips, keep an eye on our blog and join the Crochetto community. Happy crocheting!