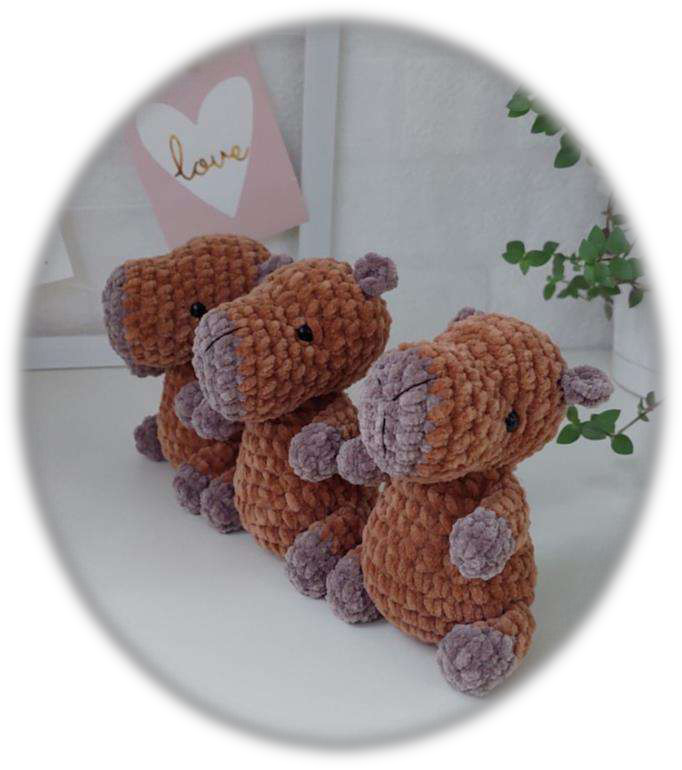
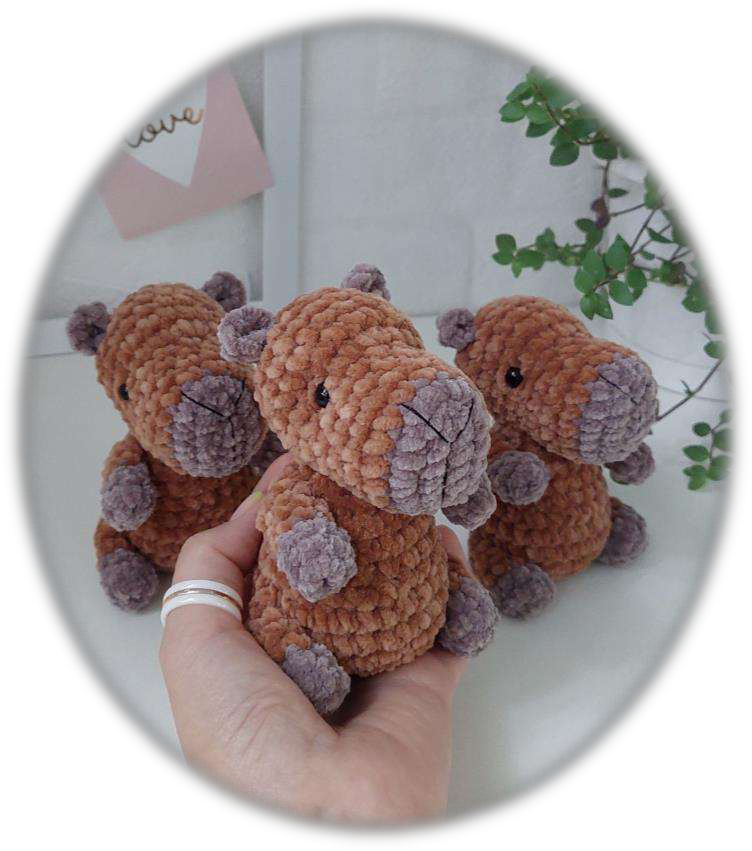
Crochet a Cute Capybara: Free Amigurumi Pattern!
Welcome, fellow crafters, to a delightful journey into the world of amigurumi! Today, we’re thrilled to share a charming pattern by Ekaterina Kamneva, designed to help you create your very own adorable little Capybara. These gentle giants of the rodent world are known for their calm demeanor and friendly nature, and now you can bring that same sweet essence into your home with this meticulously crafted crochet toy. This pattern is perfect for those looking to expand their amigurumi skills and create a truly unique, handmade companion. Get ready to crochet some cuteness!

Important Notes
Difficulty Level: Medium (This master class assumes basic crochet knowledge and does not include beginner crochet lessons.)
You are welcome to sell toys made using this master class. Please credit Ekaterina Kamneva as the author (@fairy_for_kids) in your product description.
Required Skills for This Project
- Magic Ring (Amigurumi Ring)
- Single Crochet (SC)
- Double Crochet (DC)
- Ability to sew parts together
Materials Needed
To create your little Capybara, you will need the following:
- Yarn: Wolans Sweater (100 g / 160 m) is the original yarn used in this pattern. Less than half a skein will be needed. You can substitute with any plush or velour yarn with similar yardage.
- Hook: Size 3 mm (or adjust based on your tension to achieve a firm fabric without gaps).
- Scissors
- Stuffing: Holofiber or sintepuh are recommended.
- Tapestry needle (or large-eye needle) for sewing parts.
- Safety eyes: Recommended size 8-10 mm, or you can embroider eyes with black thread for a softer look.
Toy size: Approximately 12 cm (4.7 inches) tall.
Abbreviations
- MR: Magic Ring (or Amigurumi Ring)
- CH: Chain stitch
- SC: Single Crochet
- INC: Increase (work two stitches into one stitch)
- DEC: Decrease (work two stitches together)
Crochet Pattern Instructions
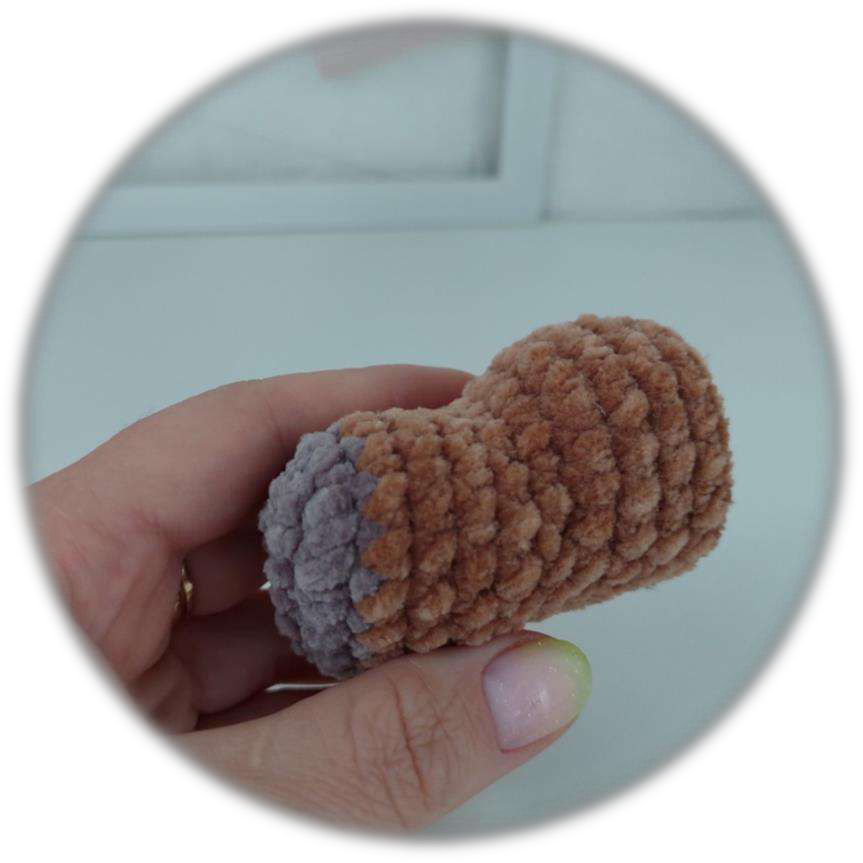
Head
Start with a contrasting color (I used Dolce Baby yarn).
CH 7, starting from the 2nd CH from hook: 5 SC, 3 SC in one stitch, 4 SC, INC (14)
Row 2: (INC, 4 SC)*2, INC, 3 SC (17)
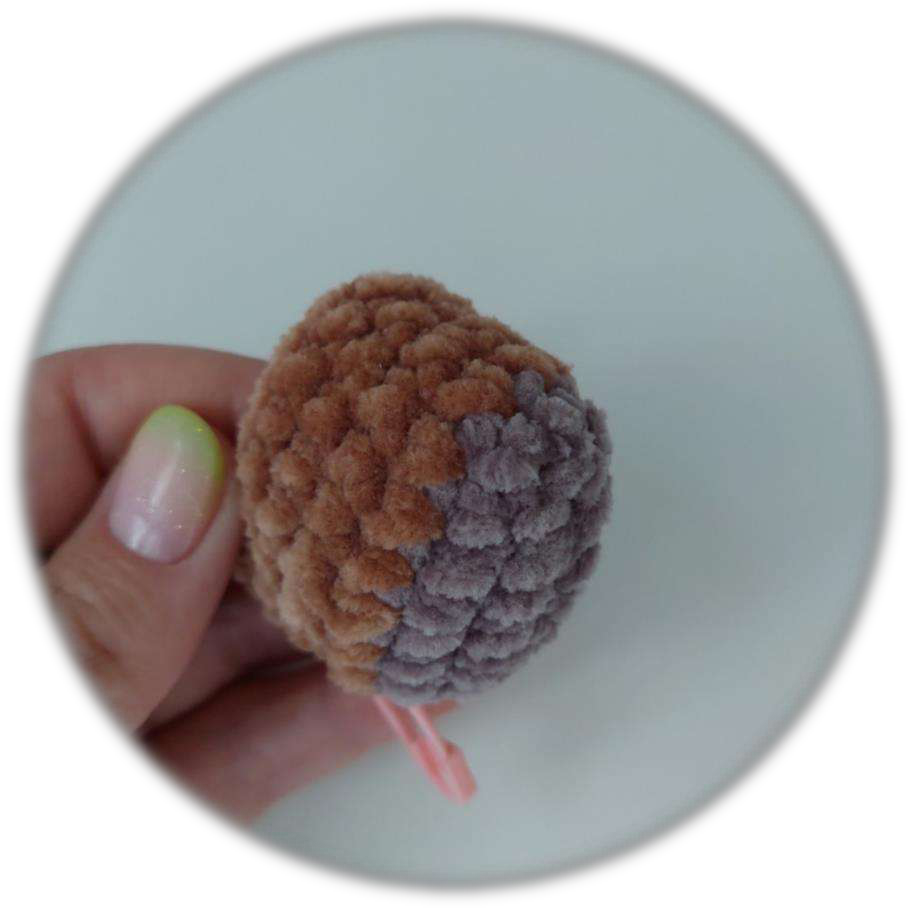
Change yarn color to the main body color.
Rows 3-6: 4 rows of 17 SC each.
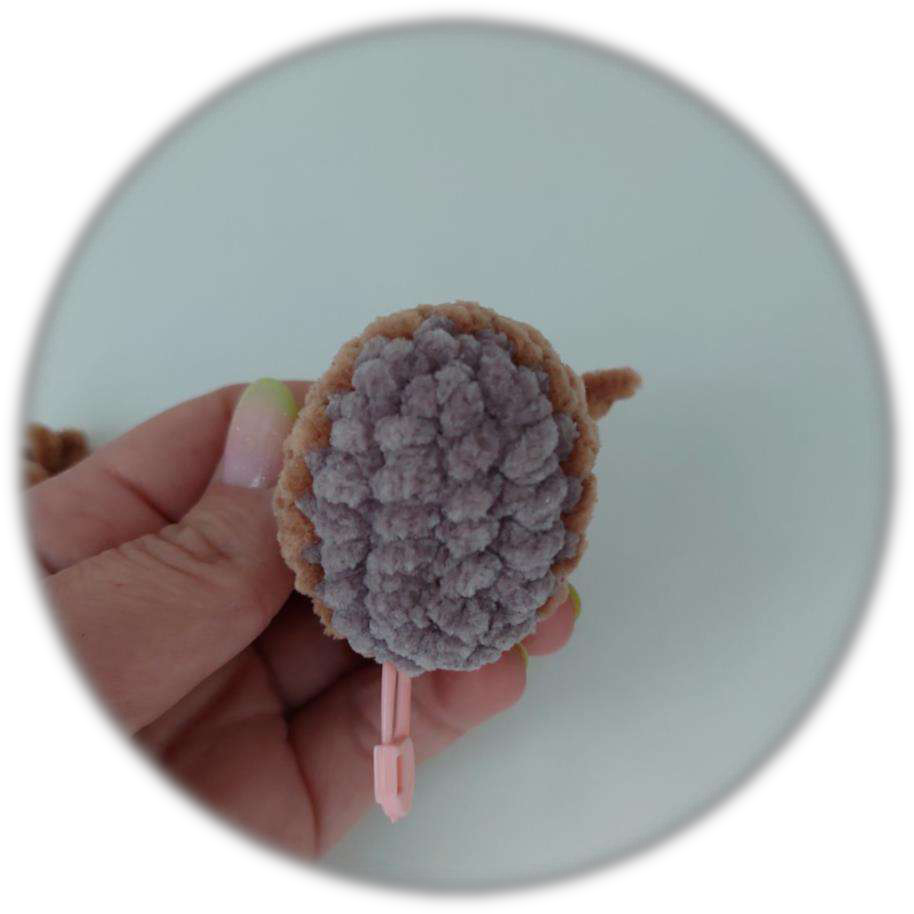
Row 7: In this row, make 4 increases in a row. Fold the piece in half (so that the initial chain is exactly in the center) to find the middle. Work the row until this point. At this point, make 4 increases (the increases will be symmetrical above the central line formed by the initial CH 7 chain), then finish the row (21).
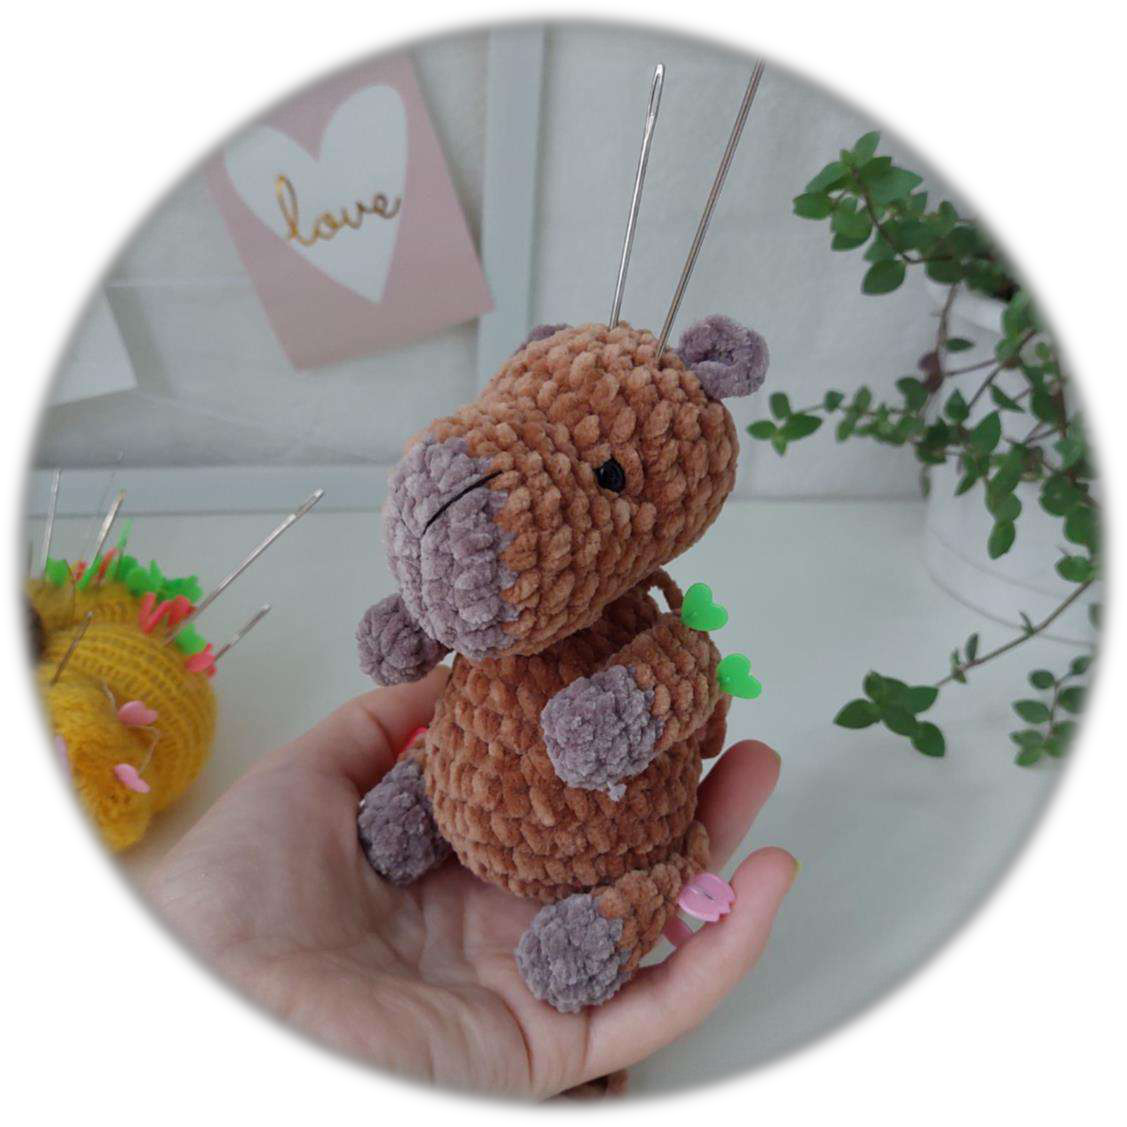
The bend in the photo indicates where the increases are made.
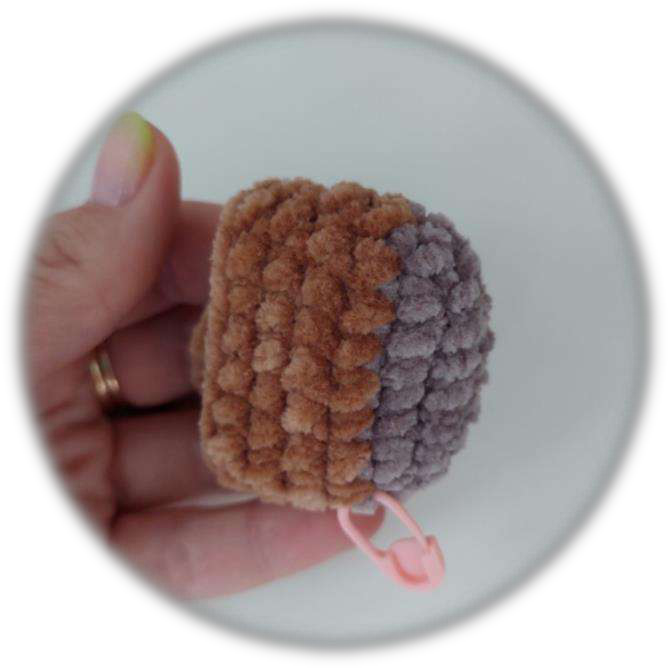
Rows 8-11: 4 rows of 21 SC each.
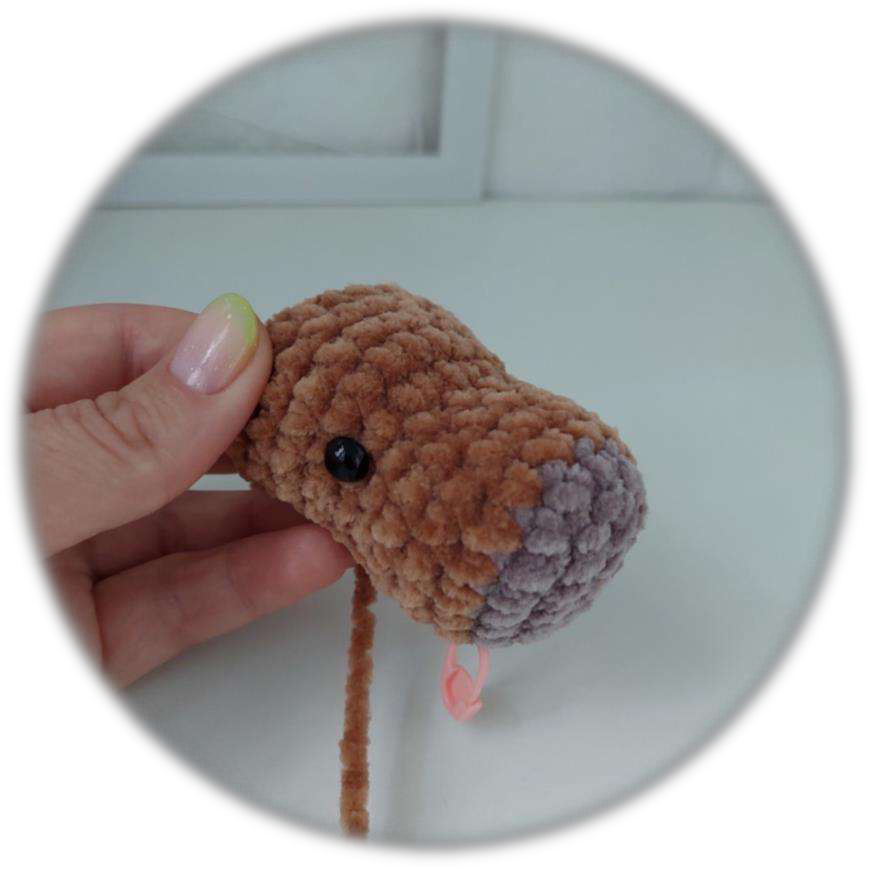
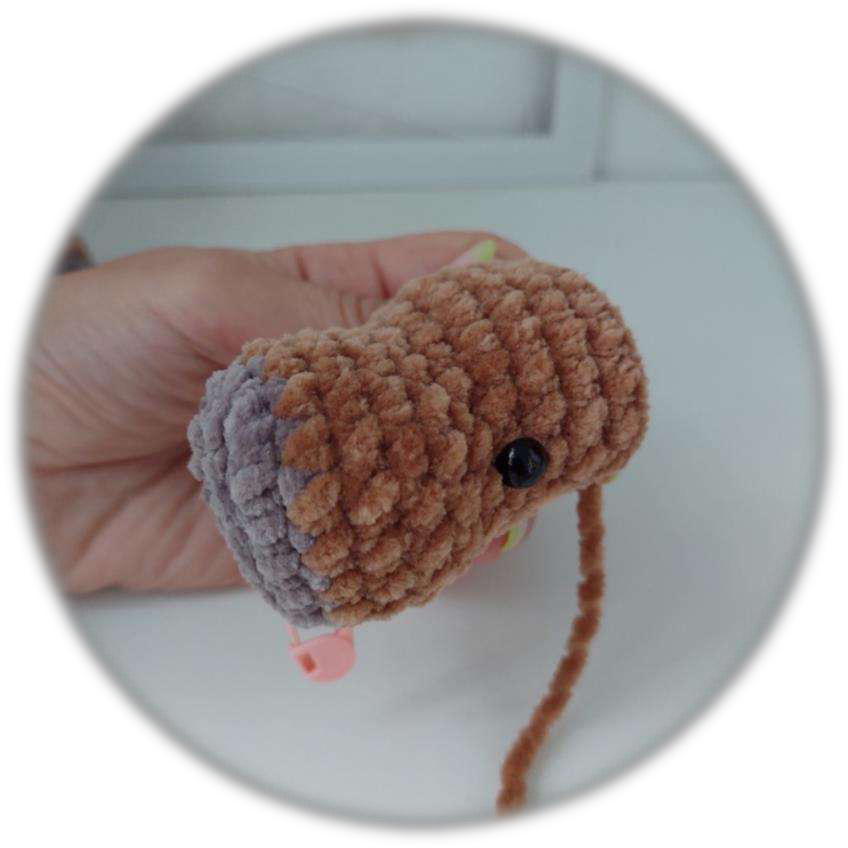
After this, insert the eyes. Fold the head in half again, find the center (again, along the line on the muzzle). Move 4-5 SC stitches away from the central line on both sides and insert an eye. Insert the eyes in the row where the increases were made. There should be approximately 9-10 SC stitches between the eyes. Try them out, make sure they are symmetrical.
For a video on where to insert the eyes, you can refer to: https://youtu.be/C8O7xUiUaBw
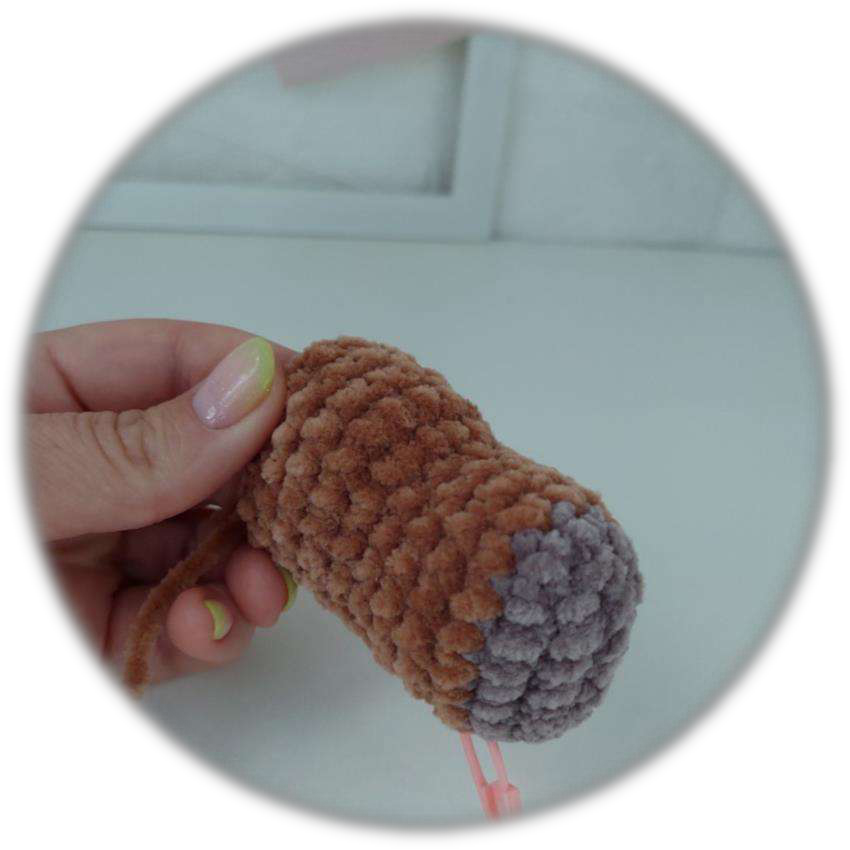
Row 12: (5 SC, DEC)*3 (18)
Row 13: (4 SC, DEC)*3 (15)
Row 14: (3 SC, DEC)*3 (12)
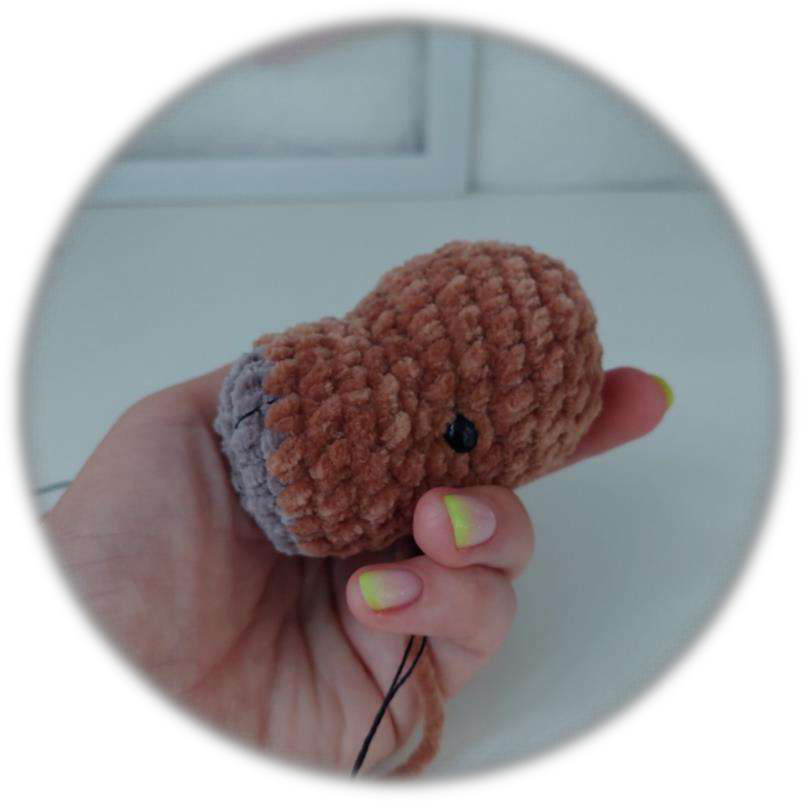
Stuff the piece, distributing the stuffing evenly throughout the head.
Row 15: 6 DEC
For a video on how to make eye indentations, embroider eyelids and nose, you can refer to: https://youtu.be/BmrEw1a3pE
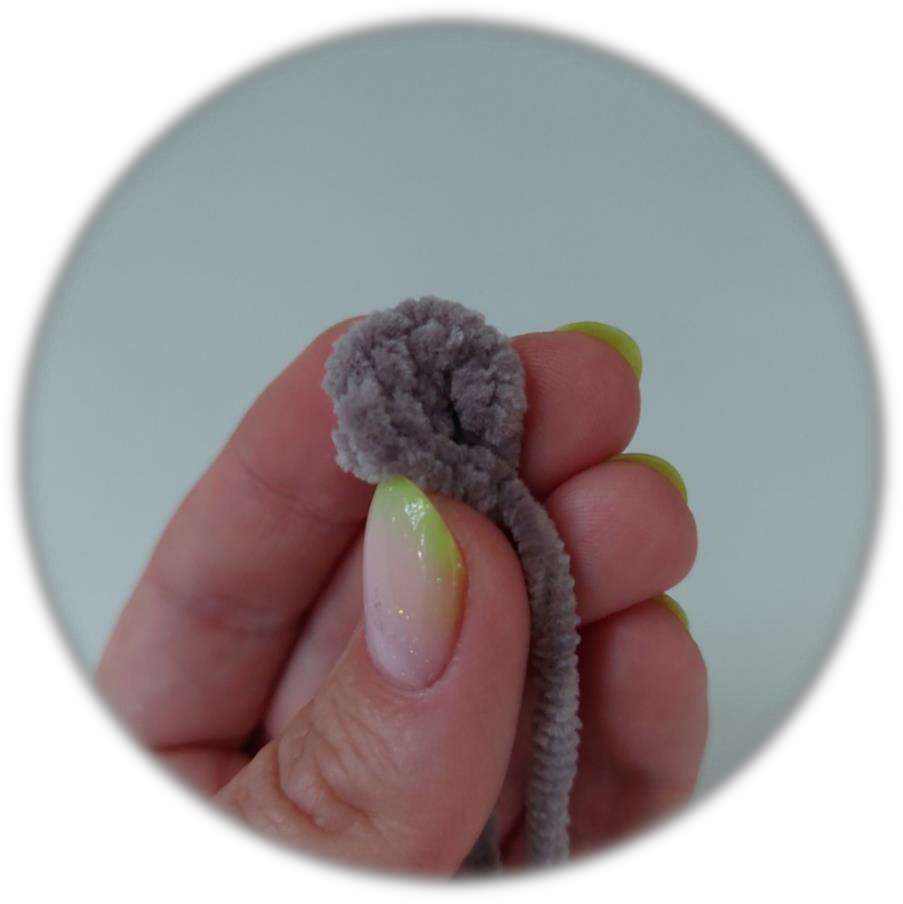
Ears
I recommend leaving a longer yarn tail from the beginning of the work to use it later for sewing on the ear.
In MR (or CH 2, then into the 2nd CH from hook): 7 SC, cut yarn.
Fold the ear in half and make a stitch to secure its shape.
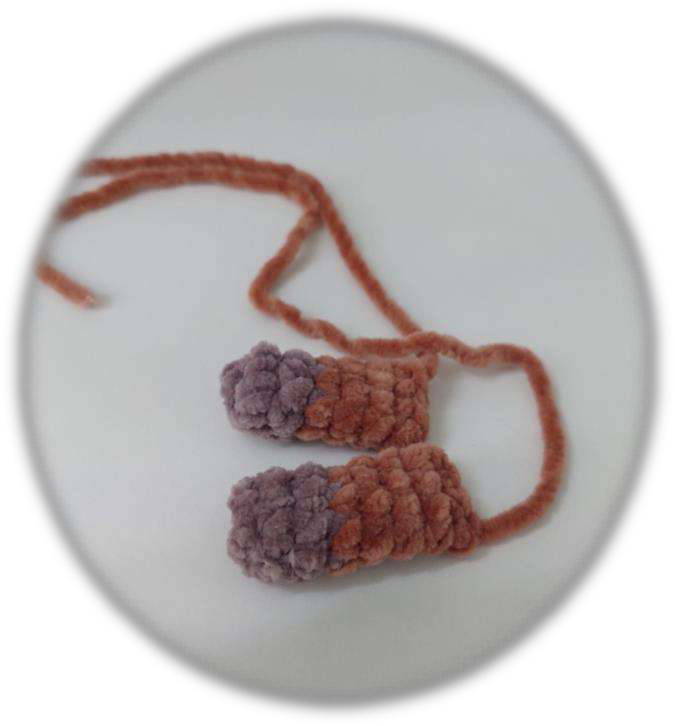
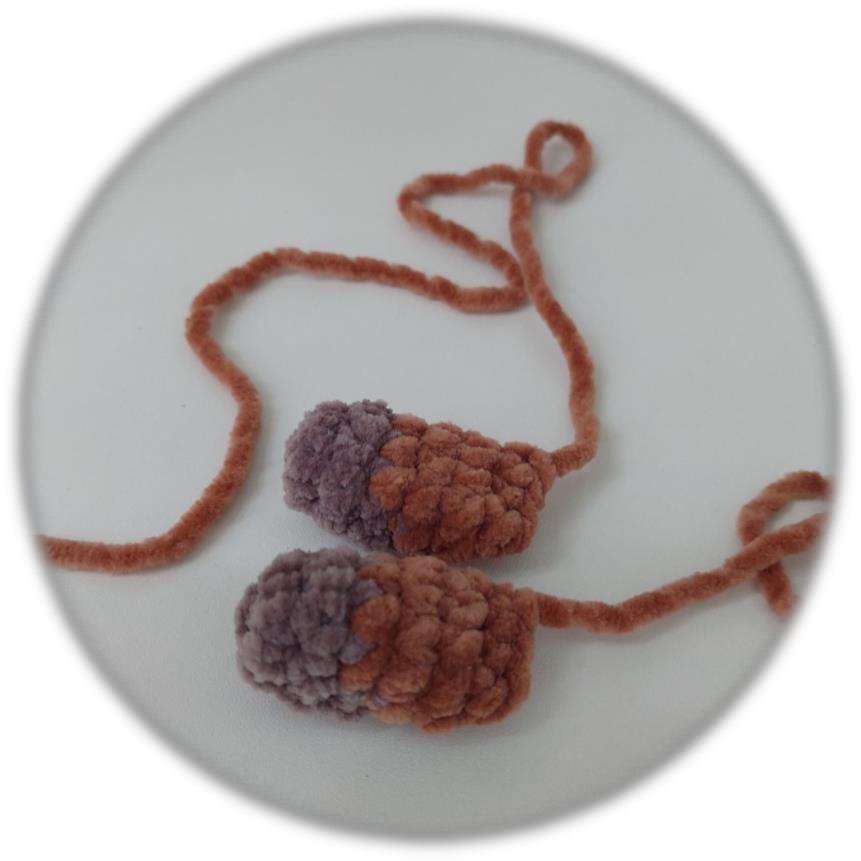
Arms (Make 2)
Start with a contrasting color.
In MR (or CH 2): 6 SC.
Rows 1-2: 6 SC.
Change color to the main body color.
Rows 3-5: 3 rows of 6 SC each.
Work both parts of the arm together with 3 SC. Cut yarn, leaving a 20 cm (approx. 8 inches) tail for sewing.
Legs (Make 2)
Start with a contrasting color.
In MR (or CH 2): 6 SC.
Row 1: (1 SC, INC)*3 (9)
Row 2: 9 SC
Change yarn color to the main body color.
Rows 3-4: 9 SC.
Row 5: (1 SC, DEC)*3 (6)
Fold in half, work 3 SC through both layers. Cut yarn, leaving a tail for sewing.
Body
In MR (or CH 2): 7 SC.
Row 1: 7 INC (14)
Row 2: (1 SC, INC)*7 (21)
Row 3: (2 SC, INC)*7 (28)
Rows 4-6: 3 rows of 28 SC each.
Row 7: (2 SC, DEC)*7 (21)
Rows 8-10: 3 rows of 21 SC each.
Row 11: (1 SC, DEC)*7 (14)
Row 12: 14 SC.
Cut yarn, leaving a long tail for sewing. Stuff the piece firmly.
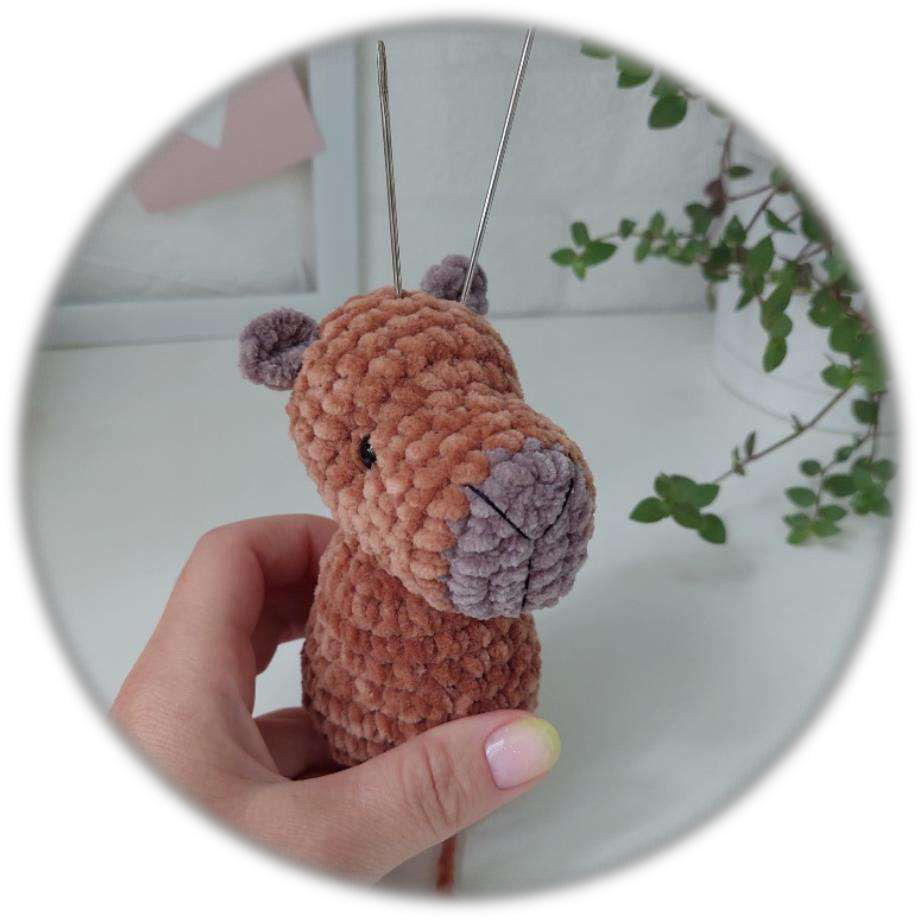
Assembly
Pin the head to the body. Long needles or thin knitting needles can be used to hold it in place. Carefully sew the head to the body using the remaining yarn tail.
Pin the arms and legs in their desired positions on the body using pins. Once you are happy with their placement, sew them securely onto the body.
Share Your Creation!
We hope you enjoyed crafting your adorable little Capybara! There’s nothing quite like the satisfaction of bringing a cuddly friend to life with your own hands. We love seeing what you create, so please share photos of your finished Capybara with us on social media. Don’t forget to tag @Crochetto or use #Crochetto so we can admire your beautiful work. Happy crocheting!