Mastering the Bubble Crochet Stitch: A Complete Guide to Textured Crochet
Are you ready to elevate your crochet projects from flat to fabulous? Look no further than the delightful bubble crochet stitch! This versatile technique creates charming, raised bumps that add incredible visual interest and tactile richness to any piece. Whether you’re a seasoned crocheter seeking new textures or a beginner eager to expand your repertoire, this in-depth guide will walk you through everything you need to know to master the bubble stitch, also widely known as the bobble stitch.
From essential techniques and expert tips to inspiring pattern ideas, get ready to transform your blankets, garments, and accessories with this wonderfully dimensional stitch!
What is the Bubble Crochet Stitch (and Why You’ll Love It!)
The bubble crochet stitch, often interchangeably called the bobble stitch, is a popular raised stitch that forms a distinctive, round “bubble” on the surface of your fabric. It’s created by working a group of unfinished stitches into the same stitch and then joining them all together at the top. This clever construction pulls the fabric around the stitch, causing it to pop out in a charming, spherical shape.
Why add the bubble stitch to your toolkit?
- Unmatched Texture: Instantly adds visual and tactile interest, making your projects feel plush and luxurious.
- Dimensional Design: Creates a beautiful 3D effect, perfect for accentuating specific areas or crafting all-over textures.
- Versatile Applications: Ideal for everything from cozy blankets and cushions to stylish garments, hats, and even amigurumi.
- Relatively Easy to Learn: Built upon basic crochet stitches like double crochet, it’s accessible for crocheters of various skill levels.
Getting Started: Materials & Key Details
Before diving into the steps, let’s ensure you have the right tools and understand the basics of the bubble crochet stitch.
Materials and Tools You’ll Need:
- Yarn: While any yarn works, a medium weight (worsted weight) yarn is excellent for beginners as it’s easy to see your stitches. Explore different yarn types and weights to see how they impact your bubble texture.
- Crochet Hook: Choose a hook size appropriate for your chosen yarn. The yarn label usually provides a recommendation.
- Scissors & Tapestry Needle: Essential for finishing your projects.
Bubble Crochet Stitch Details:
- Common Abbreviation: “BO” is frequently used, but you might also encounter “bob,” “MB” (make bobble), or “dc5tog” (referring to a 5-double crochet together variation). Always check your pattern’s abbreviations section!
- Skill Level: Easy. If you can make basic stitches like single crochet and double crochet, you’re ready!
- Stitch Multiple: Often an odd number, as bobbles are usually bordered by shorter stitches for definition.
- Row Multiple: Typically a multiple of 2, with bobbles worked on the wrong side (WS) rows and a flat row in between to allow them to pop.
Right Side vs. Wrong Side: The Secret to Perfect Bubbles
A crucial aspect of the bubble crochet stitch is understanding its directional nature. Bobbles “pop out” on the *opposite* side from where they are worked. Therefore, if you want your charming bubbles to appear on the right side (the public-facing side) of your fabric, you must crochet them on the wrong side (the back) rows.
This means your finished swatch or project will have a lovely 3D texture on the front and a relatively flat surface on the back, making it a non-reversible stitch.
Step-by-Step Tutorial: How to Crochet the Bubble Crochet Stitch (5-dc Bobble)
The most common version of the bubble crochet stitch (bobble stitch) uses 5 incomplete double crochet stitches. Let’s break it down:
- Yarn over (YO) as if you’re making a standard double crochet.
- Insert your hook into the indicated stitch.
- Yarn over and pull up a loop. (You should now have 3 loops on your hook).
- Yarn over again and pull through the first 2 loops. (You’ll have 2 loops remaining on your hook. This completes the first “leg” of your bobble).
- Repeat steps 1-4 four more times in the *same stitch*. Each repeat will add one more loop to your hook. After doing this four more times (total of 5 incomplete double crochets), you’ll have 6 loops on your hook (the original loop + 5 loops from your incomplete stitches).
- Yarn over one last time and pull through all 6 loops on your hook. This closes the bobble!
The Next Stitch (Crucial for Definition!):
To make your bubble crochet stitch truly stand out, always follow it with a shorter stitch, like a single crochet. This shorter stitch helps to cinch the fabric around the bobble, forcing it to pop forward and enhancing its rounded, 3D shape.
Working the Next Row:
The row following your bobble row is typically a Right Side (RS) row, and it often consists of simpler stitches like single crochet, half double crochet, or double crochet. This flat row helps to set the bobbles and creates the space for the next set of bobbles (if your pattern includes them).
Pro Tip for Counting:
When making your bobble, count the loops on your hook. The loop you started with counts as one. Each subsequent loop represents an incomplete double crochet. For a 5-dc bobble, you’ll have six loops on your hook just before the final yarn over.
Variations of the Bubble Crochet Stitch
While the 5-dc bobble is a classic, the beauty of the bubble crochet stitch lies in its adaptability. You can easily adjust its size and prominence:
- Taller Bobbles: For a more pronounced bubble, substitute treble crochet (tr) for double crochet (dc) in the bobble construction.
- Smaller Bobbles: If you prefer a more subtle texture, use 3 or 4 incomplete double crochets instead of 5.
- Different Yarns: Experiment with different yarn weights and fibers! A chunky yarn will create much larger, softer bubbles than a fine cotton.
Practice Makes Perfect: Bubble Crochet Stitch Swatches
The best way to master the bubble crochet stitch is to practice! Here are a few swatch patterns to get you comfortable with various placements.
Note: All bobbles are made on Wrong Side (WS) rows to pop out on the Right Side (RS).
Abbreviations:
- Bo – bobble
- Ch – chain
- Sc – single crochet
- St/s – stitch/es
- RS – right side
- WS – wrong side
1. Even Bobble Swatch:
This creates a grid-like pattern of bobbles.
- Row 1 (RS): Chain a multiple of 4. Single crochet in the second chain from hook and in each chain across. Turn.
- Row 2 (WS): Chain 1 (does not count as a stitch), single crochet in the next 3 stitches, *bo, single crochet in the next 3 stitches; repeat from * across. Turn.
- Rows 3-5 (RS): Chain 1, single crochet in each stitch across. Turn.
- Repeat Rows 2-5 to continue the pattern.
2. Offset Bobble Swatch:
Creates a staggered, brick-like pattern of bobbles.
- Row 1 (RS): Chain a multiple of 4 + 3. Single crochet in the second chain from hook and in each chain across. Turn.
- Row 2 (WS): Chain 1, single crochet in the next 3 stitches, *bo, single crochet in the next 3 stitches; repeat from * across to the last 4 stitches, bo, single crochet in the last 3 stitches. Turn.
- Rows 3-5 (RS): Chain 1, single crochet in each stitch across. Turn.
- Row 6 (WS): Chain 1, single crochet, *bo, single crochet in the next 3 stitches; repeat from * across to the last 2 stitches, bo, single crochet in the last stitch. Turn.
- Rows 7-8 (RS): Chain 1, single crochet in each stitch across. Turn.
- Repeat Rows 1-8 to continue the pattern.
3. All-Over Bobble Swatch:
For a dense, highly textured fabric.
- Row 1 (RS): Chain an even number. Single crochet in the second chain from hook and in each chain across. Turn.
- Row 2 (WS): Chain 1, single crochet, *bo, single crochet; repeat from * across to the last 2 stitches, bo, single crochet in the last stitch. Turn.
- Row 3 (RS): Chain 1, single crochet in each stitch across. Turn.
- Row 4 (WS): Chain 1, single crochet in the next 2 stitches, *bo, single crochet; repeat from * across to the last 3 stitches, bo, single crochet in the last 2 stitches. Turn.
- Row 5 (RS): Chain 1, single crochet in each stitch across. Turn.
- Repeat Rows 2-5 to continue the pattern.
Pro Tips for Perfect Bubble Crochet Stitches
Achieving consistently beautiful bubbles takes a little practice. Here are expert tips to help you:
- Consistent Tension is Key: Maintain an even tension throughout your bobble. If it’s too loose, the bobble might look sloppy; too tight, and you’ll struggle to pull through all those loops. Consistent tension ensures uniform, well-defined bubbles.
- Give Them Space: For the best 3D effect, space your bobbles out a few stitches apart. Clustering them too closely can diminish their individual prominence.
- Contrast Colors: Don’t shy away from making your bubble crochet stitch in a contrasting color! This can create a playful polka-dot effect or highlight specific design elements.
- Mind Your Hook Size: Sometimes, going up half a hook size for the bobble stitches themselves (or using a slightly larger hook overall for a softer fabric) can make it easier to pull through all the loops, especially with thicker yarns.
- Yarn Choice Matters: Smooth, round yarns (like merino wool or acrylic) often yield the most defined bubbles. Fuzzy yarns might obscure the texture slightly.
Inspiring Projects Featuring the Bubble Crochet Stitch
The bubble crochet stitch is incredibly versatile! Here are just a few ideas for where you can incorporate this charming texture:
- Cozy Blankets: Imagine the warmth and texture of a blanket adorned with bubbles! Explore our crochet blanket sizes guide to plan your next project.
- Stylish Garments: Add a panel of bubbles to a sweater, or create a unique texture for a crochet skirt. Check out crochet sweater patterns or crochet skirt patterns for inspiration.
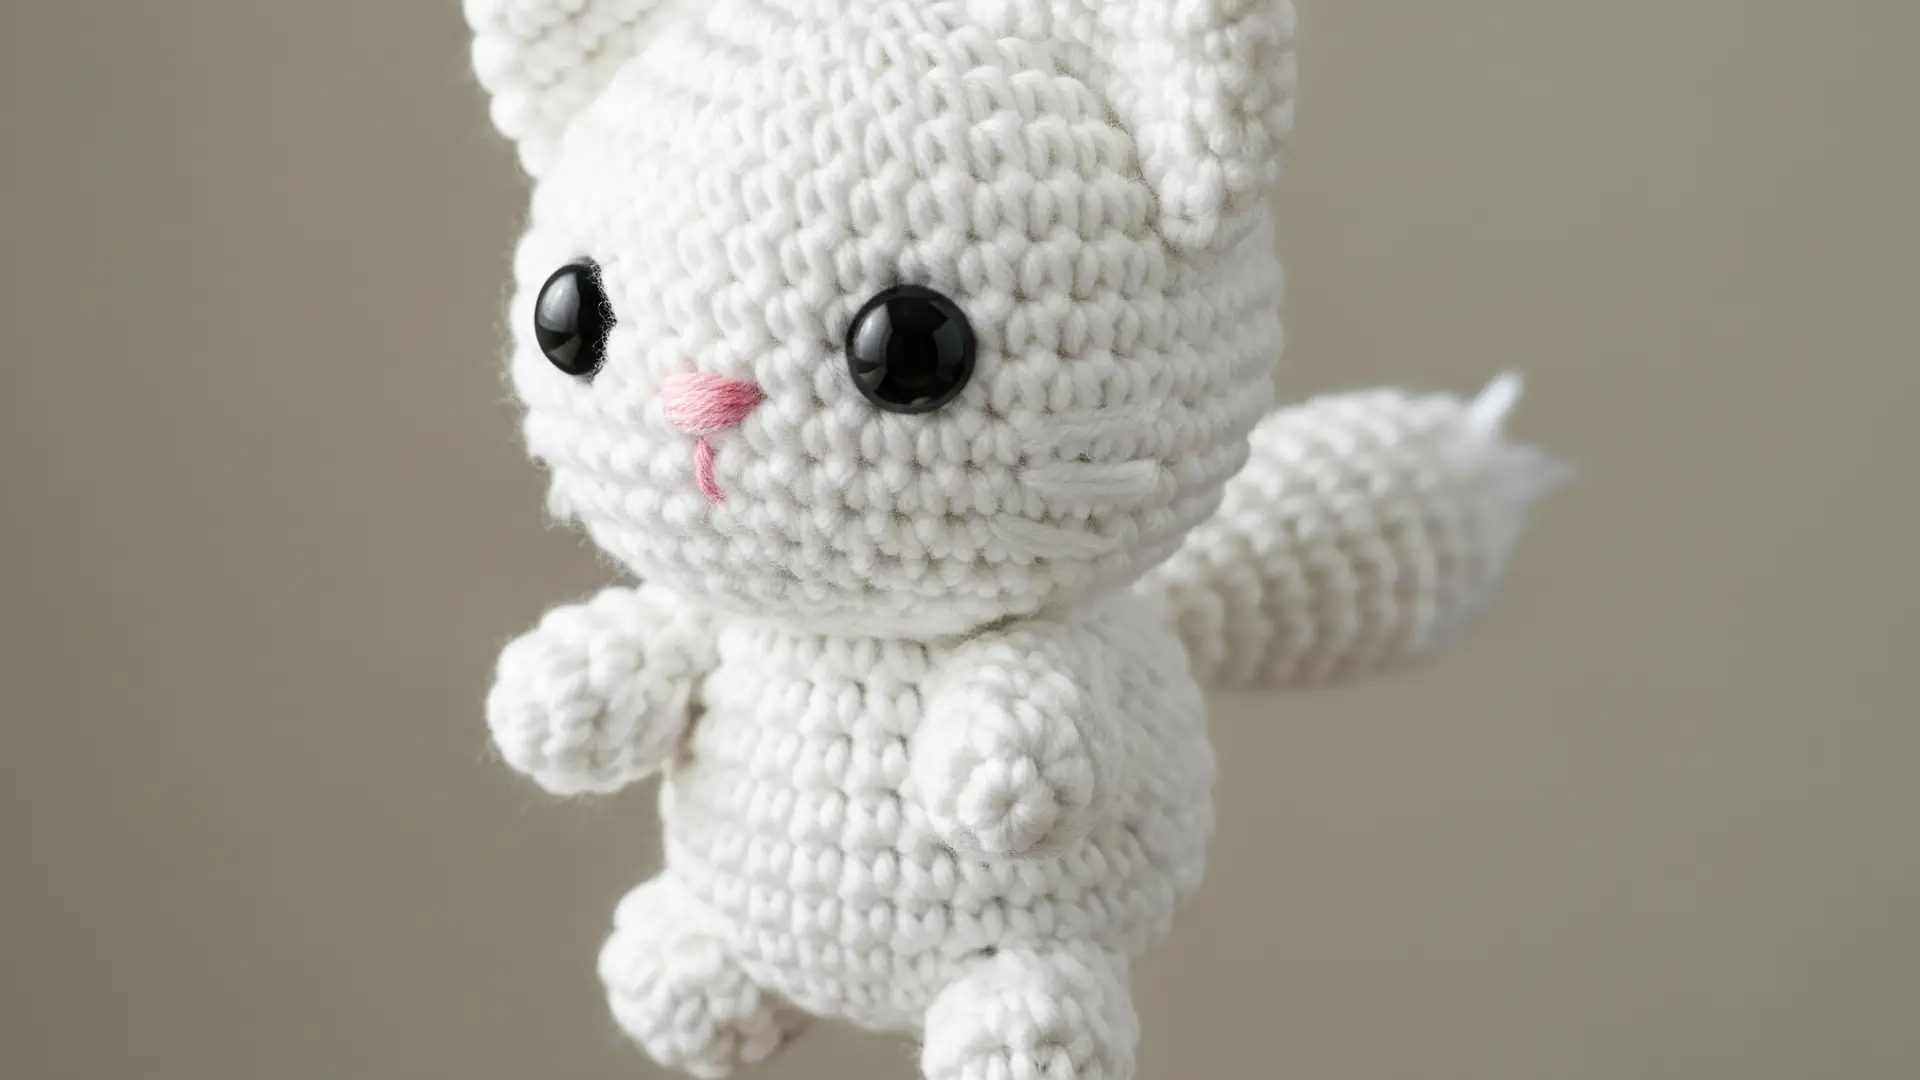
- Amigurumi: Bubbles are perfect for adding character to toys, like sheep’s wool or animal features.
- Hats & Accessories: A beanie with a textured brim or body, or a cowl with a fun bubble detail, adds personality to any outfit.
- Baby Items: The soft, bumpy texture of the bubble stitch is a sensory delight for babies. Consider it for baby booties or blankets.
- Home Decor: Cushions, dishcloths, or even textured placemats can benefit from the distinctive look of the bubble stitch.
For more specific pattern ideas, consider exploring crochet pattern roundups to see how designers have creatively incorporated this stitch.
Frequently Asked Questions About the Bubble Crochet Stitch
- Does the bubble crochet stitch use a lot of yarn?
- Yes, the bubble crochet stitch is generally considered a “yarn eater.” Since you’re essentially working multiple incomplete stitches into one spot, each bobble uses significantly more yarn than a single standard stitch, typically 3-5 times as much as a single double crochet.
- Do you crochet a bubble stitch on the right or wrong side?
- For the bubbles to pop out on the right side (RS) of your fabric, you should crochet them on the wrong side (WS) rows.
- What is the difference between a popcorn stitch and a bubble crochet stitch?
- A popcorn stitch is made by working a group of *completed* stitches (usually double crochets) into one stitch, then joining the first and last stitch with a slip stitch at the top. The bubble crochet stitch, in contrast, involves working a group of *incomplete* stitches and then joining all loops together at the very end.
- What is the difference between a puff stitch and a bubble crochet stitch?
- A puff stitch is typically made using incomplete half-double crochet stitches that are then joined at the top, creating a softer, rounder puff. The bubble crochet stitch, however, usually uses incomplete double crochet stitches, resulting in a more prominent and often firmer “bubble” or “bobble” texture.
- Is the cluster stitch the same as the bubble crochet stitch?
- No, they are distinct. A cluster stitch is a decrease worked across *multiple* stitches, joining them at the top to reduce stitch count. The bubble crochet stitch (bobble stitch) is worked entirely within a *single* stitch, creating a raised bump without decreasing the overall stitch count of the row.
Expand Your Crochet Horizons: More Stitch Tutorials
Once you’ve mastered the delightful bubble crochet stitch, why not explore other fascinating crochet techniques? Broadening your stitch knowledge will open up a world of creative possibilities for your projects. Check out these other helpful tutorials from Sarah Maker:
- How to Crochet the Puff Stitch
- How to Crochet the Granny Stripe Stitch
- How to Crochet Moss Stitch (aka Linen, Granite, Woven Stitch)
- How to Crochet Waffle Stitch
- How to Crochet Shell Stitch (Step-by-Step Tutorial)
- How to Crochet for Beginners: A Complete Guide
- Easy Crochet Granny Square Pattern – Perfect for Beginners!
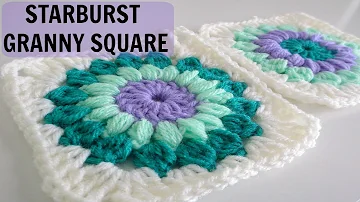
- Crochet Sunburst Granny Square (Sunflower Granny Square Tutorial)
Ready to try out the bubble crochet stitch in your next project?
We’d love to see what you create! Share your projects with us and join a vibrant community of makers.
For more patterns and creative inspiration, visit the main Sarah Maker website or browse our crochet patterns and crochet techniques sections. You can also explore patterns available in our Sarah Maker Shop.
“`