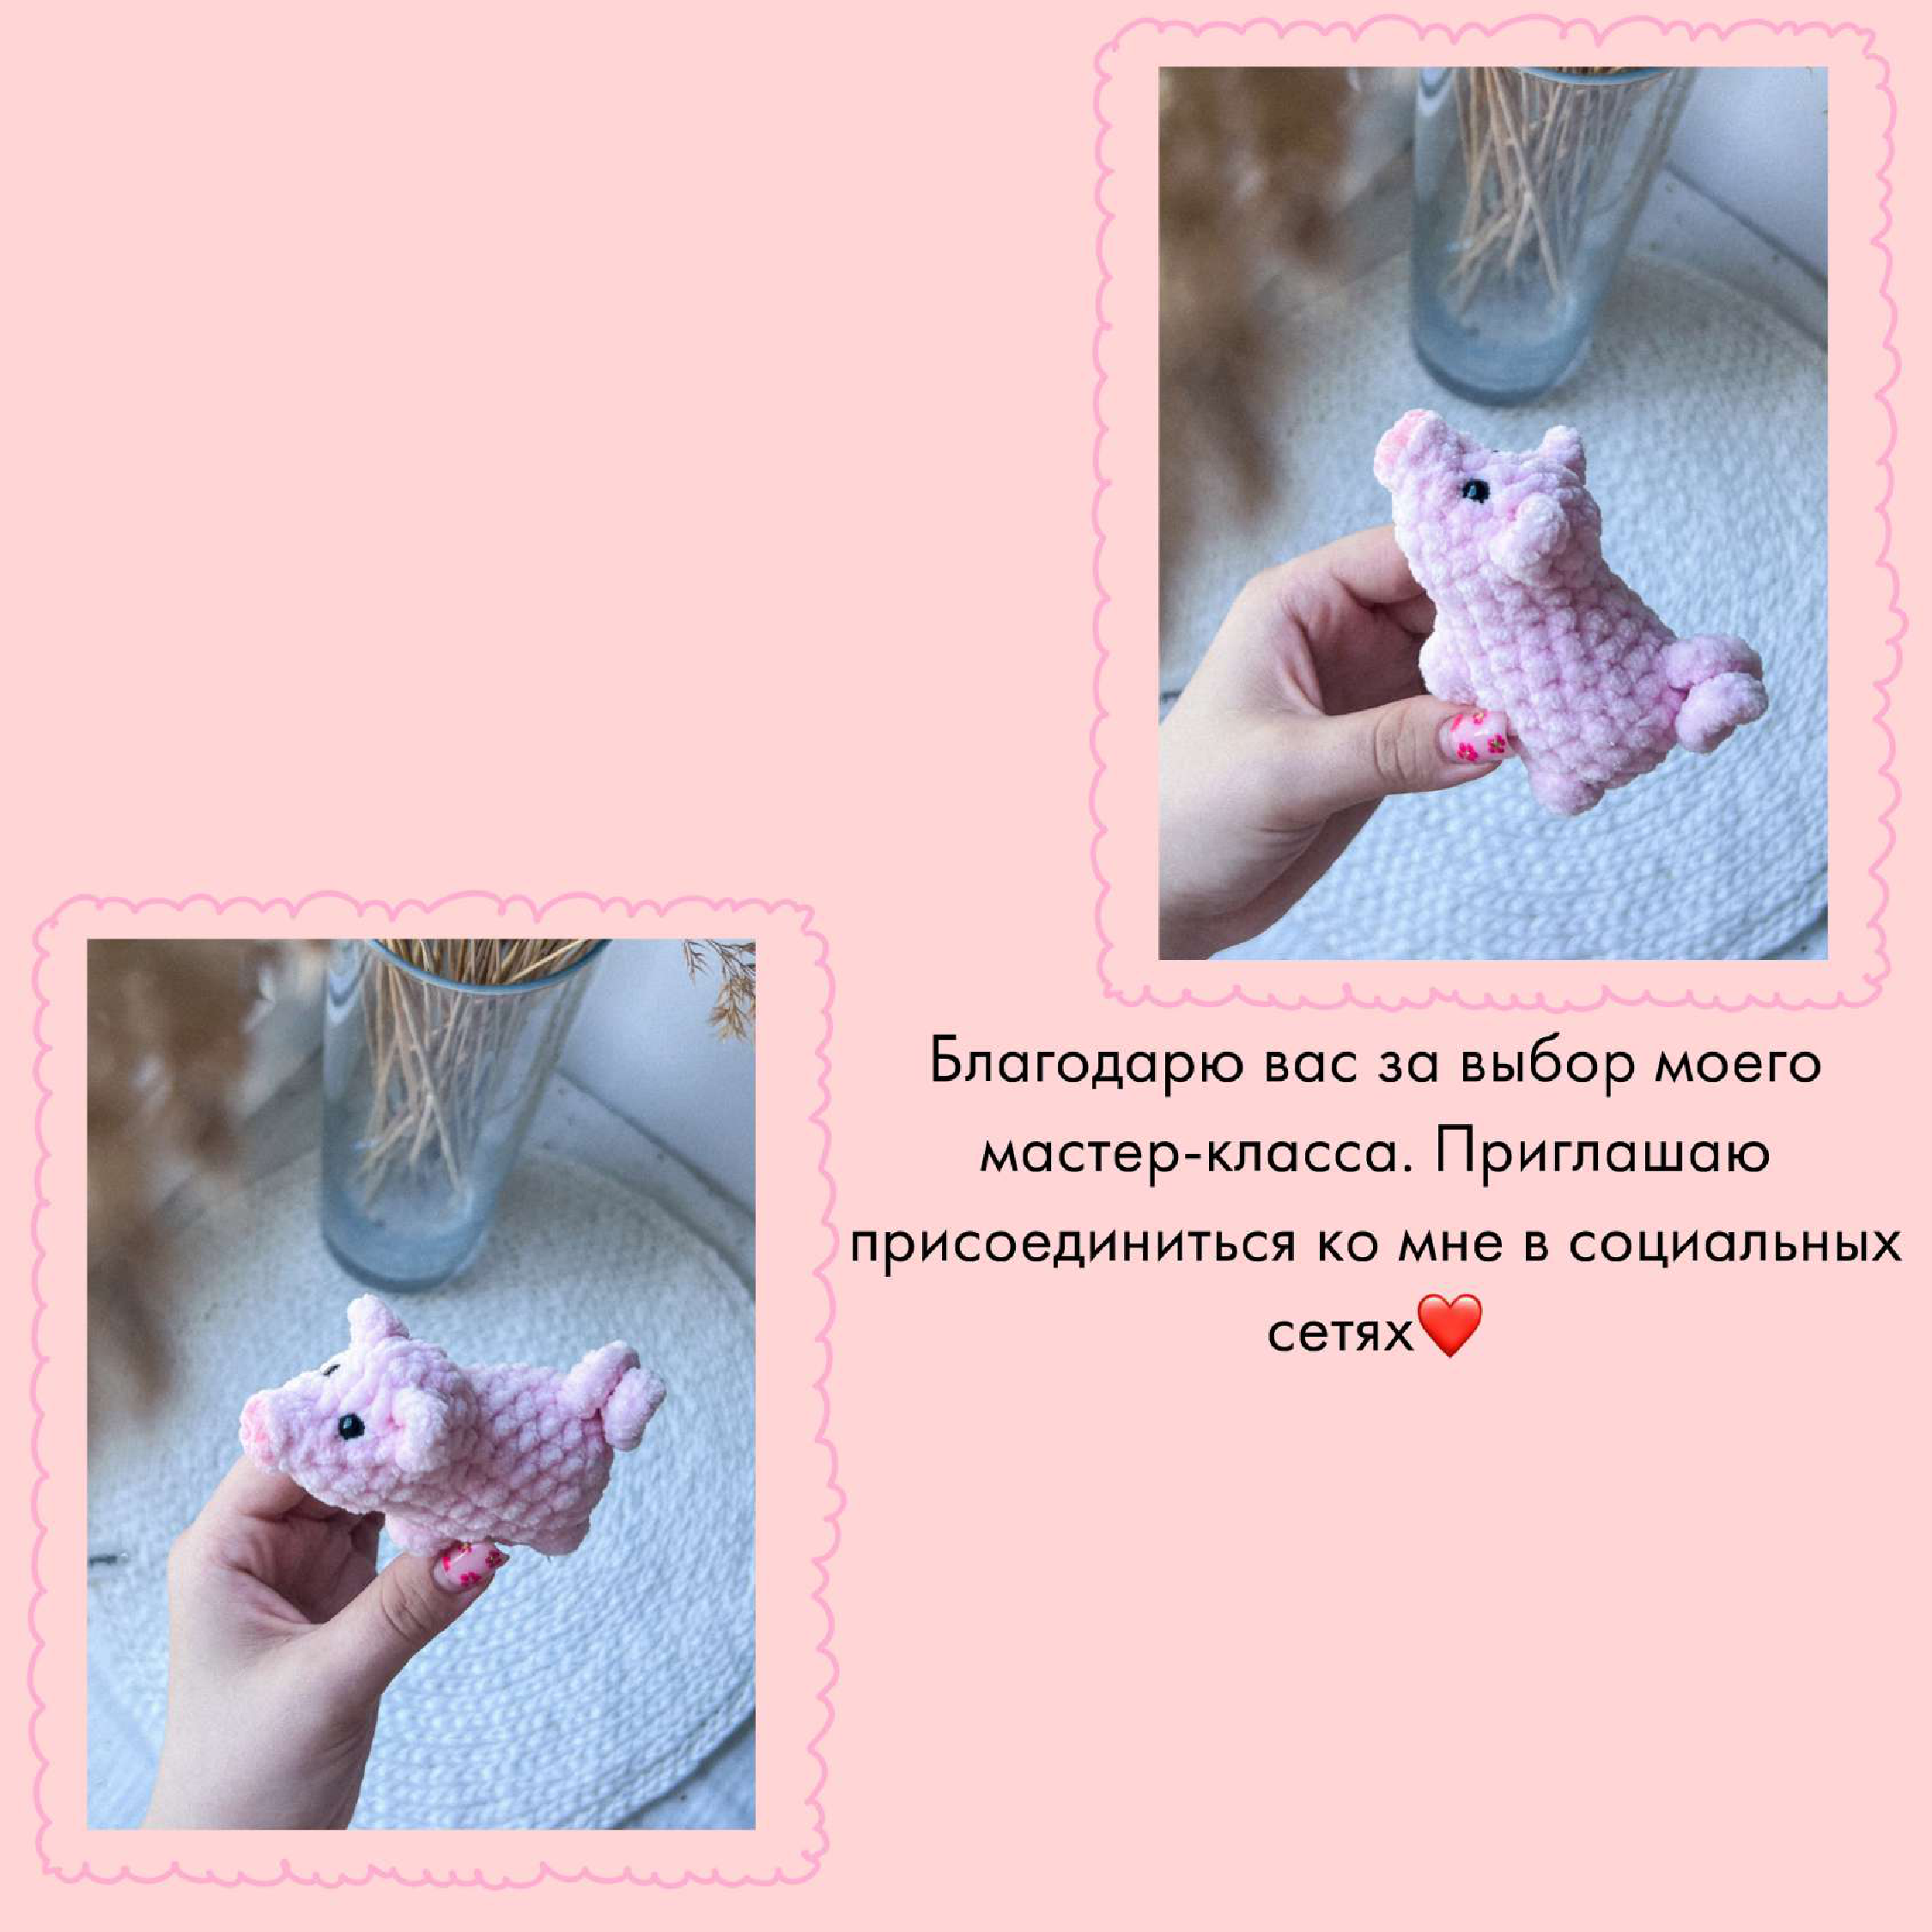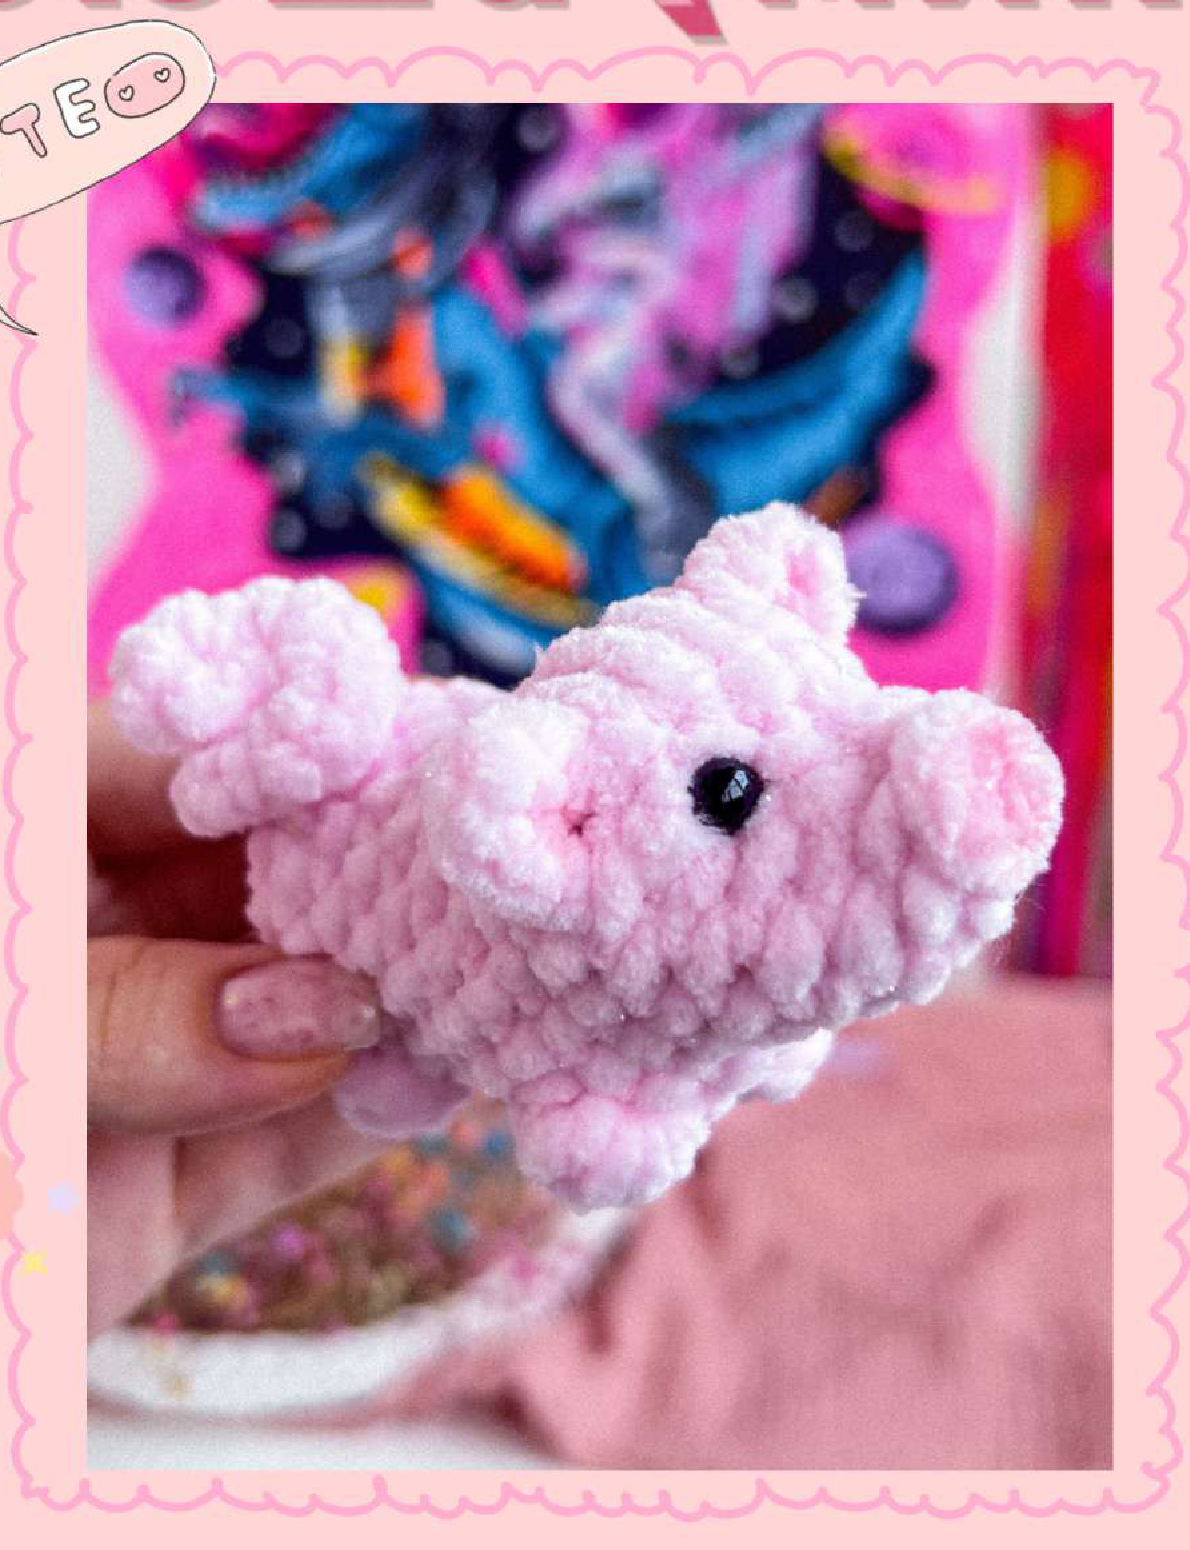
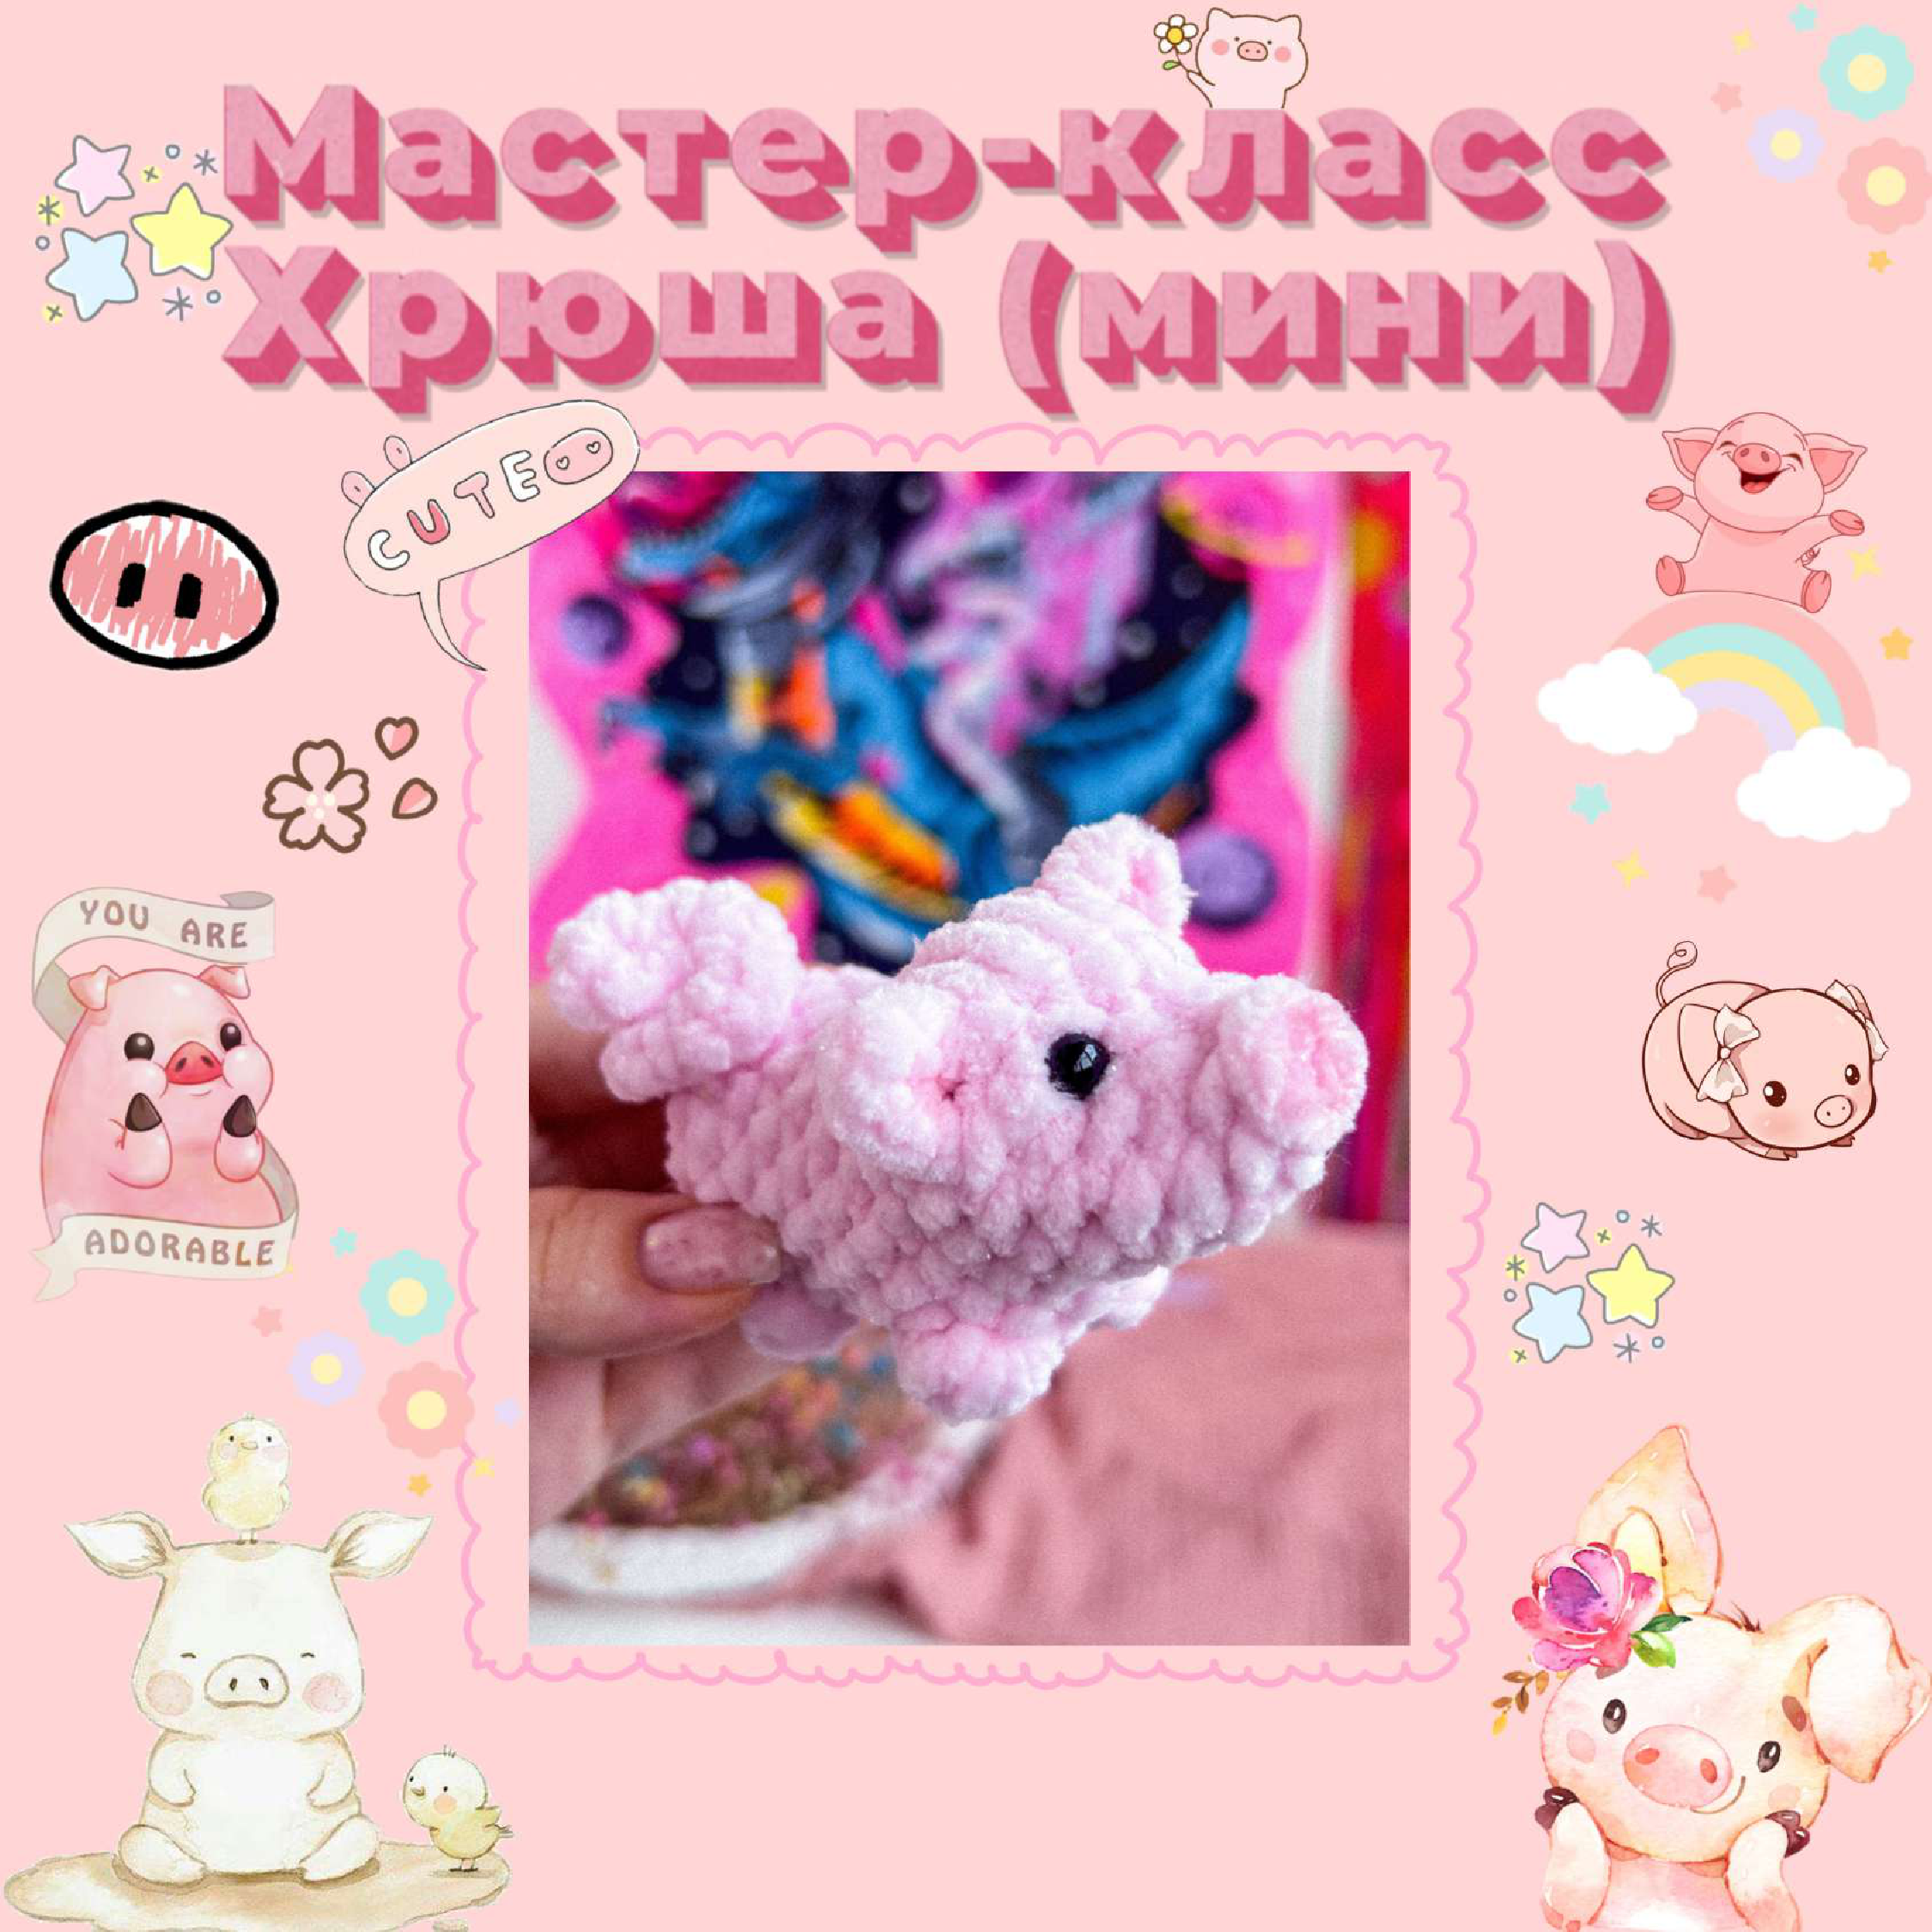
Crochet This Cute Mini Piggy Free Pattern
Hello, crochet friend! If you’re reading this, you’re ready to create your very own adorable mini piggy, and I’m here to guide you through every stitch. This wonderful free pattern is an original design by the talented @alinushka_vyazhet.
This master class does not include beginner crochet lessons, so you should be familiar with the basic skills of crocheting amigurumi toys. When you publish photos of your finished piggy, please remember to credit Alinushka_Vyazhet as the author—she would be delighted to see your work! ❤️
Materials
- Yarn: Plush yarn like Himalaya Dolphin Star #92103 (100g/120m). You’ll only need about 10g.
- Stuffing: Polyester fiberfill or your preferred stuffing.
- Crochet Hook: 3.5 mm (or size appropriate for your yarn).
- Safety Eyes: 6-7 mm.
- Needle: A yarn needle for weaving in ends.
- Stitch Markers: To keep track of your rounds.
- Scissors.
Abbreviations (US Terms)
- MR: Magic Ring
- Sl st: Slip Stitch
- Ch: Chain Stitch
- Sc: Single Crochet
- Inc: Increase (2 sc in one stitch)
- Dec: Decrease (crochet 2 sc together)
- Dec of 3 sc: Decrease (crochet 3 sc together)
- Hdc: Half Double Crochet
- Inc of Hdc: Increase of Half Double Crochets (2 hdc in one stitch)
- Dc: Double Crochet
- (…) x N: Repeat instructions in parentheses N times
Mini Piggy Crochet Pattern
We will work in continuous rounds. Use a stitch marker to mark the first stitch of each round.
-
- Row 1: Start with 8 sc in a MR. (8)
- Row 2: Work 8 inc. (16)
- Row 3: 7 sc. Now, let’s make the tail: [sl st, ch 6. Starting from the second chain from the hook, work 1 sc in each of the next 5 chains]. Back on the body, work 1 sc in the next stitch, 5 sc. Make a leg [5 unfinished dc in the same stitch, yarn over and pull through all loops on the hook – this creates a bobble stitch]. Finish with 1 sc. (16)
-
- Row 4: 1 sc, make a leg (5 dc bobble stitch), 14 sc. (16)
- Rows 5-8: 16 sc around for 4 rows. (16)
- Row 9: Make a leg, 2 sc, make another leg, 5 sc, 2 inc, 5 sc. (18)
Designer’s Tip: Keep an eye on the symmetry of your toy. If your stitches start to twist, feel free to add or skip a stitch to keep the legs and face centered.
- Row 10: 2 dec, 5 sc, 1 hdc, 2 inc of Hdc, 1 hdc, 5 sc. (18) (The hdc increases should be at the top center of the head.)
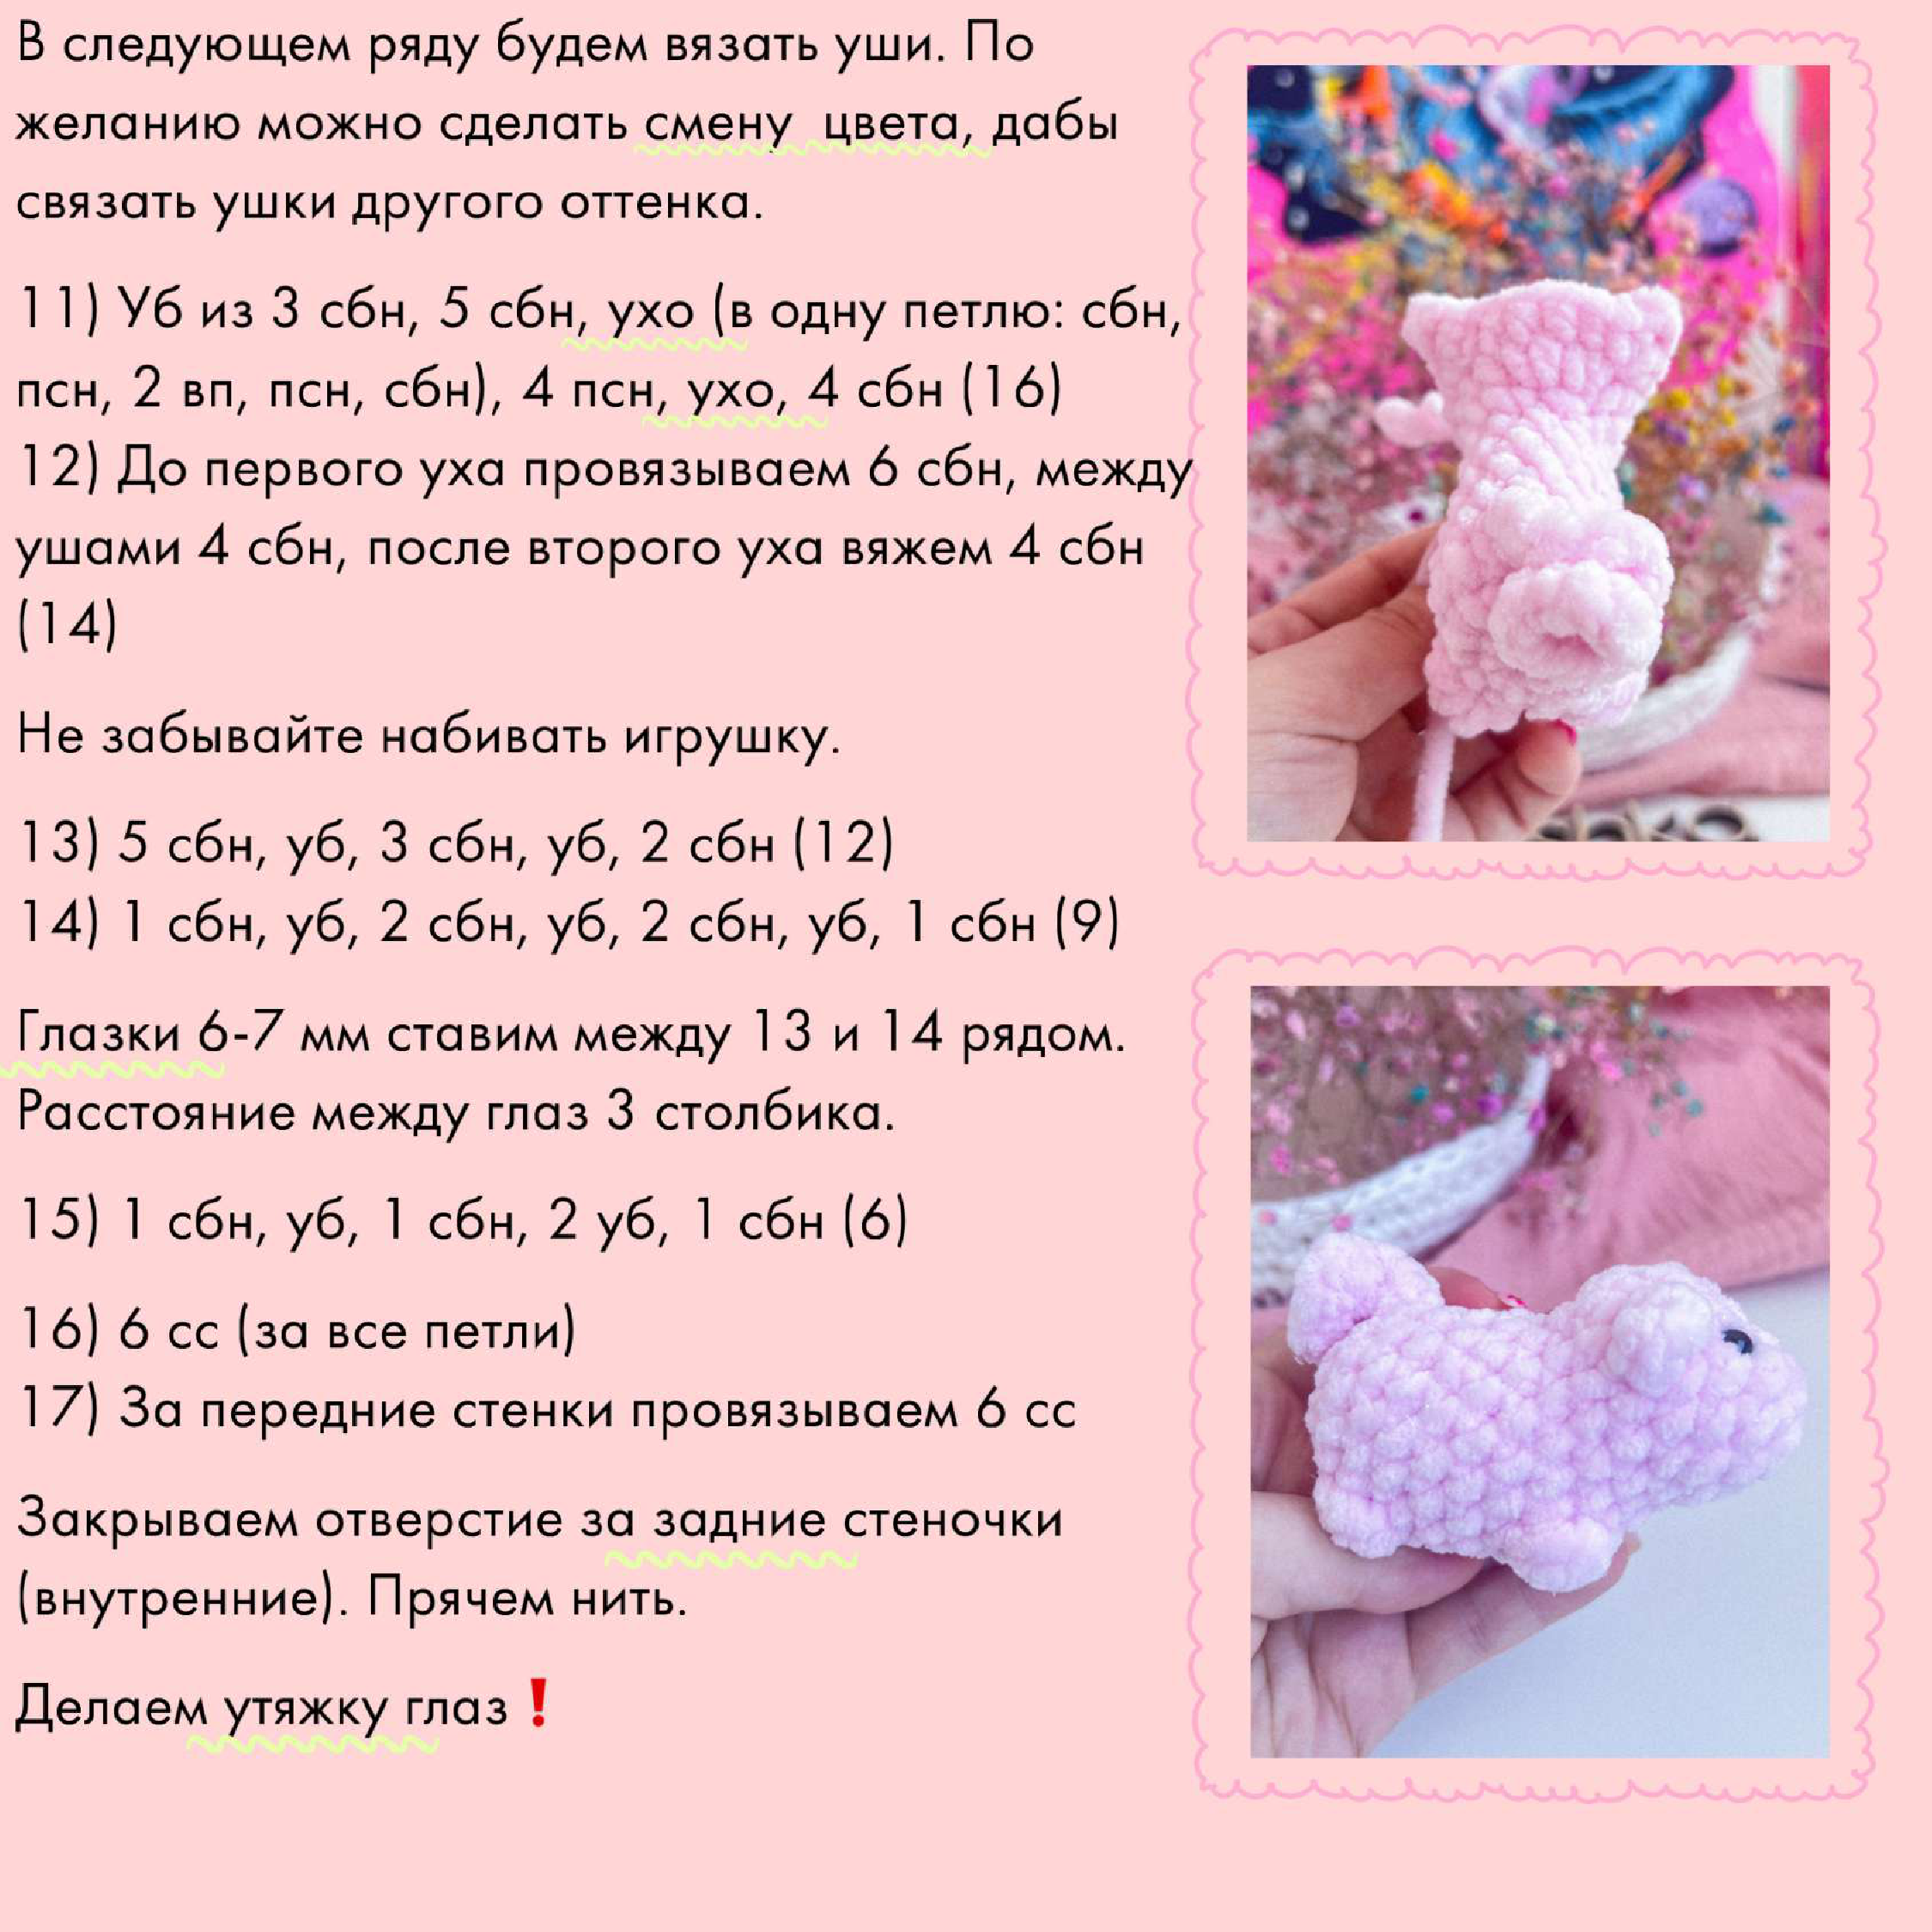
- Row 11: In this row, we will create the ears. You can switch to a different color for the ears if you like!
Dec of 3 sc, 5 sc. Make the first ear in the next stitch: [sc, hdc, ch 2, hdc, sc]. Then, 4 hdc. Make the second ear in the next stitch: [sc, hdc, ch 2, hdc, sc]. Finish with 4 sc. (16) - Row 12: Work 6 sc up to the first ear, 4 sc in the stitches between the ears, and 4 sc after the second ear. (14)
Assembling & Finishing Your Piggy
Now is a good time to start stuffing your piggy. Continue to add stuffing as you close the opening to ensure it’s nice and firm.
-
- Row 13: 5 sc, dec, 3 sc, dec, 2 sc. (12)
- Row 14: 1 sc, dec, 2 sc, dec, 2 sc, dec, 1 sc. (9)
Attach the Eyes: Place the 6-7 mm safety eyes between rows 13 and 14, with about 3 stitches visible between them. Once you are happy with the placement, secure the backs.
- Row 15: 1 sc, dec, 1 sc, 2 dec, 1 sc. (6)
- Row 16: Work 6 sl st through both loops of all stitches to help cinch the opening.
- Row 17: Work 6 sl st through the front loops only.
Cut the yarn, leaving a long tail. Using your yarn needle, weave the tail through the remaining back loops (the inner loops) and pull tight to close the hole completely. Hide the yarn end inside the toy.
Final Touch: For an extra dash of cuteness, use a strand of matching yarn to make eye indentations. This will pull the eyes in slightly and give your piggy a more defined face.