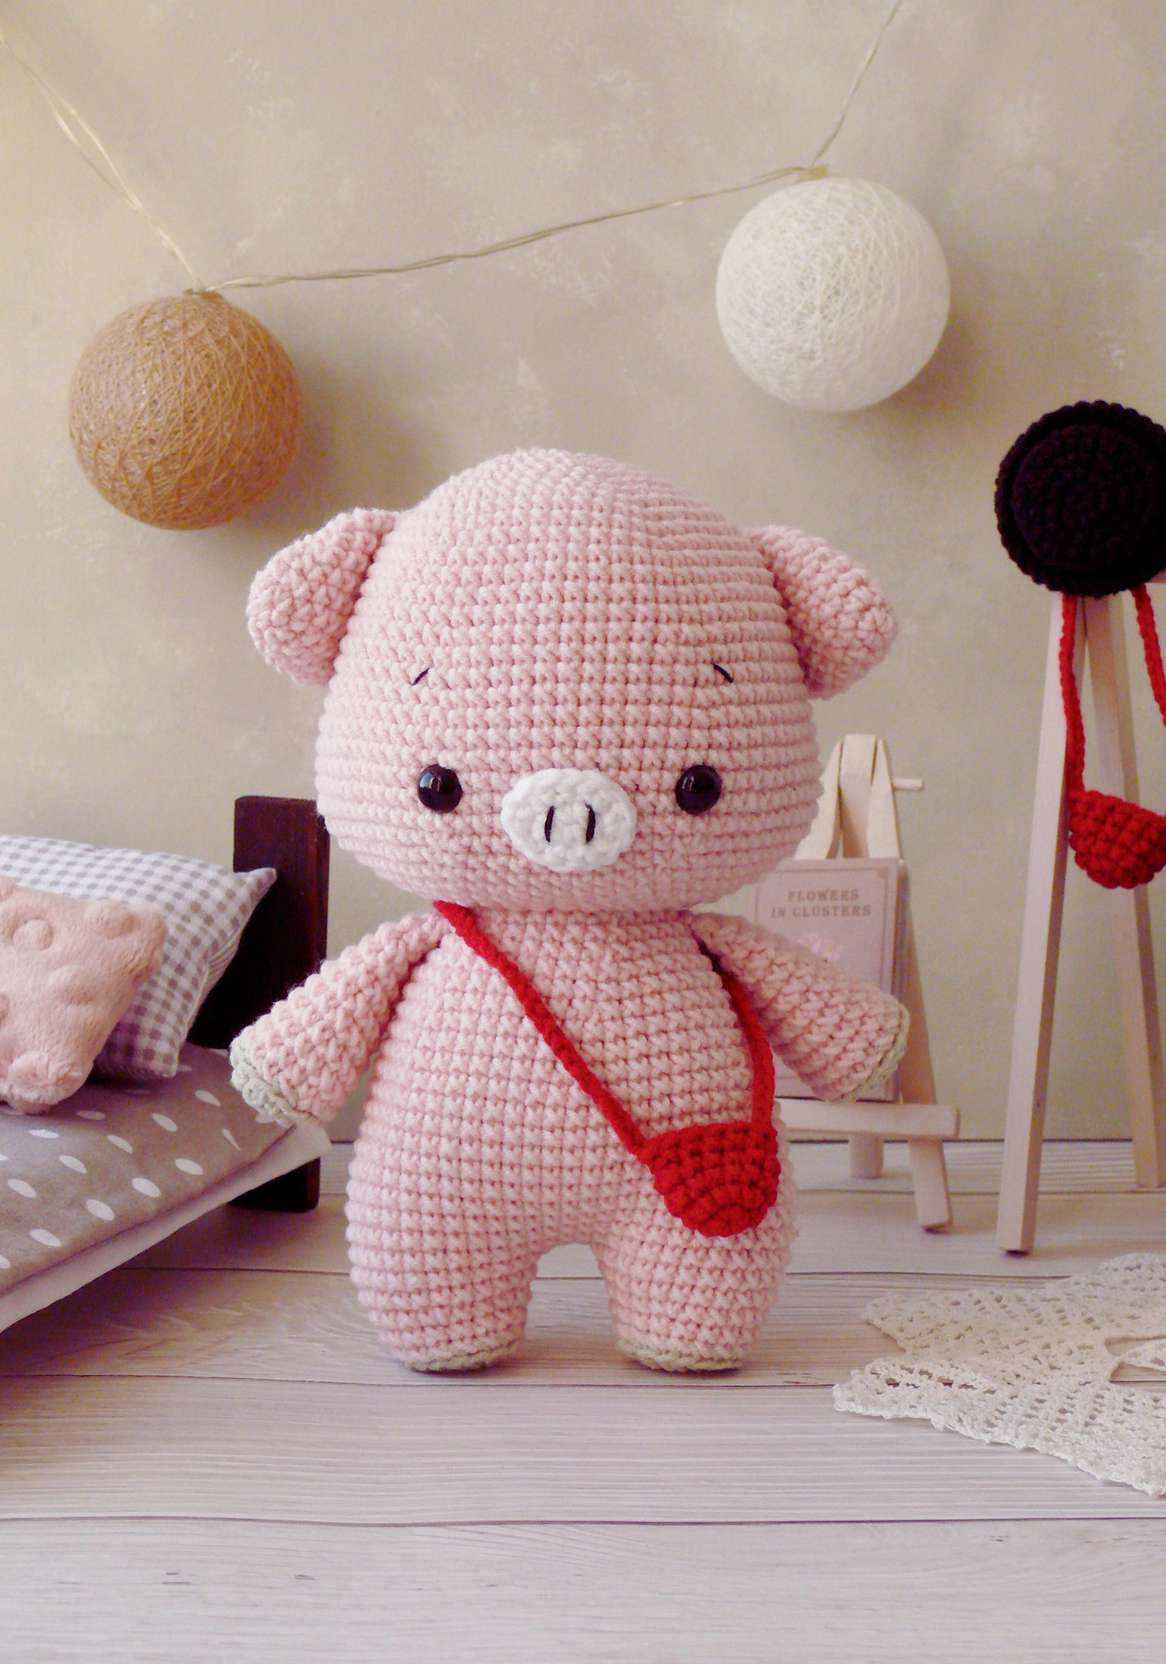
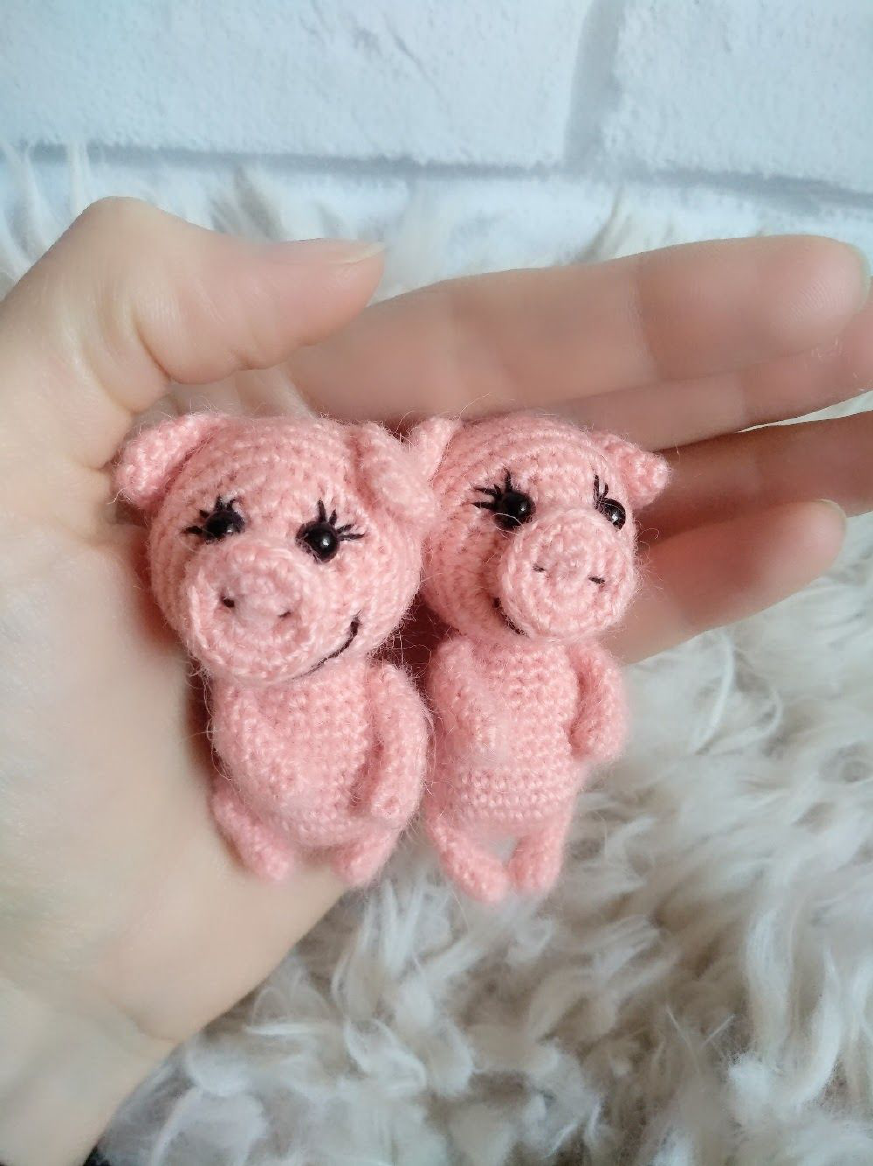
Crochet This Adorable Pocket Piggy FREE!
Get ready to crochet the cutest little friend! This free Pocket Piggy pattern is perfect for using up fluffy mohair scraps to create a sweet, palm-sized companion. With its tiny snout and curly tail, this amigurumi pig is sure to bring a smile to anyone’s face. Let’s get started!

Materials & Tools
- Yarn: Any mohair yarn (approx. 500 meters per 100 grams).
- Stuffing: Holofiber, Poly-fil, or any synthetic toy stuffing.
- Crochet Hook: 1.25 mm.
- Eyes: 3-5 mm half-beads, safety eyes, or black beads.
- Tools: Tapestry needle, scissors, stitch marker.
Abbreviations (US Crochet Terms)
- MR: Magic Ring
- Ch: Chain
- Sc: Single Crochet
- Inc: Increase (work 2 sc in the same stitch)
- Dec: Decrease (sc 2 stitches together)
- Sl St: Slip Stitch
- BLO: Back Loop Only
- (…) * X: Repeat the instructions in parentheses X times
- (sts): Stitch count at the end of the round
The Pattern
Arms (Make 2)
- Round 1: Start with 6 sc in a MR. (6 sts)
- Rounds 2-6: Sc in each stitch around. (6 sts) – 5 rounds total
Do not stuff. Fold the opening flat and crochet 3 sc through both layers to close. Fasten off, leaving a long tail for sewing.
Legs (Make 2)
- Round 1: Start with 6 sc in a MR. (6 sts)
- Rounds 2-8: Sc in each stitch around. (6 sts) – 7 rounds total
Do not stuff. Fold the opening flat and crochet 3 sc through both layers to close. Fasten off, leaving a long tail for sewing.
Body
- Round 1: Start with 6 sc in a MR. (6 sts)
- Round 2: Inc in each stitch around. (12 sts)
- Round 3: (1 sc, inc) * 6. (18 sts)
- Round 4: (2 sc, inc) * 6. (24 sts)
- Round 5: (3 sc, inc) * 6. (30 sts)
- Rounds 6-9: Sc in each stitch around. (30 sts) – 4 rounds total
- Round 10: (1 sc, dec) * 6, then 12 sc. (24 sts) – These decreases shape the bottom.
- Rounds 11-12: Sc in each stitch around. (24 sts) – 2 rounds total
- Round 13: (2 sc, dec) * 6. (18 sts)
- Rounds 14-15: Sc in each stitch around. (18 sts) – 2 rounds total. Start stuffing the body firmly.
- Round 16: (1 sc, dec) * 6. (12 sts)
Finish stuffing. Fasten off, leaving a long tail for sewing the head on later.
Head
Start crocheting from the snout.
- Round 1: Start with 6 sc in a MR. (6 sts)
- Round 2: Inc in each stitch around. (12 sts)
- Round 3: (1 sc, inc) * 6. (18 sts)
- Round 4: Working in BLO, sc in each stitch around. (18 sts) – This creates the snout’s ridge.
- Round 5: 9 dec. (9 sts)
- Round 6: Sc in each stitch around. (9 sts)
- Round 7: 9 inc. (18 sts)
- Round 8: (2 sc, inc) * 6. (24 sts)
- Round 9: (3 sc, inc) * 6. (30 sts)
- Round 10: (1 sc, inc) * 6, then 18 sc. (36 sts)
- Rounds 11-16: Sc in each stitch around. (36 sts) – 6 rounds total
- Round 17: (4 sc, dec) * 6. (30 sts)
- Round 18: (3 sc, dec) * 6. (24 sts) – Start stuffing the head, but leave the snout empty.
- Round 19: (2 sc, dec) * 6. (18 sts)
- Round 20: (1 sc, dec) * 6. (12 sts)
- Round 21: 6 dec. (6 sts)
Finish stuffing the head firmly. Cut the yarn, leaving a tail. Use a tapestry needle to weave the tail through the front loops of the final 6 stitches and pull tight to close the opening. Weave in the end.
Ears (Make 2)
- Round 1: Start with 6 sc in a MR. (6 sts)
- Round 2: (1 sc, inc) * 3. (9 sts)
- Round 3: (2 sc, inc) * 3. (12 sts)
- Round 4: Sc in each stitch around. (12 sts)
Fold the ear in half and crochet 6 sc through both layers to close. Leave a long tail for sewing.
Assembly & Finishing Touches
This is where your little piggy comes to life! Take your time with the details for the best result.
- Shape the Head (Needle Sculpting):
- Eyes: Mark the eye placement between Rounds 9 and 10 of the head, about 4-5 stitches apart. To create indentations, insert your needle at the bottom of the head (where the neck will be), bring it out at the first eye point, make a small stitch, and bring the needle back to the starting point. Pull gently to create an indent. Repeat for the second eye.
- Snout: Use the same method to create indentations for the nostrils on the snout.
- Details: Embroider small eyelashes, a little smile, and two dots for nostrils. Glue or sew on your chosen eyes.
- Attach the Ears: Sew the ears onto the head at approximately Round 17, with about 7-8 stitches between them.
- Attach the Head: Use the long yarn tail from the body to sew the head securely onto the body opening.
- Attach Arms and Legs: Sew the arms onto the sides of the body, just below the head. Sew the legs to the bottom front of the body so the piggy can sit nicely.
- Make the Tail: Attach a piece of yarn to the piggy’s bottom. Chain 7-8 stitches. Starting from the second chain from the hook, work one sc in each chain back to the body. Fasten off and weave in the end. The tail will naturally curl on its own!
Your Pocket Piggy is Complete!
Congratulations on finishing your adorable new friend! We hope you had fun with this pattern.