Crochet Adorable Mini Horse Keychain Free Pattern
Adorable Mini Crochet Horse Keychain – Free Pattern!
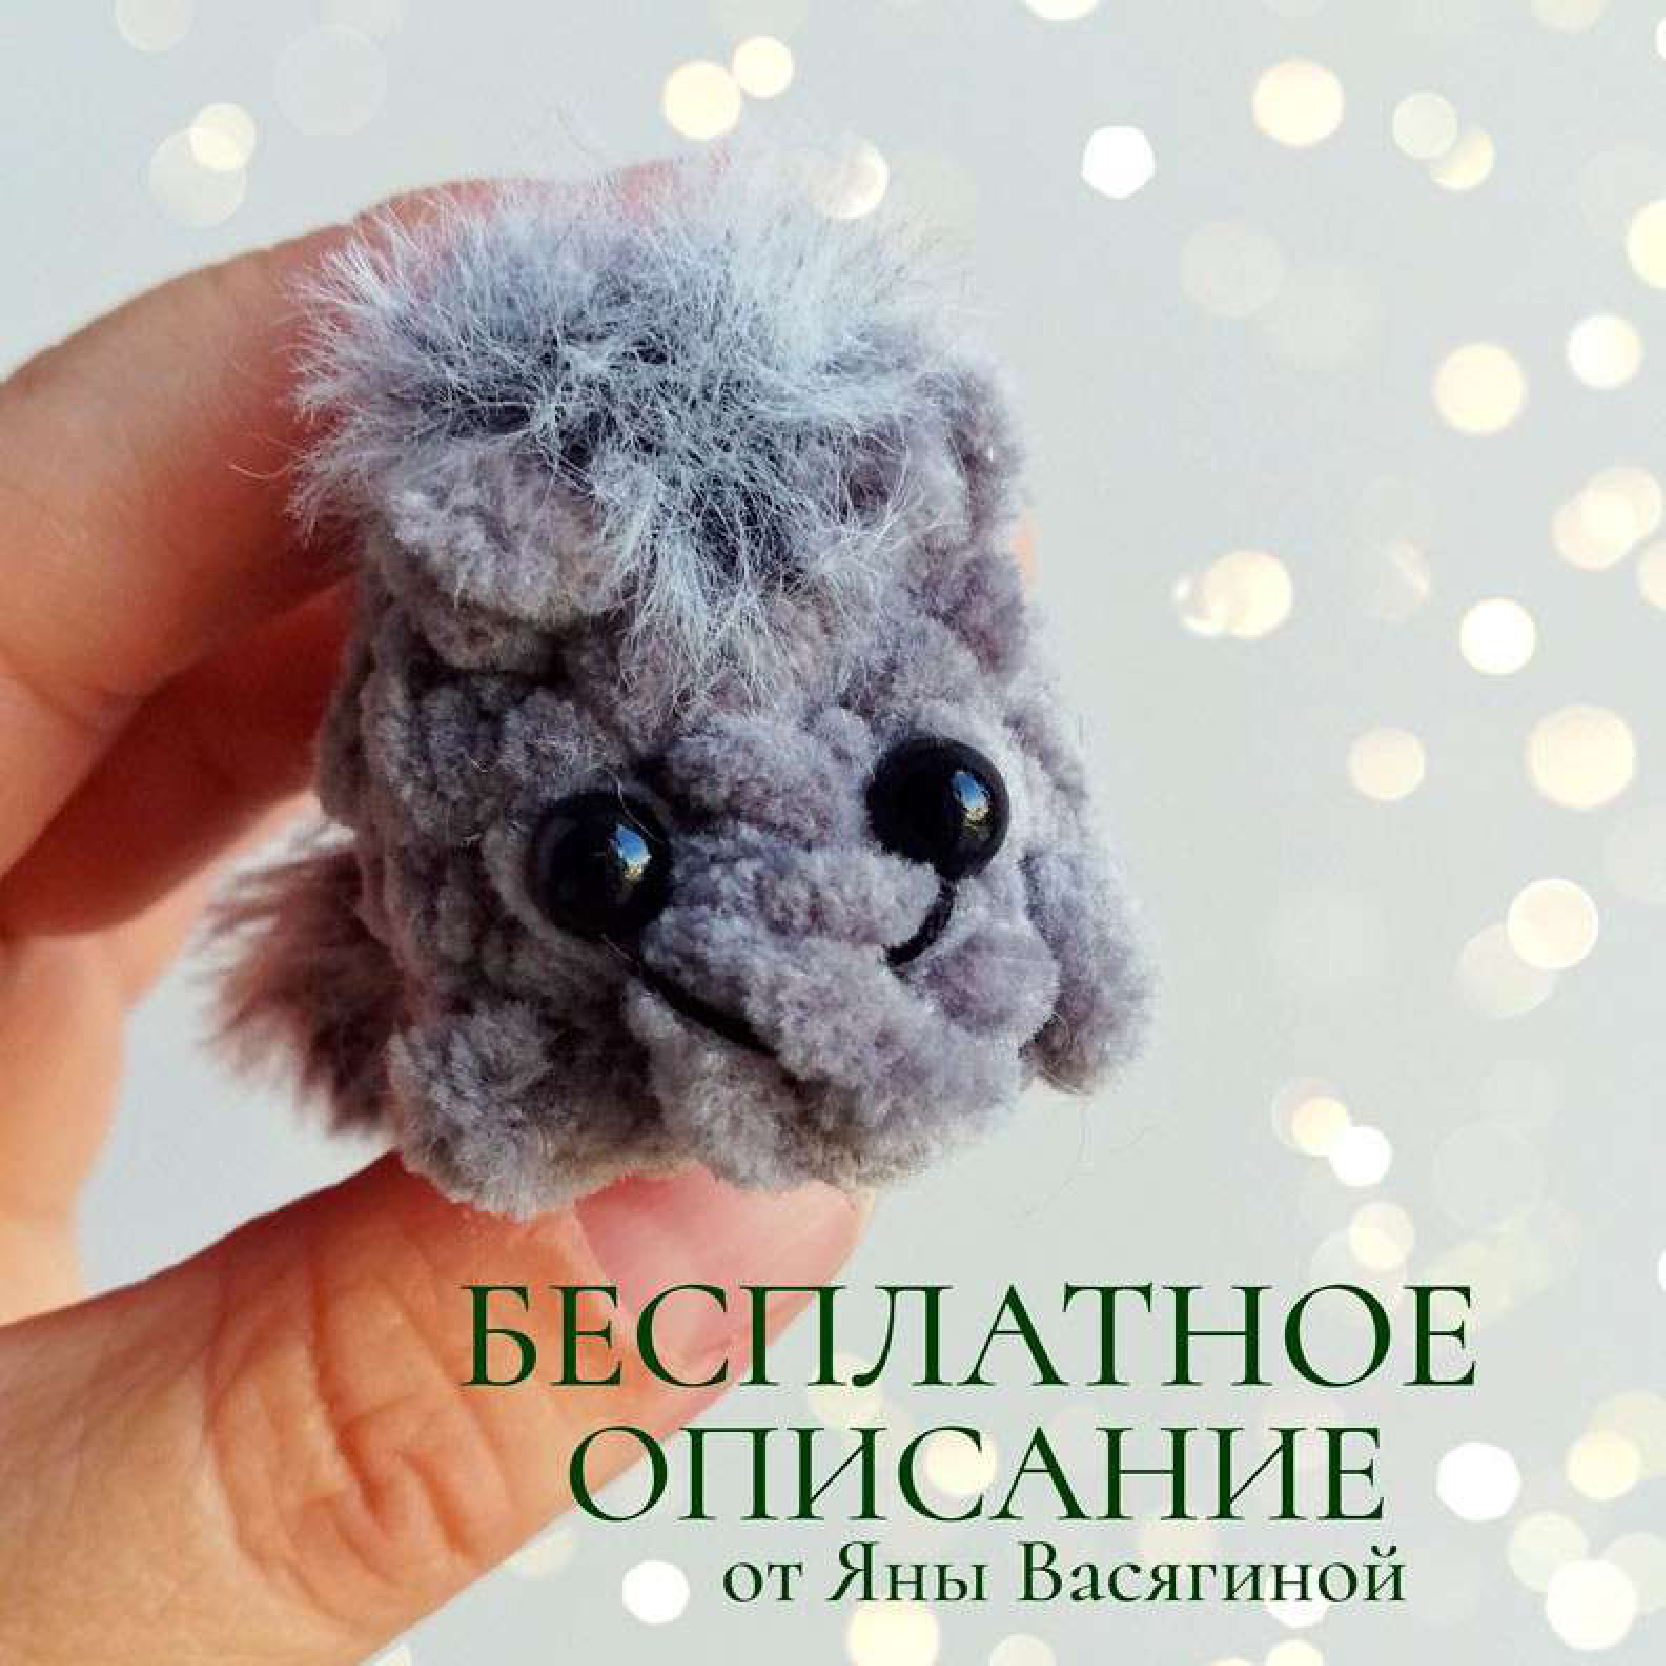
Get ready to crochet the cutest little horse keychain! This free pattern, designed by Yana Vasyagina, creates a charming amigurumi horse perfect for attaching to your keys, bag, or gifting to a friend. With its plush texture and sweet expression, it’s sure to bring a smile. Let’s gather our materials and get started!
Materials You’ll Need:
- Plush yarn (approx. 120m/100g density) – Choose your favorite color!
- 3.5 mm crochet hook
- Stuffing (polyester fiberfill)
- 6 mm half-bead eyes (for safety, consider embroidering eyes if making for small children)
- Furry yarn (for mane and tail)
- Tapestry needle (for weaving in ends)
- Stitch marker (optional, but helpful for working in rounds)
- Scissors
- Fabric glue (for eyes)
Abbreviations:
- ch – chain stitch
- sl st – slip stitch
- sc – single crochet
- hdc – half double crochet
- inc – increase (work 2 sc into the same stitch)
- dec – decrease (work 2 sc together)
- Puff st. – Puff stitch, made of 3 dc (double crochet) with one top and one base. To make: *yarn over, insert hook into stitch, yarn over, pull up a loop, yarn over, pull through 2 loops* (repeat 2 more times in the same stitch). You should have 4 loops on your hook. Yarn over, pull through all 4 loops.
- amigurumi ring – also known as a magic ring or magic circle
Let’s Get Started! Crochet the Body:
We’ll be working in continuous rounds, so a stitch marker is recommended to keep track of your first stitch in each round.
Round 1: 6 sc in an amigurumi ring (6 stitches)
Round 2: This round creates the legs and expands the body. We’ll be working a sequence of special increases and decorative loops into the 6 stitches from Round 1. (12 stitches total)
- Into the first stitch: Work
(sc, ch 2, sl st into 2nd ch from hook, sc). This forms your first main leg. (This sequence acts as an increase, creating 2 sc for your round count, with a decorative chain loop in between.) - Into the next stitch:
inc(make 2 sc in this stitch). - After the last
scyou just made (from the previousinc), make a small decorative loop:ch 2, sl st into 2nd ch from hook. This loop does not add to your overall stitch count for the round; it’s an attached embellishment. - Into the next stitch:
inc(make 2 sc in this stitch). - Into the next stitch: Work
(sc, ch 2, sl st into 2nd ch from hook, sc). This creates the second main leg. (Again, this acts as an increase, adding 2 sc to your count.) - Into the next stitch:
inc(make 2 sc in this stitch). - After the last
scyou just made, make another small decorative loop:ch 2, sl st into 2nd ch from hook. This loop also does not add to your overall stitch count. - Into the last stitch:
inc(make 2 sc in this stitch). (You should now have 12 stitches in your round.)

The base of the body after Round 2, showing the initial legs.
Round 3: 5 sc, Puff st. (made of 3 dc with one top and one base) in the next stitch, 6 sc. (12 stitches)

The body taking shape, with the Puff stitch for a bit of texture.
Round 4: 12 sc (12 stitches)
Round 5: 5 sc, create an ear (ch 2, sl st into 2nd ch from hook), 2 sc, create another ear (ch 2, sl st into 2nd ch from hook), 5 sc. (12 stitches)

The body with the small ear nubs created.
Round 6: (dec) x 6 (6 stitches)
Now is the time to stuff your piece firmly with fiberfill. Use a small amount of stuffing to fill the body, shaping it as you go.
Cinch the opening closed by threading your yarn tail through the front loop of each remaining stitch and pulling tight. Fasten off and cut the yarn, hiding the tail inside the body with your tapestry needle.

The finished, stuffed body ready for its mane and tail.
Adding the Mane:
Using your furry yarn, join it with a slip knot between the two ears. You can then continue to crochet along the top of the horse’s head and down its neck to the middle of its back. Use either slip stitches or single crochets (at your discretion) to create a fluffy mane. Trim as desired for length and shape.

Starting to add the furry yarn for the mane.

Continuing to crochet the mane down the horse’s back.
Creating the Tail:
Cut two strands of furry yarn, each a few inches long (or desired tail length). Fold them both in half. Using your hook, pull the folded loop through the stitches where you want the tail to be (typically at the very back of the horse). Thread the four free ends of the yarn through the loop that formed and pull tightly to secure. Trim the tail to your desired length and fluff it up.

Attaching the furry yarn for the horse’s tail.
Finishing Touches:
All that’s left is to bring your horse to life! Carefully glue on the 6mm half-bead eyes in the desired position on the head. For the nostrils, use a small piece of black embroidery floss to embroider two tiny ‘V’ shapes or straight lines below the eyes.
Your Keychain is Ready!
Congratulations, your adorable crochet horse keychain is complete! You can attach it to a keyring, a bag, or simply display it as a cute little decor piece. Enjoy your new handmade friend!

The finished crochet horse keychain, ready for adventure!
Pattern designed by Yana Vasyagina.