Free Pattern: The No-Sew “Mischievous Cat” Keychain
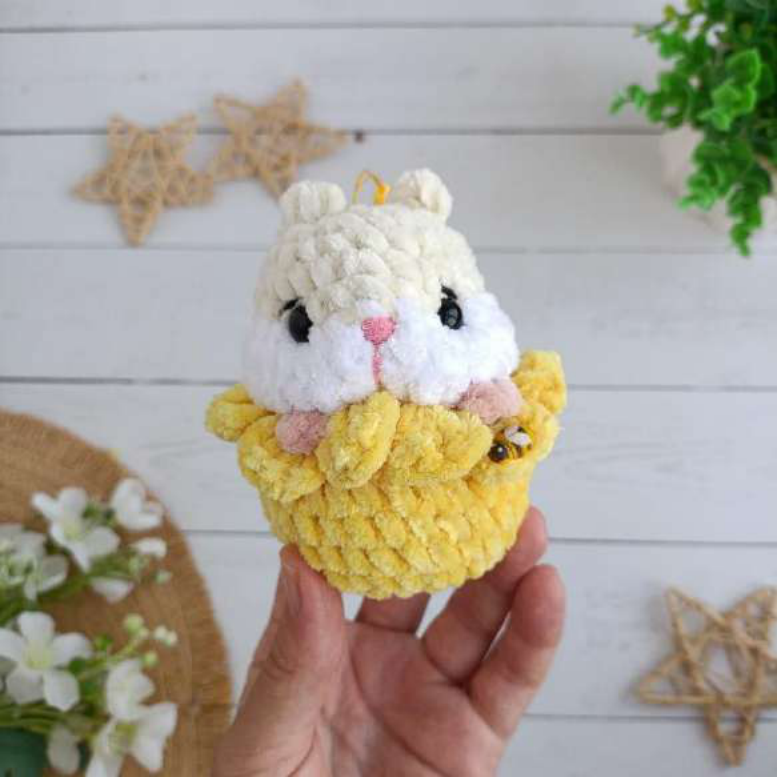
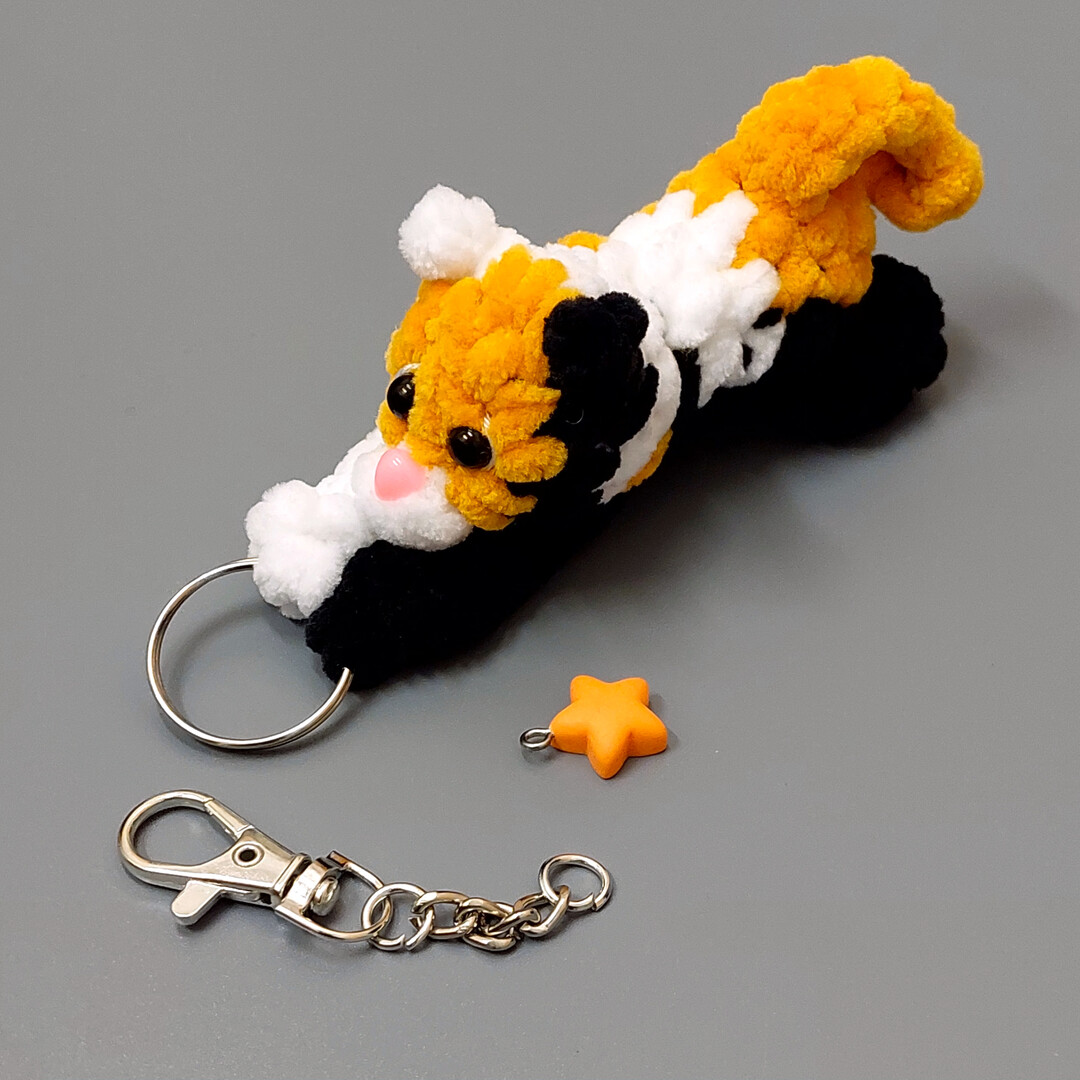
Are you on the hunt for the ultimate market prep item or a quick stash-busting gift? Meet the Mischievous Cat (originally titled Kot Ozornik).
Designed by the talented Galina Burlakova, this pattern is a game-changer because it is crocheted in one single piece from the bottom up. That’s right—no sewing on tiny arms or tails! The paws, tail, and ears are created as you crochet the body using chains and bobbles. This project is small, fast, and incredibly cute.
Project Details
- Difficulty: Advanced Beginner (requires comfort with bobbles, chains, and working in small rounds).
- Time: Approx. 30–45 minutes.
- Size: Palm-sized keychain.
- Construction: Continuous rounds, bottom-up, completely no-sew integration.
Materials List
To recreate this plush kitty, you will need:
- Yarn: Plush/Velvet yarn (Bulky/Weight 5 or 6).
- Recommended: Himalaya Dolphin Baby or YarnArt Dolce (120m/100g).
- Optional: Fur yarn can be used for the tail or mane for texture.
- Detailing: Fine cotton yarn (like YarnArt Jeans) for whiskers or mouth.
- Hook: 3.75 mm (F-5).
- Eyes: 6mm glue-on half-beads.
- Nose: 6×8 mm safety nose or plastic nose.
- Notions: Polyfill stuffing, tapestry needle, stitch marker.
- Hardware: Keychain ring or lobster clasp.
Abbreviations (US Terms)
- MR: Magic Ring
- SC: Single Crochet
- INC: Increase (2 SC in one stitch)
- DEC: Decrease (SC 2 stitches together)
- CH: Chain
- SL ST: Slip Stitch
- HDC: Half Double Crochet
- Cluster/Bobble: 3 HDC worked into one stitch, closed together at the top (used for the muzzle).
The Pattern Instructions
Note: Stuff the toy firmly as you work. Because the opening closes quickly at the top, ensure the bottom is filled before Round 10.
Round 1: Base
Start with a Magic Ring. Work 6 SC into the ring.
(6 sts)
Round 2: Tail Formation
In this round, we create the tail immediately.
- Work (SC, INC) x 3.
- Make the Tail: CH 7. Starting in the 2nd chain from the hook, crochet 1 HDC, then 5 SC down the chain.
- SL ST back into the base of the stitch on the body to anchor it.(9 sts — excluding tail chain)
Round 3: Lower Paws (Legs)
- 4 SC.
- First Leg: CH 5. Starting in the 2nd chain from hook: 2 HDC in the same stitch, then 3 SC down the chain. SL ST into the base of the stitch.
- 2 SC.
- Second Leg: Repeat the “First Leg” instructions (CH 5, 2 HDC in 2nd ch, 3 SC down, SL ST to base).
- 3 SC.(9 sts)
Rounds 4–6: Body
SC in each stitch around for 3 rows.
(9 sts)
Round 7: Upper Paws (Arms)
- 5 SC.
- First Arm & Ring Attachment: CH 7. From the 2nd chain from hook: 2 HDC in one stitch. Then work 5 SC down the chain. SL ST into the base.
- Tip: You can crochet the first HDC around your keychain ring to secure it directly to the paw.
- 2 SC.
- Second Arm: Repeat the “First Arm” instructions (without the ring).
- 2 SC.(9 sts)
Round 8: Neck
(INC) x 3, 2 SC, DEC, 2 SC.
(11 sts)
Round 9: Ears
- 2 SC.
- First Ear: CH 2. SL ST in the 2nd chain from hook, then SL ST into the base stitch on the head.
- INC, SC.
- Second Ear: Repeat “First Ear” instructions.
- 7 SC.(12 sts)
Round 10: Head Shaping
2 SC, DEC, 5 SC, DEC, SC.
(10 sts)
Round 11: Muzzle & Closing
- (DEC) x 4.
- Muzzle: Switch to a contrasting color (optional). Work 3 HDC together in one stitch (cluster/bobble) to create the nose bump.
- DEC. Work this final decrease bridging into the next round to close the gap.
- Before fully closing: Ensure the toy is stuffed completely. Fasten off and sew the hole shut.
Assembly & Finishing
- The Face: Glue the 6mm half-bead eyes and the 6x8mm nose onto the face.
- Pro Tip: Use white yarn to embroider a small line under or around the eyes to create the “whites” of the eyes for a cartoonish look.
- Sculpting (Recommended): The designer recommends doing a “face sculpt” (indentation). Using a strong thread, go through the head to pull the eye sockets slightly inward. Do one eye first, then the other.
- Positioning the Limbs: If the arms stick out too much, use the same thread from your sculpting to tack the paws closer to the body so they look relaxed.
- Hardware: If you didn’t crochet the ring in during Round 7, attach your carabiner, chain, and pendant to the top loop now.