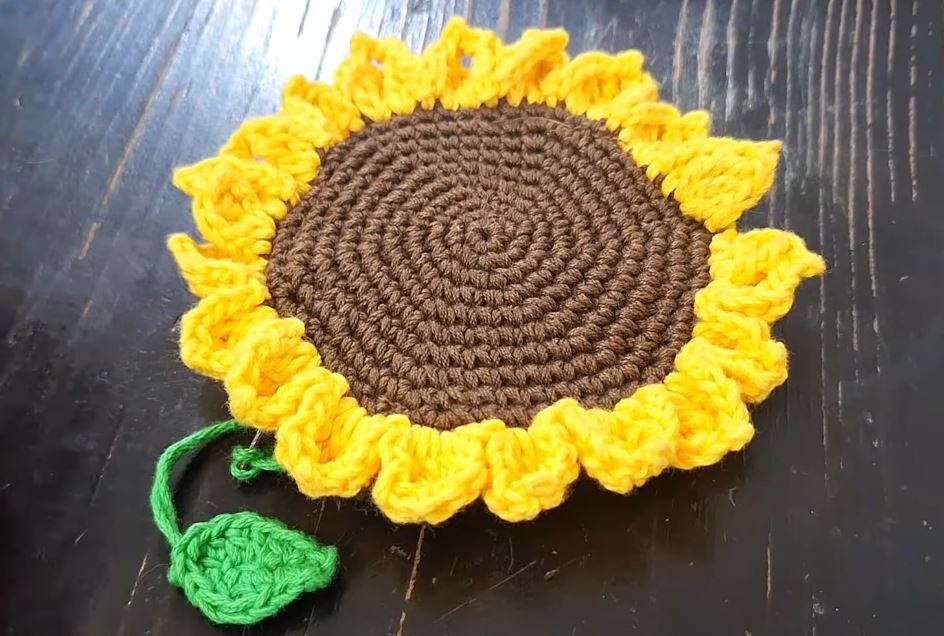
How to Make a Simple Crocheted Shoulder Bag
In this article, we’ll guide you through the process of creating a stylish and practical crocheted shoulder bag using basic crochet techniques. This project is perfect for beginners and requires minimal materials. Let’s get started!
Crocheted Shoulder Bag
Materials Needed
To make this crocheted shoulder bag, you will need:
- Brown, medium-weight acrylic yarn
- 5 mm crochet hook
- Yarn needle
- Scissors
Step 1: Create a Slip Knot
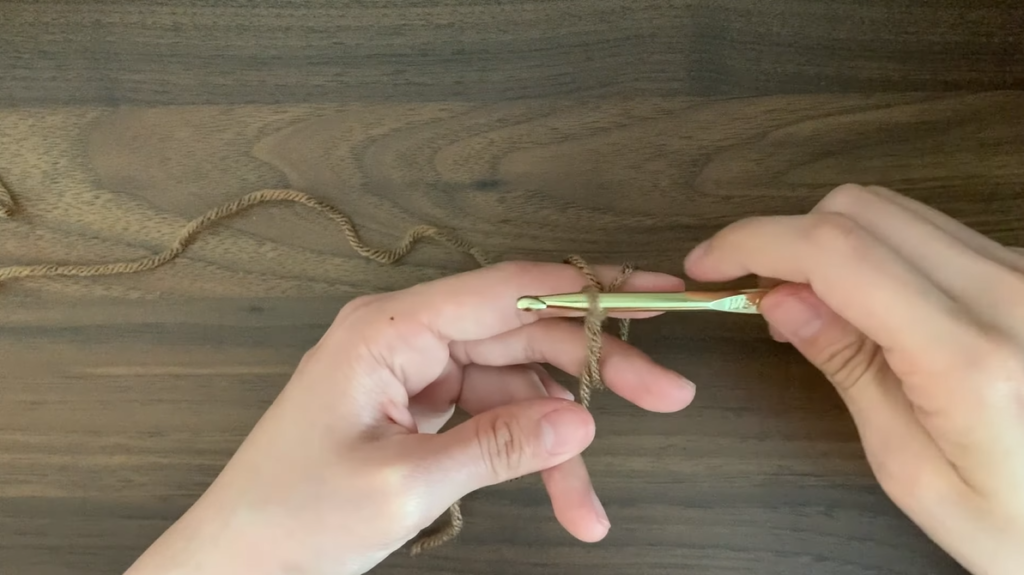
- Hold the yarn with the tail end at the bottom of your hand.
- Wrap the working yarn around your two fingers to form an “X.”
- Insert your hook under the first piece of yarn and over the second.
- Pull the second piece through the loop and remove your fingers.
- Pull to tighten the knot.
Step 2: Chain the Foundation
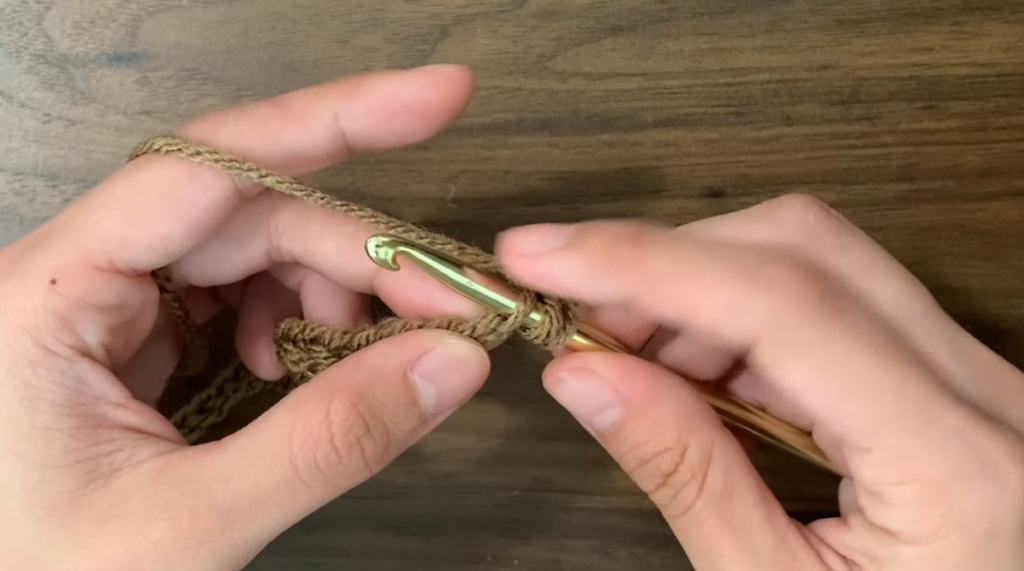
- Begin chaining by yarn over and pulling through the loop on your hook. Repeat this process to create a chain that represents the horizontal length of your bag.
- After reaching your desired length, add a couple of extra chains (the chain will shorten as you crochet). Aim for a total of 35 chains.
Step 3: Half Double Crochet (HDC)
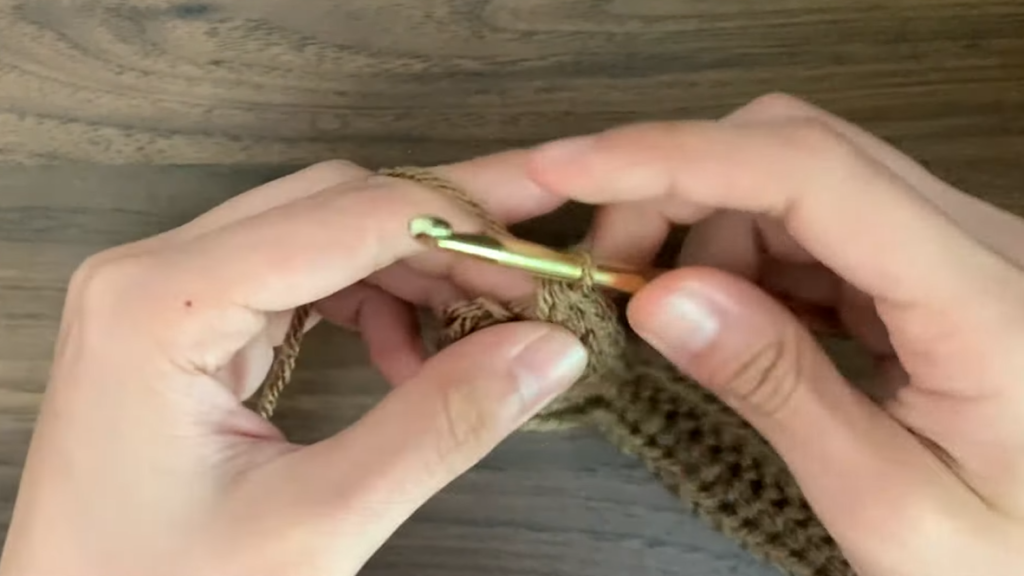
- Skip the first chain and insert your hook into the second chain’s center V (under one loop).
- Yarn over and pull through, then yarn over again and pull through all three loops on your hook.
- Perform another HDC into the same chain. For the remaining chains, do one HDC each, except for the last chain, where you’ll do two HDC.
- After finishing this row, you should have 72 HDC.
Step 4: Closing the Round
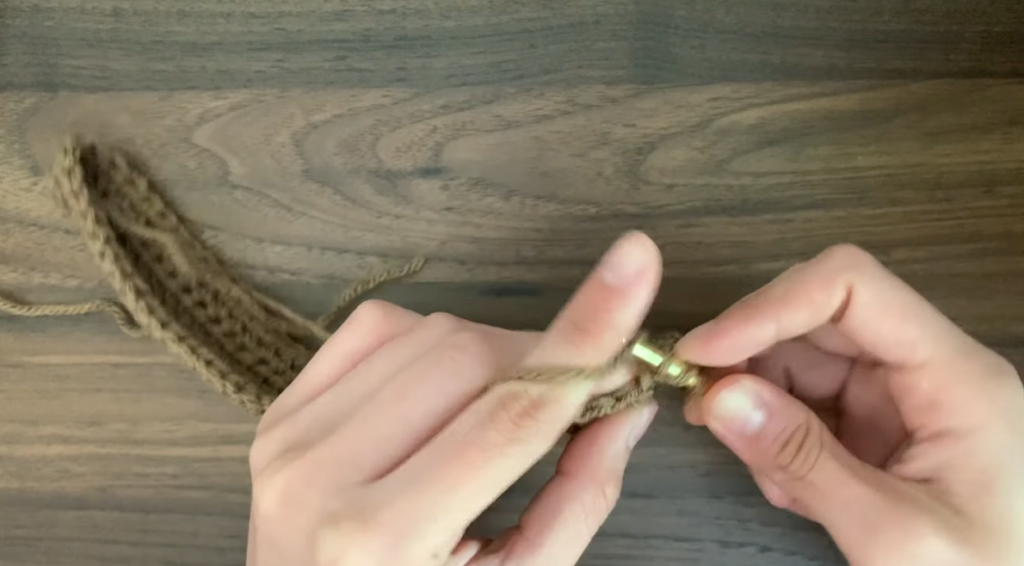
- To close the round, slip stitch into the first HDC.
- Chain one to begin the next round.
Step 5: Continue Crocheting
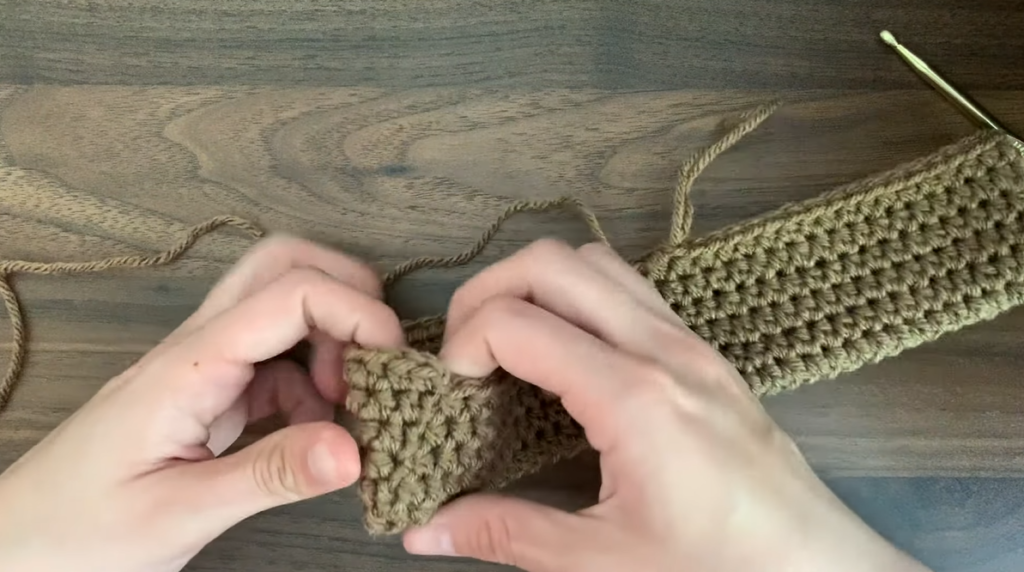
- For each subsequent round, HDC into the first stitch, and continue HDC around.
- After completing each round, slip stitch into the first stitch and chain one again.
- Continue this process until your bag reaches your desired size. The creator completed 18 rounds, resulting in a bag measuring approximately 22 cm (9 inches) wide and 14 cm (5.5 inches) long.
Step 6: Fasten Off
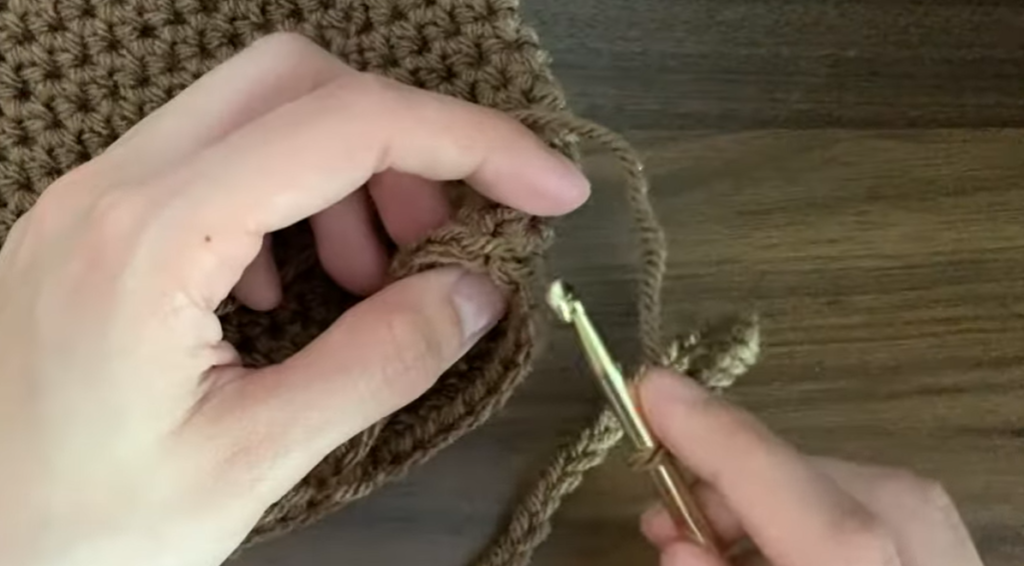
- To fasten off, chain one to make a knot, cut the yarn leaving a few inches, and pull the yarn through the loop on your hook to secure it.
Step 7: Create the Strap
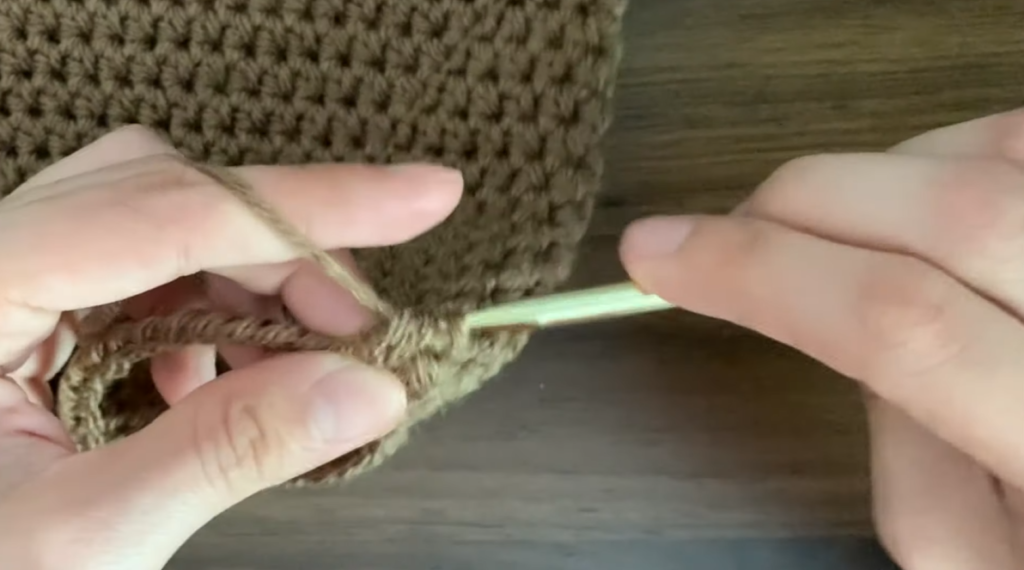
- Lay your bag flat and mark two stitches on each side to designate the center.
- Attach your yarn to the back stitch on the right side by pulling through and tying a double knot.
- Chain until you reach your desired strap length (the creator made 55 chains).
- Slip stitch into the back stitch on the left side and then slip stitch into the front stitch on the left.
- Start HDC into the chain, and once completed, slip stitch into the front stitch on the right side.
- Fasten off the strap by chaining one and cutting the yarn.
Step 8: Weave in the Ends
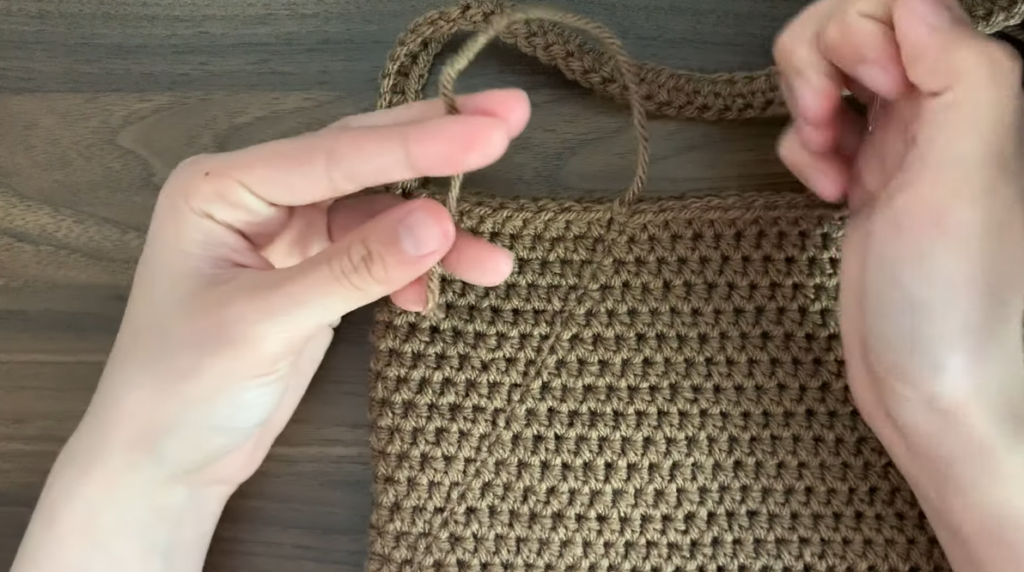
- To hide loose ends, flip the bag inside out.
- Thread the loose ends through your yarn needle and weave them through several stitches.
- Skip stitches while weaving to secure the yarn, and cut off any excess yarn.


