Stitch a Squishy Friend: Easy Plush Lizard Crochet Pattern
“`html
How to Crochet a Cute Plush Lizard: Step-by-Step Pattern
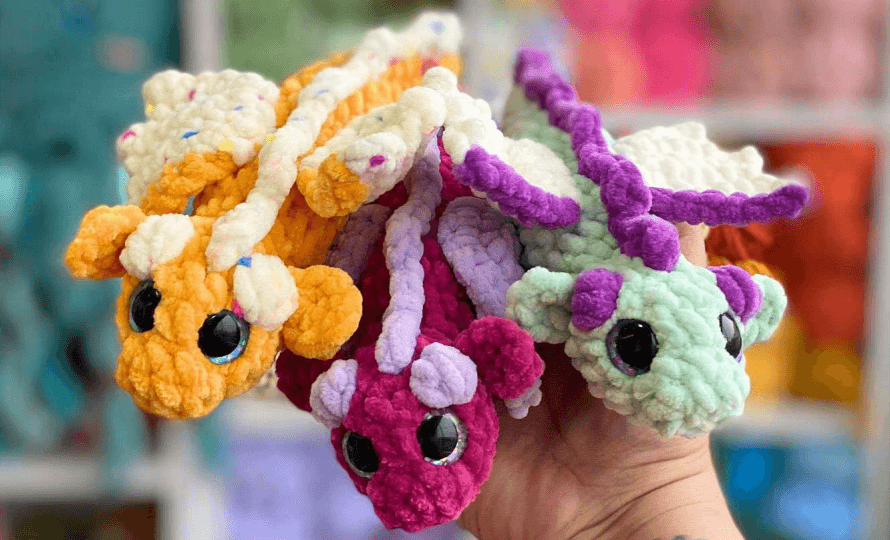
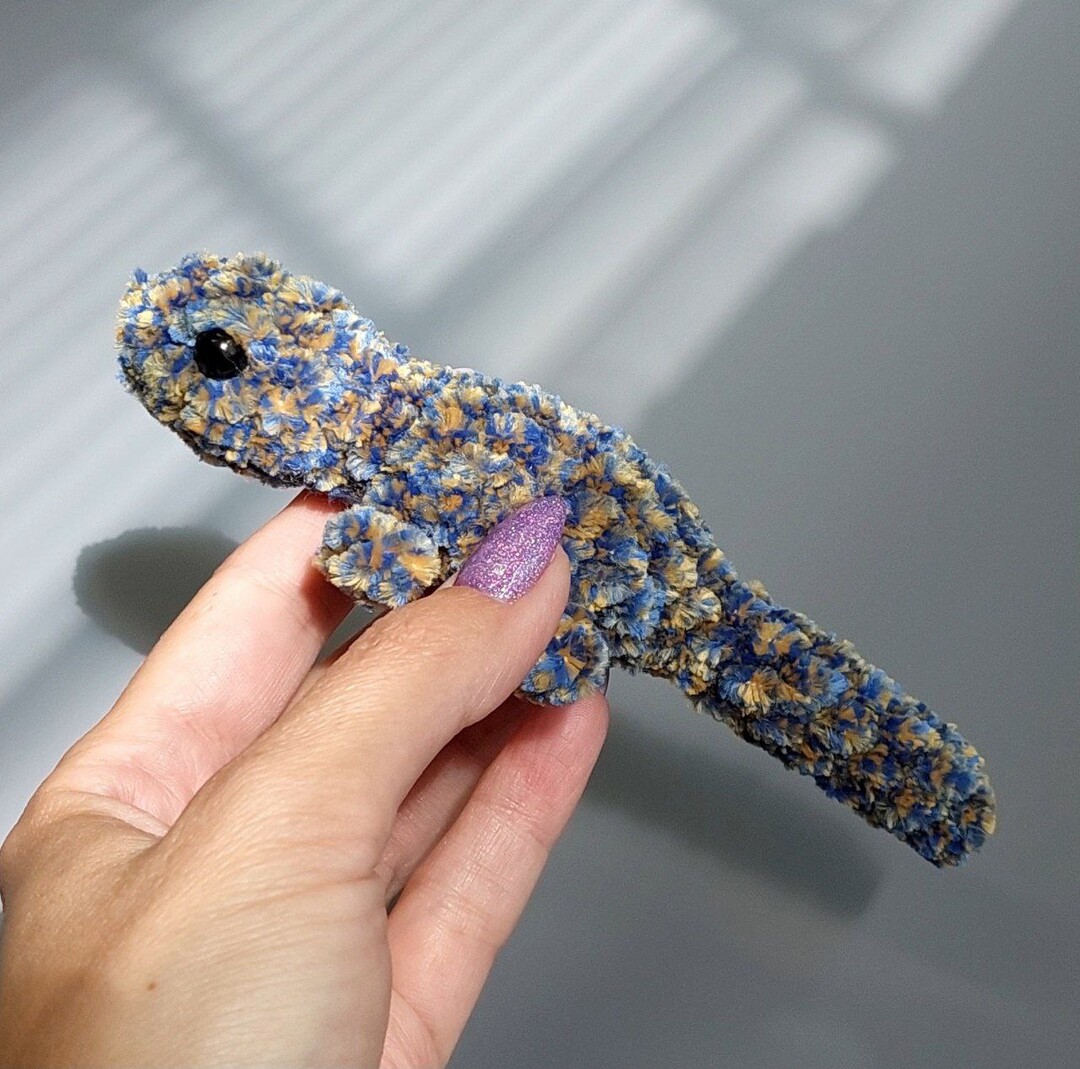
Looking for a quick and adorable crochet project? This plush lizard is the perfect choice for beginners and experienced crafters alike. Using soft chenille or plush yarn, you can create a cozy little reptile companion in no time. This pattern is worked in one continuous piece, making it a seamless and satisfying project.
Materials You Will Need
To get started, gather the following supplies:
- Plush Yarn: Approximately 100g/120m of your choice of color (Chenille or velvet yarn works best).
- Crochet Hook: A size that matches your yarn tension (a 3.75mm hook is recommended for a tight stitch).
- Safety Eyes: 8mm size.
- Stuffing: Fiberfill or any craft stuffing.
- Tools: A yarn needle, scissors, and a stitch marker.
Crochet Abbreviations (US Terms)
This pattern uses standard US crochet terminology:
- MR: Magic Ring
- sc: Single Crochet
- inc: Increase (2 sc in one stitch)
- dec: Decrease (sc 2 together)
- ch: Chain
- sl st: Slip Stitch
- hdc: Half Double Crochet
The Lizard Crochet Pattern
Note: The lizard is crocheted as a single piece. Stuff the body as you go, but do not stuff the tail section.
Head and Body
- Round 1: 6 sc in MR (6)
- Round 2: (1 sc, inc) repeat 3 times (9)
- Round 3: (2 sc, inc) repeat 3 times (12)
- Round 4: (2 sc, dec) repeat 3 times (9)
- Round 5: (1 sc, dec) repeat 3 times (6)
- Round 6: 6 sc (6)
- Round 7: (1 sc, inc) repeat 3 times (9)
- Round 8: sc, LEG, sc, inc, 2 sc, inc, sc, LEG, sc, inc (12)
How to crochet the LEG: Chain 3. Starting from the second chain from the hook, work 1 hdc, 1 sl st, and 1 sl st back into the base stitch of the body.
Mid-section and Legs
- Rounds 9 – 10: 12 sc (12)
- Round 11: 2 sc, LEG, 8 sc, LEG, 2 sc (12)
Tail and Finishing
- Round 12: (2 sc, dec) repeat 3 times (9)
- Round 13: (1 sc, dec) repeat 3 times (6)
- Rounds 14 – 20: 6 sc (6)
Once you reach the end of Round 20, cut the yarn, leave a small tail, fasten off, and sew the remaining hole closed.
Final Assembly and Details
Now it is time to bring your little lizard to life!
- Eyes: Secure the 8mm safety eyes between rounds 2 and 3.
- Eyelids: Using the same yarn you used for the body and a yarn needle, embroider a small stitch above each eye to create a cute eyelid effect.
Your adorable plush lizard is now complete and ready for a new home!
“`