A Professional and Simple Way to Crochet a Large Turtle
Crochet a Large Turtle
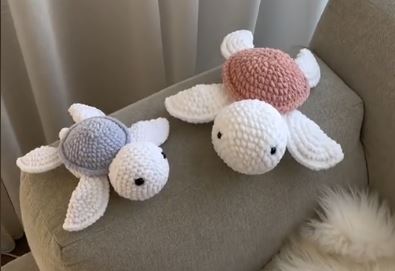
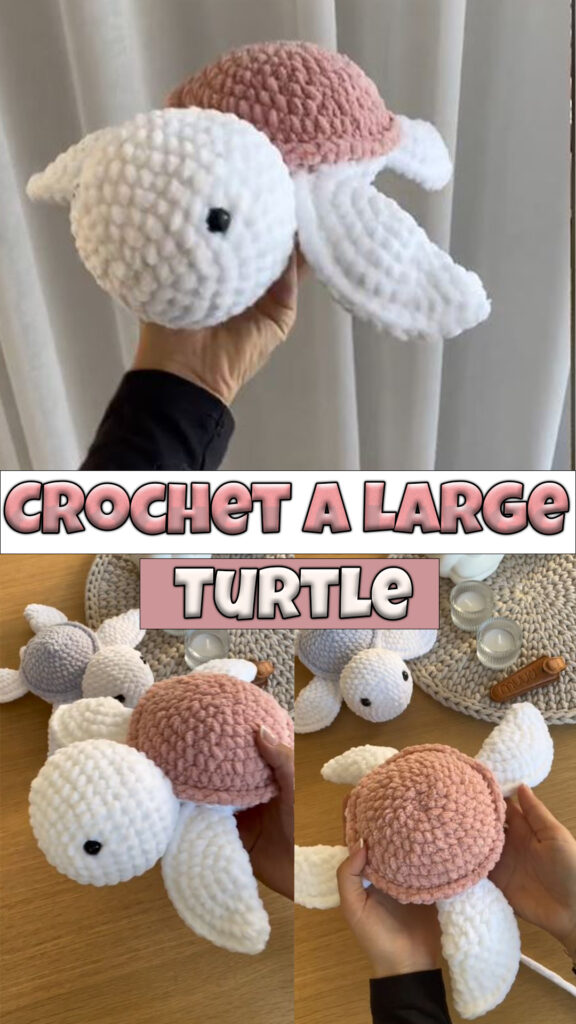
If you’re looking for a fun and easy crochet project, this large turtle is the perfect choice! In this guide, we’ll explain the steps to create it in a simple style suitable for all skill levels, especially beginners.
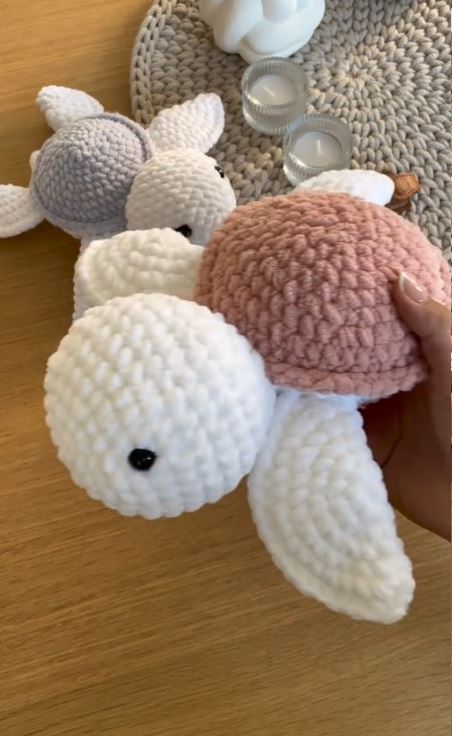
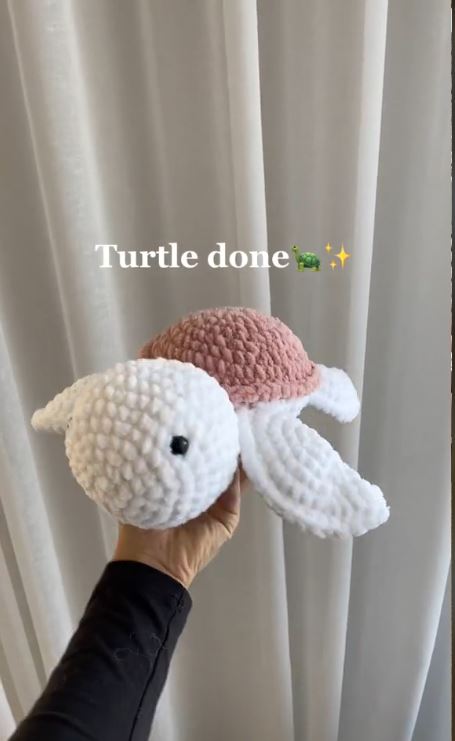
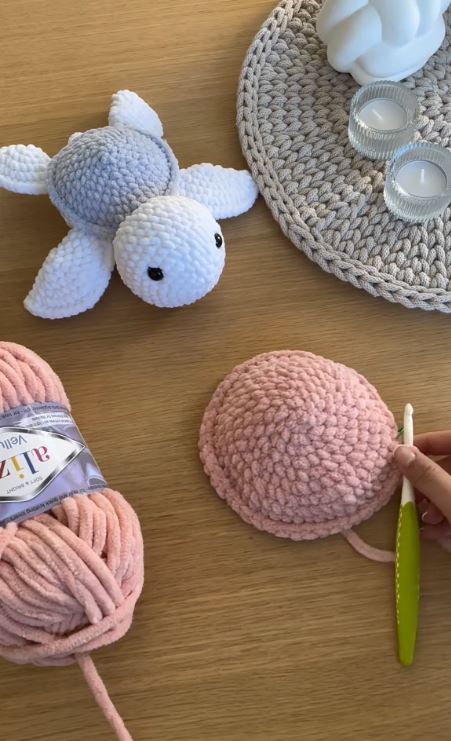
Table of Contents
Materials and Tools Needed:
- Thick crochet yarn: Two different colors (one for the body and fins, another for the shell).
- Crochet hook: Size 6mm (or any size suitable for your yarn thickness).
- Soft stuffing: Such as polyester fiberfill for a comfortable, plush shape.
- Embroidery needle: For assembling the parts.
- Scissors.
- Plastic safety eyes: Or embroidery thread to add facial details.
Step-by-Step Instructions:
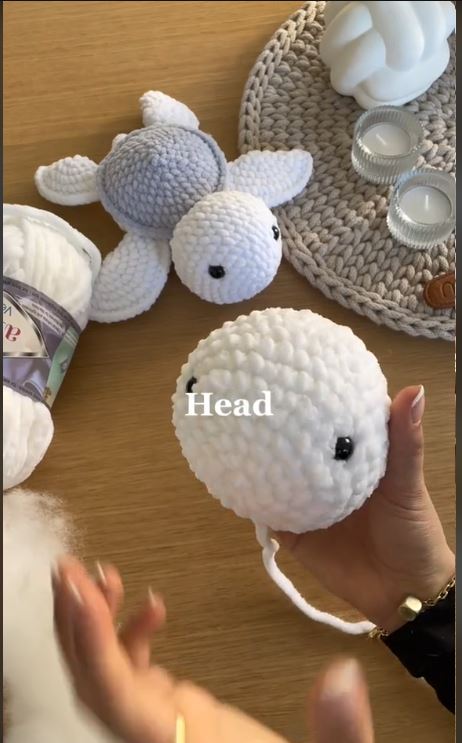
Making the Head:
- Start with a magic ring containing 6 single crochet stitches.
- Gradually increase the stitches as you did for the body.
- Continue until you create a circular shape that fits the size of the turtle’s head.
- Stuff the head with soft material before closing it.
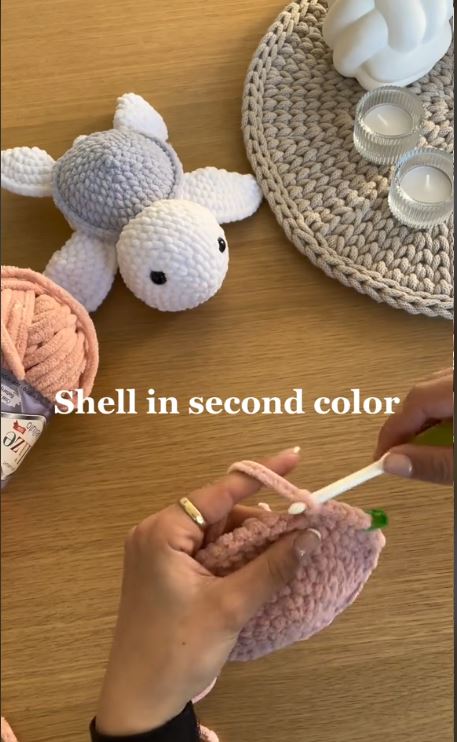
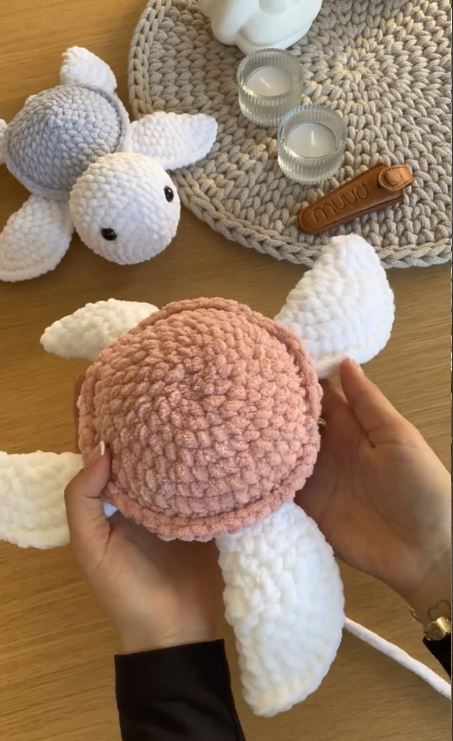
Making the Shell (Top Part):
- Repeat the same steps as the body to create the shell.
- Add a different color if you’d like to diversify the design.
- Once you reach the desired size, add two additional rounds of single crochet (SC) without increasing to give the shell a nice height.
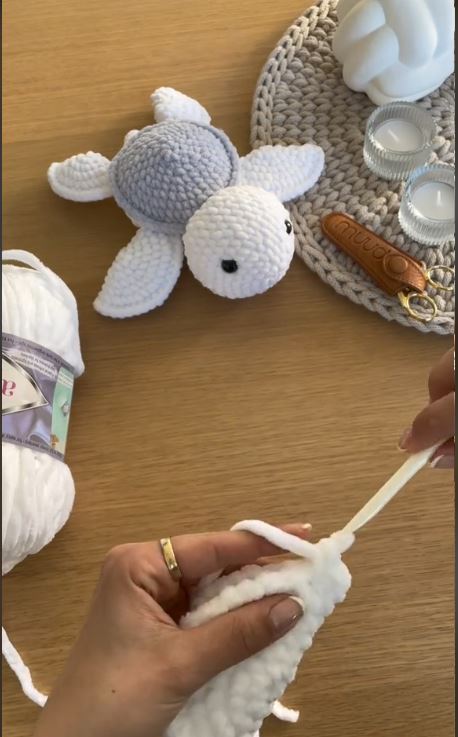
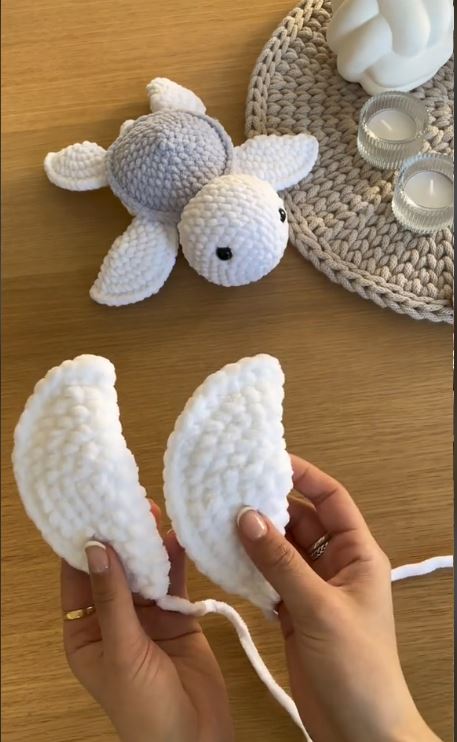
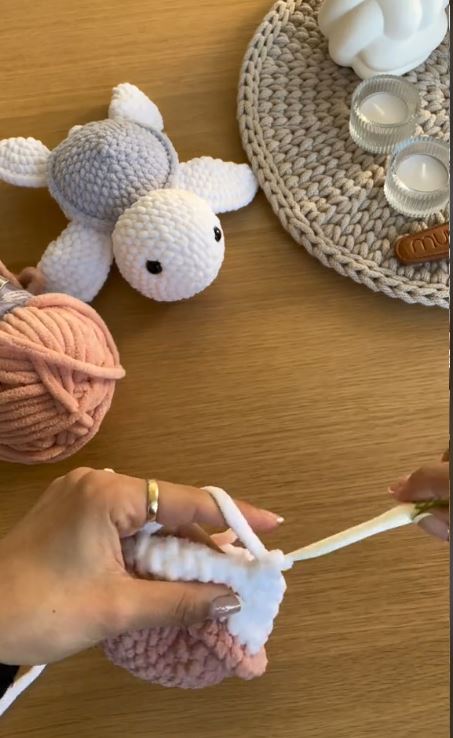
Making the Fins (4 Pieces):
- Start with a magic ring:
- Work 6 single crochet stitches into the ring.
- Round Two:
- Increase the stitches to a total of 12.
- Round Three:
- Work one single crochet stitch in the first stitch and an increase in the next (1SC, INC). Repeat until you have 18 stitches.
- Final shape:
- Add two rounds of single crochet without increasing. Finish off and leave a long tail for assembly.
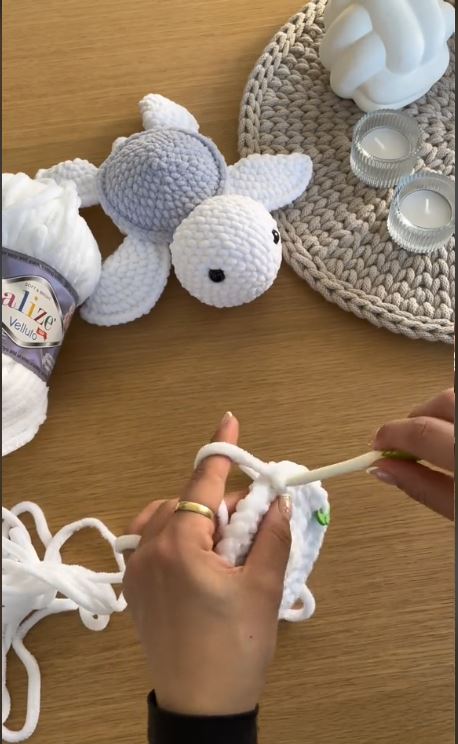
Making the Body (Bottom Part):
- Start with a magic ring:
- Work 6 single crochet stitches (SC) into the magic ring.
- Round Two:
- Work an increase (INC) in each stitch (i.e., 2 single crochet stitches in the same stitch) for a total of 12 stitches.
- Round Three:
- Work one single crochet stitch in the first stitch and an increase in the next (1SC, INC). Repeat until you have 18 stitches.
- Continue expanding:
- In each round, increase the number of single crochet stitches between each increase by 1 (e.g., Round Four 2SC, INC, Round Five 3SC, INC…).
- Stop when you reach the desired size for the turtle’s body.
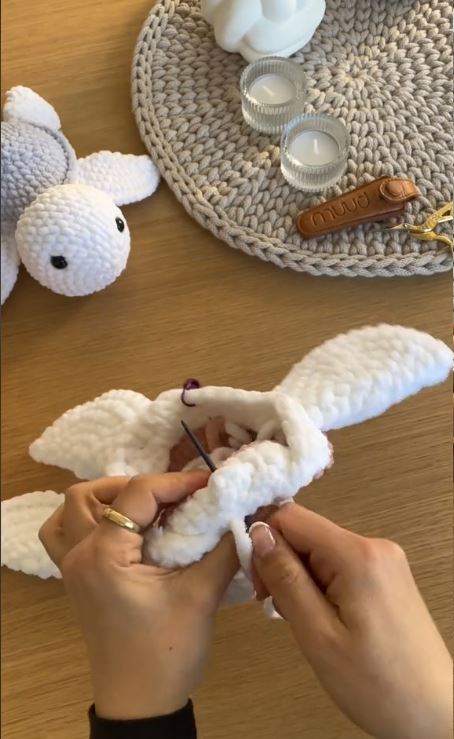

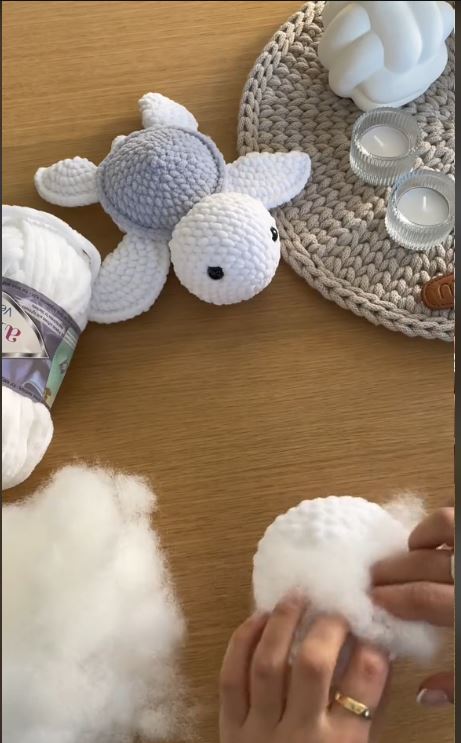
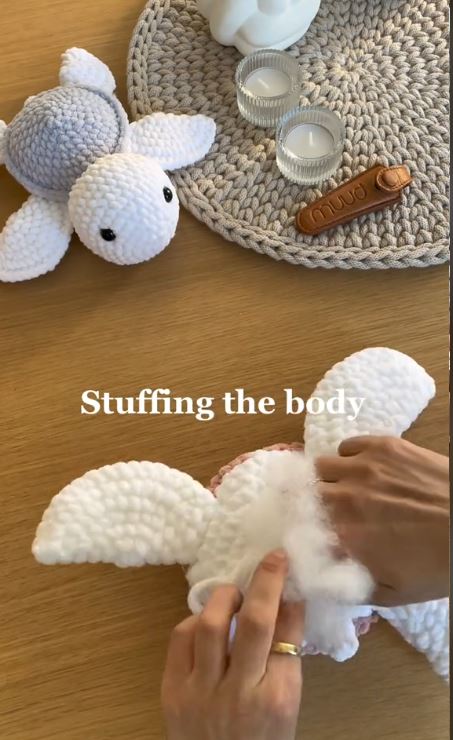
Final Assembly:
- Stuff the body and shell well with soft stuffing.
- Sew the shell onto the body using the embroidery needle.
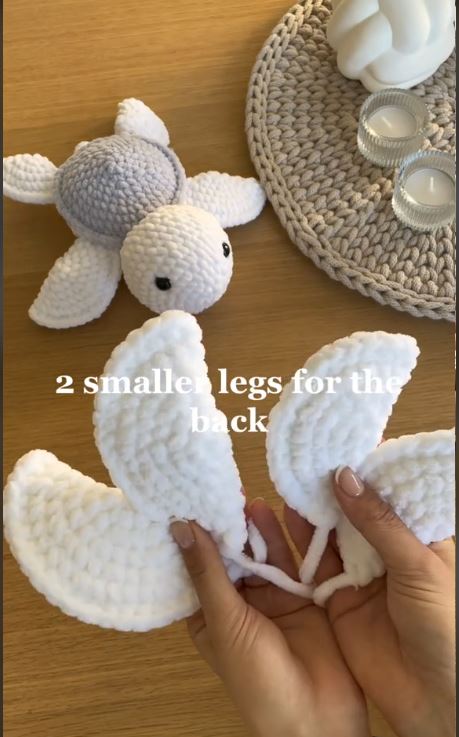
- Attach the four fins to the sides of the body.
- Secure the head at the front and the tail at the back.
- Add the safety eyes or embroider the eyes and facial details using thread.
Tips for Beginners:
- Choose coordinating, vibrant colors to give your turtle a unique touch.
- If you’re new to crochet, practice stitches on a test piece before starting.
- Enjoy the process and don’t worry about perfection—every stitch is a step toward creativity!
Share Your Creation:
After completing your turtle, don’t forget to share photos of your work on social media! Creativity becomes even more beautiful when shared. 🐢❤️