
Amigurumi Bunny Keychain Crochet Pattern
- Attach Head to Body: Using the long tail from the body, position the open end of the body (Rnd 13, 18 sts) against the underside of the head. Sew them together securely. Make sure it’s centered. Add a little more stuffing to the top of the body before completely closing the seam if needed.
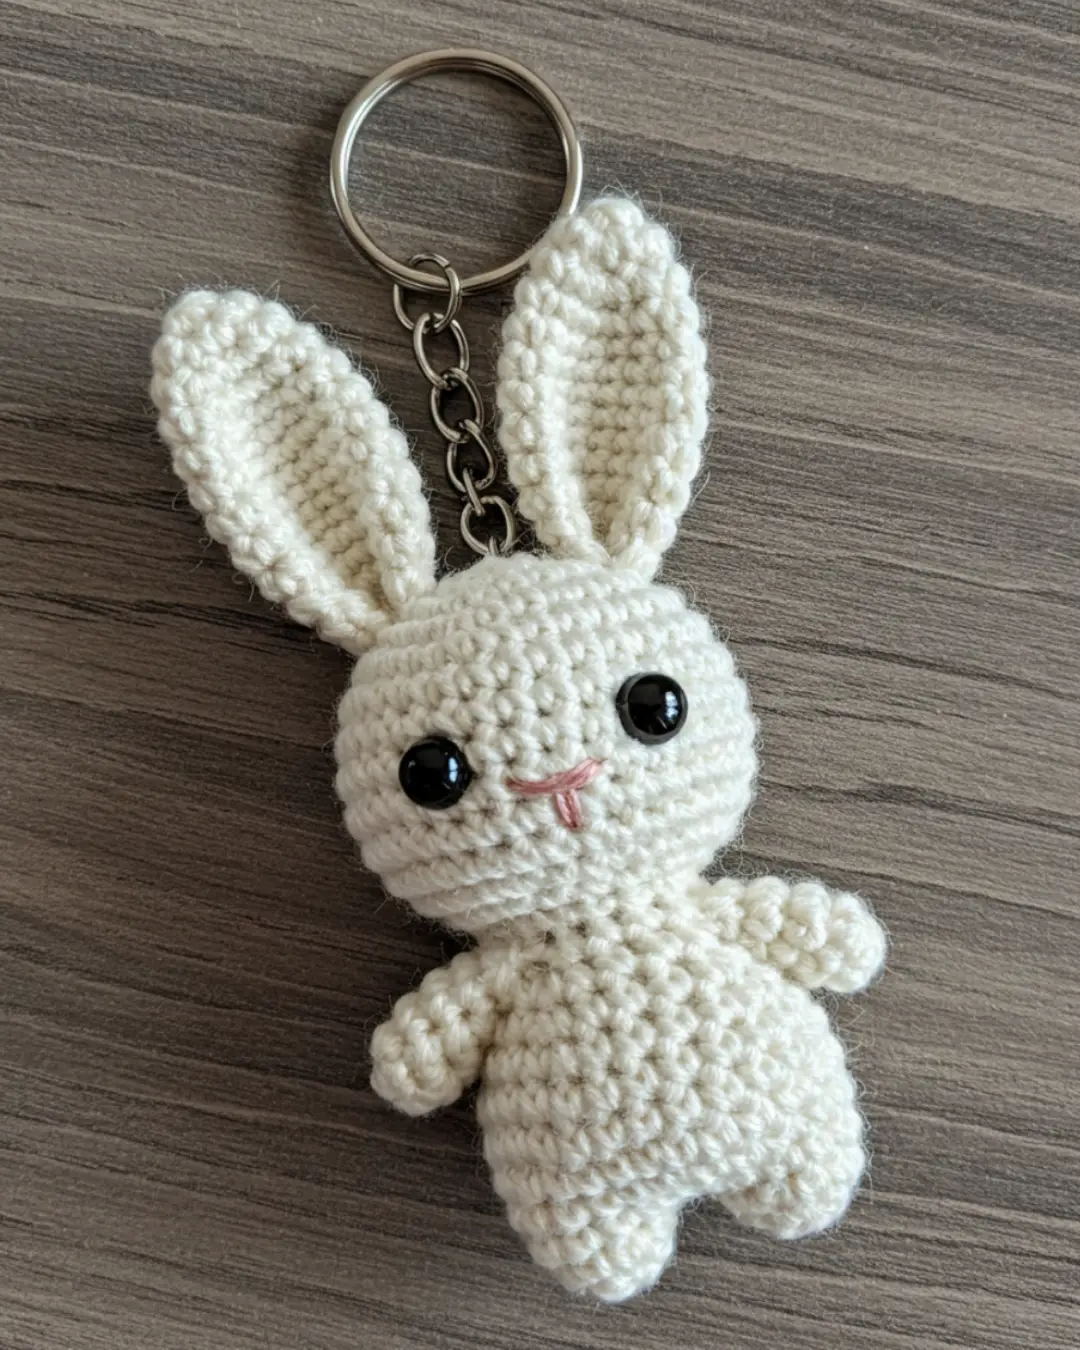
- Attach Ears: Flatten the ears. Position them on the top of the head, fairly close together and slightly towards the back, as seen in the image. Use the yarn tails to sew them securely to the head. You might want to pinch the base of the ears slightly as you sew to help them stand up.
- Attach Arms: Sew the arms to the sides of the body, just below where the head joins the body. Refer to the image; they are positioned high up and angle slightly downwards/forwards.
- Attach Legs: Sew the legs to the bottom front of the body. They should be positioned so the bunny can “sit” or dangle nicely.
- Attach Tail (if made): Sew the small tail to the lower back of the body.
- Embroider Facial Details:
- Nose/Mouth: Using the pink embroidery floss or thin yarn, embroider the nose and mouth. For the nose, make a small horizontal stitch (or 2-3 tiny ones to create a small line) centered below and between the eyes. Directly below this, add a tiny vertical stitch for the mouth. Keep it minimal and neat as in the picture.
- Attach Keychain: Securely sew the keychain ring and chain to the center top of the head. Use several stitches and pass through the fabric of the head multiple times to ensure it’s very strong, as this part will bear weight.
Final Touches:
- Weave in any remaining loose ends securely.
- Gently shape your amigurumi bunny.
Enjoy your crocheted bunny keychain