
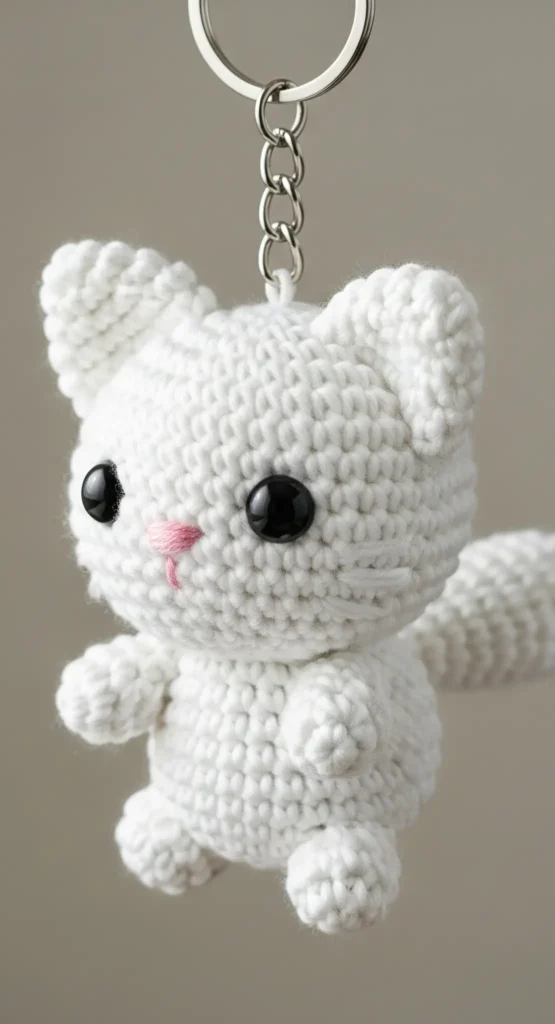
Amigurumi White Cat Keychain Crochet Pattern
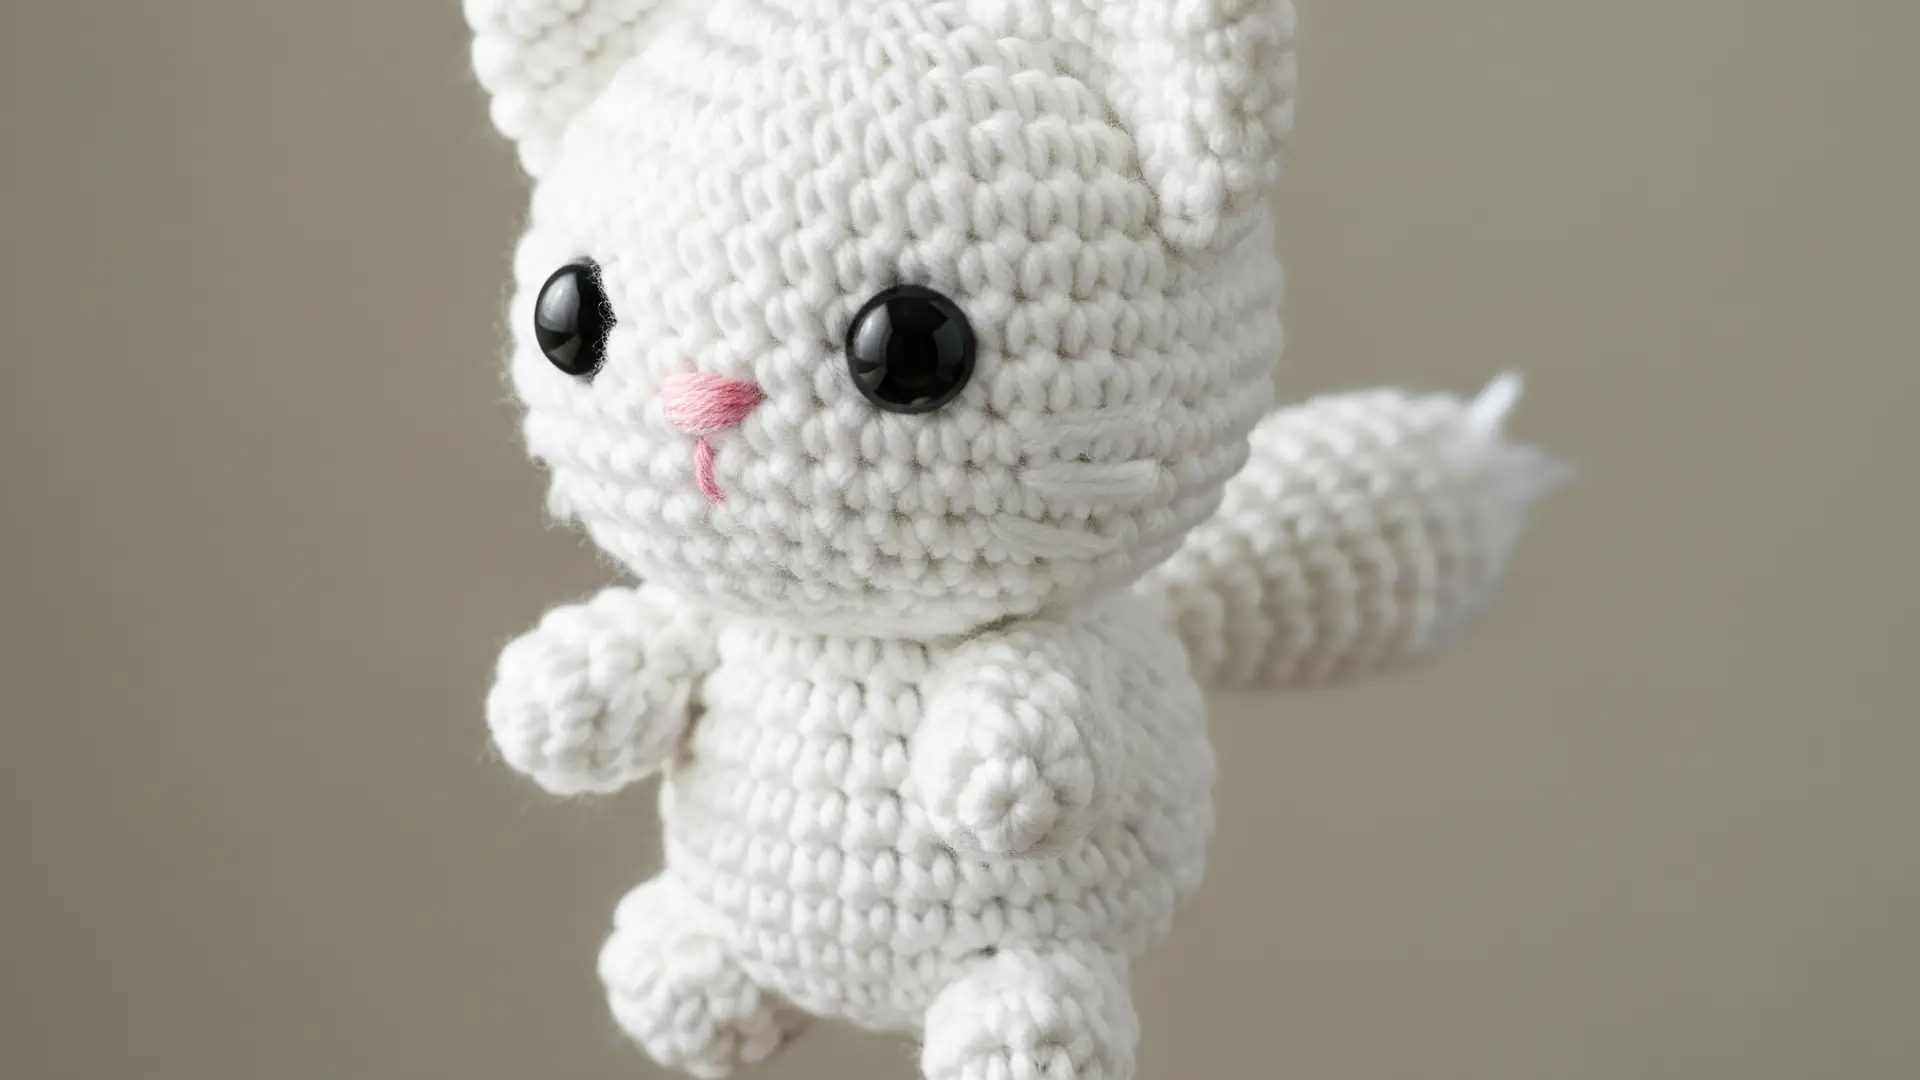
This pattern will guide you in creating a charming, palm-sized cat keychain. The cat is constructed from several individual pieces that are crocheted separately and then sewn together.
Materials & Tools
- Yarn: Fine (Sport/4-ply) or DK (Light Worsted/8-ply) cotton yarn in White. A small amount of Light Pink for the nose.
- Crochet Hook: 2.5mm or 3.0mm (use a hook size that creates a tight fabric so the stuffing doesn’t show through).
- Safety Eyes: 2 x 8mm black safety eyes.
- Stuffing: Polyester fiberfill.
- Notions: Yarn needle, scissors, stitch marker.
- Keychain: 1 x split ring with a short chain.
Abbreviations (US Terms)
- MR: Magic Ring
- ch: Chain
- sc: Single Crochet
- inc: Increase (2 sc in the same stitch)
- dec: Invisible Decrease (crochet the front loops of the next two stitches together)
- st(s): Stitch(es)
- Rnd(s): Round(s)
- FO: Fasten Off
Instructions
Head
(Worked in a continuous spiral with white yarn)
- Rnd 1: Start with 6 sc in a MR (6)
- Rnd 2: Inc in each st around (12)
- Rnd 3: (1 sc, inc) repeat 6 times (18)
- Rnd 4: (2 sc, inc) repeat 6 times (24)
- Rnd 5: (3 sc, inc) repeat 6 times (30)
- Rnd 6: (4 sc, inc) repeat 6 times (36)
- Rnd 7: (5 sc, inc) repeat 6 times (42)
- Rnds 8-14 (7 rounds): Sc in each st around (42)
- Rnd 15: (5 sc, dec) repeat 6 times (36)
- Rnd 16: (4 sc, dec) repeat 6 times (30)
- Rnd 17: (3 sc, dec) repeat 6 times (24)
Pause here to add facial features:
- Eyes: Insert the 8mm safety eyes between Rnds 11 and 12, with about 7-8 sts between them.
- Nose: Using the light pink yarn and a yarn needle, embroider a small nose centered between the eyes, over Rnd 13. A simple horizontal stitch repeated 2-3 times, with a short vertical stitch below it, will work well.
- Begin stuffing the head firmly. Continue to add stuffing as you close the opening.
- Rnd 18: (2 sc, dec) repeat 6 times (18)
- Rnd 19: (1 sc, dec) repeat 6 times (12)
- Rnd 20: Dec in each st around (6)
FO, leaving a long tail. Use the yarn needle to weave the tail through the front loops of the final 6 sts and pull tight to close the hole. Weave in the end securely.
Body
(Worked in a continuous spiral with white yarn)
- Rnd 1: Start with 6 sc in a MR (6)
- Rnd 2: Inc in each st around (12)
- Rnd 3: (1 sc, inc) repeat 6 times (18)
- Rnd 4: (2 sc, inc) repeat 6 times (24)
- Rnd 5: (3 sc, inc) repeat 6 times (30)
- Rnds 6-10 (5 rounds): Sc in each st around (30)
- Rnd 11: (3 sc, dec) repeat 6 times (24)
- Rnd 12: Sc in each st around (24)
- Rnd 13: (2 sc, dec) repeat 6 times (18)
- Rnd 14: Sc in each st around (18)
FO, leaving a very long tail for sewing the body to the head. Stuff the body firmly.
Ears (Make 2)
(Worked in a continuous spiral with white yarn)
- Rnd 1: Start with 4 sc in a MR (4)
- Rnd 2: (1 sc, inc) repeat 2 times (6)
- Rnd 3: (2 sc, inc) repeat 2 times (8)
- Rnd 4: (3 sc, inc) repeat 2 times (10)
FO, leaving a long tail for sewing. The ears are not stuffed.
Arms (Make 2)
(Worked in a continuous spiral with white yarn)
- Rnd 1: Start with 6 sc in a MR (6)
- Rnds 2-4 (3 rounds): Sc in each st around (6)
FO, leaving a long tail for sewing. Do not stuff the arms.
Legs (Make 2)
(Worked in a continuous spiral with white yarn)
- Rnd 1: Start with 6 sc in a MR (6)
- Rnd 2: Inc in each st around (12)
- Rnds 3-4 (2 rounds): Sc in each st around (12)
FO, leaving a long tail for sewing. Stuff the legs very lightly, just enough to give them a rounded shape.
Tail
(Worked in a continuous spiral with white yarn)
- Rnd 1: Start with 5 sc in a MR (5)
- Rnds 2-3 (2 rounds): Sc in each st around (5)
- Rnd 4: Inc, 4 sc (6)
- Rnds 5-8 (4 rounds): Sc in each st around (6)
- Rnd 9: Inc, 5 sc (7)
- Rnds 10-12 (3 rounds): Sc in each st around (7)
To create the fluffy tip as seen in the image:
- Rnd 13: Work a “cluster” stitch in each stitch around. For example: in each st, (ch 3, slip stitch back into the same st). Repeat for all 7 sts.
FO, leaving a long tail for sewing. The tail is not stuffed.
Assembly
- Body to Head: Use the long tail from the body to sew it securely to the base of the head. Ensure it is centered and straight.
- Ears: Flatten the base of each ear. Position them on the top of the head, roughly between Rnds 3 and 8 from the top center point. Sew them firmly in place. The image shows them with a slight curve, which you can achieve by how you stitch them on.
- Legs: Pin the legs to the front of the body, positioned low and slightly apart. Sew them on securely.
- Arms: Sew the arms to the sides of the body, just below the “neck” where the head joins the body.
- Tail: Attach the tail to the lower back of the body, positioned so it curves upwards.
- Keychain: Using a strand of white yarn, create a sturdy loop at the very top center of the head. Thread this loop through the last link of the keychain chain and secure it tightly. Alternatively, you can directly sew the keychain ring to the head. Weave in all remaining ends.