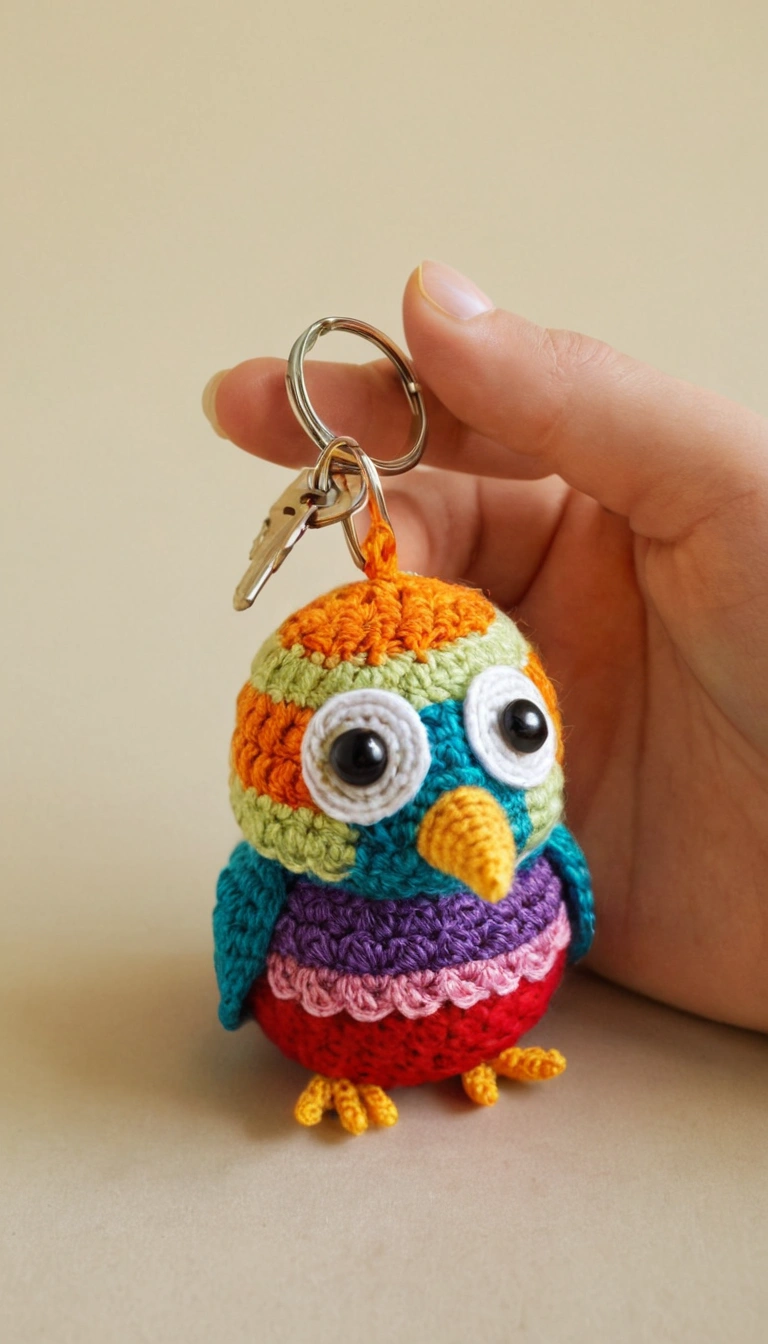
Colorful Free Owl Keychain Crochet Pattern
Colorful Owl Keychain Crochet Pattern
Materials Needed
- Yarn: Multiple colors (orange, green, blue, purple, pink, red, yellow, and white)
- Crochet Hook: Size suitable for your yarn (e.g., 2.0 mm or 2.5 mm for amigurumi)
- Safety Eyes: 8 mm
- Stuffing: Polyfill
- Sewing Needle: For assembly
- Keyring: With a clasp
- Optional: Stitch markers for tracking rows
Abbreviations (US Terms)
- MR: Magic Ring
- SC: Single Crochet
- HDC: Half Double Crochet
- DC: Double Crochet
- INC: Increase (2 SC in one stitch)
- DEC: Decrease (SC two stitches together)
- SL ST: Slip Stitch
- CH: Chain
- FO: Fasten Off
Pattern
Body
- Red Yarn
- R1: MR, 6 SC (6)
- R2: INC around (12)
- R3: (SC, INC) around (18)
- R4: (2 SC, INC) around (24)
- R5-R8: SC around (24) – 4 rounds
- Switch to Pink Yarn.
- R9: (3 SC, INC) around (30)
- R10: SC around (30)
- Switch to Purple Yarn.
- R11: (4 SC, INC) around (36)
- R12: SC around (36)
- Switch to Blue Yarn.
- R13-R14: SC around (36) – 2 rounds
- Switch to Green Yarn.
- R15: (5 SC, DEC) around (30)
- R16: (4 SC, DEC) around (24)
- Switch to Orange Yarn.
- R17: (3 SC, DEC) around (18)
- Stuff the body firmly.
- R18: (2 SC, DEC) around (12)
- R19: DEC around (6)
- FO, weave tail to close.
Eyes (Make 2)
- White Yarn
- R1: MR, 6 SC (6)
- R2: INC around (12)
- R3: (SC, INC) around (18)
- FO, leaving a long tail for sewing.
- Attach safety eyes to the center of each circle.
Beak
- Yellow Yarn
- R1: MR, 4 SC (4)
- R2: (SC, INC) around (6)
- R3: SC around (6)
- FO, leaving a long tail for sewing.
Wings (Make 2)
- Blue Yarn
- R1: MR, 6 SC (6)
- R2: INC around (12)
- R3: (SC, INC) around (18)
- R4-R5: SC around (18) – 2 rounds
- FO, leaving a long tail for sewing.
Feet (Make 2)
- Yellow Yarn
- R1: MR, 6 SC (6)
- R2: (SC, INC) around (9)
- R3: SC around (9)
- FO, leaving a long tail for sewing.
Assembly
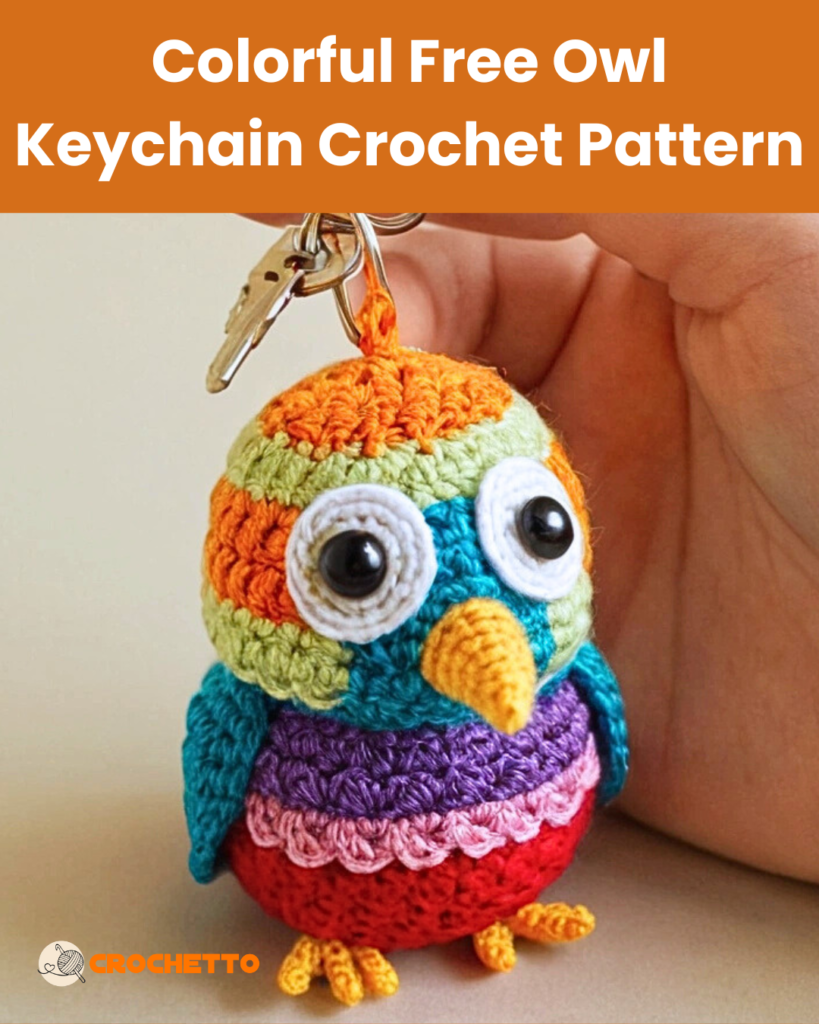
- Sew the eyes to the front of the head, ensuring they are evenly spaced.
- Attach the beak between the eyes.
- Sew the wings to the sides of the body.
- Attach the feet to the bottom of the body.
- Sew the keyring clasp to the top of the owl’s head.
Finishing Touches
Weave in all loose ends and adjust the shape of the owl by pressing and shaping it gently. Make sure all pieces are securely attached.

