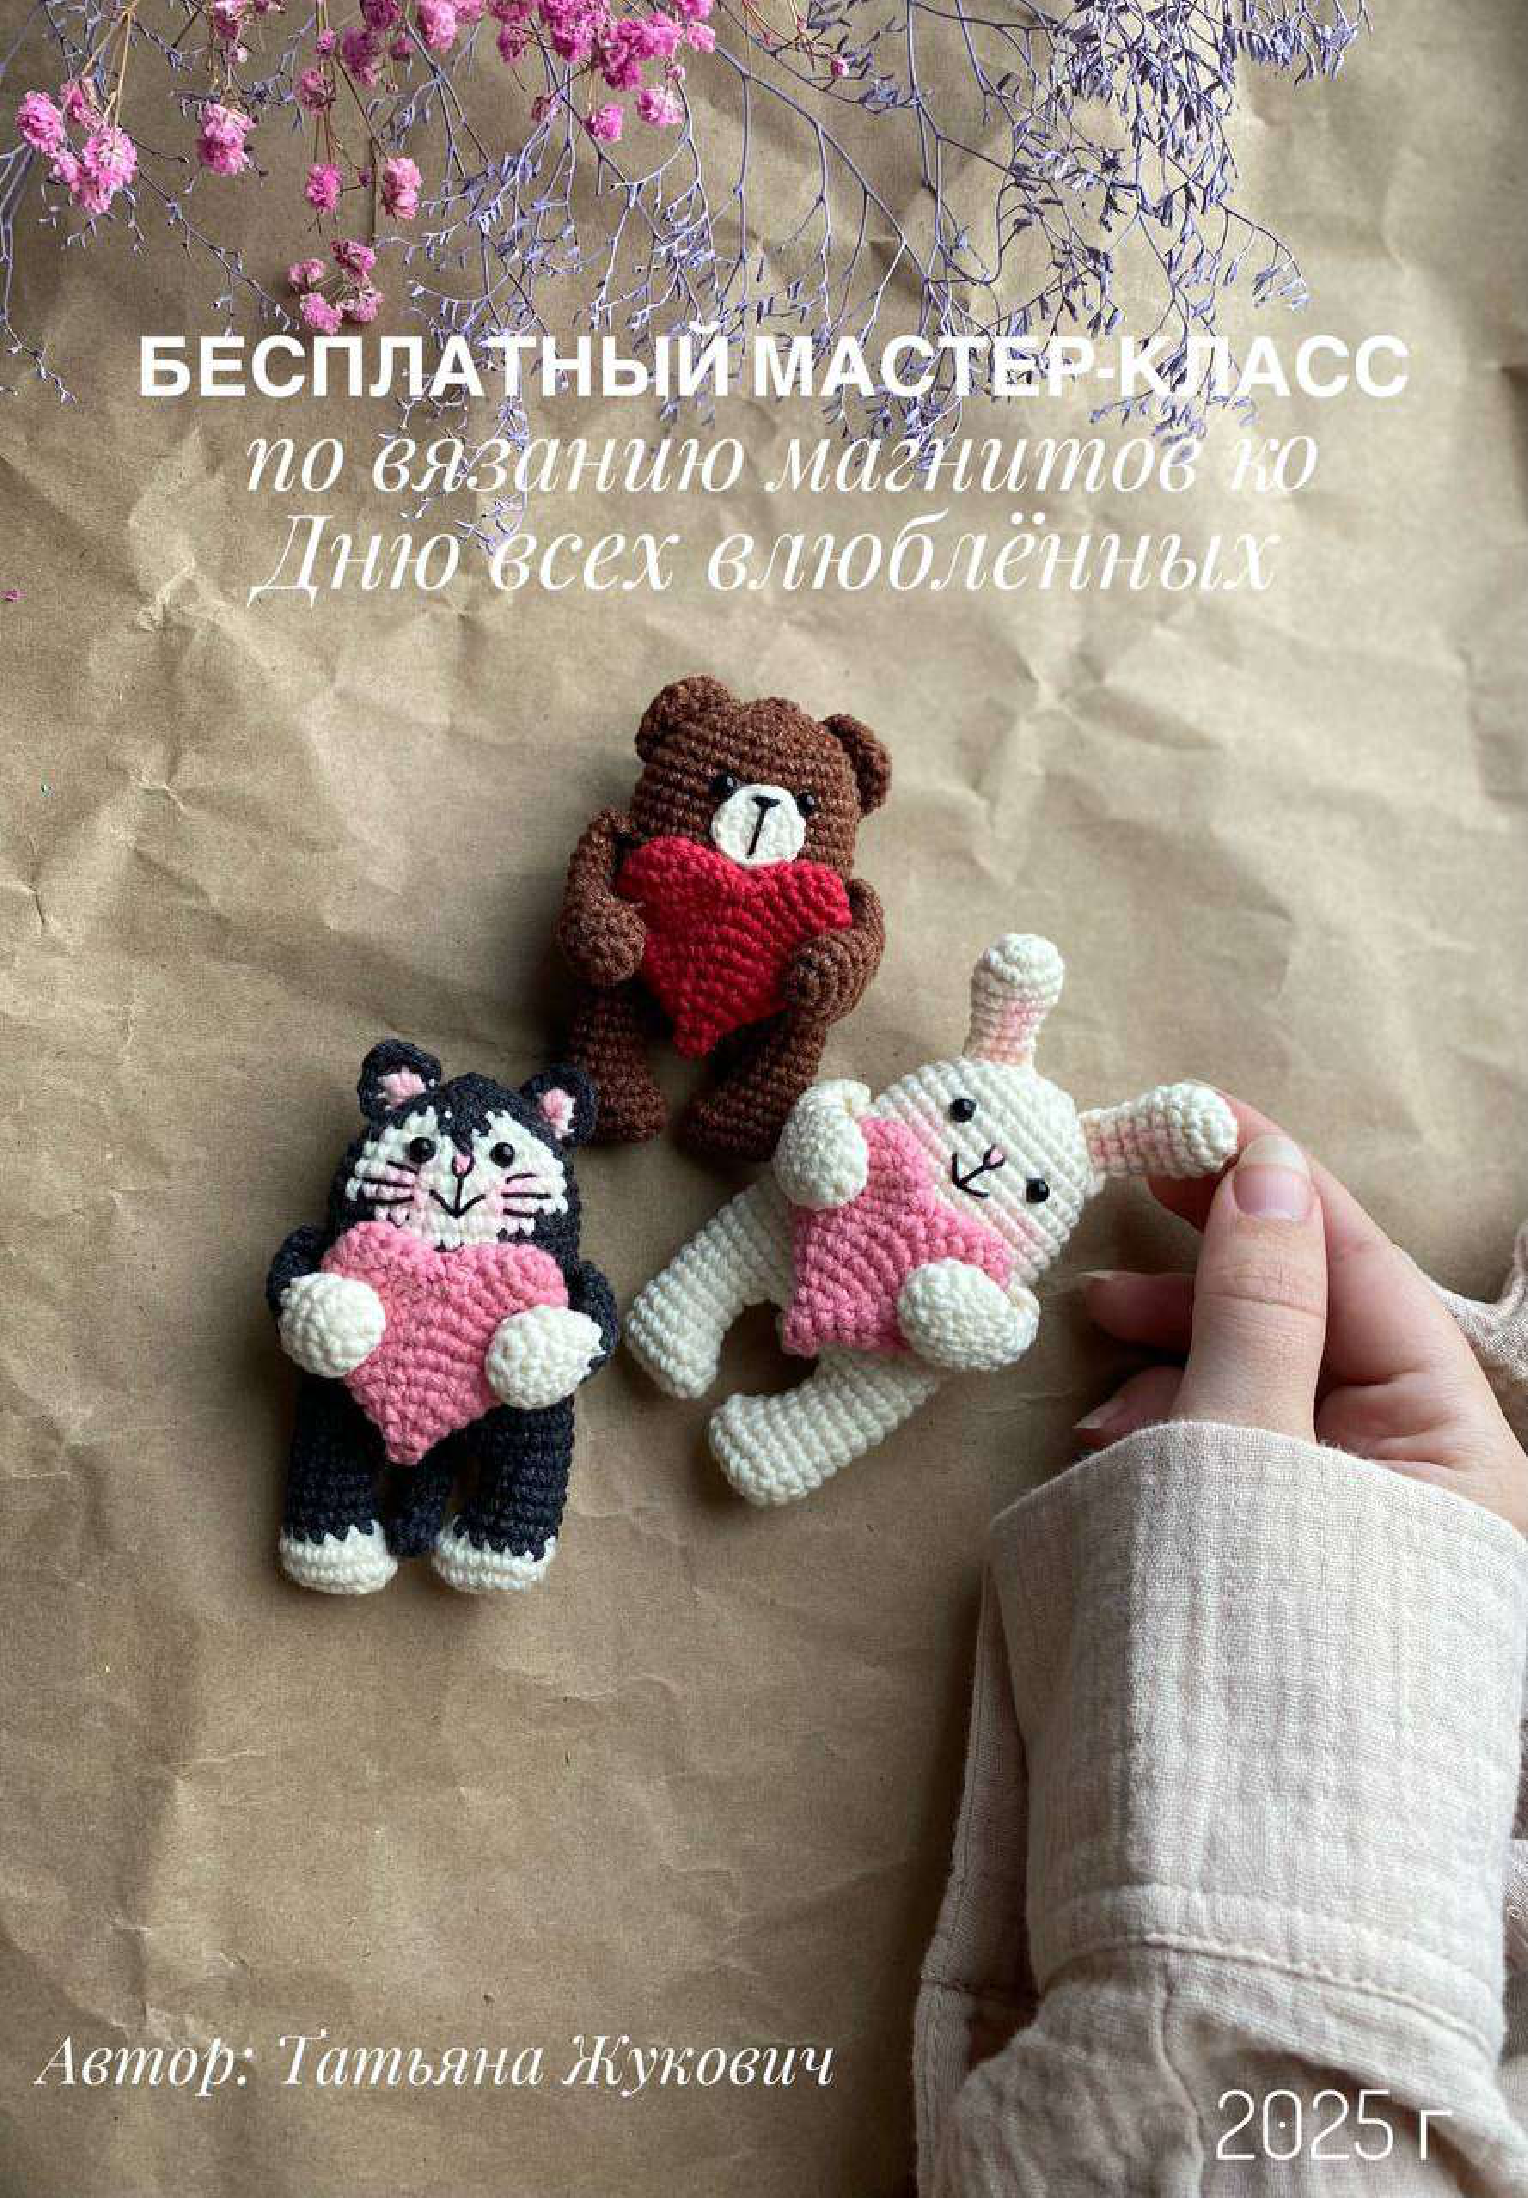
Craft Adorable Valentine Magnets – Free Pattern!
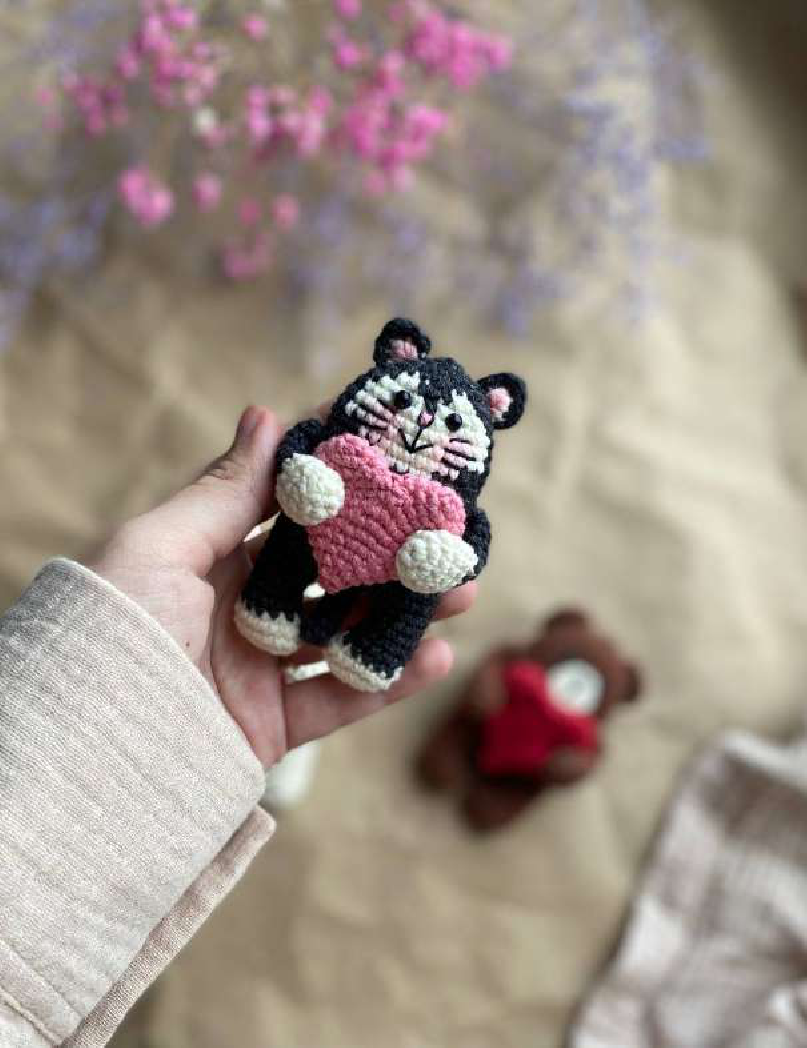
Get ready to spread some handmade love this Valentine’s Day! In this free master class, we’ll crochet three charming little animal magnets – a bear, a bunny, and a cat, each holding a sweet heart. These delightful creations are perfect for gifting or decorating your own space.
Let’s get started on your adorable new friends!

Abbreviations You’ll Use:
- MR: Magic ring
- ch: Chain stitch
- sc: Single crochet
- inc: Increase (2 sc in one stitch)
- dec: Decrease (single crochet 2 stitches together)
- hdc: Half double crochet
- dc: Double crochet
- sl st: Slip stitch
- (…)*x: Repeat what’s in parentheses ‘x’ number of times
Materials You’ll Need:
- Yarn: YarnArt Jeans (50 gr/160 m)
- For the bear: Brown (№70), milky (№03), burgundy (51)
- For the bunny: Milky (№03), pink (№78)
- For the cat: Graphite (№28), milky (№03), pink (№78)
- Hook: Clover hook №1.75
- Needle: For sewing parts
- Eyes: 3 mm safety eyes
- Filler: Polyester fiberfill (or similar)
- Magnet: 15 mm
- Scissors
- Blush or dry pastel: For toning
- Black Iris thread: For face embroidery
- Super glue: “Moment-Crystal” (or strong craft glue)
With these materials, your finished magnet will be about 8 cm tall (excluding ears).
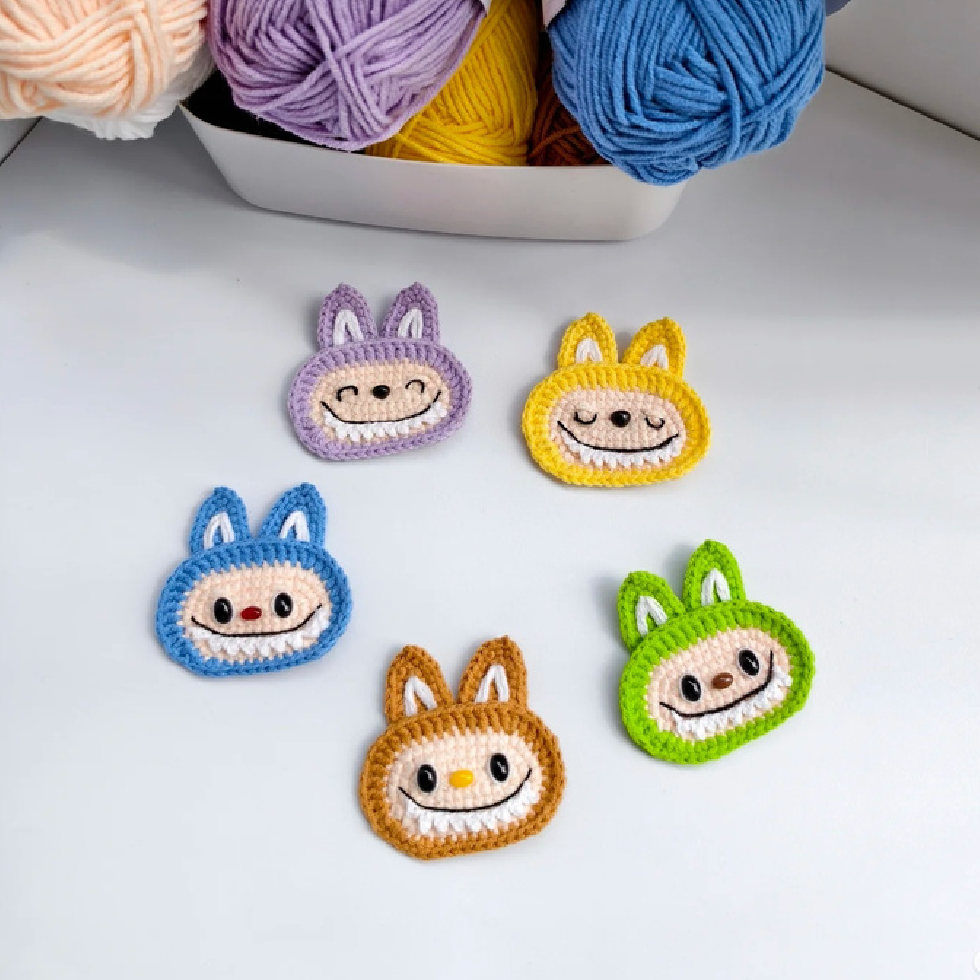
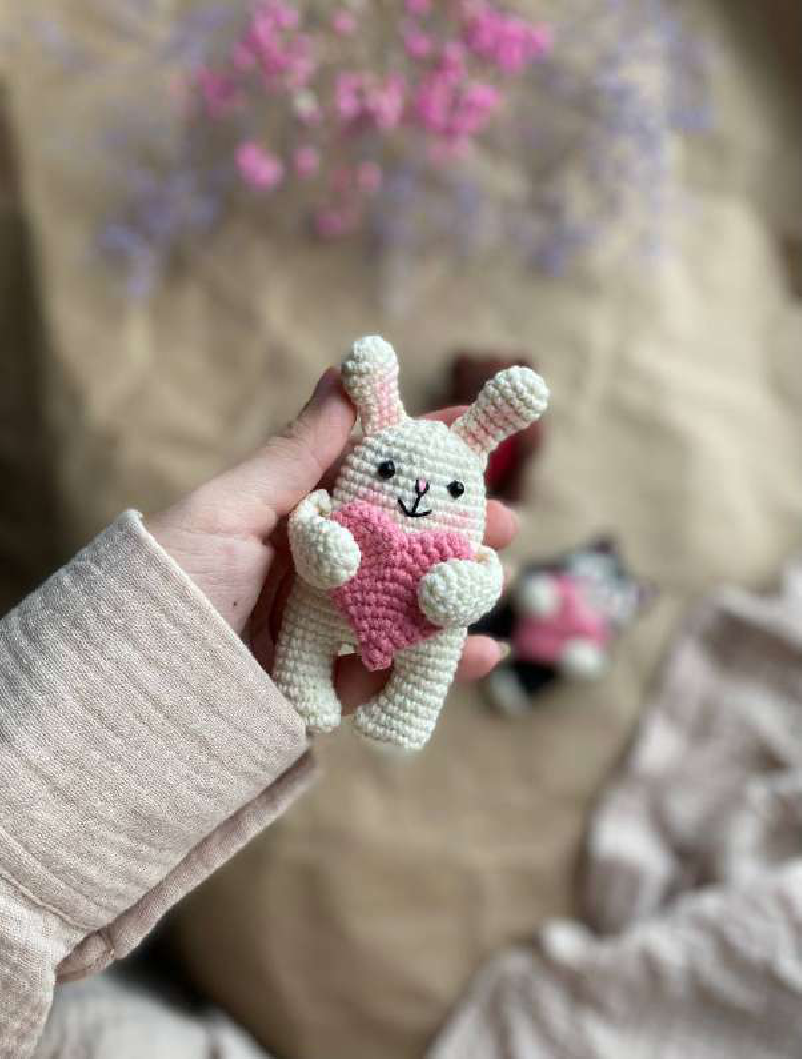
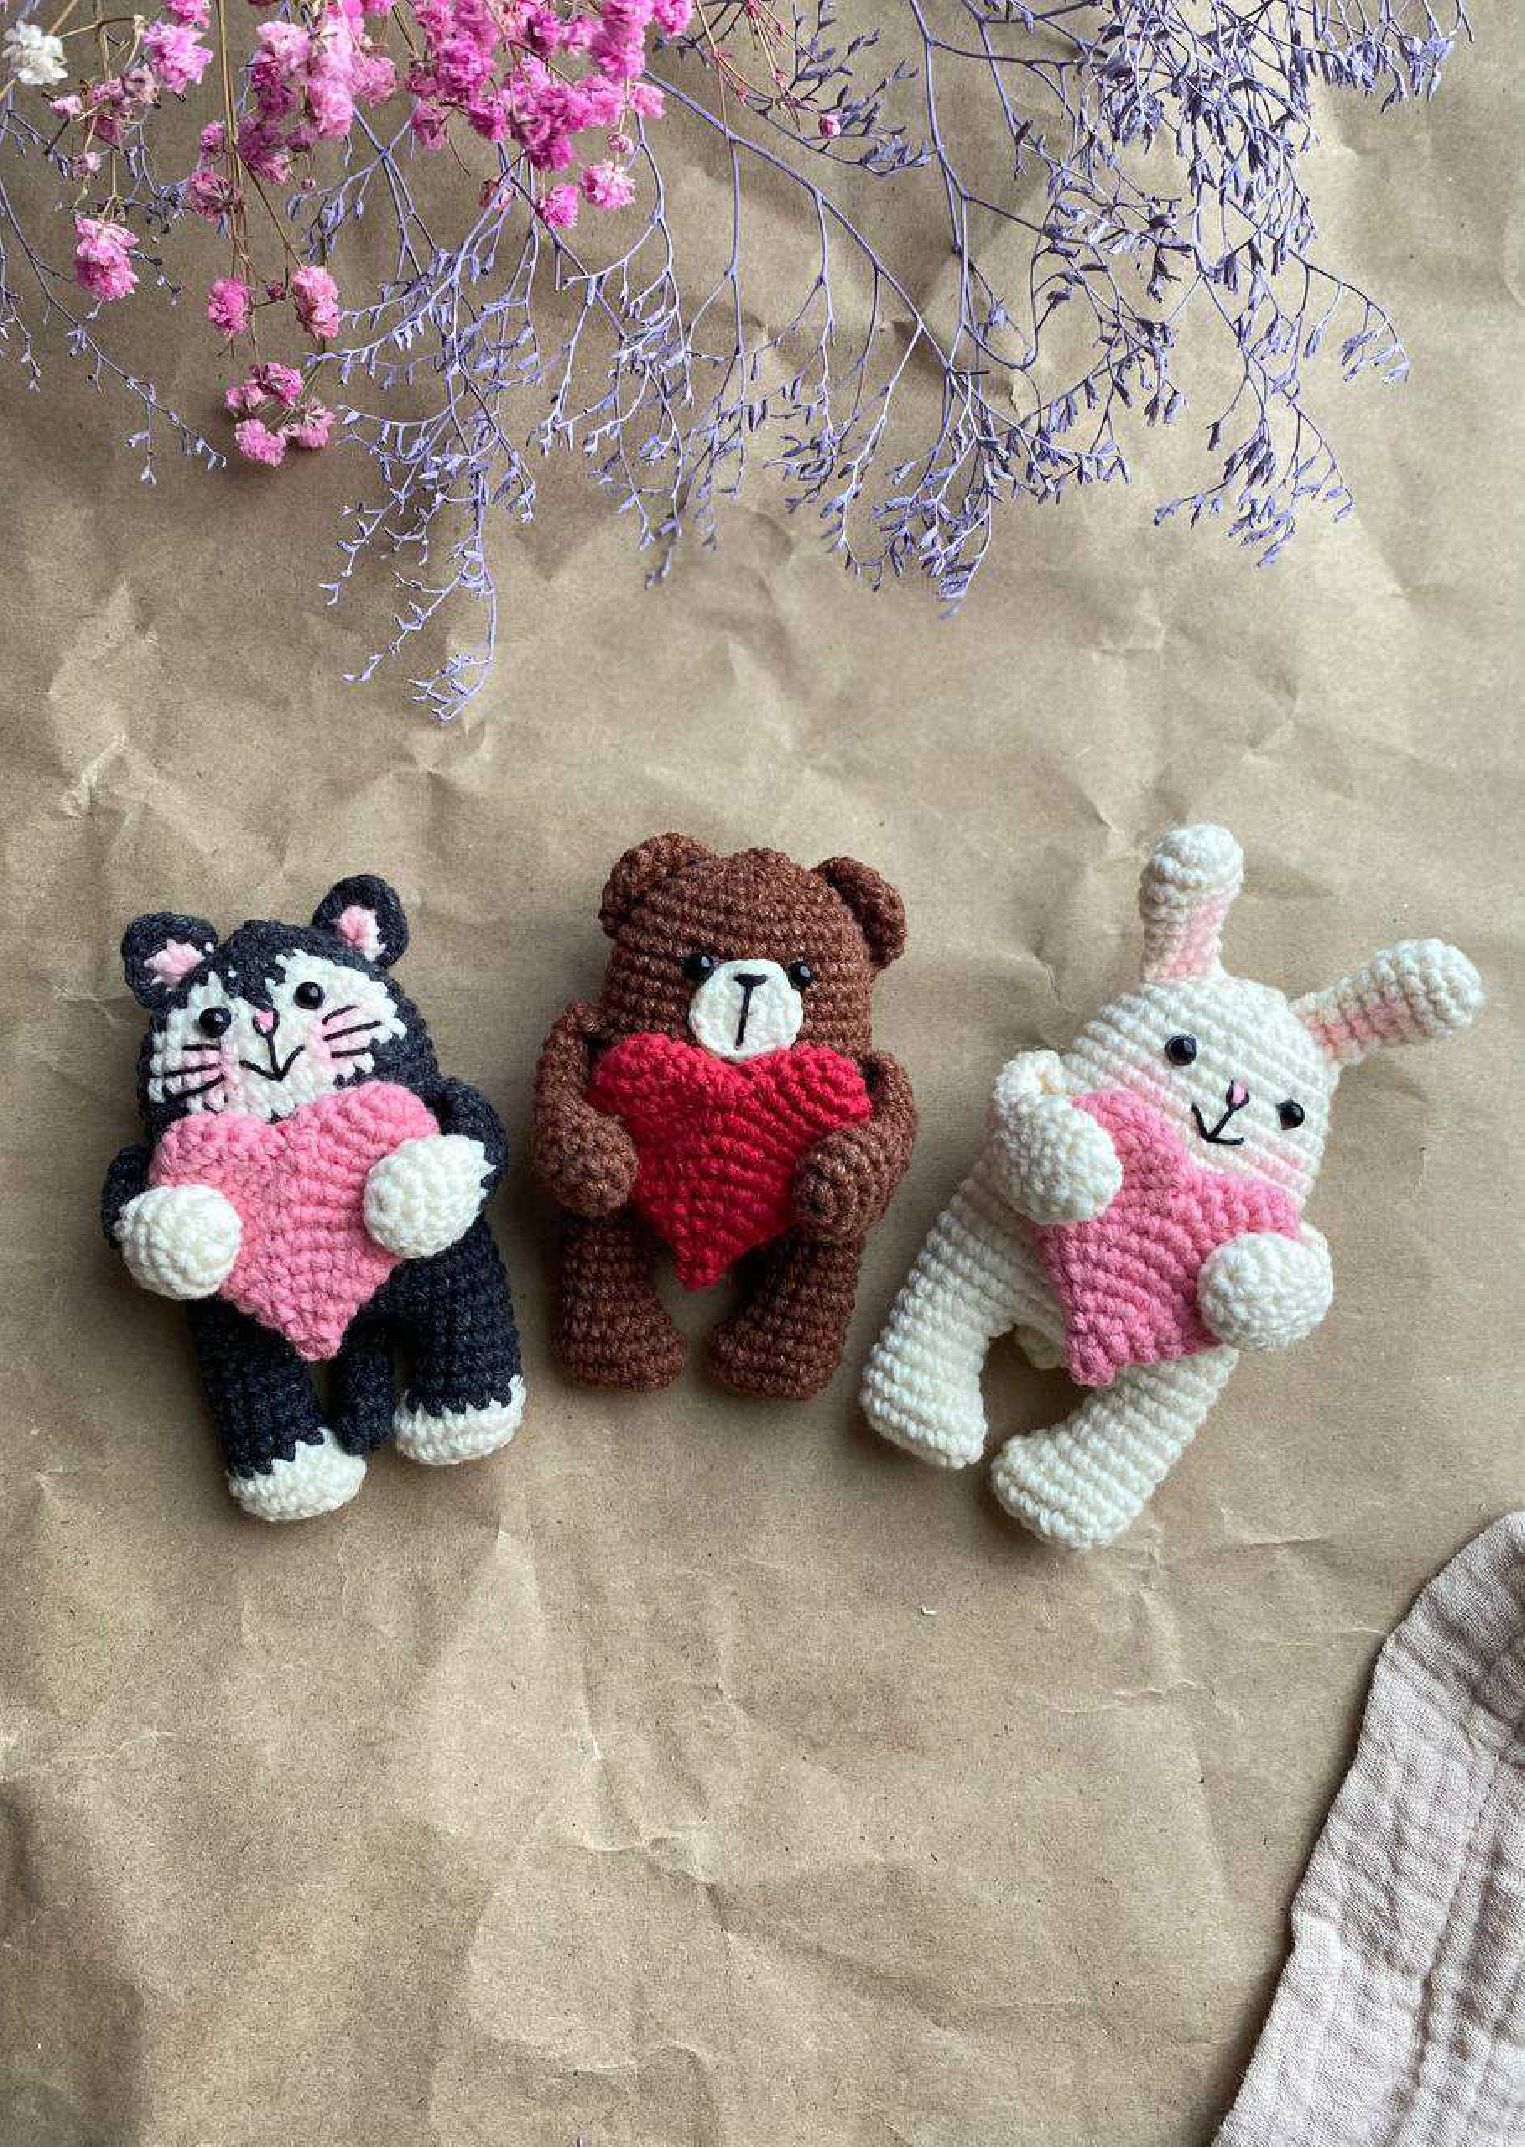
Let’s take a peek at some of the adorable finished magnets we’ll be making:
Let’s Start Crocheting!
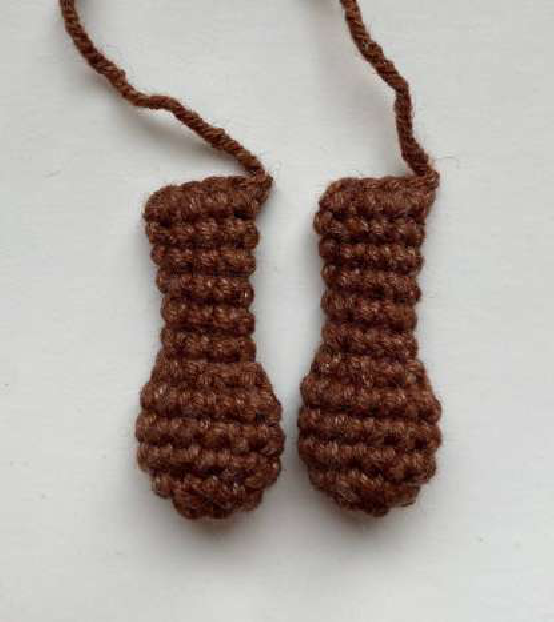
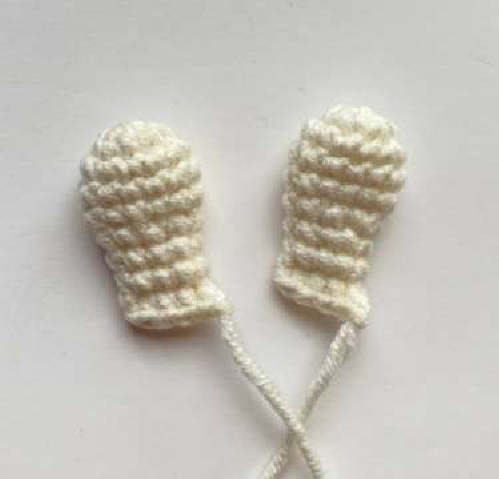
Arms (Make 2 – for Bear and Bunny)
Do not stuff these parts.
- Round 1: 6 sc in MR (6)
- Round 2: 6 inc (12)
- Rounds 3-5: 12 sc (3 rows)
- Round 6: (1 sc + dec)*4 times (8)
- Rounds 7-11: 8 sc (5 rows)
Fold the part in half and crochet through both walls 4 sc. Cut the thread and fasten off.
Arms (Make 2 – for Cat)
Do not stuff these parts.
- Rounds 1-5: Crochet in milky color following steps 1-5 for the bear/bunny arms.
- Color Change: Change to graphite color.
- Round 6: (1 sc + dec)*4 times (8)
- Rounds 7-11: 8 sc (5 rows)
Fold the part in half and crochet through both walls 4 sc. Cut the thread and fasten off.
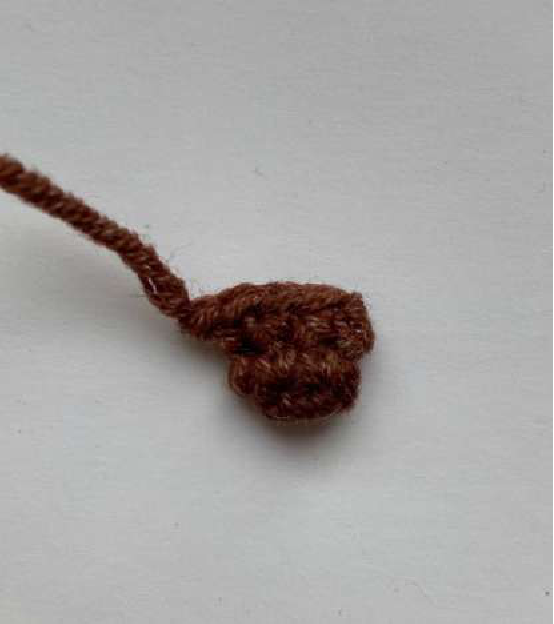
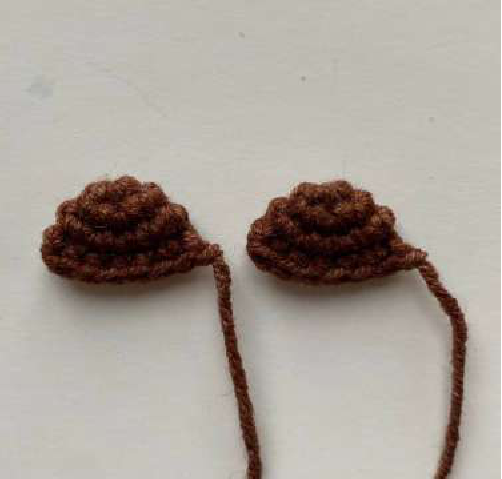
Tail (Make 1 – for Bear and Bunny)
Do not stuff this part.
- Round 1: 6 sc in MR (6)
- Round 2: 6 sc (6)
Fold the part in half and crochet through both walls 3 sc. Cut the thread and fasten off.
Tail (Make 1 – for Cat)
Crochet the entire tail in graphite color. Do not stuff this part.
- Round 1: 6 sc in MR (6)
- Rounds 2-7: 6 sc (6 rows)
Fold the part in half and crochet through both walls 3 sc. Cut the thread and fasten off.
Legs and Body (Start with Legs)
Stuff the legs and body loosely as you go.
Legs (Make 2 – for Bear and Bunny)
- Round 1: Chain 6 ch. Starting from the 2nd stitch from the hook: 4 sc, 3 sc in the last stitch, 3 sc, inc (12). Place marker.
- Round 2: 1 sc, inc, 3 sc, 2 inc, 4 sc, inc (16)
- Round 3: 16 sc (16)
- Round 4: 4 sc, 4 dec, 4 sc (12)
- Rounds 5-7: 12 sc (3 rows)
- Additional: Crochet 6 sc to reach the side of the leg (this helps align for joining).
Cut the thread on the first leg and fasten off. Do NOT cut the thread on the second leg; you will continue directly into crocheting the body.
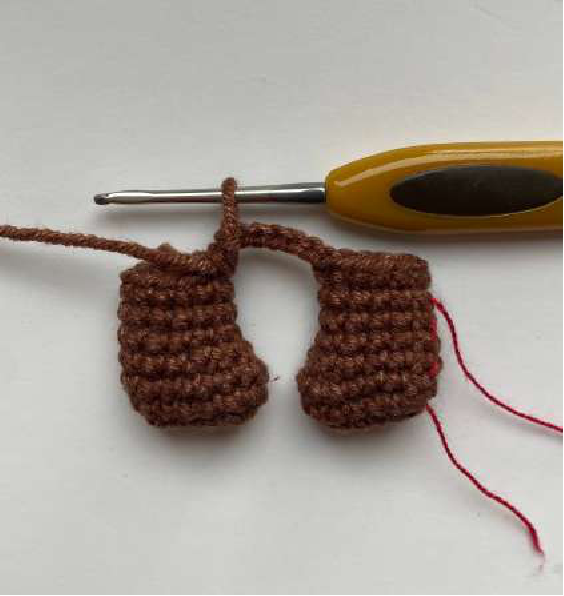
Body (for Bear and Bunny)
Continuing from the second leg.
- Round 8 (Joining Round): Chain 6 ch. Join to the first leg with a sl st. Crochet 12 sc around the first leg, 6 sc along the chain (working into the bottom of the chain), 12 sc around the second leg, 6 sc along the other side of the chain. Place marker (36)
- Rounds 9-10: 36 sc (2 rows)
- Round 11 (Tail Inclusion): 14 sc, crochet 3 sc together with the previously made tail (insert hook through body and tail stitches), 19 sc (36)
- Rounds 12-17: 36 sc (6 rows)
Integrating the Arms into the Body:
Note: The left arm is crocheted in first, then the right arm in the next row.
- Round 18 (Left Arm): 23 sc, crochet 4 sc together with the LEFT arm (insert hook through body and arm stitches), 9 sc (36)
- Round 19 (Right Arm): 5 sc, crochet 4 sc together with the RIGHT arm, 27 sc (36)
- Rounds 20-24: 36 sc (5 rows)
- Round 25: (4 sc + dec)*6 times (30)
- Round 26: 30 sc (30)
- Round 27: (3 sc + dec)*6 times (24)
- Round 28: (2 sc + dec)*6 times (18)
- Round 29: (1 sc + dec)*6 times (12)
- Round 30: 6 dec (6)
Pull the remaining opening tight with your needle, hide the thread. Your bear/bunny body is complete!
Legs and Body (for Cat)
Legs (Make 2 – for Cat)
Crochet the first 3 rows in milky color, then change to graphite. Stuff loosely as you go.
- Round 1 (Milky): Chain 6 ch. Starting from the 2nd stitch from the hook: 4 sc, 3 sc in the last stitch, 3 sc, inc (12). Place marker.
- Round 2 (Milky): 1 sc, inc, 3 sc, 2 inc, 4 sc, inc (16)
- Round 3 (Milky): 16 sc (16)
- Color Change: Change to graphite color.
- Round 4 (Graphite): 4 sc, 4 dec, 4 sc (12)
- Rounds 5-7 (Graphite): 12 sc (3 rows)
- Additional (Graphite): Crochet 6 sc to reach the side of the leg.
Cut the thread on the first leg and fasten off. Do NOT cut the thread on the second leg; you will continue directly into crocheting the body.
Body (for Cat)
Continuing from the second leg.
Follow steps 8-19 of the Bear/Bunny body pattern (including arm integration if applicable). Then, for the cat, we have color changes starting from Round 20:
- Round 20: Graphite (G) – 31 sc, Milky (M) – 5 sc (36)
- Round 21: G – 29 sc, M – 7 sc (36)
- Round 22: M – 2 sc, G – 25 sc, M – 9 sc (36)
- Round 23: M – 4 sc, G – 23 sc, M – 9 sc (36)
- Round 24: M – 4 sc, G – 23 sc, M – 9 sc (36)
- Round 25: M – 4 sc, G – (dec + 4 sc)*4 times, M – dec, 3 sc, G – 1 sc, M – dec (30)
- Round 26: M – 3 sc, G – 22 sc, M – 2 sc, G – 3 sc (30)
- Round 27: M – 2 sc, G – 1 sc, dec, (3 sc + dec)*5 times (24)
From here, crochet everything in graphite color according to the remaining body pattern (Rounds 28-30 from the bear/bunny body):
- Round 28: (2 sc + dec)*6 times (18)
- Round 29: (1 sc + dec)*6 times (12)
- Round 30: 6 dec (6)
Pull the remaining opening tight with your needle, hide the thread. Your cat body is complete!
Ears
Ears for the Bear (Make 2)
Do not stuff.
- Round 1: 6 sc in MR (6)
- Round 2: 6 inc (12)
- Round 3: 12 sc (12)
Fold the piece in half and crochet through both walls 6 sc. Leave a long thread for sewing.
Ears for the Bunny (Make 2)
Do not stuff.
- Round 1: 6 sc in MR (6)
- Round 2: 6 inc (12)
- Rounds 3-5: 12 sc (3 rows)
- Round 6: (1 sc + dec)*4 times (8)
- Rounds 7-8: 8 sc (2 rows)
Fold the piece in half and crochet through both walls 4 sc. Leave a long thread for sewing.
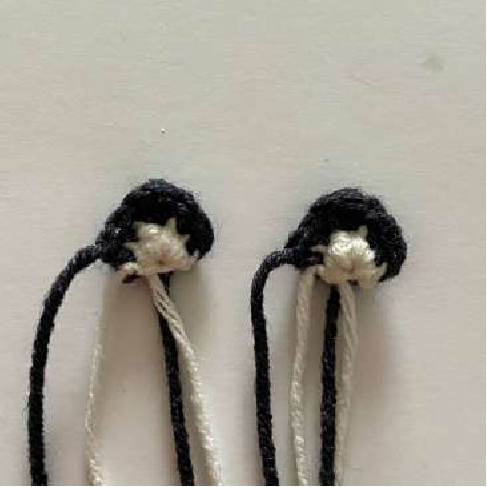
Ears for the Cat (Make 2)
First, crochet two pieces in milky color:
- Piece 1 (Milky): In MR: 2 sc, 1 dc, 2 sc. Pull the ring tight, cut the thread and fasten off.
Now crochet two pieces in graphite color:
- Piece 2 (Graphite): In MR: 2 sc, 1 dc, 2 sc. Pull the ring tight. Do NOT cut the thread.
Place the wrong sides of the graphite and milky pieces together. Crochet through both walls with the graphite thread:
- Joining Round: 2 sc, (1 hdc, 1 dc, 1 hdc) – all in one stitch, 2 sc.
Leave a long thread for sewing.
Snout for the Bear (Make 1)
Crochet in milky color.
- Round 1: 6 sc in MR (6)
- Round 2: 6 inc (12)
Leave a long thread for sewing.
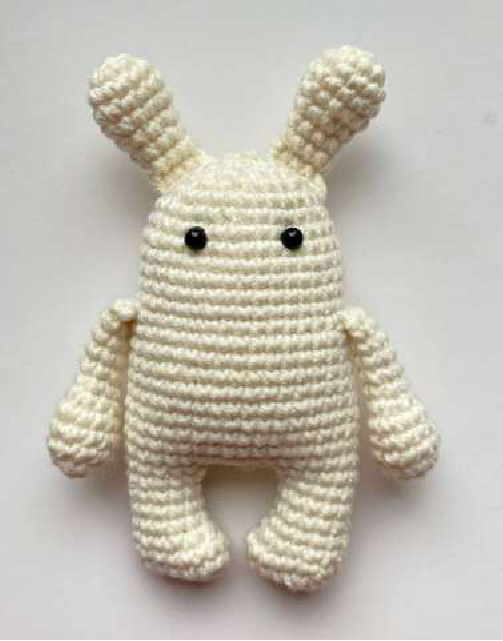
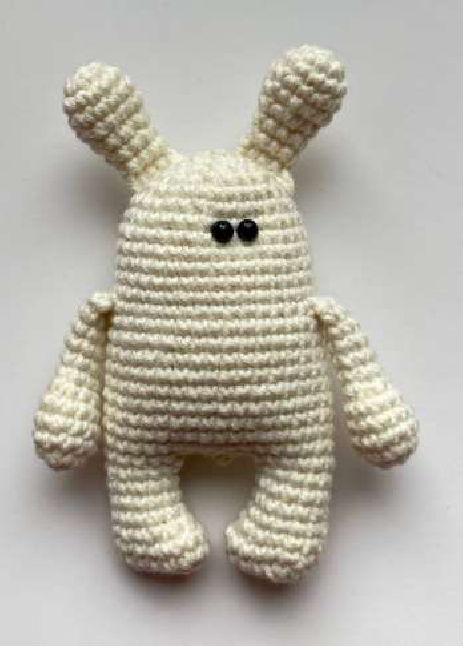
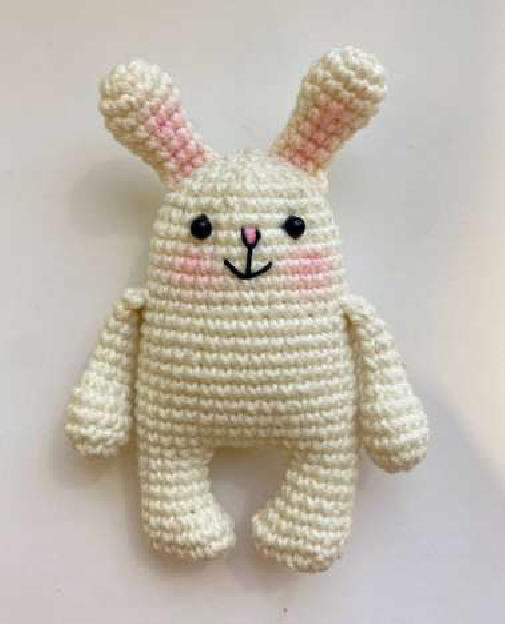
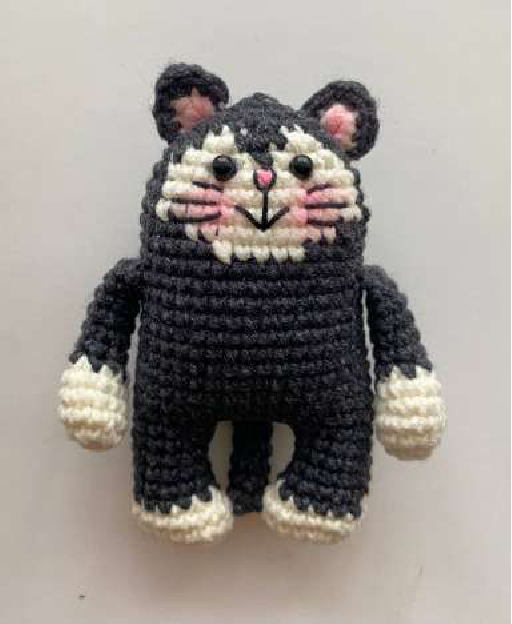
Your animal bodies are now complete! Here are the bunny and cat figures before their final embellishments:
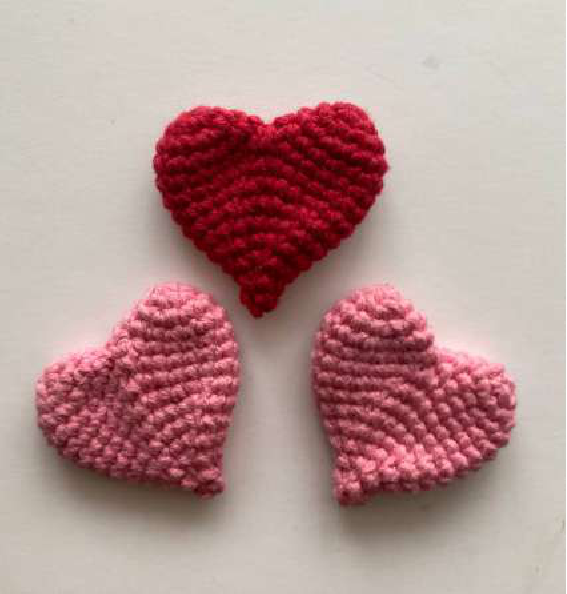
Heart (Make 1)
Do not stuff.
You will start by making two separate “lobes” of the heart, then join them.
First Piece:
- Round 1: 5 sc in MR (5)
- Round 2: 5 inc (10)
- Round 3: (1 sc + inc)*5 times (15)
- Round 4: 15 sc (15)
Cut the thread and fasten off.
Second Piece:
Crochet the second piece similarly to the first. Do NOT cut the thread after completing Round 4 of the second piece. You will now join the two pieces.
Joining and Shaping the Heart:
You have two separate pieces, each with 15 sc. Join them together by crocheting around their combined perimeter. The pattern states:
Crochet 14 sc, dec, 14 sc, dec. Place marker.
This round effectively merges the two pieces and begins the shaping, resulting in a total of 28 stitches for the first full round of the heart body. (If your stitch count is slightly off due to your specific joining method, adjust the subsequent rounds’ repeat count slightly to maintain the overall stitch count decrease proportion).
- Round 1: (13 sc + dec)*2 times (28)
- Round 2: (12 sc + dec)*2 times (26)
- Round 3: (11 sc + dec)*2 times (24)
- Round 4: (4 sc + dec)*4 times (20)
- Round 5: (3 sc + dec)*4 times (16)
- Round 6: (2 sc + dec)*4 times (12)
- Round 7: (1 sc + dec)*4 times (8)
- Round 8: 4 dec (4)
Close the remaining opening tightly with your needle and hide the thread.
Finishing Touches: Assembling Your Magnets!
Now that all your parts are crocheted, it’s time to bring your little characters to life!
- Attach the Ears: Sew on the ears. You can place them close together or slightly apart, experiment with what looks best!
- Glue the Eyes: Using your super glue, attach the 3mm safety eyes. Position them to create the expression you desire, higher or lower, closer or wider apart.
- Sew the Bear’s Snout: For the bear, sew on the milky snout you made earlier.
- Embroider Faces: With black Iris thread, embroider a nose for each animal. For the cat, add some cute whiskers. You can also embroider eyebrows and eyelashes for extra character!
- Tone the Features: Use blush or dry pastel to add a subtle rosy tint to the noses, cheeks, and inside of the ears.
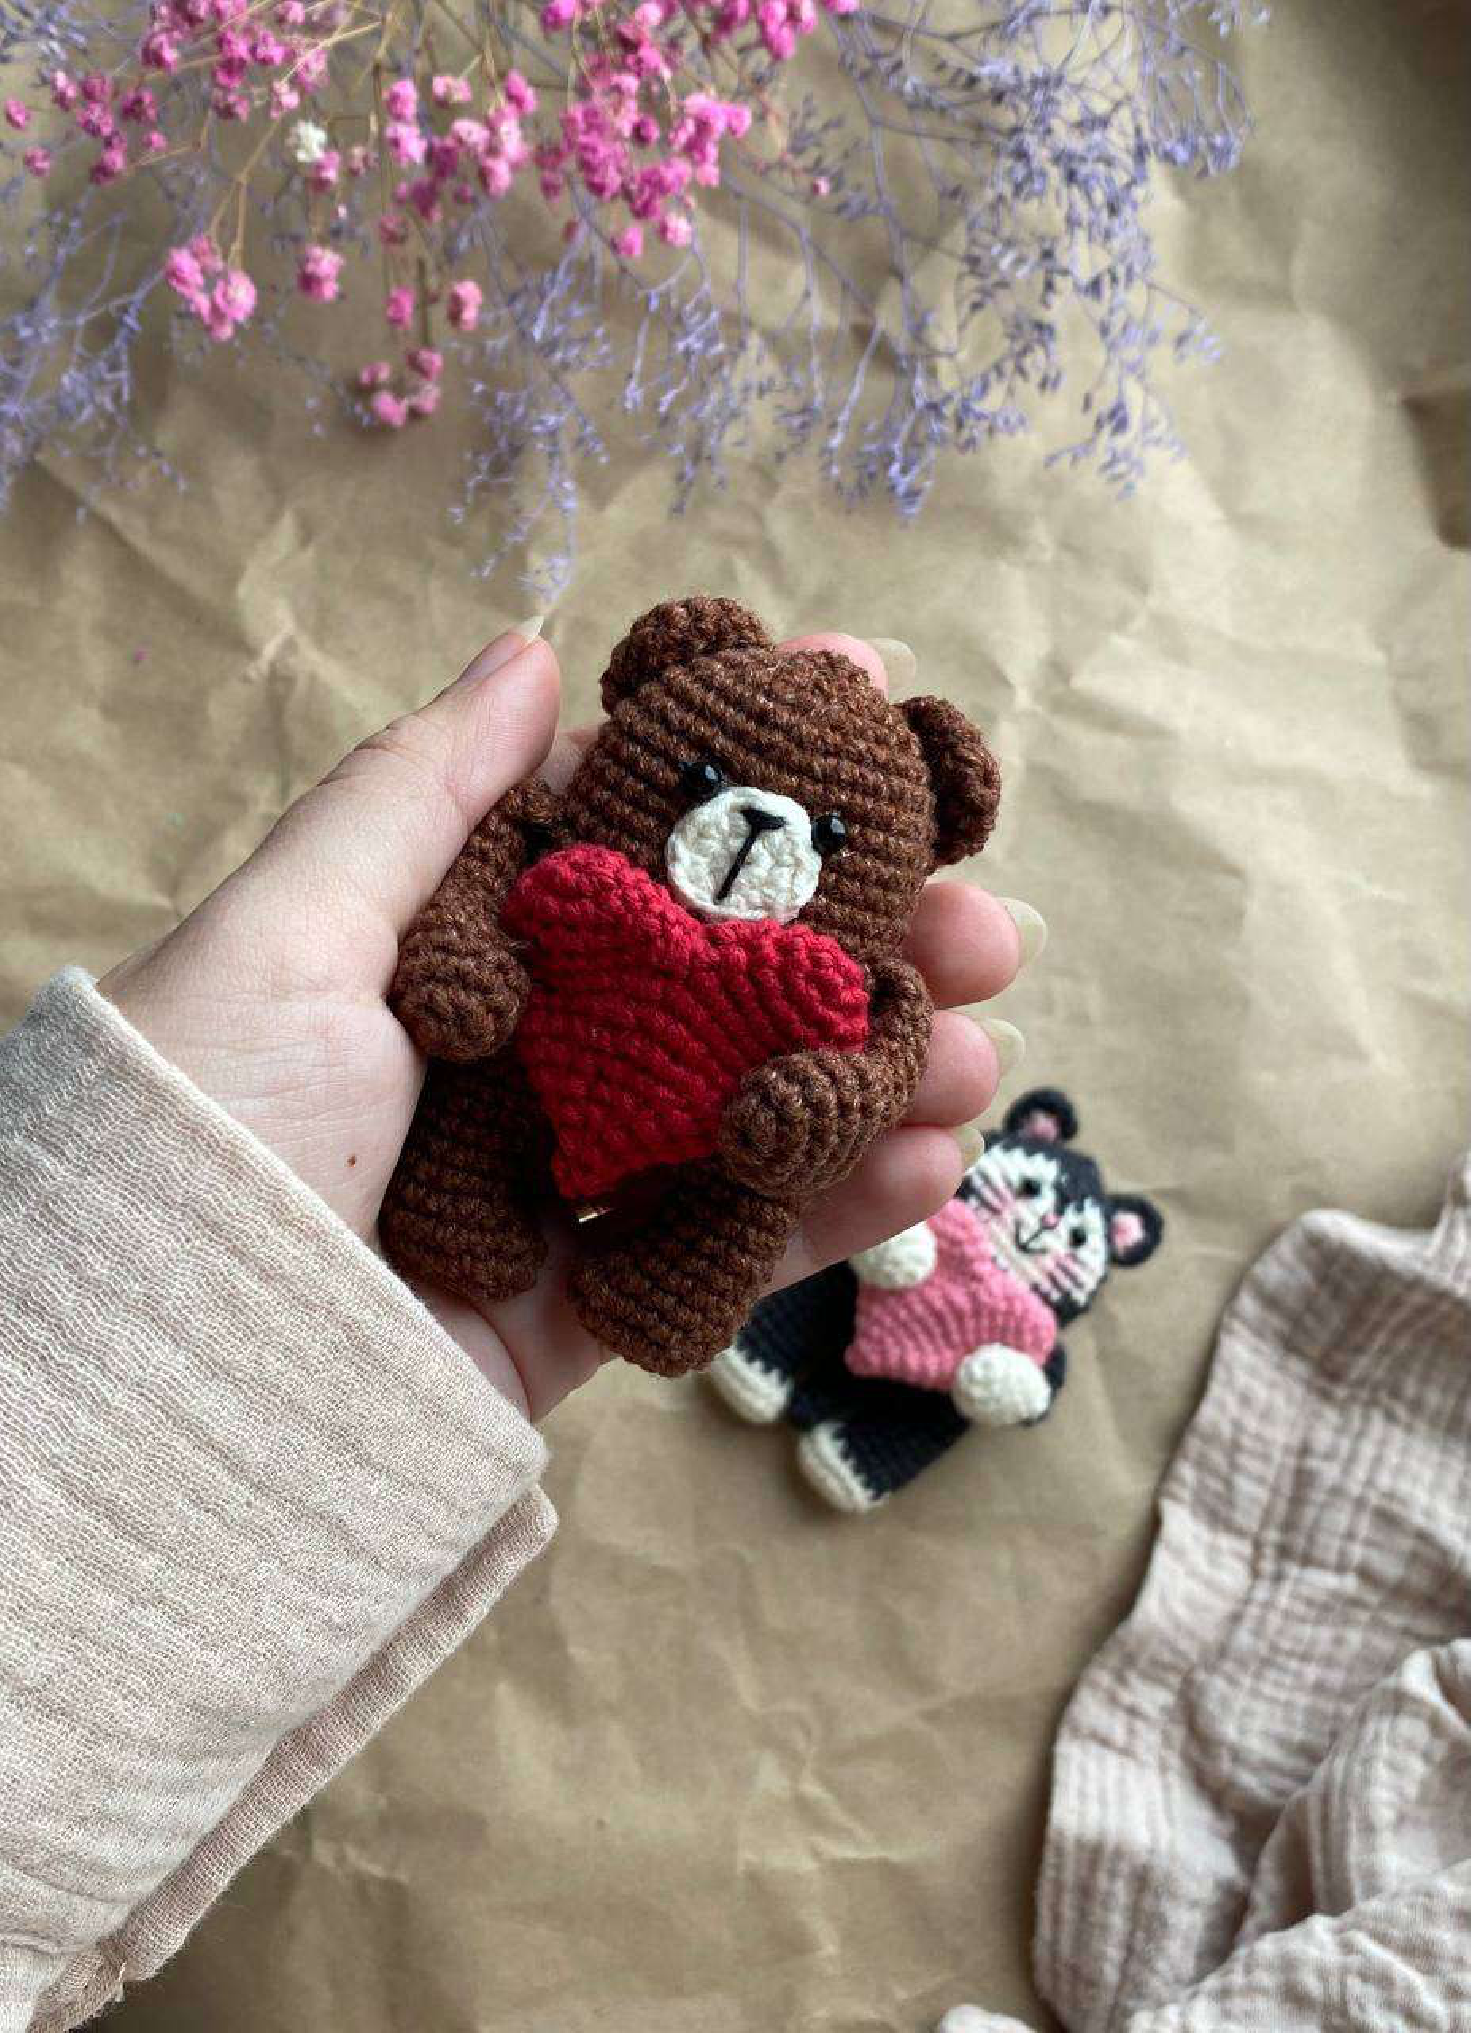
Here’s a look at the characters after these steps:
And some closer views:

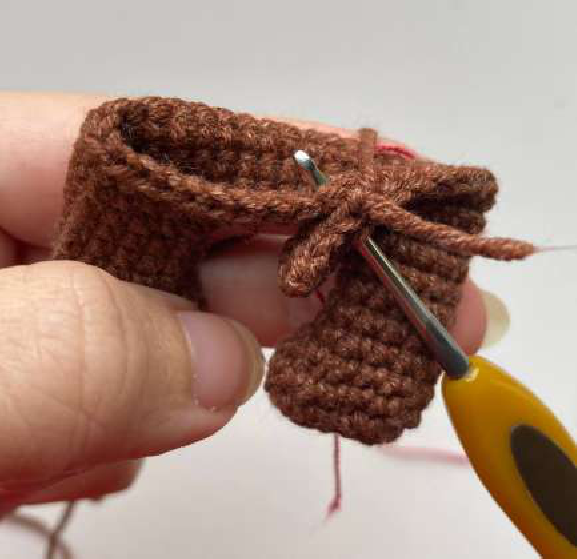
- Sew the Heart with Arms: This step carefully attaches the heart to the body, holding the arms in place. Insert your needle from the back of the body, pass it through the body and through the heart. Now, catch the very end of one arm with your needle, and bring the needle back through the heart and body, returning to the same point on the back where you started. Repeat this process for the second arm. Tie two secure knots at the back and hide the thread.
 Thread through body, heart, and one arm. One arm secured, ready for the second. Both arms and heart are now attached securely.
 - Glue the Magnet: Finally, glue the 15mm magnet to the back of each crocheted figure using your strong super glue. Ensure it’s securely attached for optimal magnetic power!
- Sew the Heart with Arms: This step carefully attaches the heart to the body, holding the arms in place. Insert your needle from the back of the body, pass it through the body and through the heart. Now, catch the very end of one arm with your needle, and bring the needle back through the heart and body, returning to the same point on the back where you started. Repeat this process for the second arm. Tie two secure knots at the back and hide the thread.
 Thread through body, heart, and one arm.
  One arm secured, ready for the second.
  Both arms and heart are now attached securely.
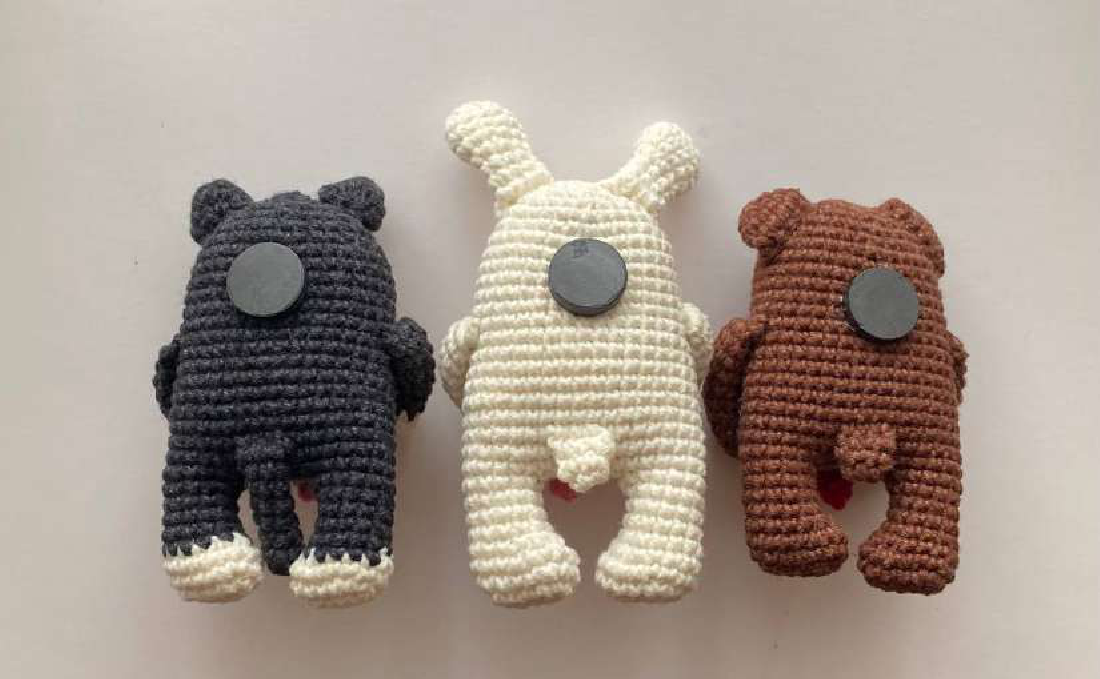
Congratulations! Your adorable Valentine’s Day magnets are now complete and ready to bring smiles!
Your Finished Magnets!
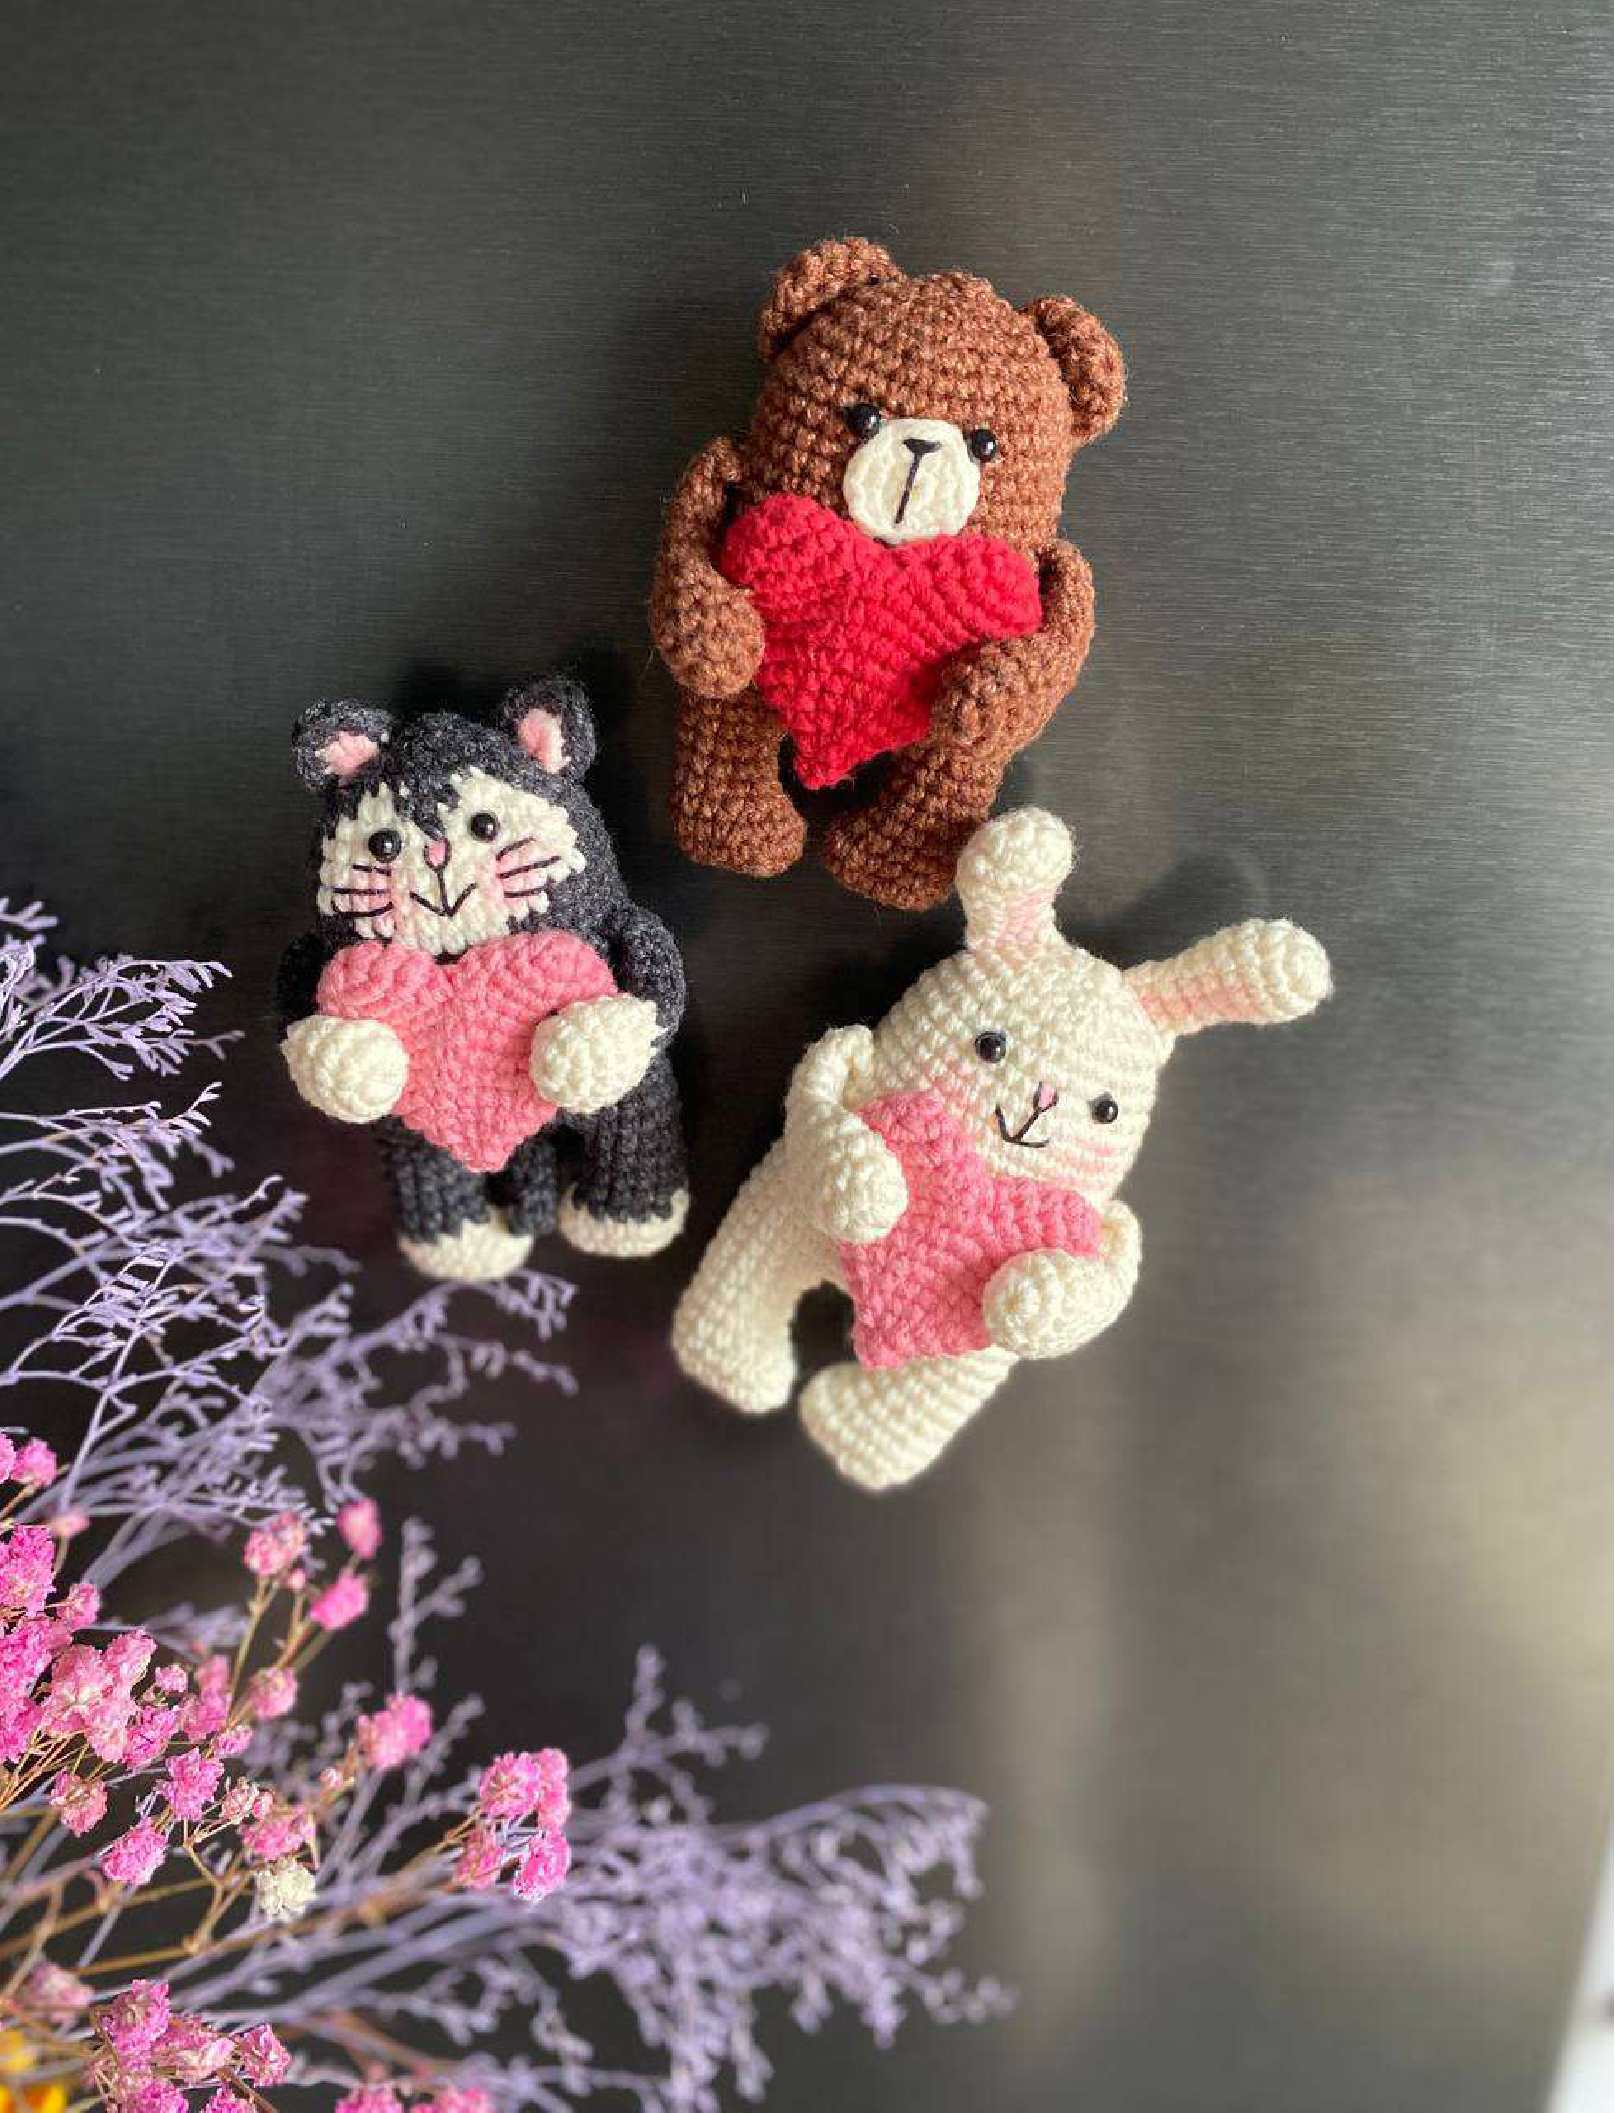
I hope you enjoyed this free master class. Don’t forget to share your creations and tag me!