
Crochet a Cute Dolphin: Easy Pattern!
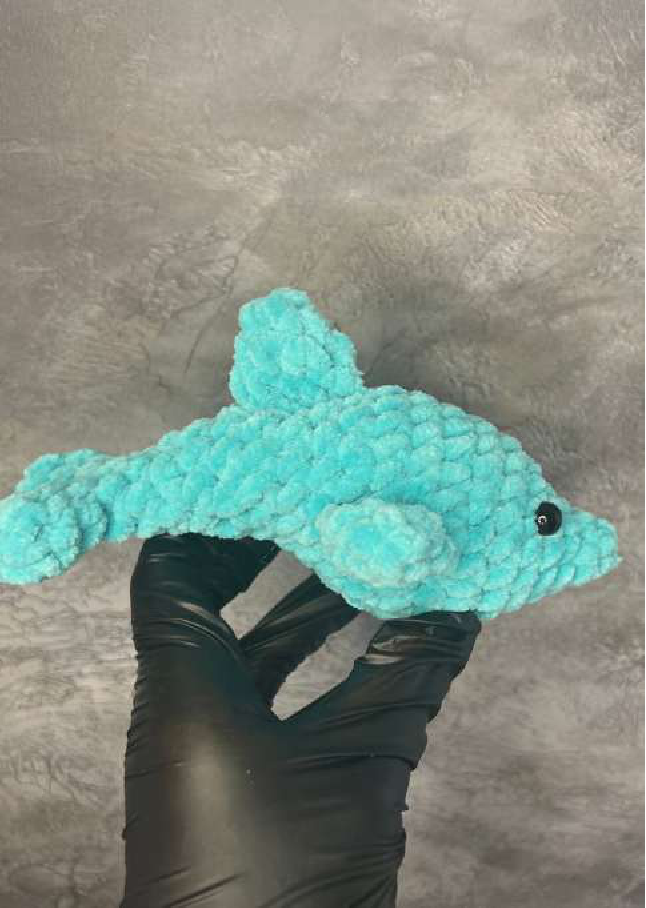
Dive into the world of amigurumi with this adorable dolphin pattern! Perfect for gifting or keeping, this little marine friend will bring a splash of joy to your day. This pattern creates a charming dolphin approximately 15 cm long.
Materials You’ll Need:
- Yarn: Approximately 50-70g of Light Worsted/DK weight yarn in your chosen dolphin color (e.g., turquoise, blue, grey).
- Crochet Hook: A hook size appropriate for your yarn (usually 2.5mm – 3.5mm for amigurumi, to ensure tight stitches).
- Safety Eyes: Two 6mm-8mm safety eyes (or you can embroider the eyes).
- Stuffing: Polyester fiberfill.
- Tapestry Needle: For sewing parts together and weaving in ends.
- Stitch Marker: To keep track of your rounds.
- Scissors.
Abbreviations & Notes:
Understanding these terms will make following the pattern much easier:
- SC: Single Crochet
- DEC: Decrease (single crochet 2 stitches together)
- INC: Increase (make 2 single crochets in one stitch)
- MR: Amigurumi Ring (also known as Magic Ring/Magic Circle)
- DC: Double Crochet (Note: DC is only mentioned in the abbreviations list, but not used in the pattern itself.)
- SS: Slip Stitch
- CH: Chain Stitch
- ( ) x N: Repeat the instructions in the parentheses N times.
- (X): The number in parentheses at the end of a round indicates the total stitch count for that round.
- All parts are worked in continuous rounds unless otherwise stated. Use a stitch marker to keep track of the beginning of your rounds.
Let’s Get Started!
Head & Body (Main Part)
We’ll start from the nose and work our way back to the tail.
Eye Placement Note: This is the perfect time to insert your safety eyes! Place them after Round 4. The three increases you made in Round 3 should be centered between the eyes, one row below where you insert the eyes. There should be approximately 5 stitches between the eyes.

Fins (Make 3)
These are separate pieces that will be sewn onto the body.
Finishing the Fins: Fold the fin in half and crochet across 4 SC to close the opening. Leave a long tail for sewing. Make two for the sides and one for the top.
Fin Placement:
- Side Fins: Sew the two side fins approximately 2 rows after the eyes and about 2 stitches below the eyes, symmetrical on each side.
- Top Fin: Sew the top fin approximately 4 rows after the eyes, centered on the dolphin’s back.
Tail Options (Choose One!)
You have two choices for your dolphin’s tail: a solid, simple tail or a split, more traditional dolphin tail fin.
Option 1: Solid Tail
This tail is worked directly onto the remaining stitches of the body.
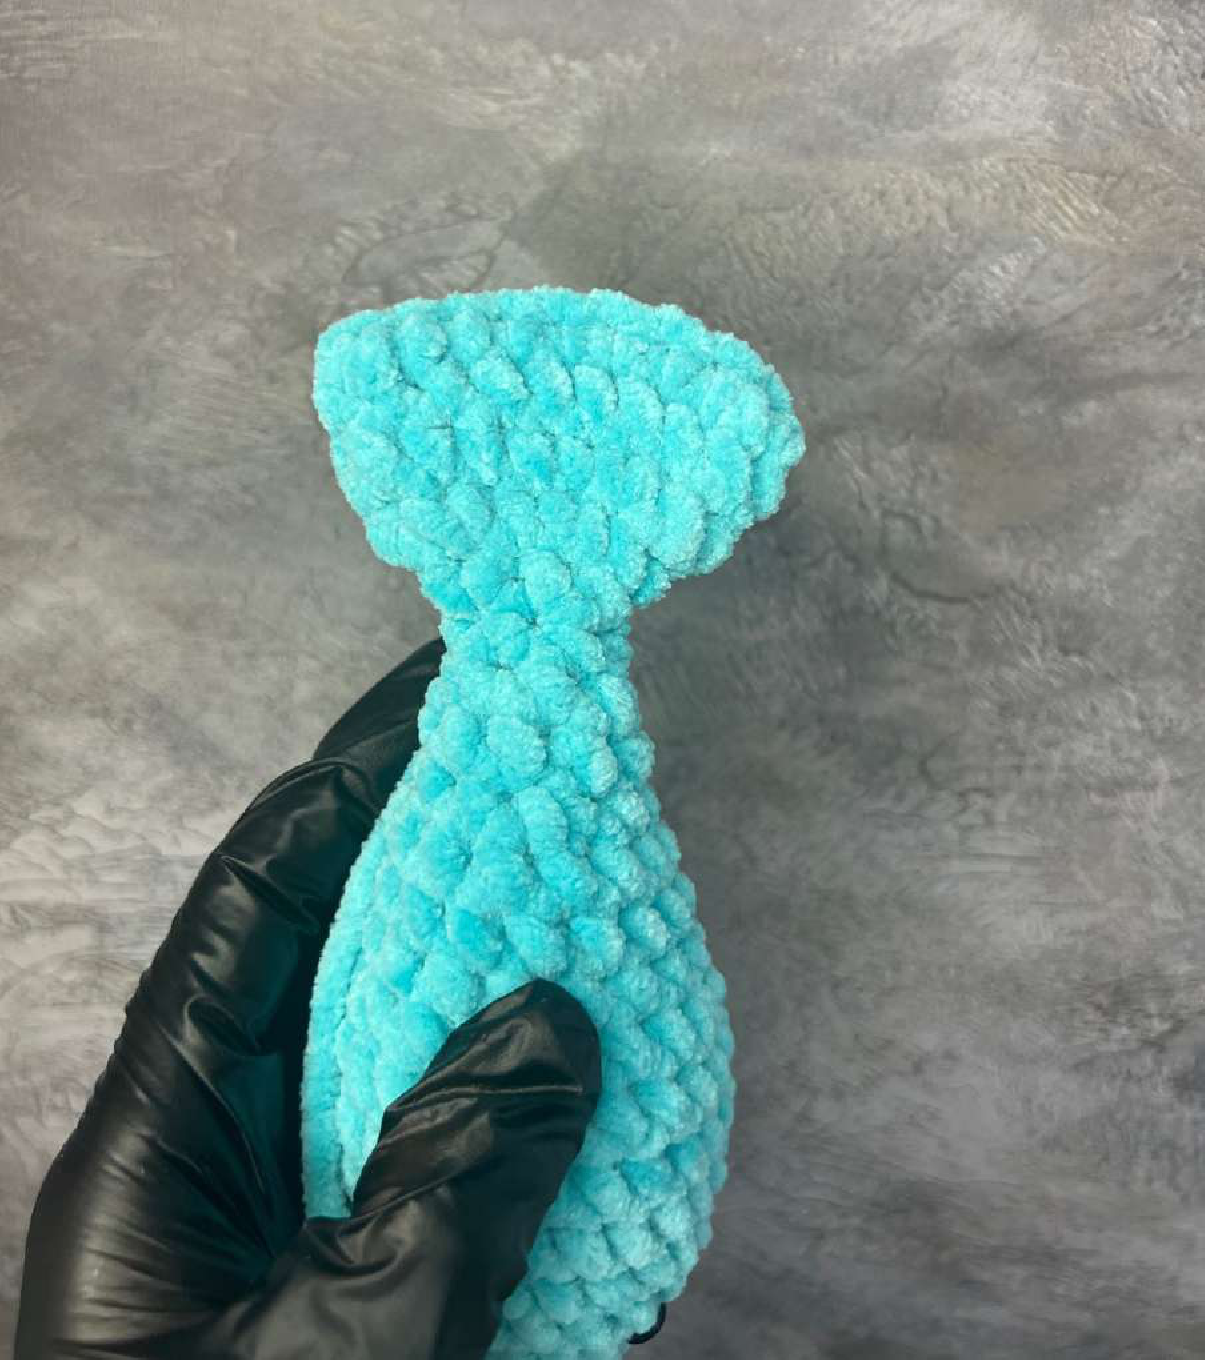
Finishing the Solid Tail: Crochet 6 more SC to bring your hook to the center of the tail. Fold the piece in half and crochet through both layers with 9 SC to close the tail. Fasten off and weave in the end.
Option 2: Double (Split) Tail
This option gives your dolphin a classic split tail fin. You will work two separate halves.
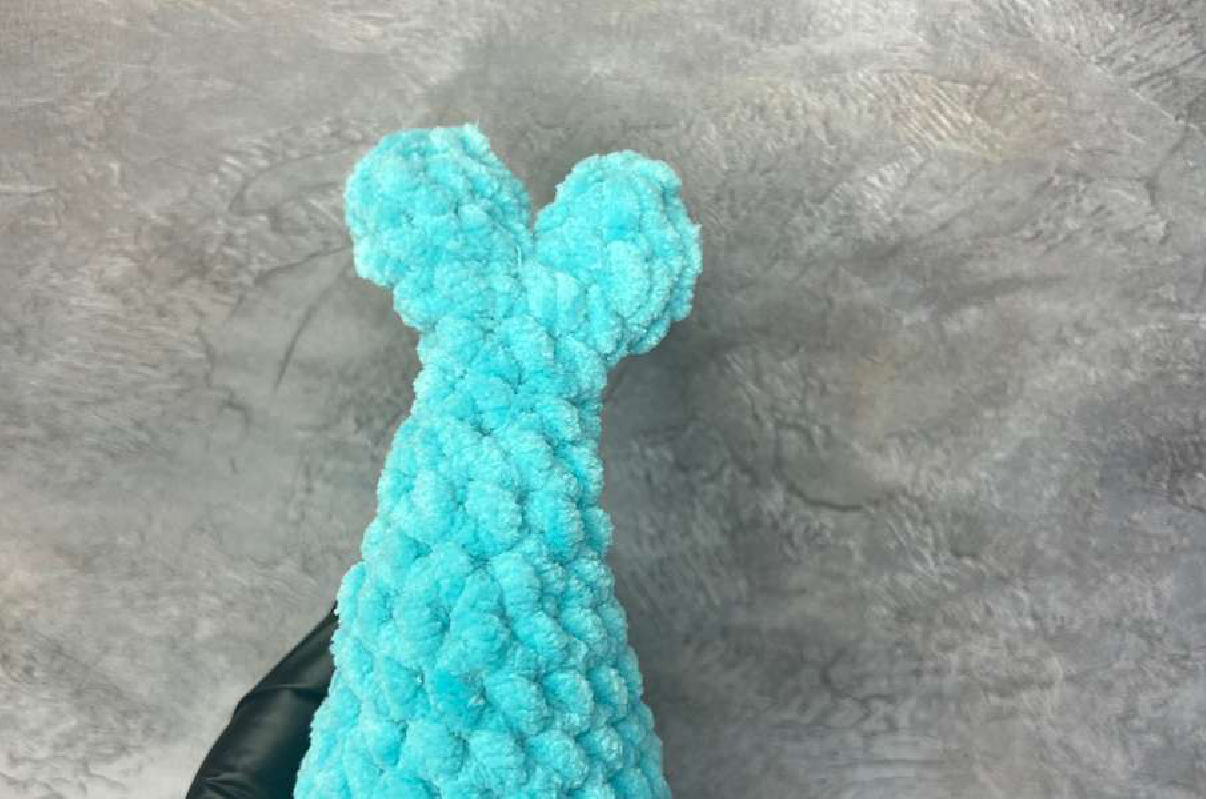
From the last 6 stitches on the dolphin’s body (where you didn’t cut the yarn):
First, crochet 2 SC, then crochet 1 SC into the next stitch. This effectively divides the remaining 6 stitches into two sections of 3 SC each. We will work on one section of 3 SC first.
First Half of Tail:
Finishing First Half: Close the opening by crocheting the remaining stitches together, or use a tapestry needle to sew shut. Fasten off.
Second Half of Tail:
Attach your yarn to one of the remaining 3 SC from the dolphin’s body that you didn’t use for the first half of the tail. Repeat the steps above:
Finishing Second Half: Close the opening as before. Fasten off and weave in all loose ends securely.
Congratulations!
You’ve just crocheted an adorable dolphin! Give it a hug, find it a cozy spot, or gift it to a loved one. We hope you enjoyed making this pattern.