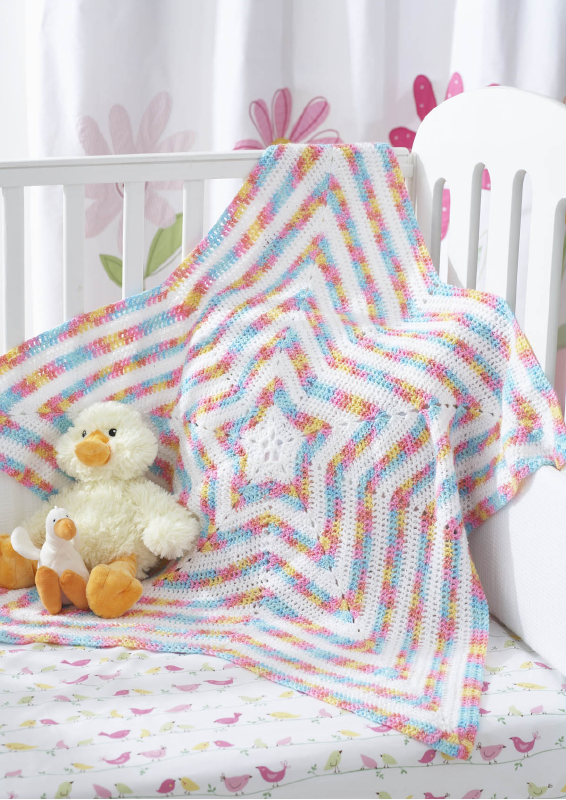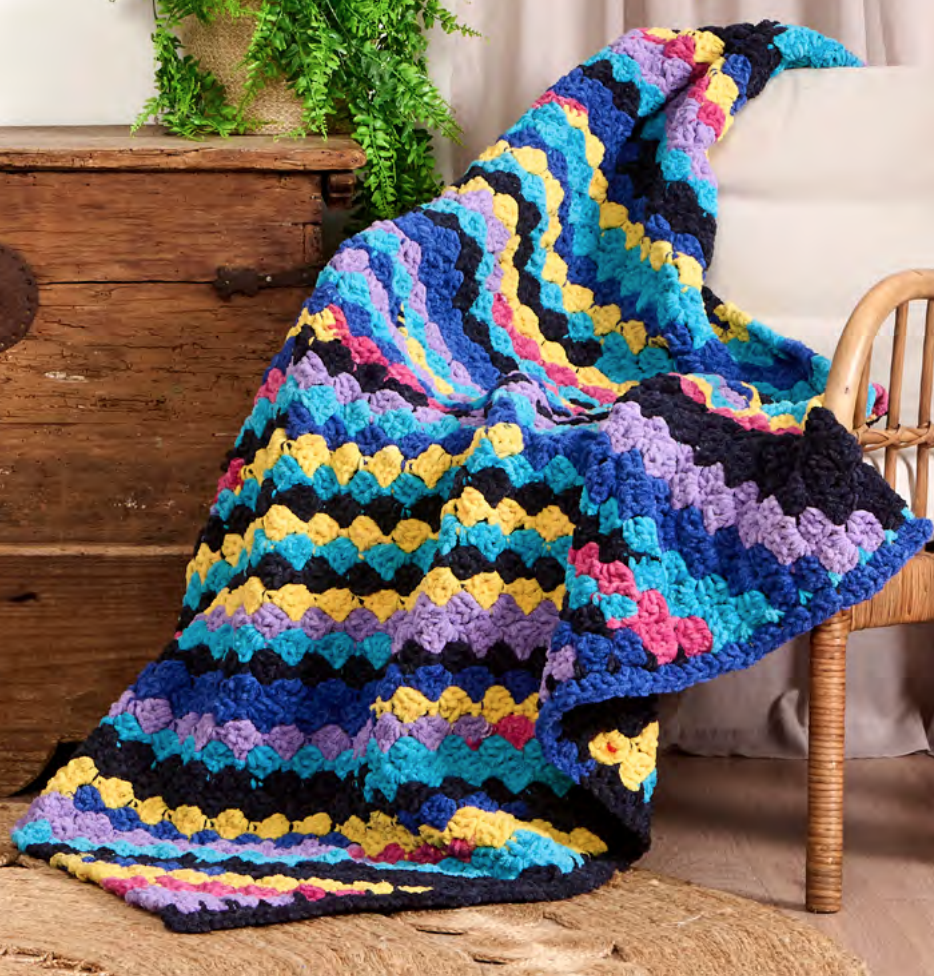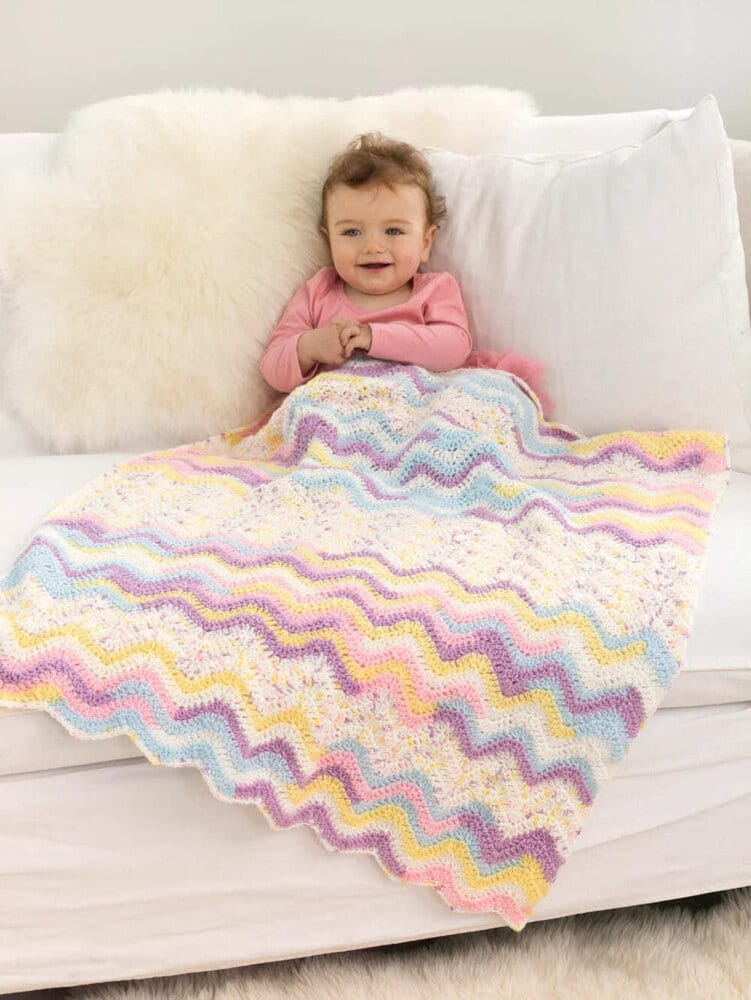
Crochet a Dreamy Ripple Baby Blanket: The Avalon Afghan Free Pattern
Let’s begin! Remember to relax and enjoy the rhythm of the ripple.
The Main Blanket
With Color A (‘Cotton Candy’), chain 129.

Row 1: Work 2 dc in the 4th ch from the hook (the 3 skipped chains count as your first dc). Work 1 dc in each of the next 3 chains. Now, work a (dc3tog) twice. Work 1 dc in each of the next 3 chains.
*Next, work 3 dc into each of the next 2 chains (this creates the ‘peak’). Work 1 dc in each of the next 3 chains. Work a (dc3tog) twice (this creates the ‘valley’). Work 1 dc in each of the next 3 chains.
Repeat from * across until you reach the very last chain. Work 3 dc in the last chain.
(You should now have 9 distinct ‘ripples’ starting to form. Don’t worry if your work is a bit curly at this stage – that’s totally normal for ripple stitches! It will flatten out after a few more rows.)
Row 2: Ch 3 (this counts as your first dc) and turn your work. Work 2 dc into the very first stitch. Work 1 dc in each of the next 3 stitches. Work a (dc3tog) twice. Work 1 dc in each of the next 3 stitches.
*Work 3 dc into each of the next 2 stitches. Work 1 dc in each of the next 3 stitches. Work a (dc3tog) twice. Work 1 dc in each of the next 3 stitches.
Repeat from * across until you reach the beginning chain from the previous row. Work 3 dc into the top of that beginning chain.
Rows 3 – 60 (The Stripe Sequence):
Now, you will simply repeat Row 2, changing colors according to the sequence below to create your stripes.
- Rows 3-6: Continue with Color A (for a total of 6 rows of A).
- Rows 7-10: Switch to Color B (‘Sprinkles’).
- Rows 11-24: Switch back to Color A.
- Rows 25-36: Switch back to Color B.
- Rows 37-50: Switch back to Color A.
- Rows 51-54: Switch back to Color B.
- Rows 55-60: Switch back to Color A.
At the end of Row 60, change to Color B in the very last stitch, but do not fasten off! We’re going straight into the border.
The Border
The border adds a clean, professional finish to your blanket.
Round 1: With Color B, ch 1 and turn. You’ll now be working around the entire blanket.
- First Long Edge: Work (3 sc in the next st, sc in next 5 sts, sc3tog, sc in next 5 sts) 8 times. Then, 3 sc in next st, sc in next 5 sts, sc3tog, sc in next 4 sts, 3 sc in the top of the beginning ch.
- Short Edge (ends of rows): Work sc stitches as evenly spaced as possible down the side of the blanket. A good rule of thumb is to place 2 sc around the post of each double crochet row.
- Second Long Edge (foundation chain): Work across the opposite side of your starting chain. Sc in the first 6 ch, 3 sc in the next ch, then (sc in next 5 ch, sc3tog, sc in next 5 ch, 3 sc in next ch) 8 times. Sc in each remaining ch to the end.
- Second Short Edge: Again, work sc stitches as evenly spaced as possible up the final side.
- Join with a sl st to the first sc you made. Fasten off.
Finishing
Take your tapestry needle and weave in all loose ends. And you’re done!
Tips for Success & Customization Ideas
- Color Play: The self-striping yarn makes this easy, but you could create your own stripe pattern with solid colors! Imagine this in a classic rainbow, a modern monochrome, or your favorite team’s colors.
- Sizing Up or Down: Want a bigger or smaller blanket? The stitch pattern is worked in a multiple of 14 chains. To make your blanket wider, simply add or subtract chains in groups of 14 from your starting chain. To make it longer or shorter, just work more or fewer rows.
- “Trust the Process!”: We’ll say it one more time—don’t panic if the first few rows look more like a ramen noodle than a ripple. It will settle down and flatten out beautifully as you add more rows.