Crochet Adorable Mini Bear: Master Class
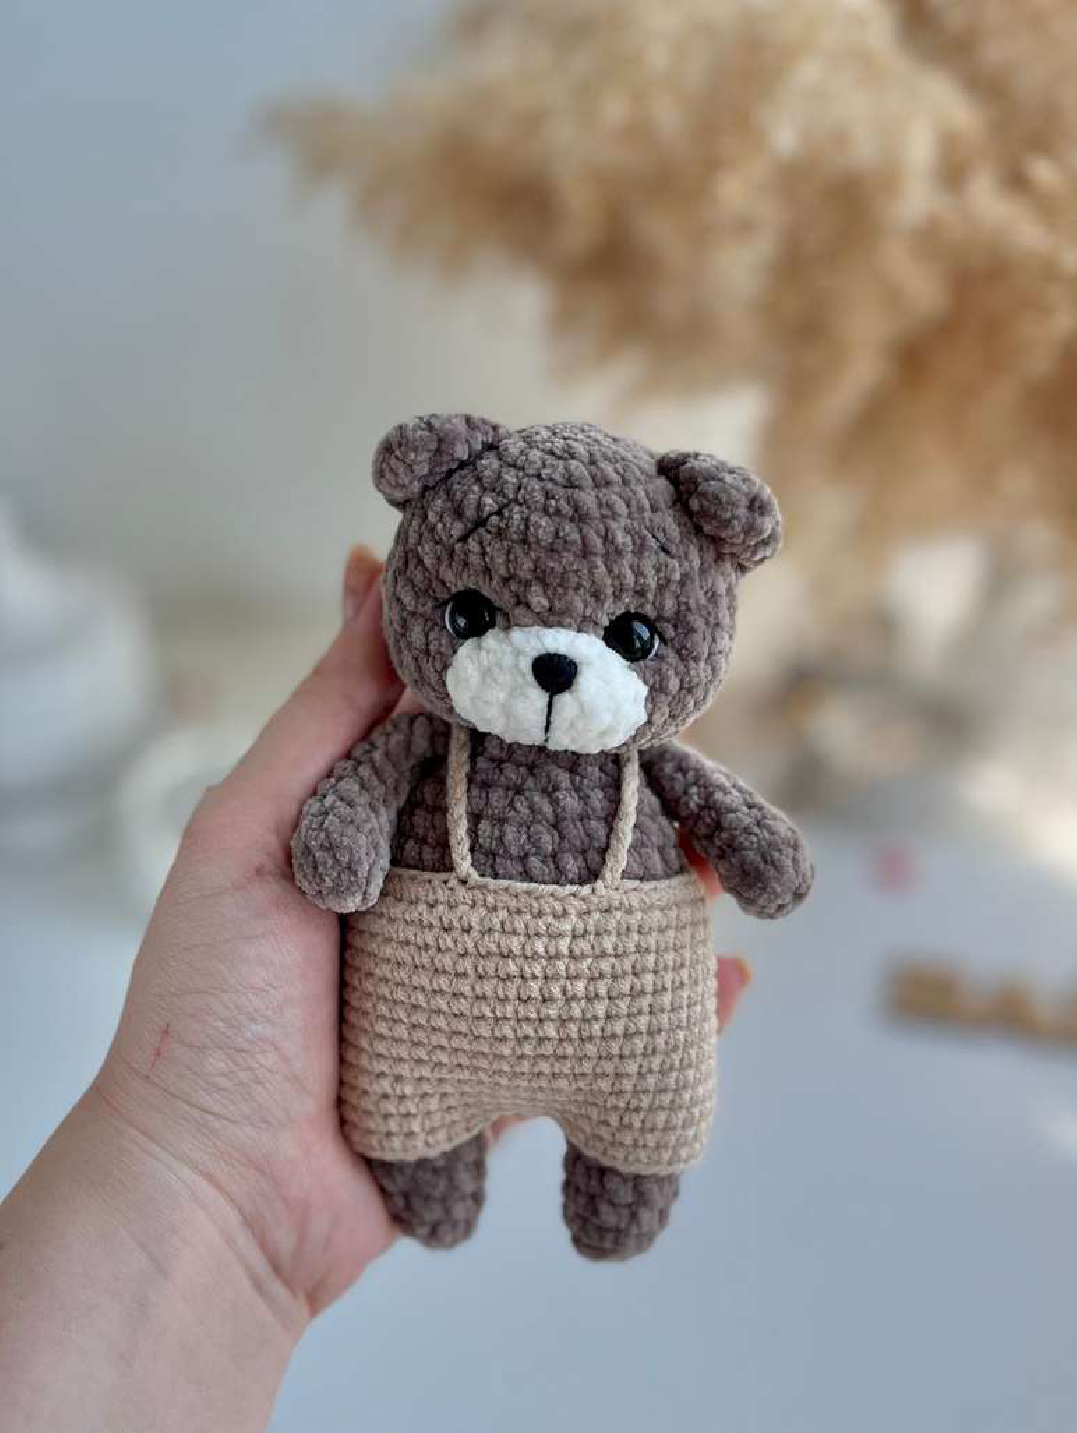
Welcome, dear crochet enthusiasts, to a delightful journey of creating your very own “Mini Bear”! Here at Crochetto, we believe in the magic of handmade creations, and this charming little bear is sure to capture your heart. Crafted with love by the talented Kristina P. (@shop.happy.toys), this master class is designed to guide you through every stitch, resulting in an adorable companion perfect for gifting or cherishing yourself. Get ready to pick up your hook and dive into this heartwarming project!
About This Pattern
Thank you for choosing this master class. We truly hope the process of crocheting this toy brings you immense pleasure, and that your finished bear becomes a cherished piece. This master class assumes basic crochet knowledge and does not contain fundamental crochet lessons.
When you share your beautiful creations, please remember to credit the author, Kristina P., by tagging @shop.happy.toys. If you encounter any questions along the way, Kristina is available to assist you.
The toy made using this master class will typically be around 14 cm in size. Please note that the final size of your toy may vary depending on your individual crochet tension, the specific hook size, and the type of yarn you choose to use.
Abbreviations
- MR – magic ring (amigurumi ring)
- CH – chain stitch
- SC – single crochet
- INC – increase
- DEC – decrease
- SL ST – slip stitch
Materials List
- YarnArt Dolce Baby yarn in 2 shades: main color for the body and a little extra for the muzzle (example: 754 and 745)
- Crochet hook size 3 mm
- Black safety eyes – 9 mm
- Stuffing
- Scissors, needles, stitch markers
- Thread for attaching parts and sculpting (strong sewing thread is recommended)
- Black sewing thread for embroidering the nose
- YarnArt Iris yarn (or similar) in black and white for embroidering the muzzle
For the Overalls:
- YarnArt Jeans yarn (example: shade No. 87)
- Crochet hook size 2 mm
Pattern Instructions
Head
- 6sc in MR (6)
- 6inc (12)
- (1sc, inc) x 6 (18)
- (2sc, inc) x 6 (24)
- (3sc, inc) x 6 (30)
- (4sc, inc) x 6 (36)
- 7-12. 36sc – 6 times (36)
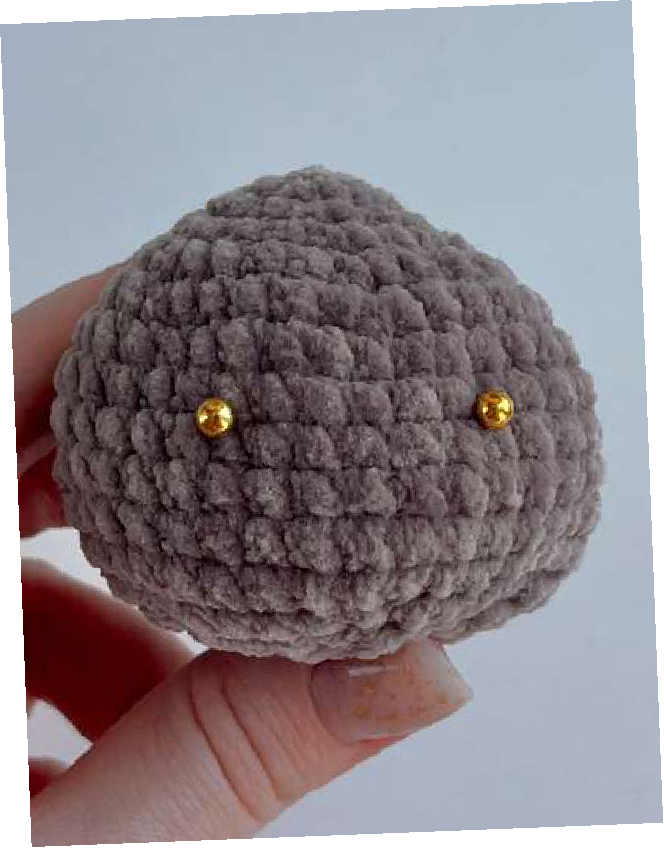
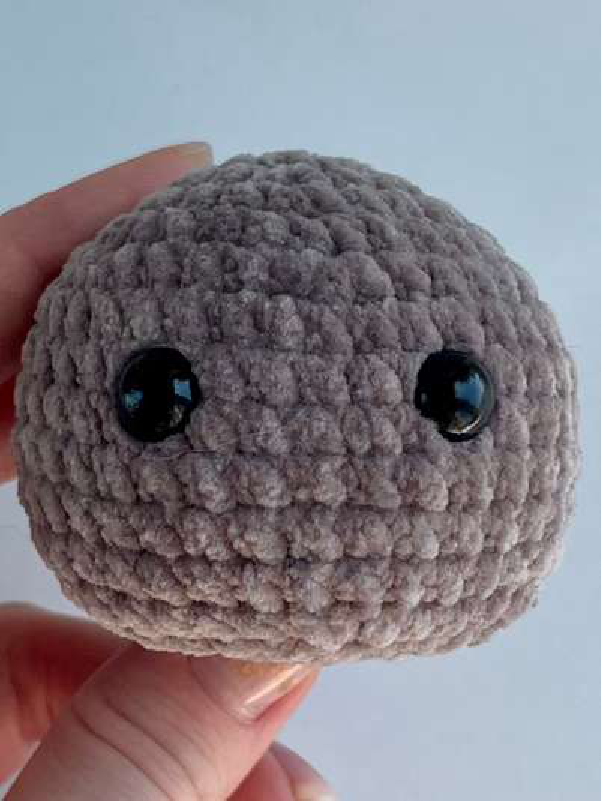
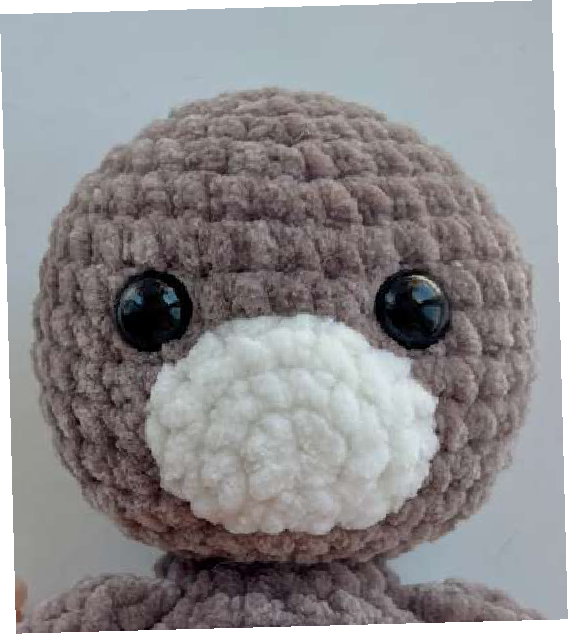
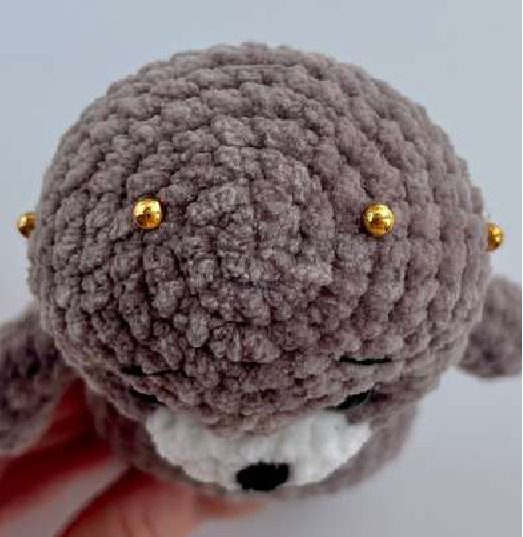
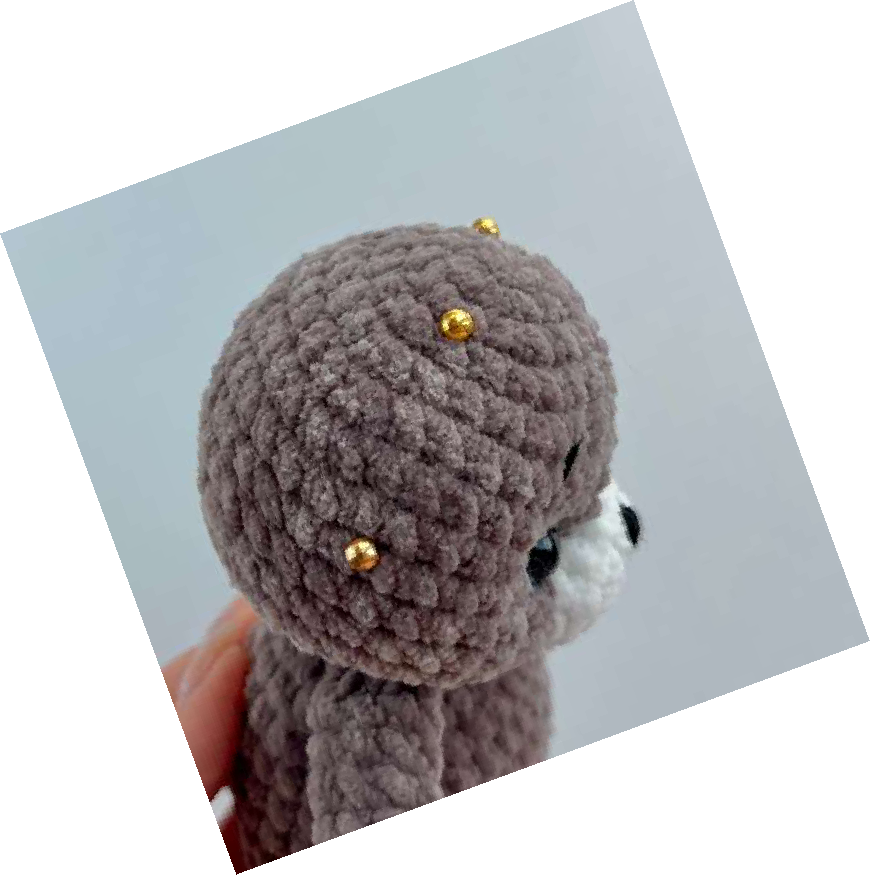
At this stage, insert the eyes between rows 8 and 9, at a distance of 6sc (from leg to leg, see photo). Don’t forget to stuff as you go.
- (4sc, dec) x 6 (30)
- (3sc, dec) x 6 (24)
- 12dec (12)
Fasten off, cut the yarn.
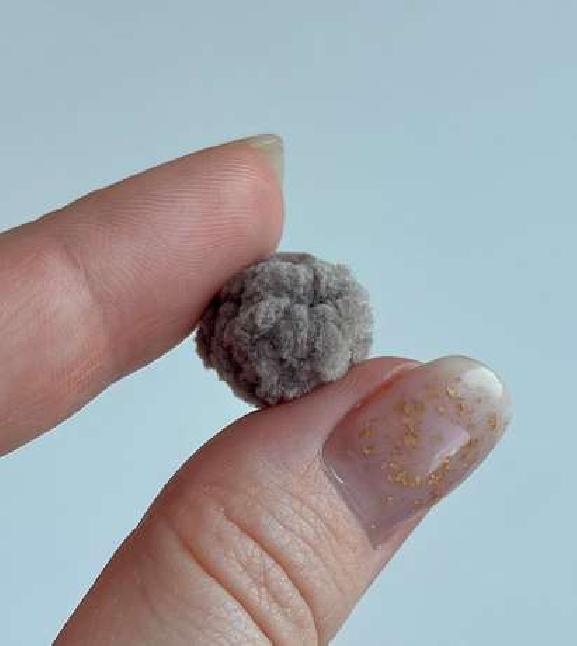
Muzzle
- 6sc in MR (6)
- 6inc (12)
- (3sc, inc) x 3 (15)
Fasten off, cut the yarn, leaving a long tail for sewing.
Note: The author prefers not to leave a tail, as all parts are sewn with strong sewing thread.
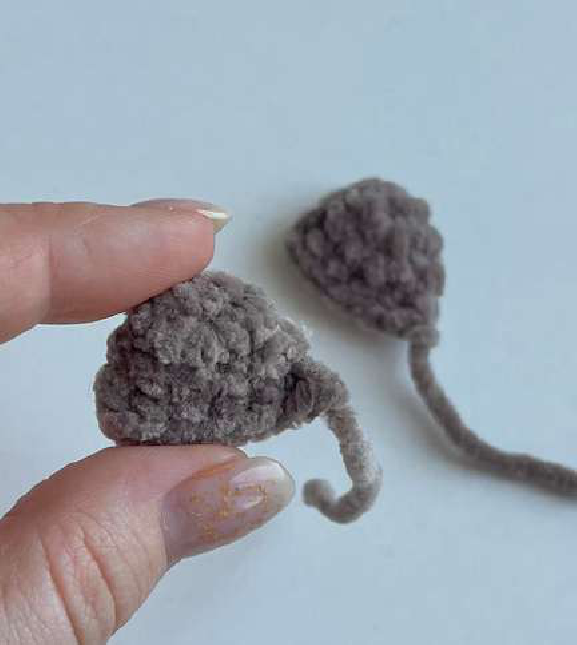
Ears (Make 2)
- 6sc in MR (6)
- (1sc, 2inc) x 2 (10)
- 10sc (10)
Fold in half and single crochet 5sc through both loops.
Fasten off, cut the yarn, leaving a long tail for sewing.
Note: The author prefers not to leave a tail, as all parts are sewn with strong sewing thread.
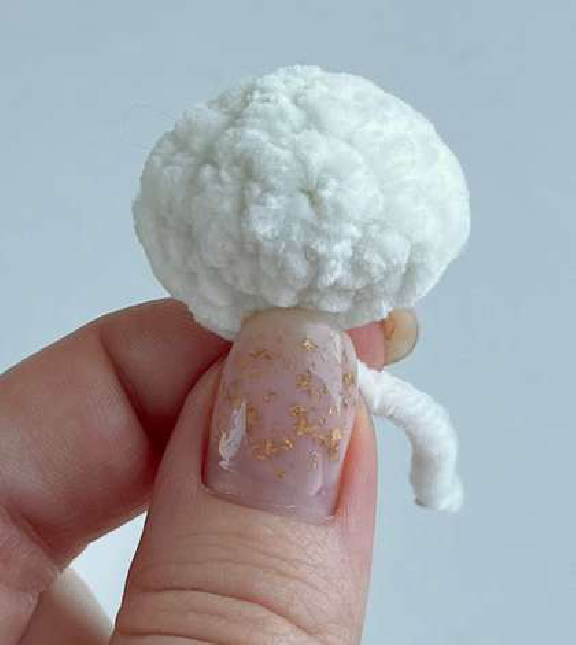
Tail
- 5sc in MR (5)
- 5sc (5)
Fasten off, cut the yarn, leaving a long tail for sewing.
Note: The author prefers not to leave a tail, as all parts are sewn with strong sewing thread.
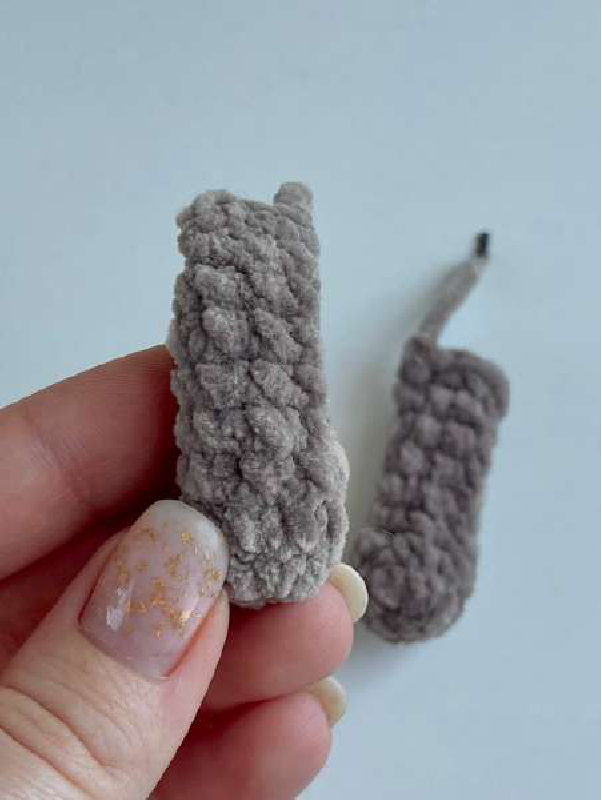
Arms (Make 2)
- 9sc in MR (9)
- 9sc (9)
- 2dec, 5sc (7)
- 4-6. 7sc – 3 times (7)
Stuff only the bottom of the arm.
- 5sc, dec (6)
- 6sc (6)
Fold in half and single crochet 3sc through both loops.
Fasten off, cut the yarn, leaving a tail 4-5 cm long.
Legs-Body
- 6sc in MR (6)
- (1sc, inc) x 3 (9)
- 9sc (9)
- (2sc, inc) x 3 (12)
- 5-6. 12sc – 2 times (12)
On the first leg, cut the yarn. On the second, continue to crochet:
4ch, join to the first leg.
The marker should be on the back.
- 12sc on leg, 4sc along chain, 12sc on leg, 4sc along chain (32)
- 5sc, inc, 16sc, inc, 9sc (34)
- 9-13. 34sc – 5 times (34)
- 14. (6sc, dec, 7sc, dec) x 2 (30)
- 15-16. 30sc – 2 times (30)
Stuff as you go.

- (3sc, dec) x 6 (24)
- (2sc, dec) x 6 (18)
In row 19, crochet the arms into the body. They should be directly above the legs. Mine turned out like this:
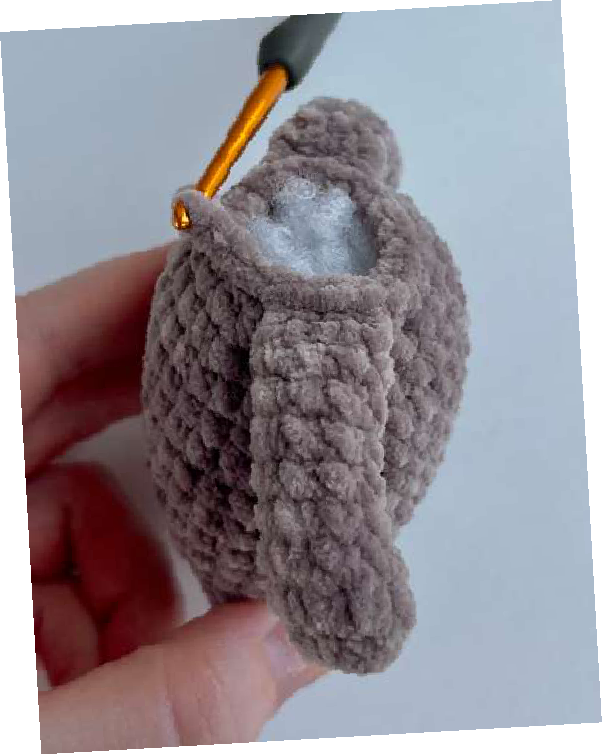
- 3sc, 3sc with arm, 6sc, 3sc with arm, 3sc (18)
- (1sc, dec) x 6 (12)
- 12sc (12)
- 22. 4sc (incomplete row) (12)

Assembly and Embroidery
-
- Sew the head to the body.
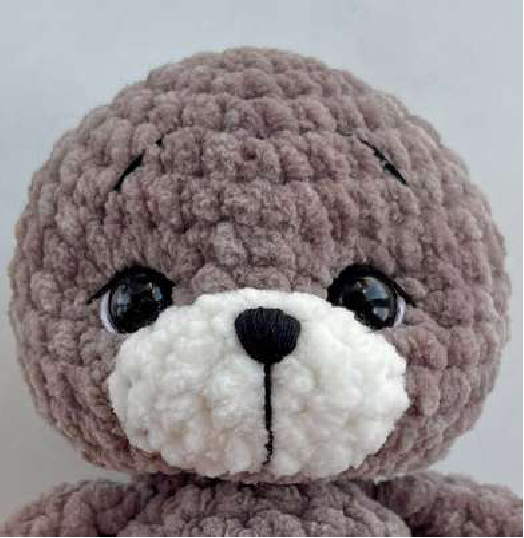
- Sew the muzzle between rows 9 and 13.
- Do the sculpting:
Insert needle at point 1, pull out at point 2, insert at point 3, pull out at point 1.
Insert needle at point 4 (1sc to the right), pull out at point 5, insert at point 6, pull out at point 4.
Insert needle at point 7 (1sc to the right), pull out at point 8, insert at point 9, pull out at point 7.
Insert needle at point 10 (1sc to the right), pull out at point 11, insert at point 12, pull out at point 10.

-
- Embroider the nose, whites of the eyes, eyelashes, and eyebrows.
-
- Sew the ears between rows 3 and 8.
-
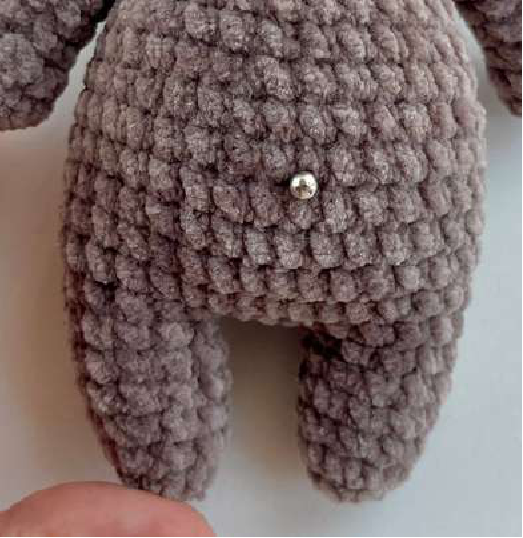
- Sew the tail between rows 11 and 12.
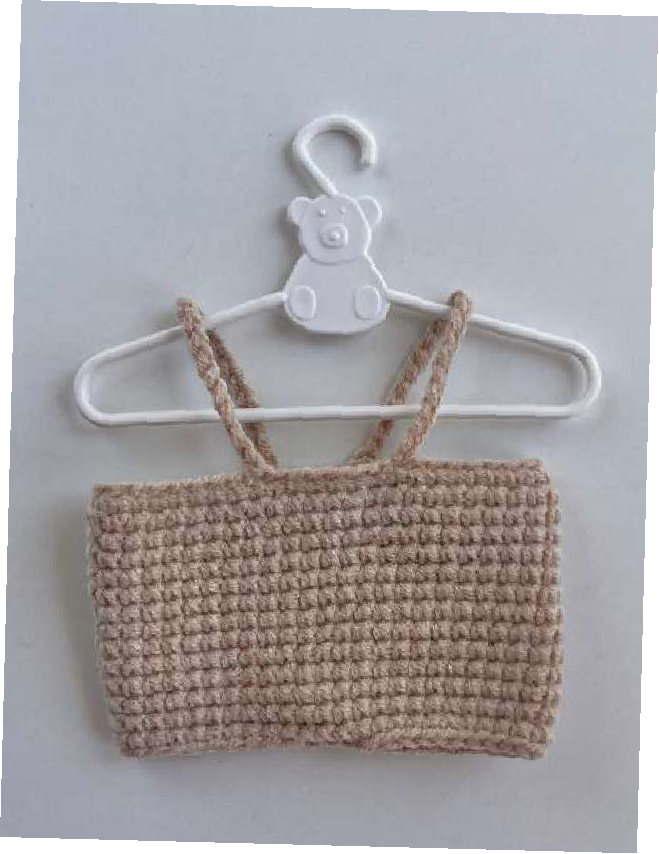
Overalls
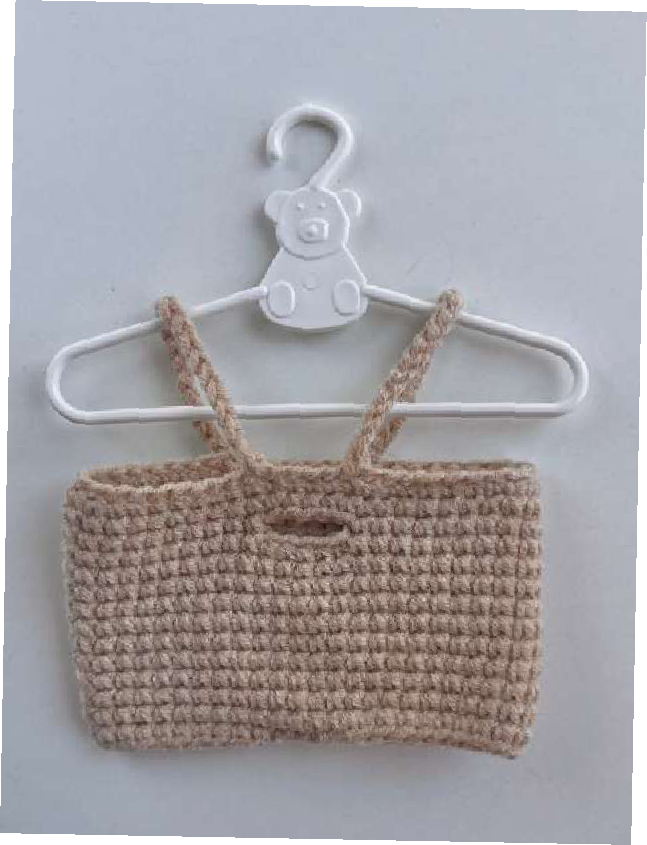
- Chain 48ch, join in a round with a sl st, then crochet in rounds:
- 2-3. 48sc
- 4. 34sc, 5ch, skip 5sc, 9sc
- 5-14. 48sc – 10 times
- 15. 35sc (incomplete row)
Cut the yarn, leaving a 15cm tail (for sewing the middle).
Sew 4sc in the middle (from the wrong side), leaving 20sc for each pant leg.
Straps: 20ch
6sc between the straps at the front.
4sc between the straps at the back.
We hope you thoroughly enjoyed crocheting your Mini Bear! There’s nothing quite like the satisfaction of bringing a charming amigurumi friend to life with your own hands. We love seeing your unique touches and creative expressions, so please share your finished bears with us on social media by tagging @shop.happy.toys and @Crochetto! Your beautiful work inspires our entire community.
Happy crocheting!