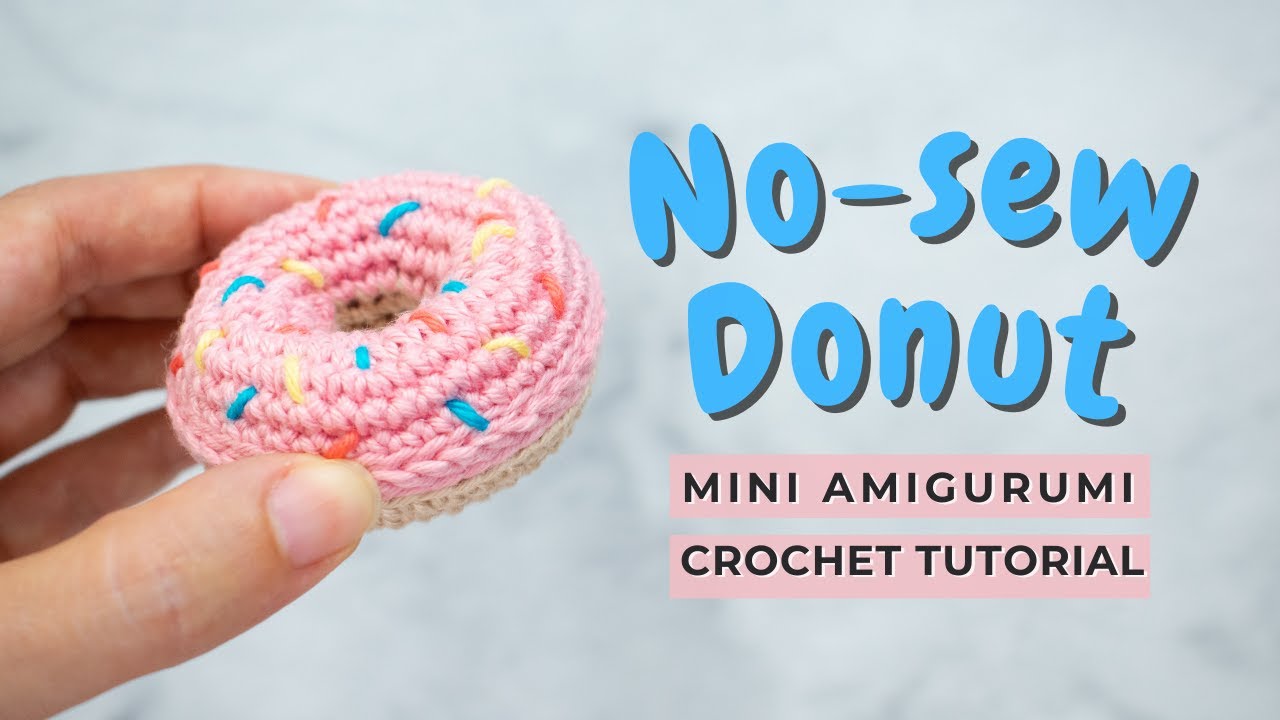
Create Your Own No-Sew Donut Amigurumi
Hey everyone! It’s Anna, and I’m thrilled to welcome you to Little Crochet Farm. Today, I’m going to show you how to crochet these cute little donuts. This pattern is a lot of fun, and the best part is that there’s no sewing involved. Everything is crocheted in one piece. You can pick your favorite colors and flavors to make your donuts as unique as you’d like!
Materials You’ll Need
Before we jump into creating your own no-sew donut amigurumi, gather these materials:
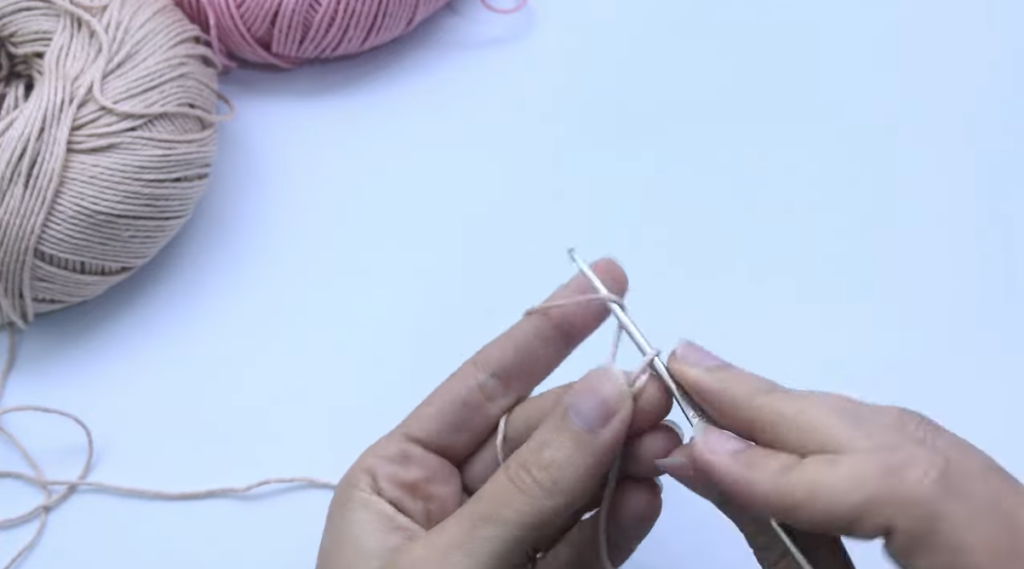
- Cotton yarn (any color you prefer)
- 2 mm crochet hook
- Stitch marker
- Scissors
The full list of materials and the written pattern details are in the video description. So let’s dive in!
Step 1: Start with the Bun
Begin with the yarn color you’ve chosen for the bun (not the topping). Chain 18 to get started.
If the pace is too quick, you can find tutorials in the description or ask questions in the comments.
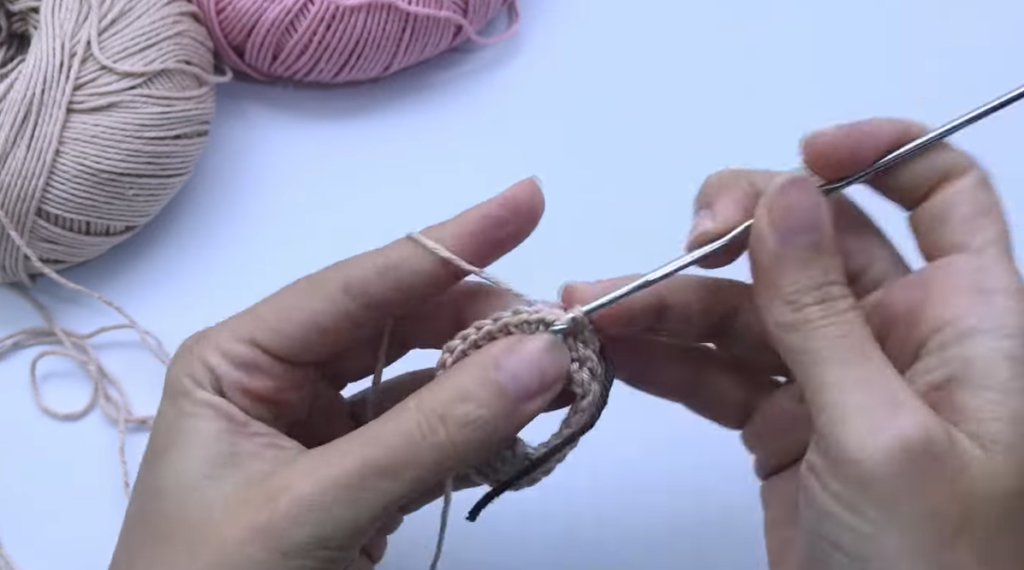
When you have your chain of 18, grab the first chain and work in the third loop (the one at the back). For the first round, do 18 single crochet stitches to form a circle.
Tip: The back loop is the one behind the chain. Don’t stress if you snag more than one loop—just keep crocheting.
Once done, it should look like this:
Add a stitch marker, and go to the second round. This time, work two single crochet stitches followed by an increase (two single crochet in one stitch) and repeat six times. You’ll end up with 24 stitches.
Step 2: Shape the Donut
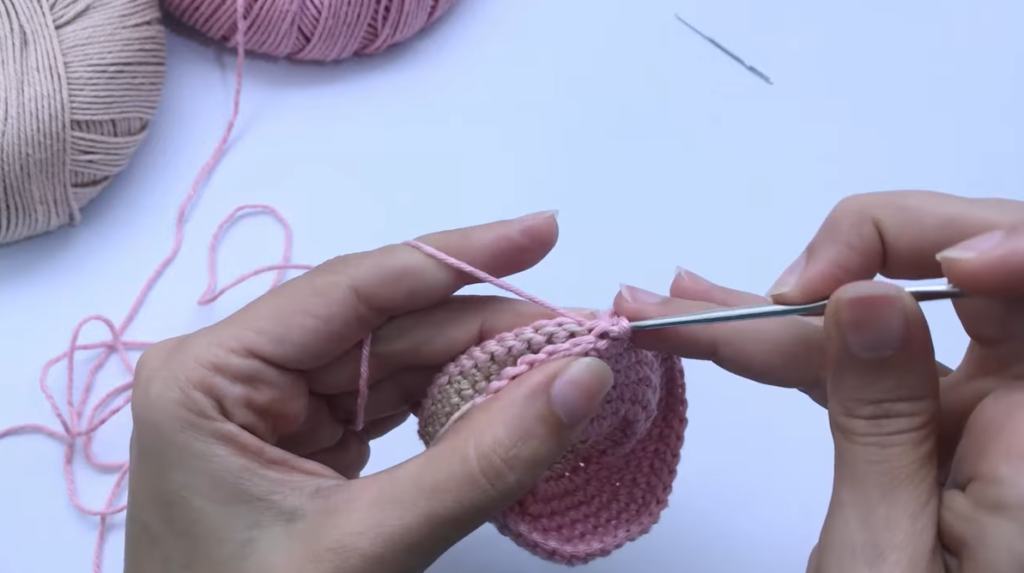
For round three, crochet three single stitches followed by an increase, repeating six times to reach 30 stitches. Check your stitch count at the end of each round to stay on track.
In round four, do four single crochet stitches followed by an increase, repeating six times to get 36 stitches.
For rounds five and six, simply crochet 36 single crochet stitches each round. Pause the video if needed and come back when ready.
After round six, it’s time for a color change.
Step 3: Change Color and Slip Stitch
Switching to your new color, crochet 36 back loop slip stitches. For this step, only use the back loop. If you’re new to color changes in amigurumi, check out the tutorial link in the description.
Once you finish round seven with slip stitches, cut the yarn and secure it with a knot. No need to hide the ends inside since they’ll be facing inward.
Step 4: Adding the Topping
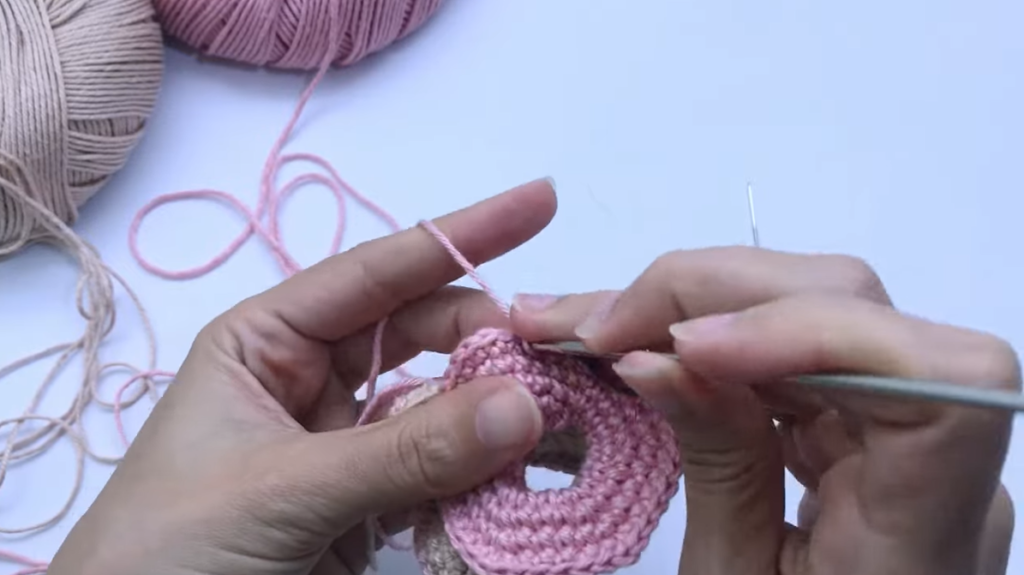
Let’s work on the topping! Turn your donut inside out, with the wrong side facing you. With your topping color (like light pink), introduce your yarn and chain one.
In this first round of the topping, crochet 18 single stitches in the foundation chain. Make sure to crochet into the third loop.
After this round, add your stitch marker and continue to round two. Work two single crochet stitches followed by an increase, repeating this six times for a total of 24 stitches.
In round three, do three single crochet stitches followed by an increase, and for round four, do four single crochet stitches followed by an increase, repeating six times to reach 36 stitches.
Step 5: Finish the Donut
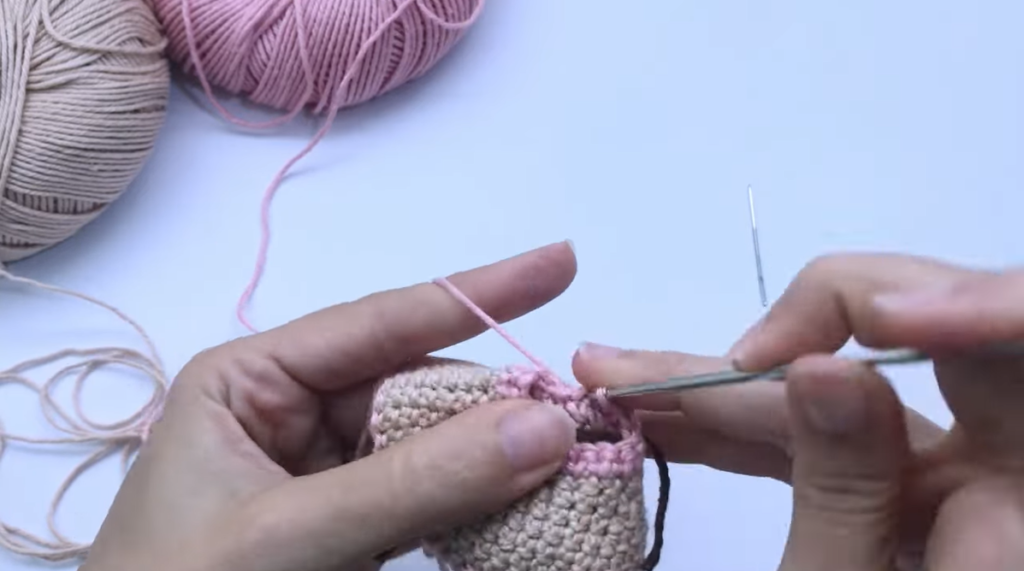
Now, you’ll make three rounds with 36 single crochet stitches. To finish the donut, crochet the sides together to close it. In round eight, make 36 slip stitches, catching the back loop on one side and the front loop on the opposite side.
As you get to the end, stop and add stuffing material to give the donut a nice shape. Add stuffing and keep slip stitching until you near the end of the round.
For round nine, completely close the donut by working slip stitches through both loops until you return to the starting point. Pull the yarn tail tight to close any gaps.
Finally, fasten off your yarn, cut a long tail, and pull it through the last loop to finish neatly. Weave in the ends to keep it tidy.
Step 6: Add Finishing Touches
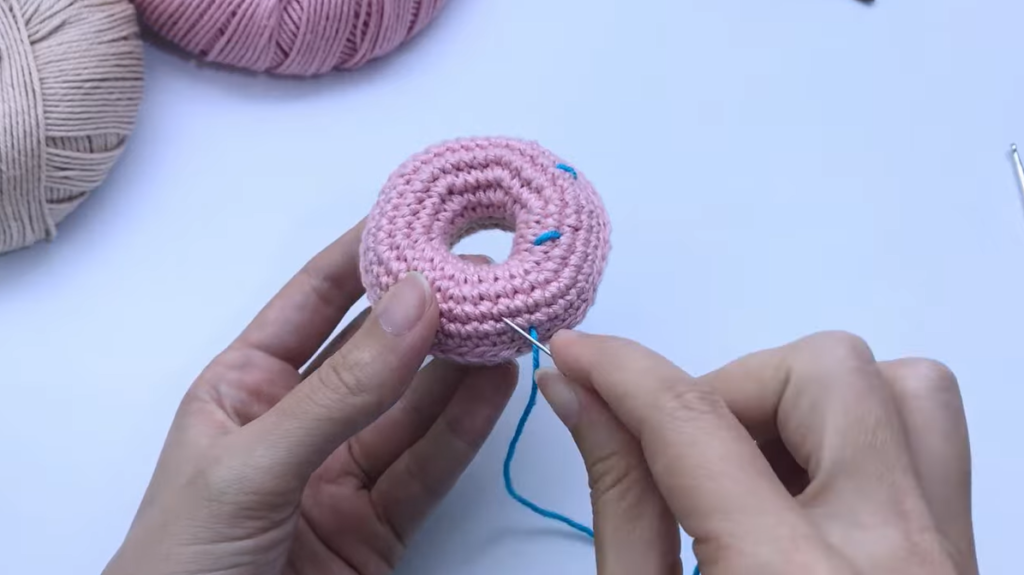
Feel free to add some fun details like sprinkles or a glaze effect using embroidery thread. Let your imagination go wild!
And there you have it—your no-sew donut amigurumi is done! Craft an entire collection using a variety of colors and designs.
Thanks for hanging out with me today! I hope you loved this pattern. Show off your creations—I’d be excited to see your ideas!

