
Crochet Drawstring Backpack: Step-by-Step Guide for Beginners in 2025
Learn how to create a stylish crochet drawstring backpack with this easy, step-by-step tutorial. Perfect for beginners, this guide will help you craft your own unique bag
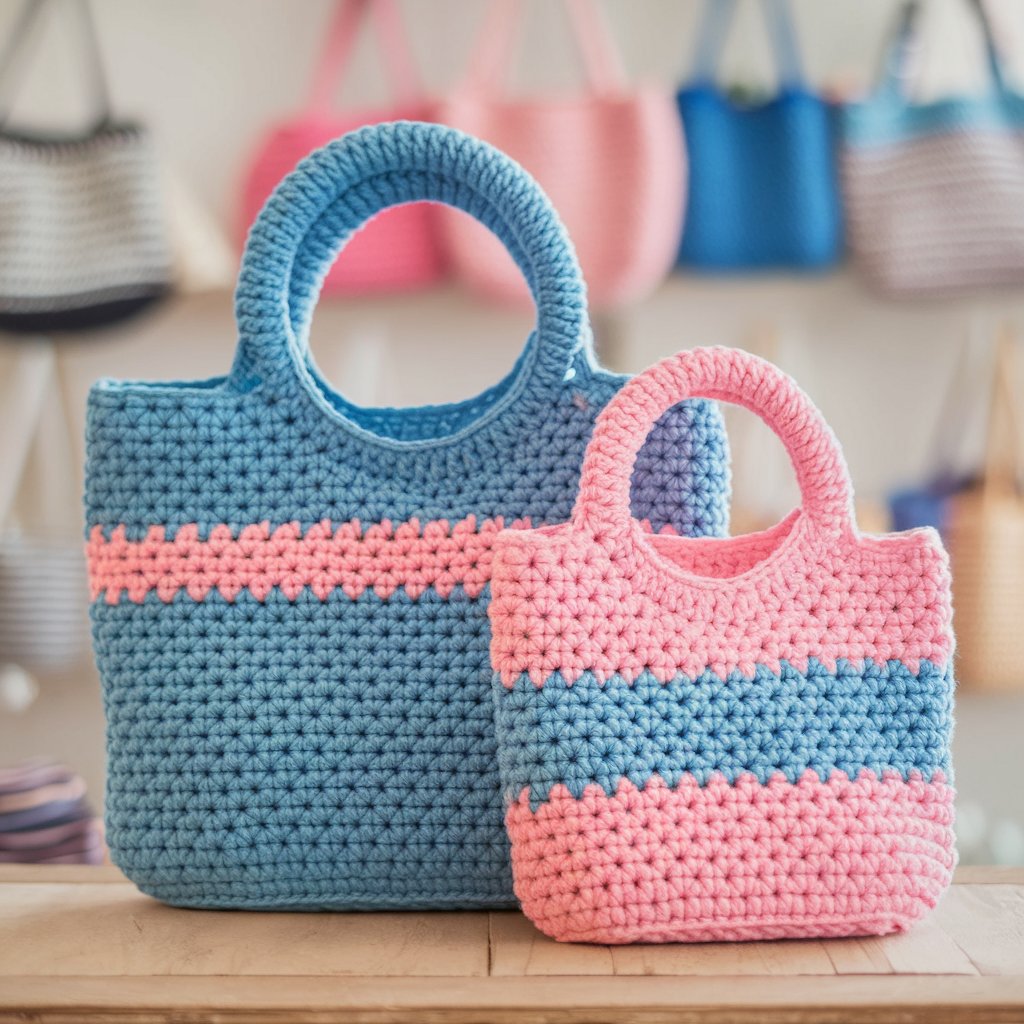
Crocheting a drawstring backpack is a fun and rewarding project, especially when made with soft and durable blanket yarn. This tutorial will guide you through creating a mini-sized backpack, perfect for toddlers and young children. If you’re interested in making a full-size version suitable for bigger kids or young adults,
Step-by-Step Guide for Beginners
Materials Needed:
- Two different colors of blanket yarn
- Crochet hooks: 6mm and 7mm
- Stitch marker
- Sewing needle
- Scissors
Step 1: Creating the Drawstrings
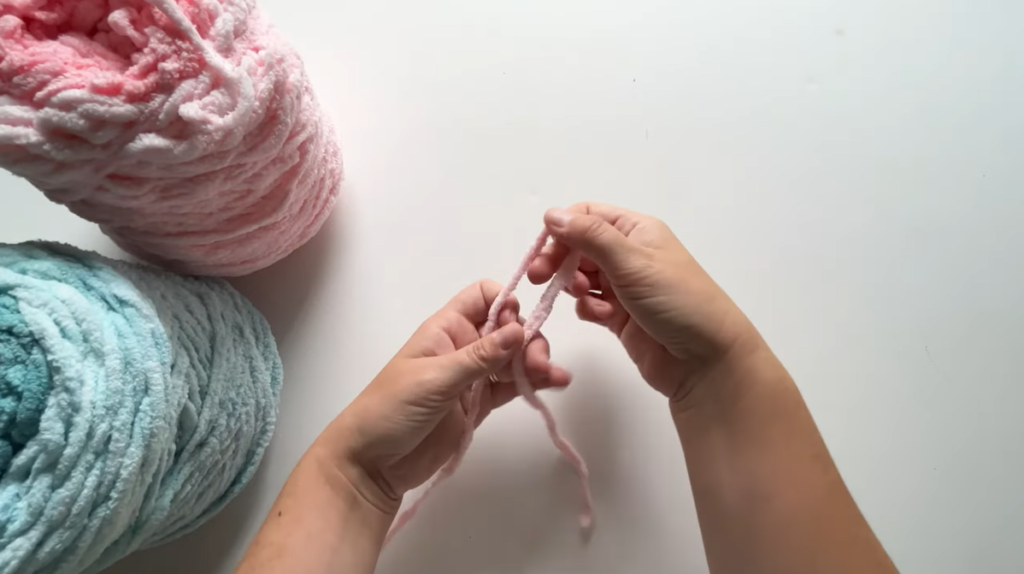
- Choose your preferred color for the drawstring and begin with a slip knot.
- Using the 6mm crochet hook, chain 110 stitches to create a tight chain.
- At the end, leave a long tail for sewing and stretch the drawstring to ensure it measures around 44 inches. Everyone’s tension differs, so check the length and adjust if necessary.
- Repeat this process for the second drawstring.
Step 2: Starting the Base of the Backpack

- Switch to the 7mm hook and pick your main color for the bag’s base.
- Begin with a chain of 21 stitches. In the second chain from the hook, single crochet, then single crochet in each stitch for 18 stitches.
- In the last chain, make four single crochets to turn the corner. Continue up the other side with single crochet in each stitch (18 stitches total).
- At the end, add three single crochets to complete the round and slip stitch to the first stitch to close the round. This is the only round you’ll close; all subsequent rounds will be worked in a continuous spiral.
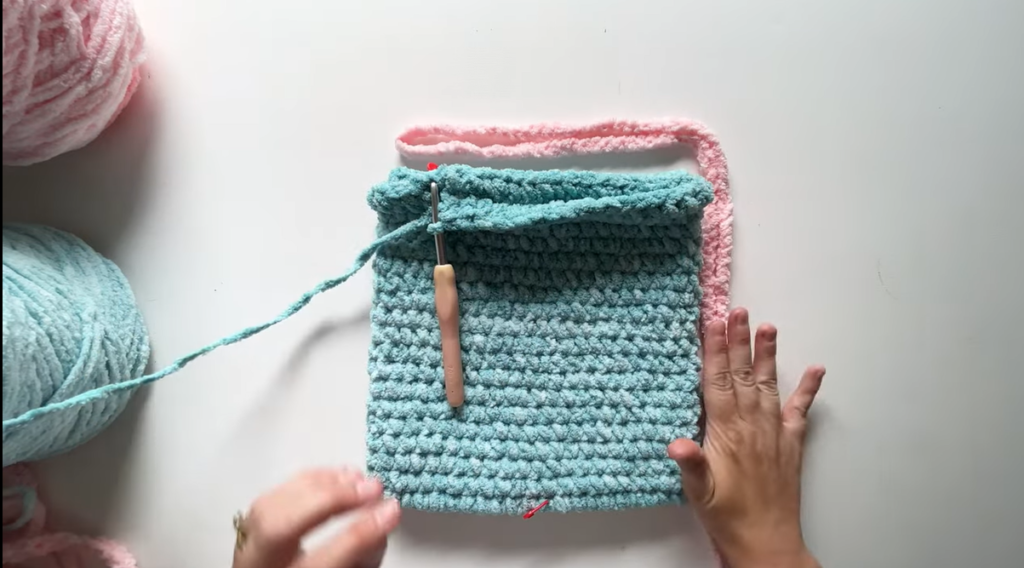
Step 3: Building the Bag Body
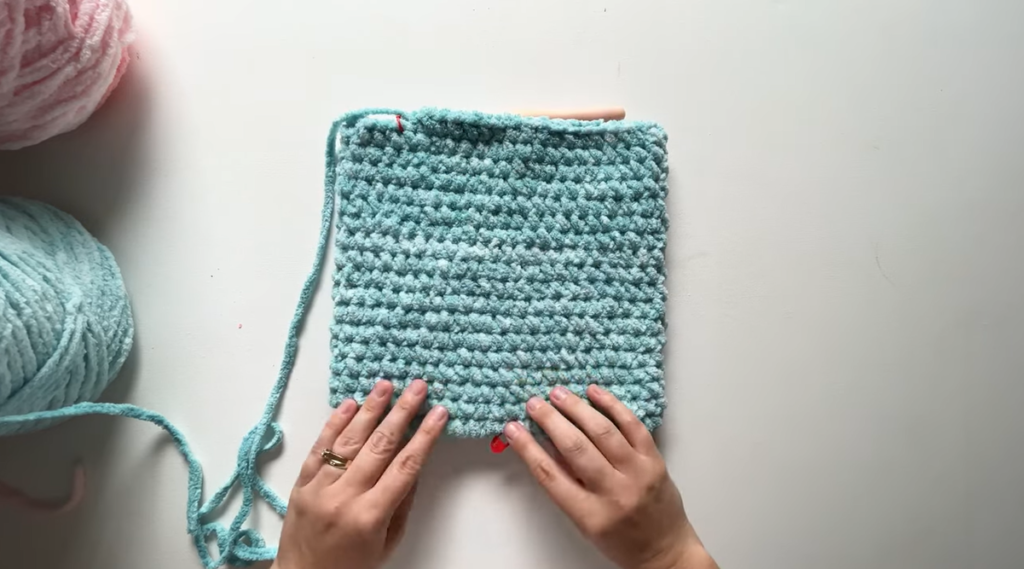
- After the base round, place a stitch marker on the front to designate the right side.
- Round 2: Chain one, then single crochet around for a total of 44 stitches. Use a stitch marker to mark the end of each round.
- Continue crocheting in continuous rounds (no joining) from rounds 3 to 18. This will build the main body of the backpack.
- Once you reach round 19, flip the bag right side out, with the stitch marker on the outside.
Step 4: Creating the Drawstring Envelope
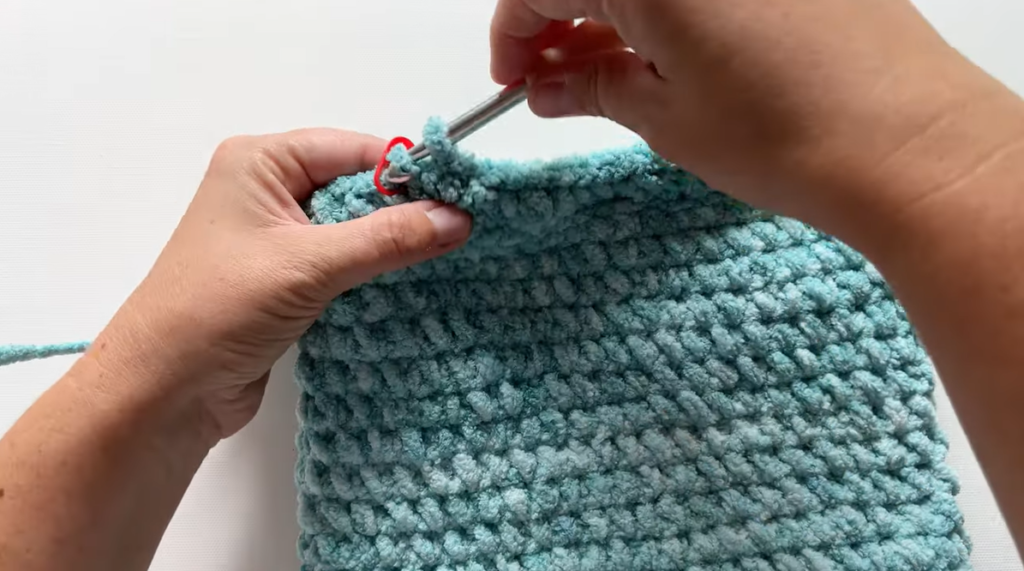
- Round 19: To make an envelope for the drawstrings, half double crochet into the back loop only for each stitch around, marking the start of this round with a stitch marker.
- In the next round, half double crochet into the front loop only from the previous round, ensuring you have a space for the drawstring to pass through.
- You’ll now have two sides of an envelope with a space in the middle where the drawstring can slide through.
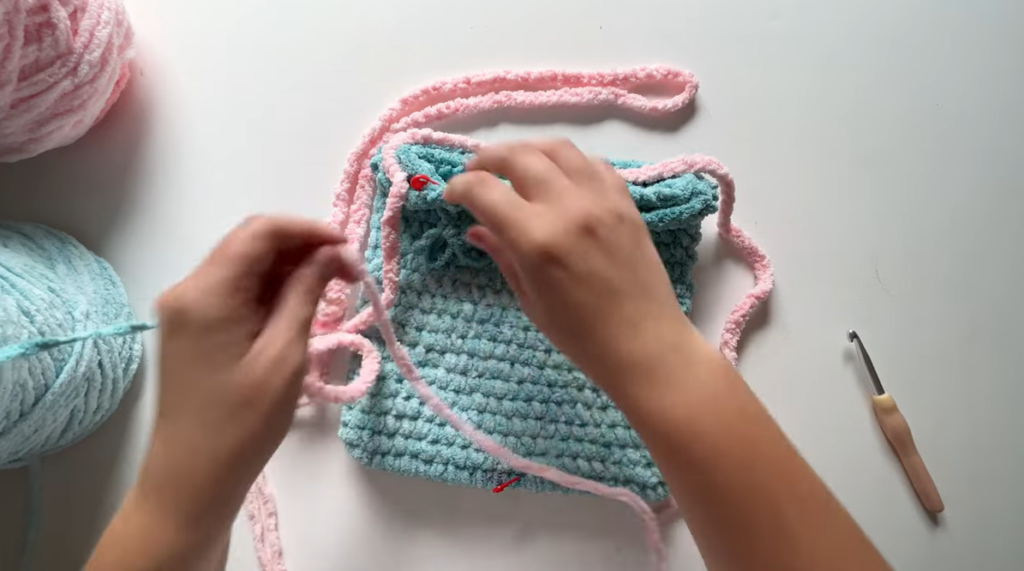
Step 5: Inserting the Drawstrings
- Fold each drawstring in half, laying one on the left and the other on the right, with both ends near the bag’s bottom.
- Starting with one drawstring, insert it between the two envelope sides, pulling one end through the space.
- Repeat on the opposite side with the second drawstring, ensuring each string passes through the corresponding side holes.
- To keep the strings in place, pull both ends through one of the half double crochet stitches on the bag’s side. Repeat with the other string on the opposite side.
Step 6: Sealing the Envelope
- Round 20: Slip stitch both sides of the envelope together, encasing the drawstrings inside. Avoid crocheting over the drawstrings to ensure they slide freely.
- Slip stitch around, making a total of 44 slip stitches to close the envelope. Then, tie off and weave in any loose ends.
Step 7: Joining the Drawstrings at the Bottom
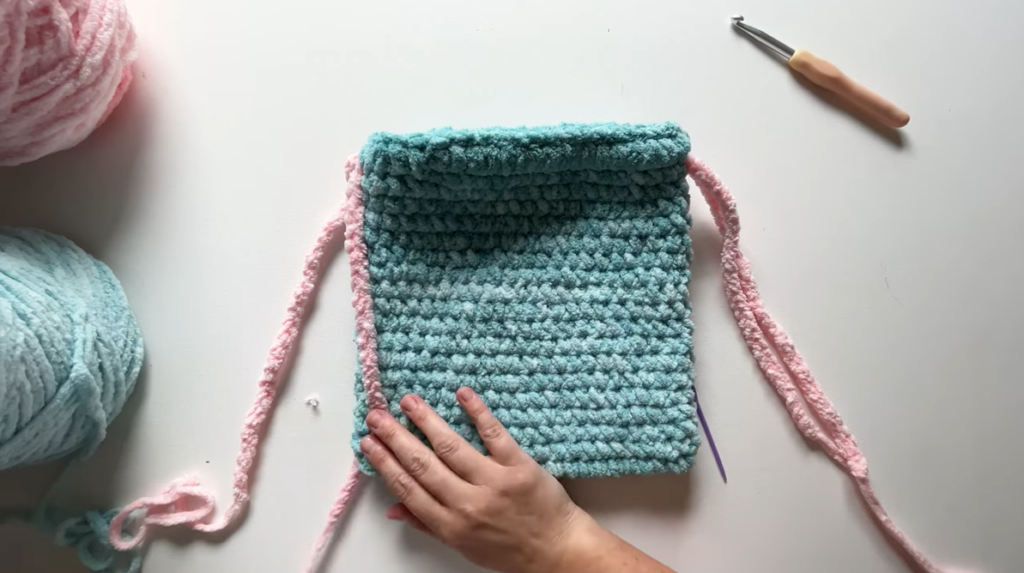
- Pull one end of each drawstring through the corner stitches at the bag’s bottom.
- Use a sewing needle to join the drawstring ends securely, creating a continuous loop for each drawstring.
This drawstring backpack is a simple and enjoyable project for any crochet enthusiast, and it makes a fantastic gift for little ones! The soft and colorful blanket yarn is both durable and cozy, making it ideal for children.