
Crochet Guitar Keychain & Bag Charm – A Fun DIY Project
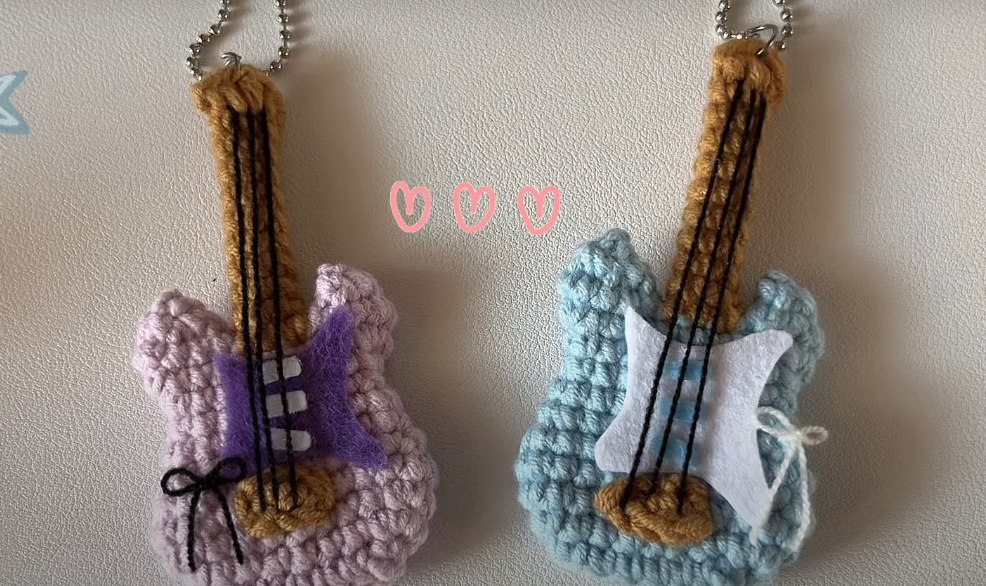
A tiny guitar that fits right in your pocket—crafted by your own hands! This crochet guitar keychain is a fun, quick project for both music lovers and crochet enthusiasts. With just a few simple stitches, you’ll create a stylish and personalized charm perfect for your keys, backpack, or as a thoughtful handmade gift.

How to Crochet a Guitar Keychain
Materials Needed:
- Crochet yarn (colors of your choice)
- Crochet hook
- Stitch marker
- Yarn needle
- Scissors
- Felt (white and blue) for decorations
- Glue (for attaching felt and strings)
Abbreviations:
- ch – chain
- sc – single crochet
- inc – increase (2 sc in the same stitch)
- dec – decrease (sc 2 together)
- sl st – slip stitch
Step-by-Step Crochet Guitar Pattern
Body of the Guitar
🔹 Round 1:
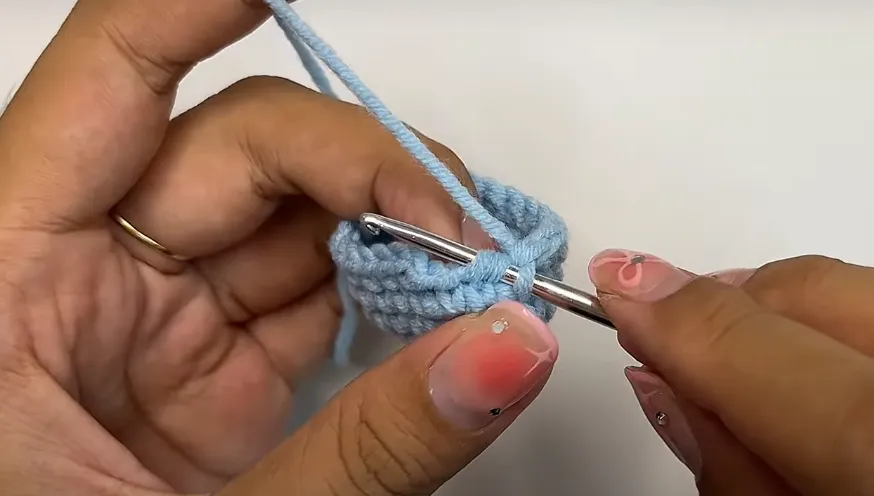
- Create a slip knot and chain 8.
- Starting from the 2nd chain from the hook, make 1 sc.
- Continue with 5 more sc along the chain.
- In the last chain, make 1 increase (2 sc in the same stitch).
- Crochet along the bottom of the chain, make 1 sc in the next stitch.
- Continue with 4 more sc, then 1 increase in the last stitch.
- You should have 15 sc at the end of this round.
- Join with a sl st to the first sc.
🔹 Round 2:
- Ch 1, sc in the same stitch.
- Sc 6, then make 3 sc in the next stitch (this forms the guitar’s curve).
- Sc 6, then 3 sc in the last stitch.
- Sl st to the first sc of this round.
🔹 Round 3:
- Ch 1, sc 7.
- Make 2 increases consecutively.
- Repeat sc 7, then 2 more increases.
- Sl st to join the round.
🔹 Round 4:
- Sc around (23 sc total).
- Close the round with a sl st.
🔹 Round 5:
- Ch 1, sc 1, then dec.
- Sc 10, then dec.
- Sc in the last stitch.
- Sl st to close the round.
📌 Tip: Continue shaping the body by following similar increase and decrease rounds, ensuring each round is neatly joined with a slip stitch.

Neck of the Guitar
🔹 Rounds 1-10:
- Mark where the neck will begin (center of the guitar body).
- Attach a different color yarn with a sl st, then ch 1.
- Sc in each marked stitch around (6 sc per round) to form a cylinder shape.
- Continue for 10 rounds to shape the neck.
🔹 Closing the Neck:
- Use sc to attach both sides of the neck together, ensuring it holds its shape.
Adding the Details
🎸 Bridge & Strings:
- Bridge: Chain 4, then sc from the 2nd chain across.
- Attach the piece to the body of the guitar.
- Cut separate strands of yarn and attach them from the bridge upwards to resemble strings.
🎸 Felt Decorations:
- Cut small felt pieces for the pickguard and pickups.
- Secure them onto the guitar body using glue.
Finishing Touches
✔️ Weave in all loose ends with a yarn needle.
✔️ Attach a keychain ring or clip as desired.
✔️ Double-check that all details are firmly secured.
Your crochet guitar keychain is ready to rock! 🎶 Whether it’s for yourself or as a handmade gift, this tiny guitar adds a unique touch to your everyday essentials. Happy crocheting! 🧶✨