
Crochet Pattern: Pink Bunny Keychain
Assembly:
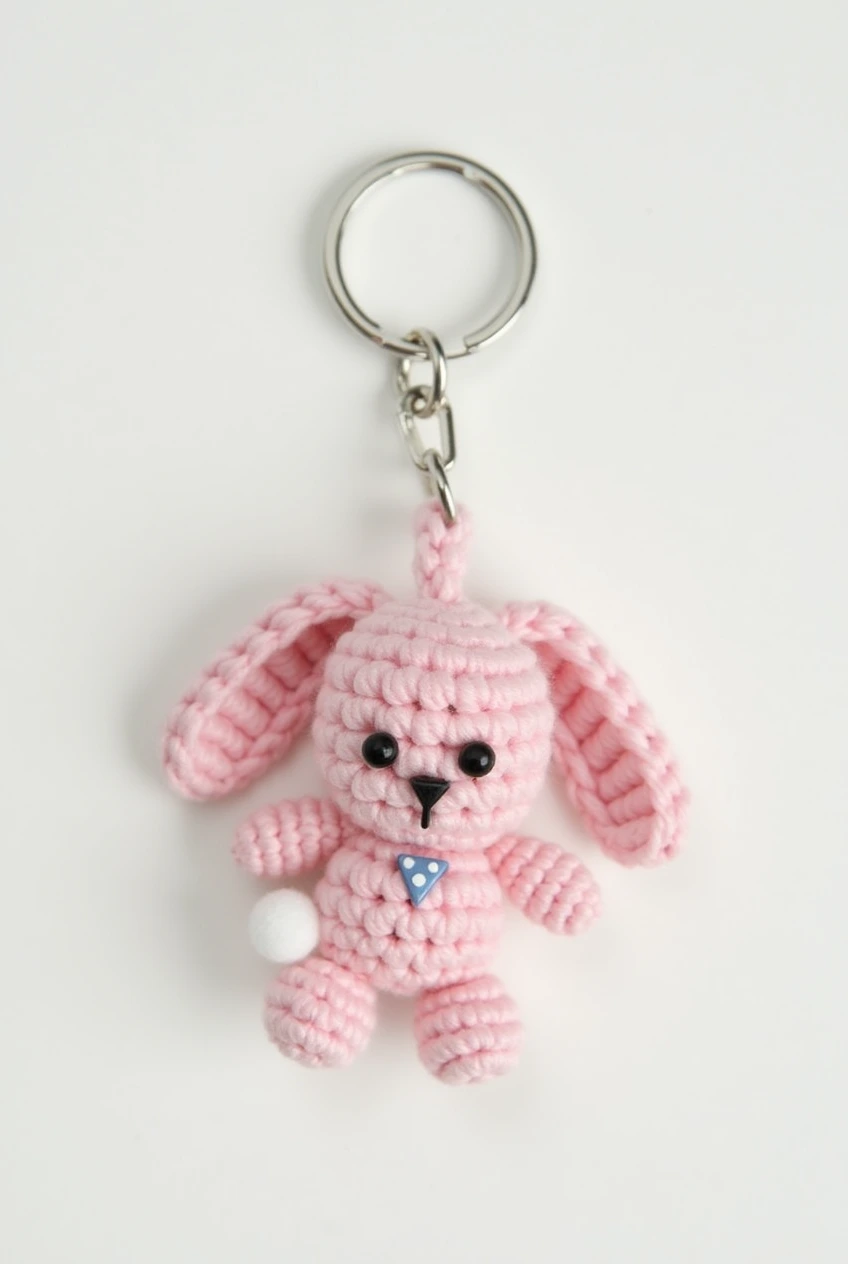
- Attach Head to Body: Using the long tail from the body, sew the bottom opening of the head securely to the top opening of the body. Use a whip stitch or mattress stitch, going around multiple times for strength. Weave in the end.
- Embroider Nose: Using black embroidery floss or thin yarn and a yarn needle, embroider a small nose centered between and slightly below the eyes. An inverted triangle or a simple ‘Y’ shape works well, similar to the picture. Secure the ends inside the head.
- Attach Ears: Position the ears on top of the head, slightly towards the back. Pinch the base of each ear slightly and sew it securely to the head using the yarn tails.
- Attach Arms: Sew the open end of each arm to the sides of the body, just below the head seam (around Rnd 3 or Rnd 4 of the body).
- Attach Legs: Sew the open end of each leg to the bottom front of the body (around Rnd 6 or Rnd 7 of the body), positioning them slightly apart.
- Attach Tail: Sew the white pom-pom securely to the back of the body, centered towards the bottom.
- Attach Button: If using, sew the decorative button onto the front center of the body, below the head seam.
- Attach Keychain: Open the jump ring on the keychain hardware (if it has one) or directly attach the split ring through the crocheted loop on the bunny’s head.
Tips:
- Crochet tightly to prevent stuffing from showing. If your stitches are too loose, go down a hook size.
- Stuff firmly, especially the head, to maintain shape. Use small amounts of stuffing at a time and push it into place with your finger or the end of your hook/a chopstick.
- When sewing parts together, ensure they are symmetrical and securely attached. Weave in all ends carefully.
Enjoy making your cute little bunny keychain! Let me know if any part is unclear. Happy crocheting!