Crochet These Adorable Plush Kittens Today!
Crochet Your Own Adorable Amigurumi Kitten
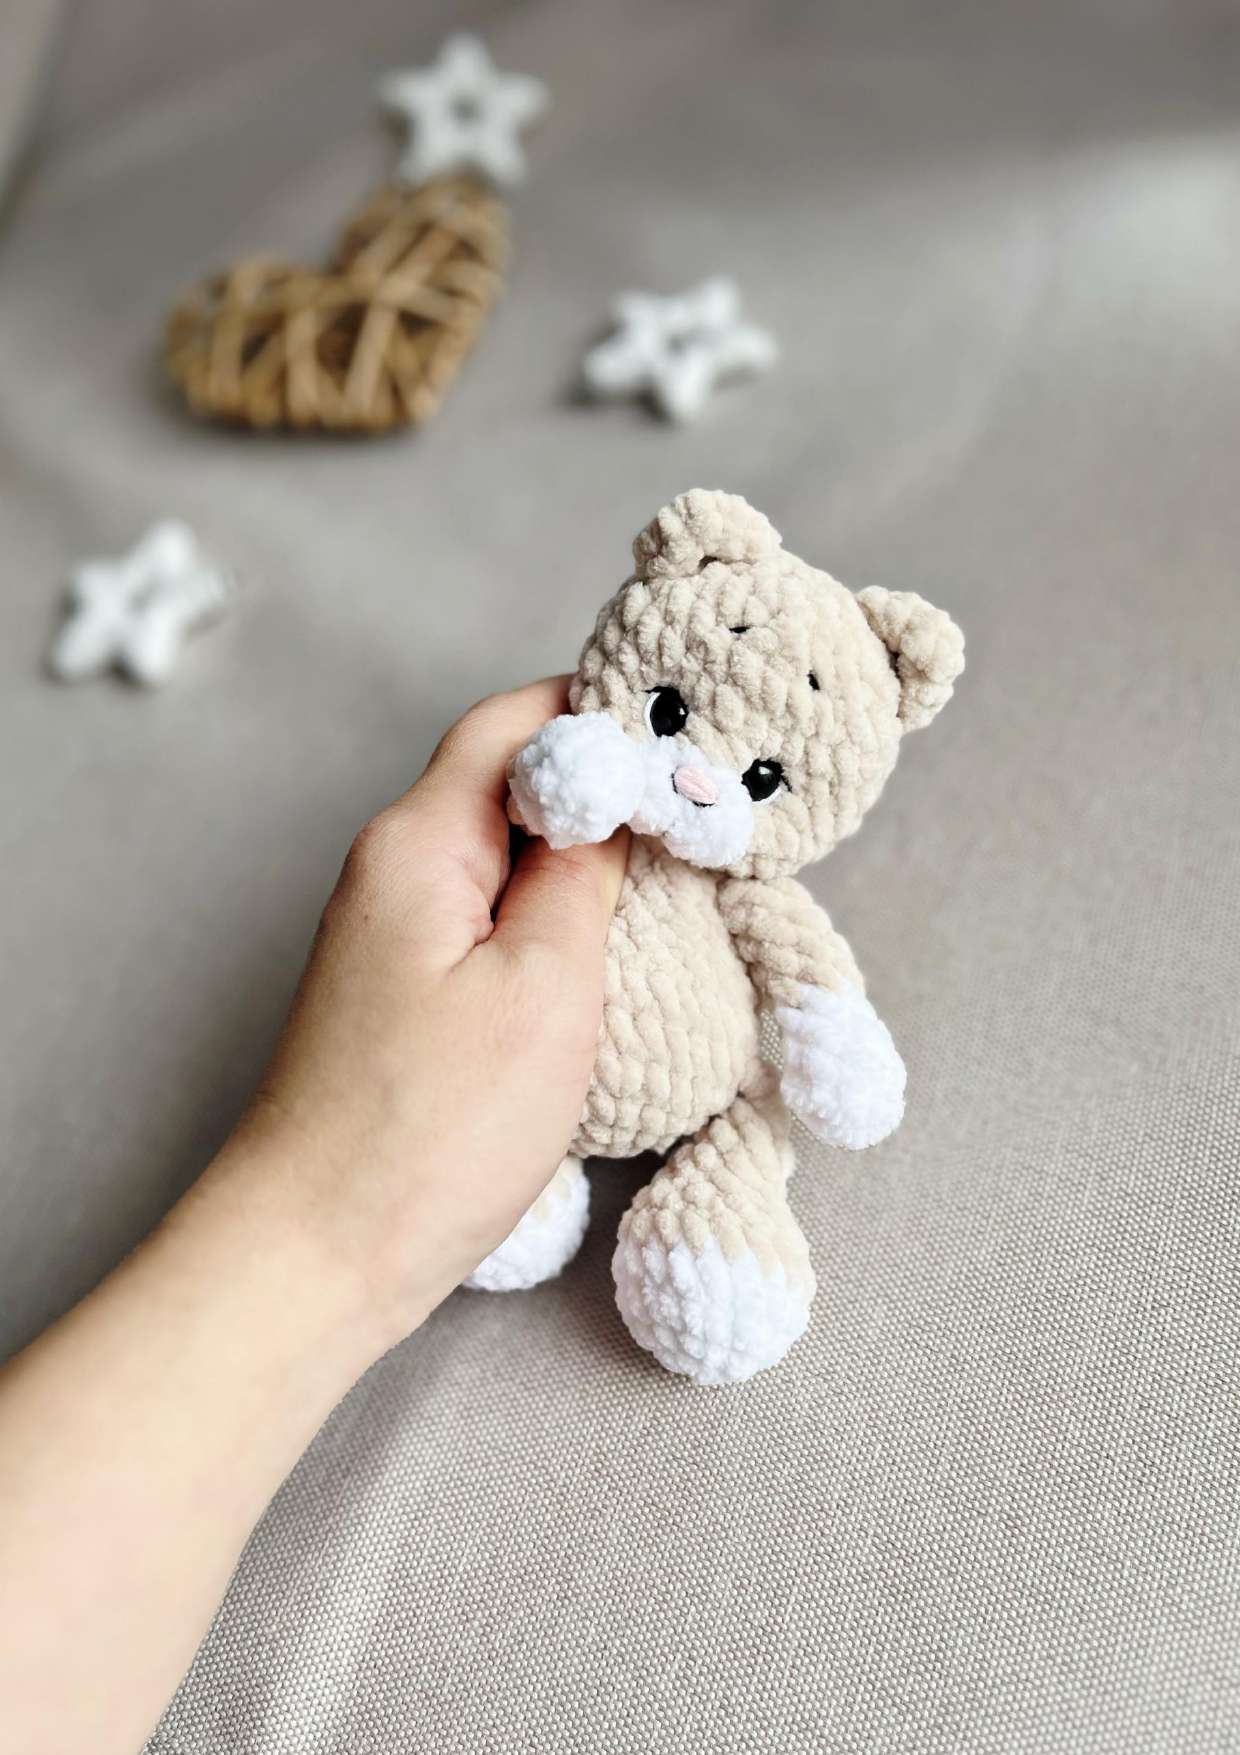
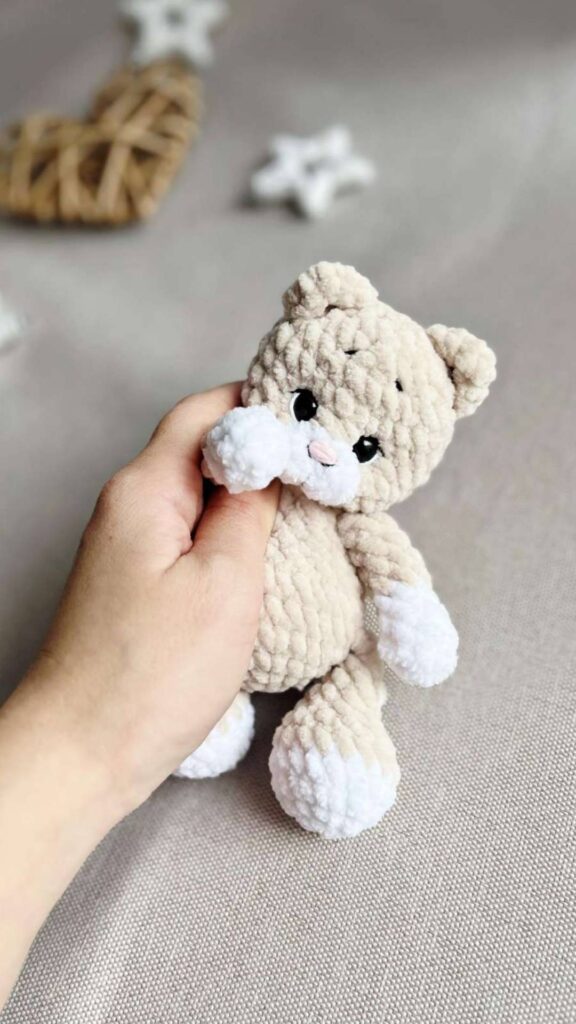
Get ready to create the cutest little companion with our latest free pattern! This delightful Amigurumi Kitten, designed by the talented Ipatova Yana, is not only incredibly charming but also perfect for using up those leftover yarn scraps. With its small size (approximately 15 cm when finished), it’s a quick and satisfying project that will surely bring a smile to your face. Let’s gather our materials and start crocheting your very own cuddly feline friend!
Pattern Designer: Ipatova Yana
Materials You’ll Need
- Plush yarn: WOLANS BUNNY BABY (colors 10034, 10001 suggested, but feel free to use your preferred colors)
- Crochet hook: 3.5 mm
- Safety eyes: 9 mm
- Semi-cotton yarn: YarnArt Jeans (pink for nose embroidery)
- Nylon thread for face sculpting (any strong thread can be used)
- Cotton thread: Black and white for face embroidery (eye whites, eyelashes, eyebrows, nose)
Note: This toy can be crocheted from yarn scraps as the consumption is very small. All parts are crocheted in, except for the snout and ears. The finished toy size is approximately 15 cm.
Abbreviations Used
- MR: Magic ring
- CH: Chain stitch
- SC: Single crochet
- INC: Increase
- DEC: Decrease
- HDC: Half double crochet
- x 6: Repeat six times (or indicated number)
- (24): Number of stitches in the row
Pattern Instructions
Upper Paws (Make 2)
- With an additional color (such as white), 7 single crochets in MR or 7 single crochets in the second chain from the hook. (7)
- -3. 7 SC. (2 rows)
- 1 DEC, 5 SC. (6)
Change thread to main color
- -8. 6 SC. (4 rows)
Stuff the paw up to row 4, fold in half, and crochet through both walls 3 SC. Cut the thread, leaving a small tail.
Lower Paws (Make 2)
- With white thread, 6 SC in MR. (6)
- 6 INC. (12)
- 4 SC, 4 INC, 4 SC. (16)
- 16 SC. (16)
- Change thread to grey, 16 SC. (16)
- 4 SC, 4 DEC, 4 SC. (12)
- 3 SC, 3 DEC, 3 SC. (9)
- -10. 9 SC. (3 rows)
Stuff the leg up to row 6, fold in half and crochet together 4 SC.
Tail (Make 1)
- 5 SC in MR or 2 CH, then 5 SC in the second chain from the hook. (5)
- -5. 5 SC. (4 rows)
Fold in half, crochet 2 SC together.
Snout (Make 1)
- 6 SC in MR or 2 CH, then 6 SC in the second chain from the hook. (6)
- 6 INC. (12)
Secure the thread, leaving a tail for sewing.
Ears (Make 2)
6 SC in MR or 2 CH, then 6 SC in the second chain from the hook. (6)
On the reverse side, 6 SC. Cut the thread.
Body + Head
- 6 single crochets in MR or 2 CH, then 6 SC in the second chain from the hook. (6)
- 6 INC. (12)
- (1 SC, 1 INC) x 6. (18)
- (2 SC, 1 INC) x 6. (24)
- (3 SC, 1 INC) x 6. (30)
- Crochet in legs and tail: 4 SC, together with a leg, 11 SC, 4 SC, together with a leg, 4 SC, crochet in tail 2 SC, 5 SC. (30)
- -8. 2 rows without changes 30 SC. (30)
- 4 SC, 6 DEC, 14 SC. (24)
- (2 SC, 1 DEC) x 6. (18)
- 18 SC. (18)
- (1 SC, 1 DEC) x 6. (12)
- 1 SC, crochet in arms: 2 SC, together with an arm, 3 SC, 2 SC, together with an arm, 4 SC. (12)
- (1 SC, 1 INC) x 6. (18)
- (2 SC, 1 INC) x 6. (24)
- (3 SC, 1 INC) x 6. (30)
- -20. 30 SC. (4 rows)
At this stage, sew the snout between rows 14 and 18. Attach the eyes between rows 18-19 at the base of the snout, at a distance of 4 stitches between the eye caps (6 stitches between the eye posts).
- (3 SC, 1 DEC) x 6. (24)
- (2 SC, 1 DEC) x 6. (18)
- (1 SC, 1 DEC) x 6. (12)
- 6 DEC. (6) Pull the opening closed and hide the thread inside the toy.
Finishing Touches
Ears Assembly
Sew the ears between rows 20 and 23. To make the ears triangular, sew the 3rd and 4th stitches of the ear together with sewing thread, making a couple of stitches to form a triangle.
Face Sculpting and Embroidery
Sculpting (refer to original pattern photos for visual guide): Insert the needle at point (1), bring it out at point (2), then the thread passes under the eye to point (3), return to point (1), and tie the two ends of the thread in a knot. Repeat with the second eye.
Sculpt the snout, embroider the nose, eyelashes, and eyebrows.
Your Cuddly Creation Awaits!
We hope you enjoyed crocheting your very own adorable Amigurumi Kitten! Let your creativity shine with color choices and facial expressions, and you’ll surely have a cherished little friend. We can’t wait to see your finished projects! Share your charming kittens with us on social media using #CrochettoKitten, or tag @Crochetto in your posts. Happy crocheting!