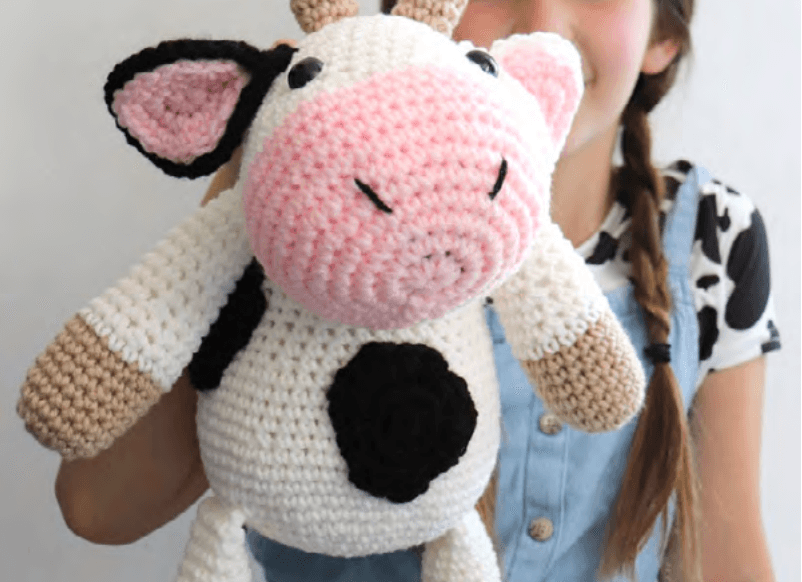
Crochet This Cute Hippo: Easy Pattern!
Get ready to crochet the cutest little hippo with this easy-to-follow pattern! Whether you’re making a gift or just want an adorable new friend, this quick project from Black – Master will have you smiling in no time.

Materials You’ll Need
- Hook: 4mm
- Yarn: Any plush yarn (black or desired color for hippo)
- Stuffing: Polyester fiberfill
- Needle: Tapestry needle for sewing and weaving in ends
- Eyes: 8-10mm safety eyes
- Scissors
Abbreviations Used
- SC: Single Crochet
- DEC: Decrease (single crochet two stitches together)
- INC: Increase (two single crochet in one stitch)
- MR: Amigurumi Ring (also known as Magic Ring or Magic Circle)
- SL ST: Slip Stitch
- BALL: 6 Double Crochet Cluster (Yarn over, insert hook into stitch, pull up a loop, yarn over, pull through 2 loops. Repeat 5 more times in the same stitch. Yarn over, pull through all 7 loops on hook.)
- HDC: Half Double Crochet
- CH: Chain
Let’s Get Started!
Head
We’ll start by working in continuous rounds, unless otherwise specified.

- Round 1: Make 6 SC into a MR. (6 stitches)
- Round 2: 6 INC (2 SC in each stitch around). (12 stitches)
- Round 3: (1 SC, 1 INC) x 6. (18 stitches)
- Round 4-5: 18 SC around (2 rows). (18 stitches)
- Round 6: (1 SC, 1 DEC) x 6. (12 stitches)
- Round 7-9: 12 SC around (3 rows). (12 stitches)
Eyes & Ears Placement for Head
- Eyes: Insert 8-10mm safety eyes between Round 6 and 7, approximately 3 SC apart. Secure the backs.
- Ears: For Round 10, you’ll close the head and create the ears. Fold the remaining opening of the head flat. Working through both layers of stitches:
- First Ear: 1 SC, chain 3, SL ST into the same SC.
- Then, make 4 SL ST across the folded edge.
- Second Ear: 1 SC, chain 3, SL ST into the same SC.
Cut yarn, weave in the end. Make sure to stuff the muzzle area well at the bottom before completely closing the head.
Body
Work in continuous rounds.
- Round 1: Make 8 SC into a MR. (8 stitches)
- Round 2: 8 INC (2 SC in each stitch around). (16 stitches)
- Round 3: (1 SC, 1 INC) x 8. (24 stitches)
- Round 4: (3 SC, 1 INC) x 6. (30 stitches)
Note: You can either make the tail now (see instructions below) and attach it, or crochet it separately later and sew it on.
- Round 5: 10 SC, make a BALL (6 DC Cluster), 5 SC, make a BALL (6 DC Cluster), 13 SC. (30 stitches)
- Round 6-9: 30 SC around (3 rows). (30 stitches)
- Round 10: (3 SC, 1 DEC) x 6. (24 stitches)
- Round 11: 9 SC, make a BALL (6 DC Cluster), 4 SC, make a BALL (6 DC Cluster), 9 SC. (24 stitches)
- Round 12: 24 SC around. (24 stitches)
- Round 13: (1 SC, 1 DEC) x 8. (16 stitches)
- Round 14: 8 DEC. (8 stitches)
Stuff the body firmly. Cut the yarn, leaving a long tail for sewing the head to the body. Fasten off.
Tail
If you didn’t make it during Round 4 of the body, here’s how to create the tail separately:
- Chain 6.
- Starting from the 2nd chain from your hook: 1 HDC, then 4 SL ST in the next 4 chains.
Cut yarn, leaving a tail for sewing if needed, or weave in ends if you plan to attach it during body construction.
Assembly & Finishing Touches
- Attach Tail: If you made the tail separately, sew it securely to the back of the hippo’s body, usually around Round 4 of the body.
- Sew Head to Body: Using the long yarn tail left on the body, sew the head to the body. Position the head so that the ears are pointing upwards. Cinch the body opening closed as you sew to ensure a neat finish.
- Weave in Ends: Use your tapestry needle to weave in any remaining loose yarn ends.
Your Little Hippo is Ready! ✅
Congratulations on finishing your adorable crochet hippo! We’d love to see your creations. Send us photos to the channel using #YourToys and let us know what you’d like to crochet next – the next pattern might be what you’ve long wanted! ❤️
Happy Crocheting!