
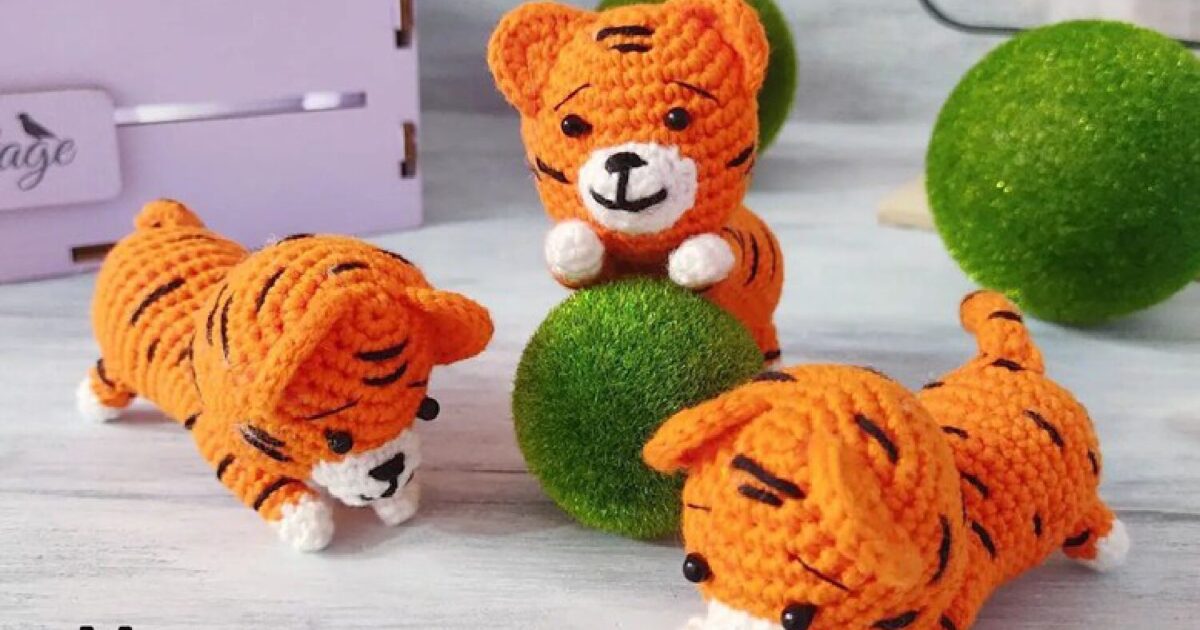
Crochet Tiger Cub
Materials
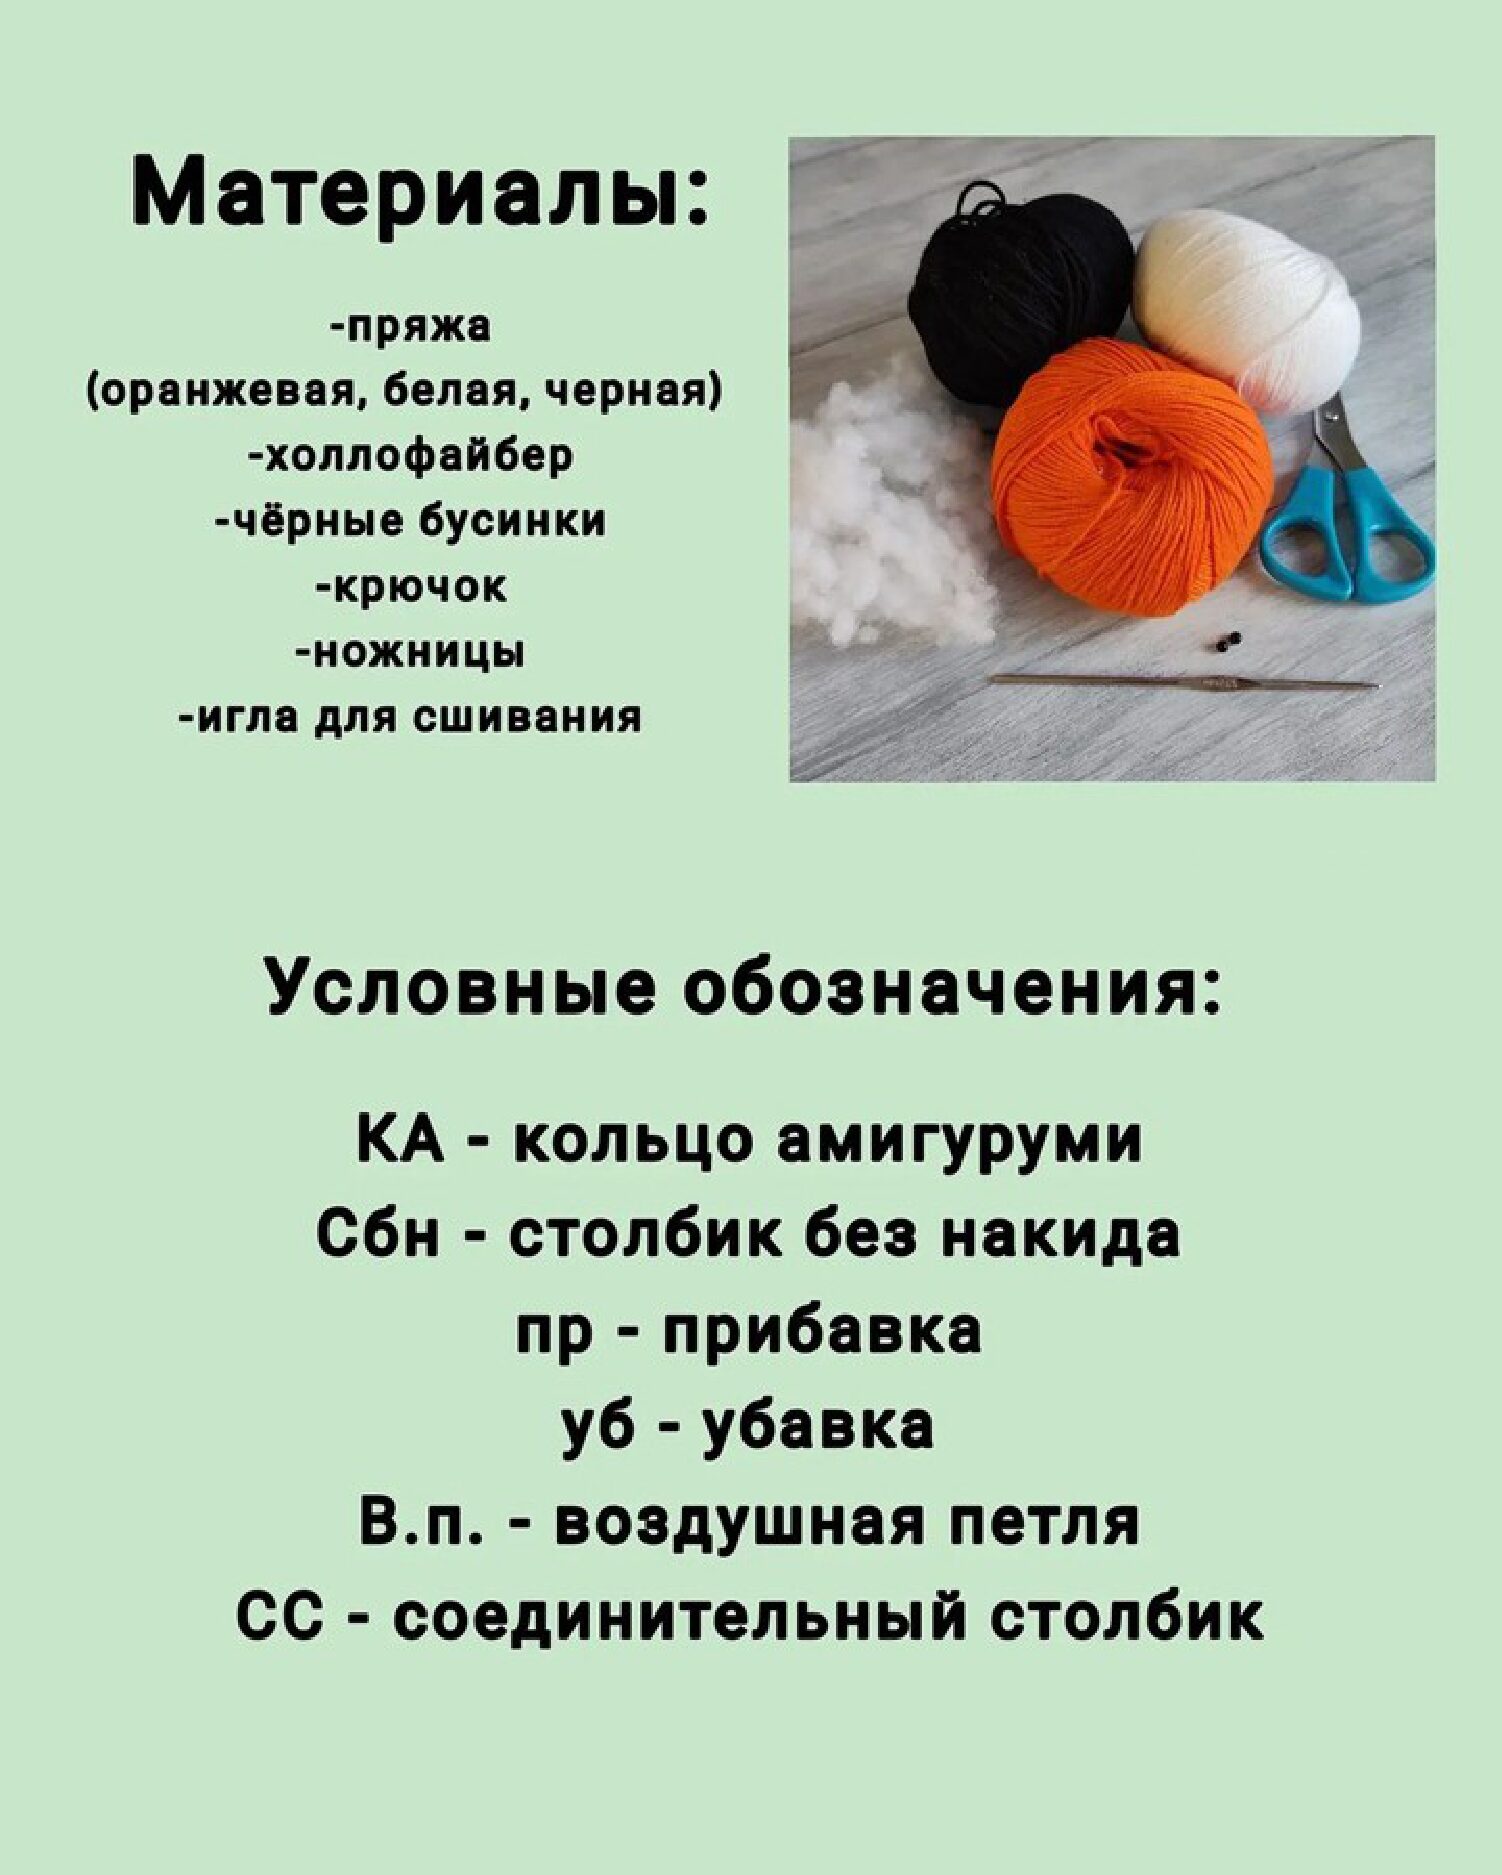
To create your own playful tiger cub, gather the following supplies:
- Yarn: Cotton or acrylic yarn in orange, white, and black.
- Crochet Hook: Suitable for your yarn weight (usually 2.0mm to 3.0mm).
- Polyester Fiberfill: For stuffing.
- Black Beads: For the eyes (or safety eyes).
- Tools: Scissors, tapestry needle, and black sewing thread.

Abbreviations (US Terms)
- MR – Magic Ring
- SC – Single Crochet
- INC – Increase (2 SC in one stitch)
- DEC – Decrease (Invisible decrease recommended)
- CH – Chain stitch
- SL ST – Slip stitch
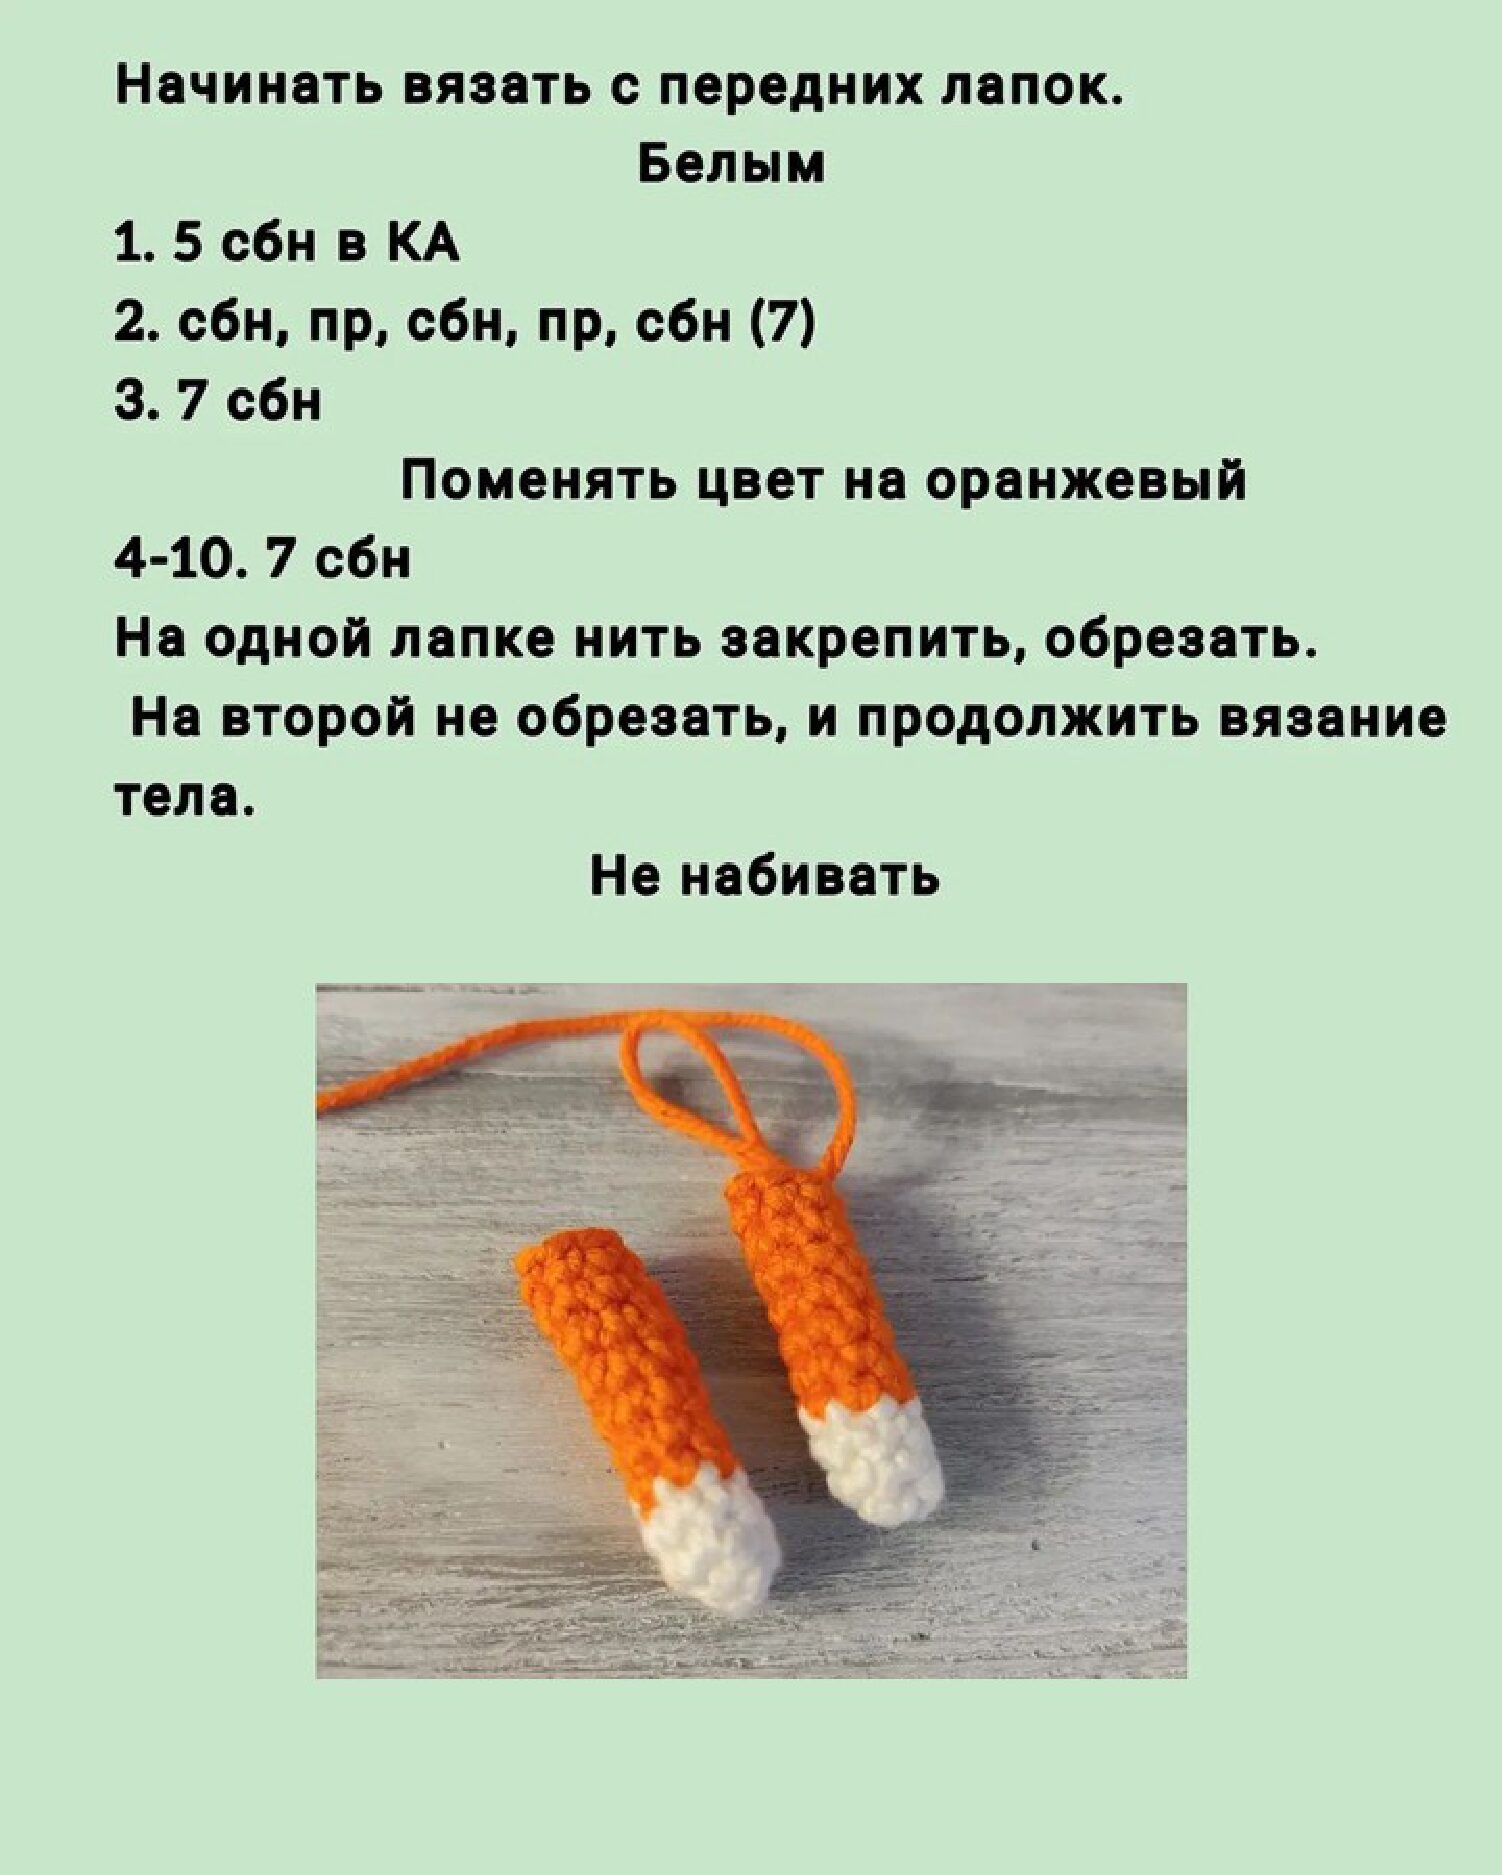
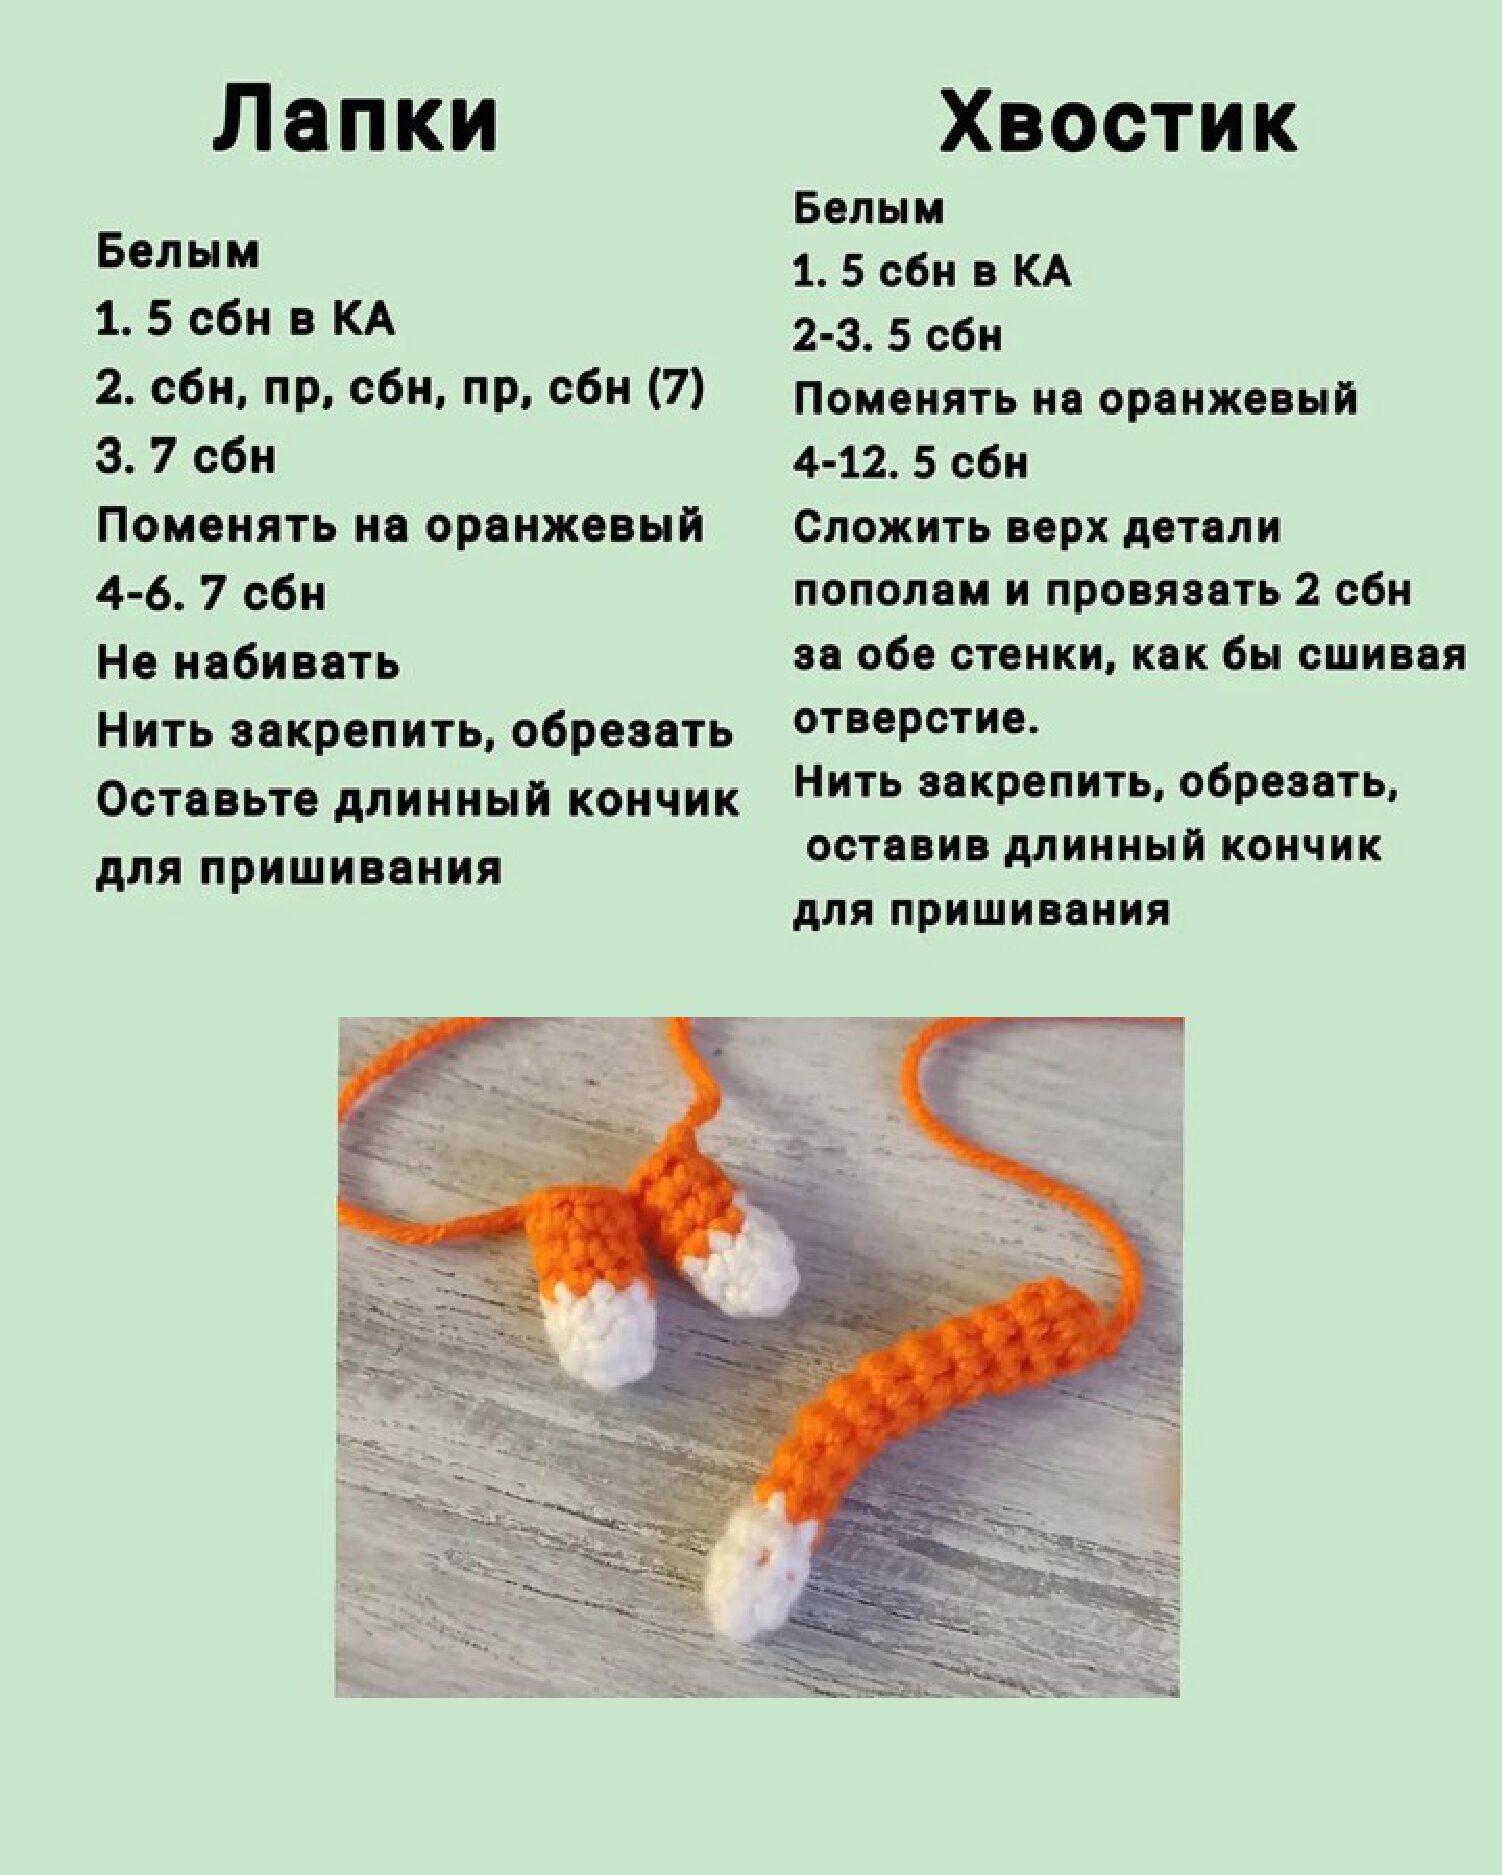
Step 1: Front Paws (Make 2)
We start by making the front paws. Start with white yarn. Do not stuff these parts.
- 5 SC in MR (5)
- SC, INC, SC, INC, SC (7)
- 7 SC
- Change color to orange:
- 4-10. 7 SC (7 rounds total)
Fasten off and cut the yarn on the first paw. Do not cut the yarn on the second paw; you will use it to continue directly into the body.
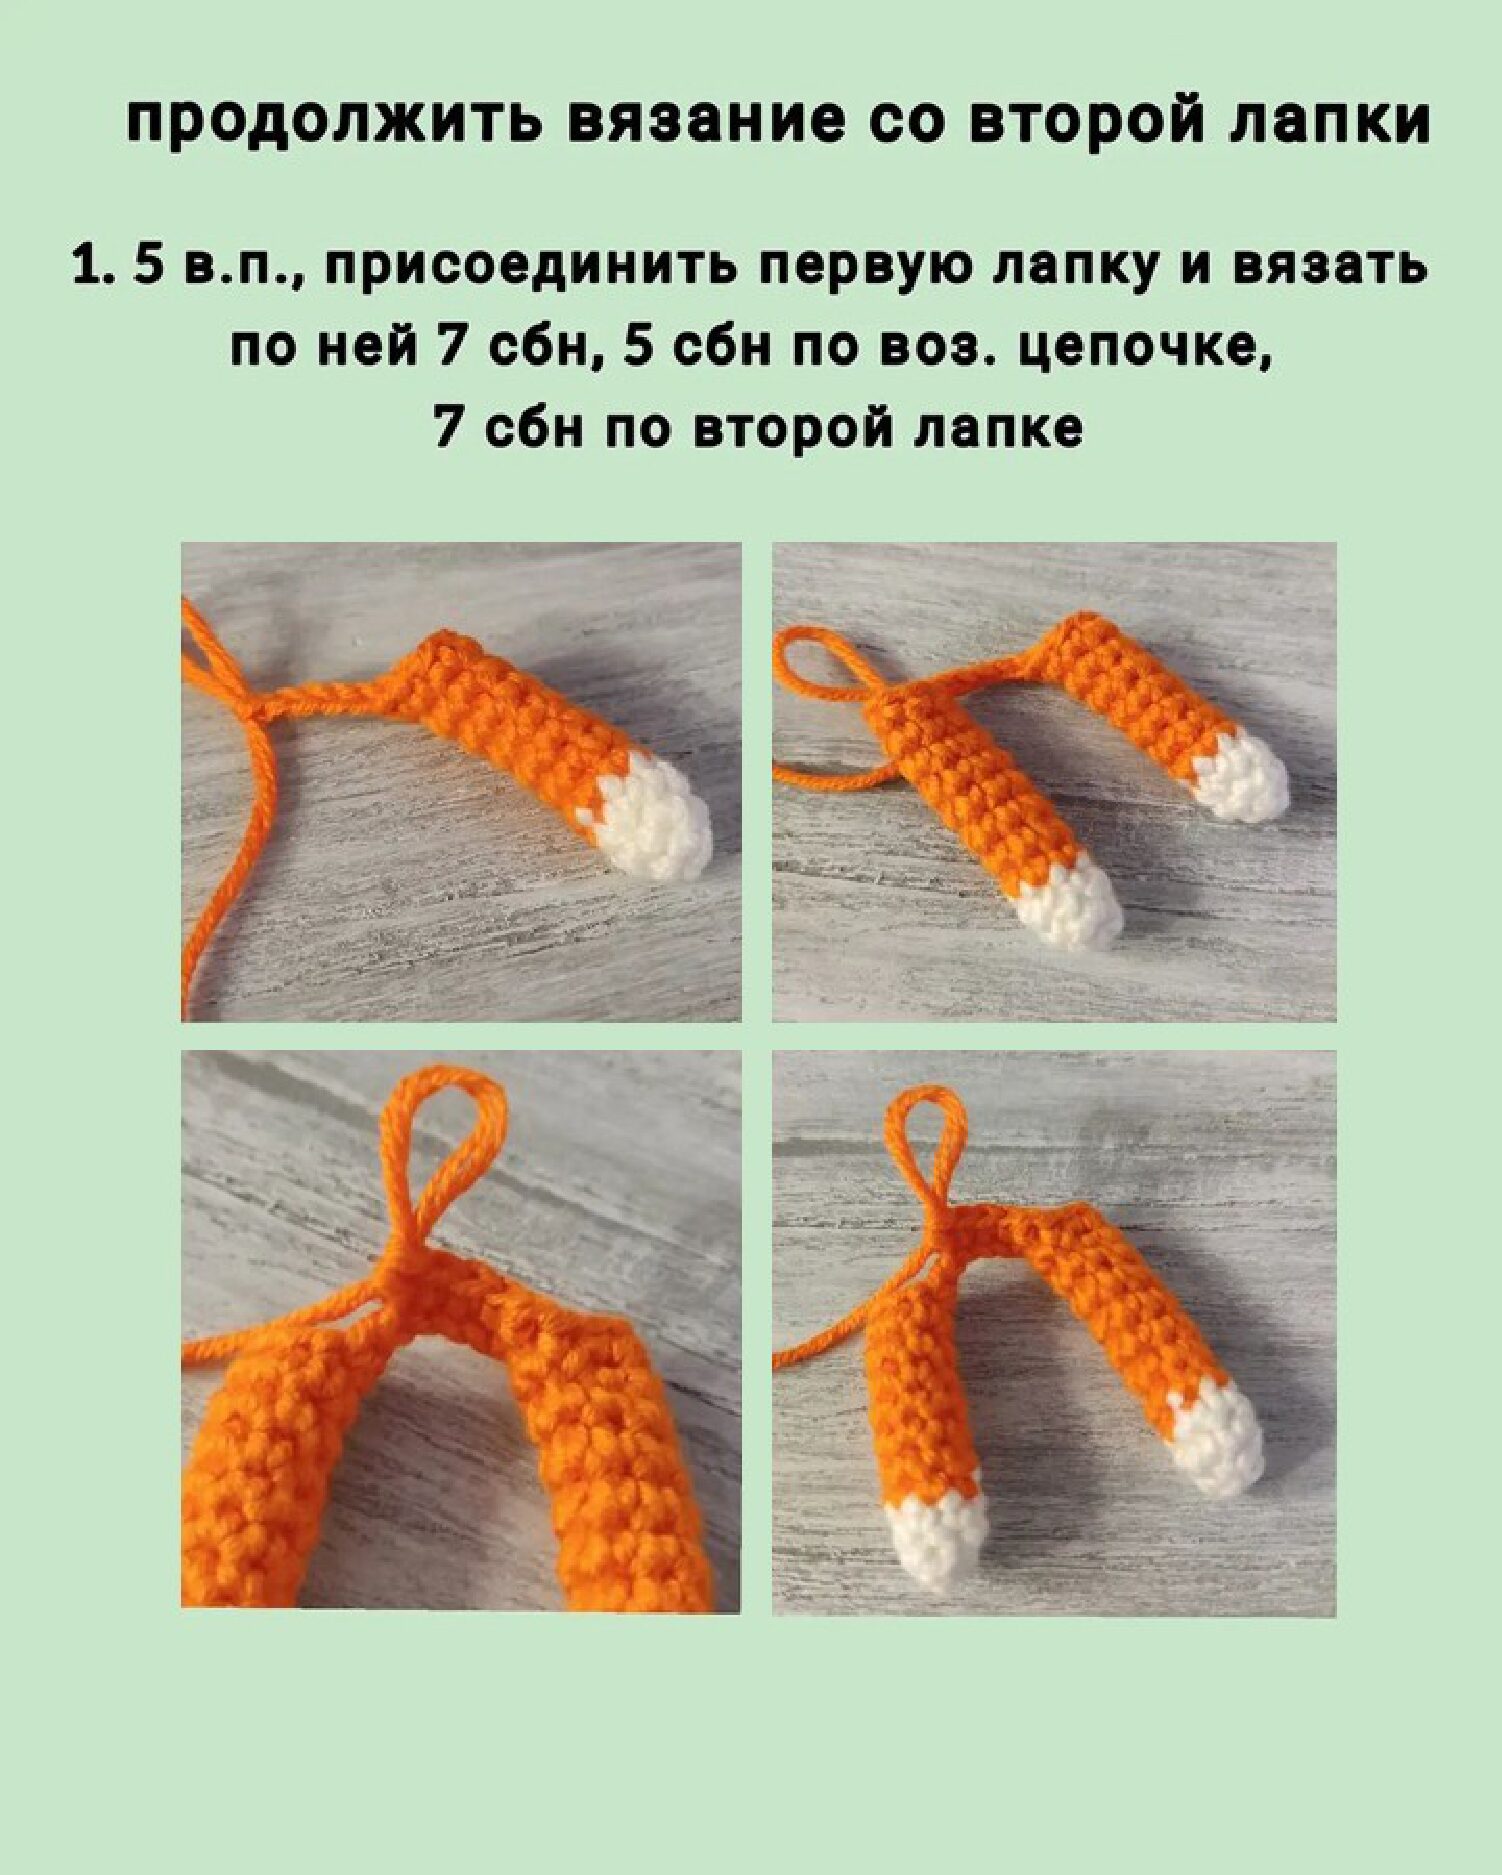
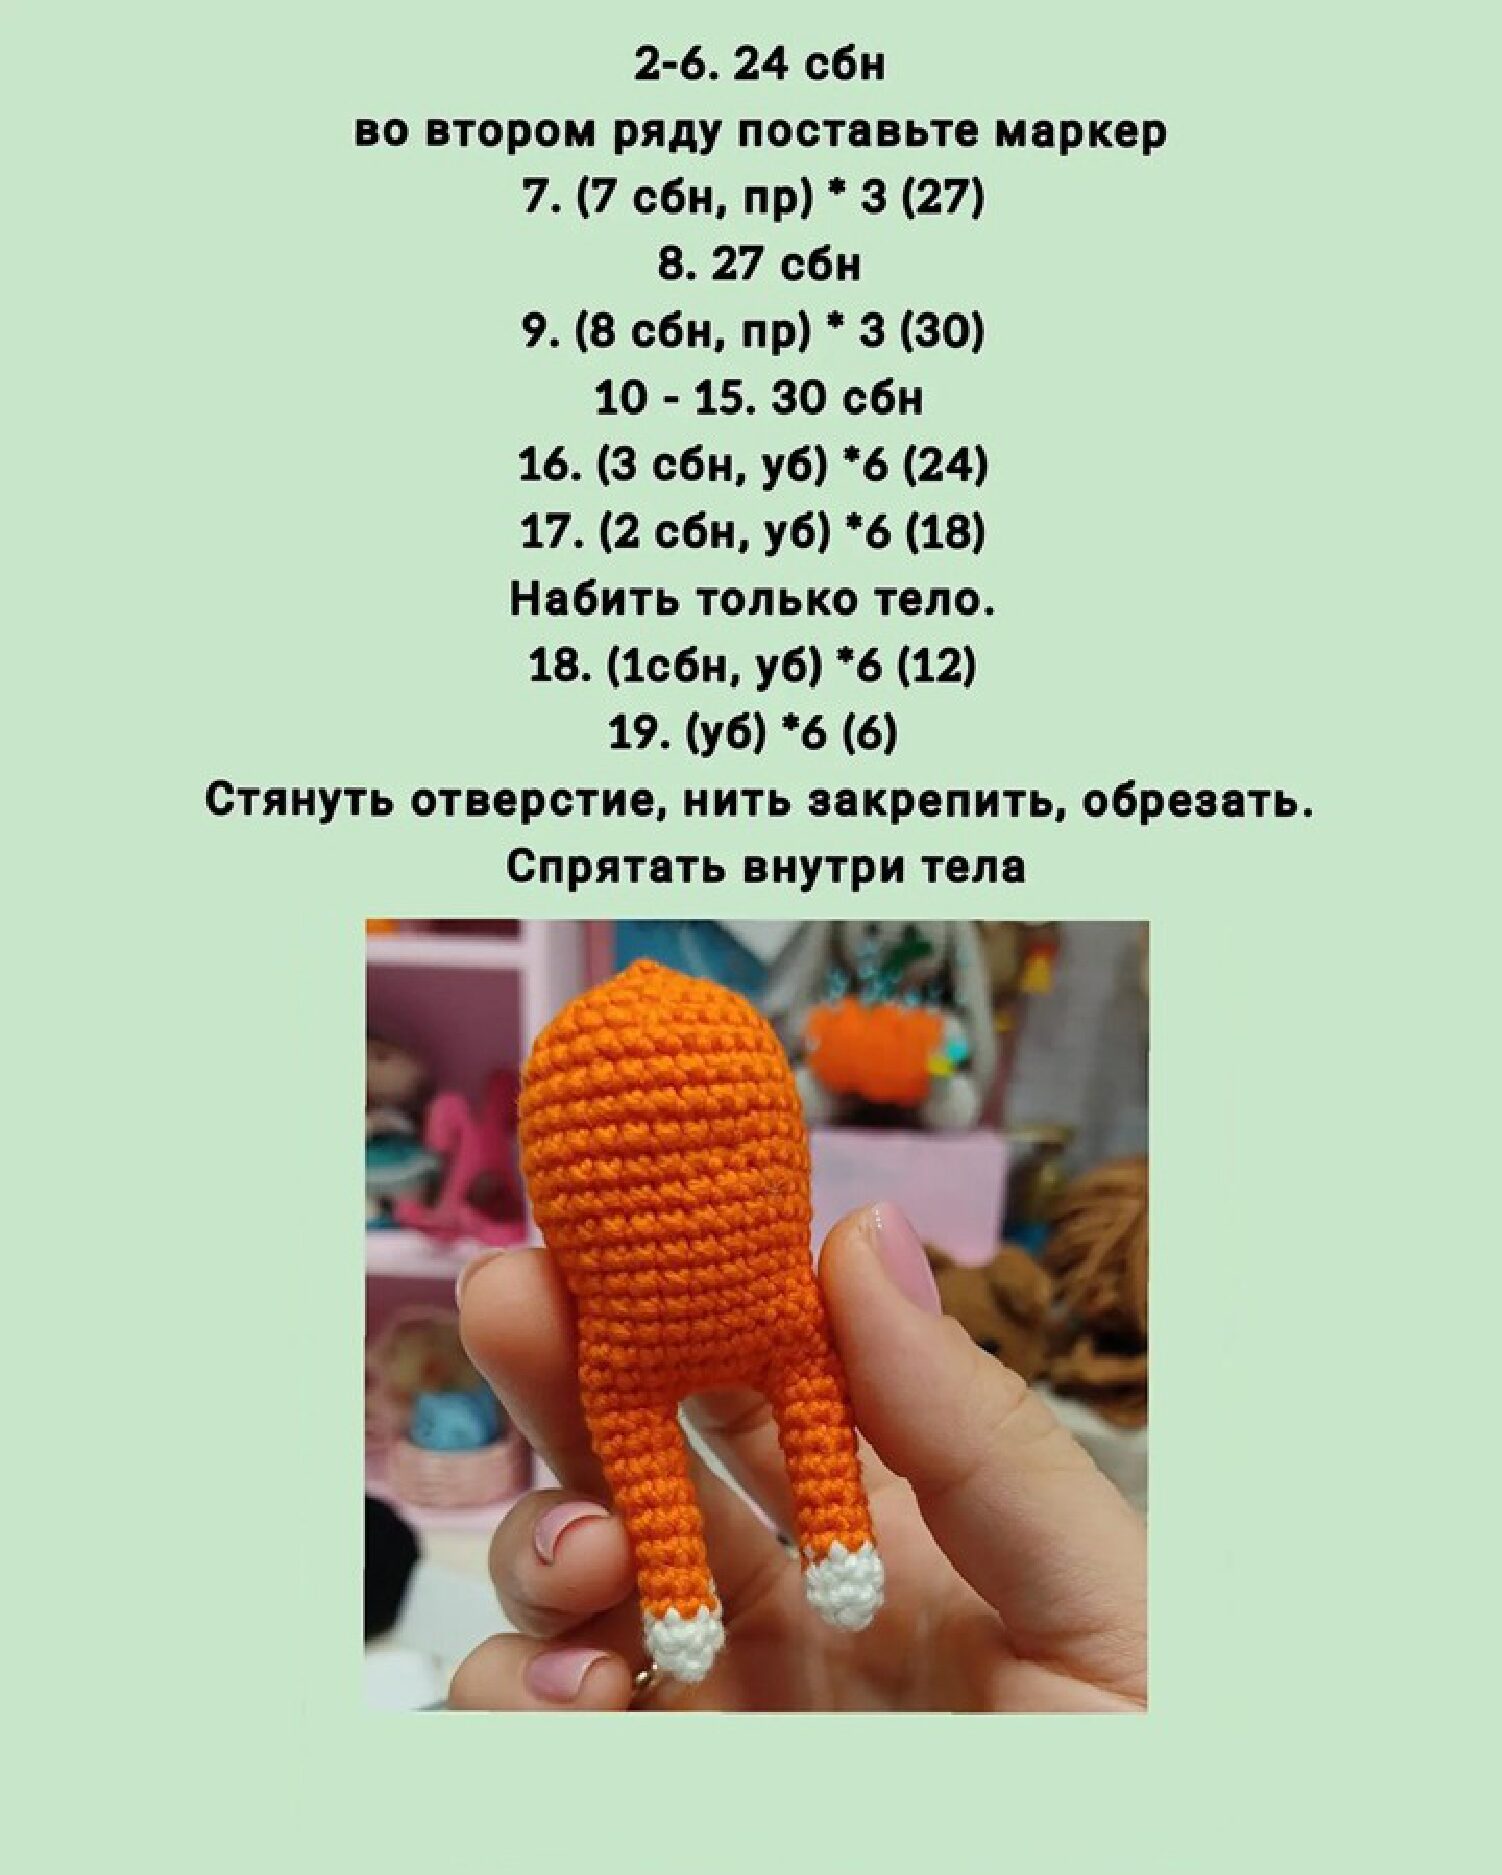
Step 2: The Body
Continue crocheting from the second front paw to join them together.
- CH 5, attach the first paw with a SC. Crochet 7 SC around the first paw, 5 SC along one side of the chain, 7 SC around the second paw, and 5 SC along the other side of the chain. (24)
- 2-6. 24 SC (Place a stitch marker to keep track of rounds)
- (7 SC, INC) * 3 (27)
- 27 SC
- (8 SC, INC) * 3 (30)
- 10-15. 30 SC
- (3 SC, DEC) * 6 (24)
- (2 SC, DEC) * 6 (18)
- Stop here and stuff the body firmly.
- (1 SC, DEC) * 6 (12)
- (DEC) * 6 (6)
Cinch the opening closed with a needle, fasten off, and hide the yarn tail inside.
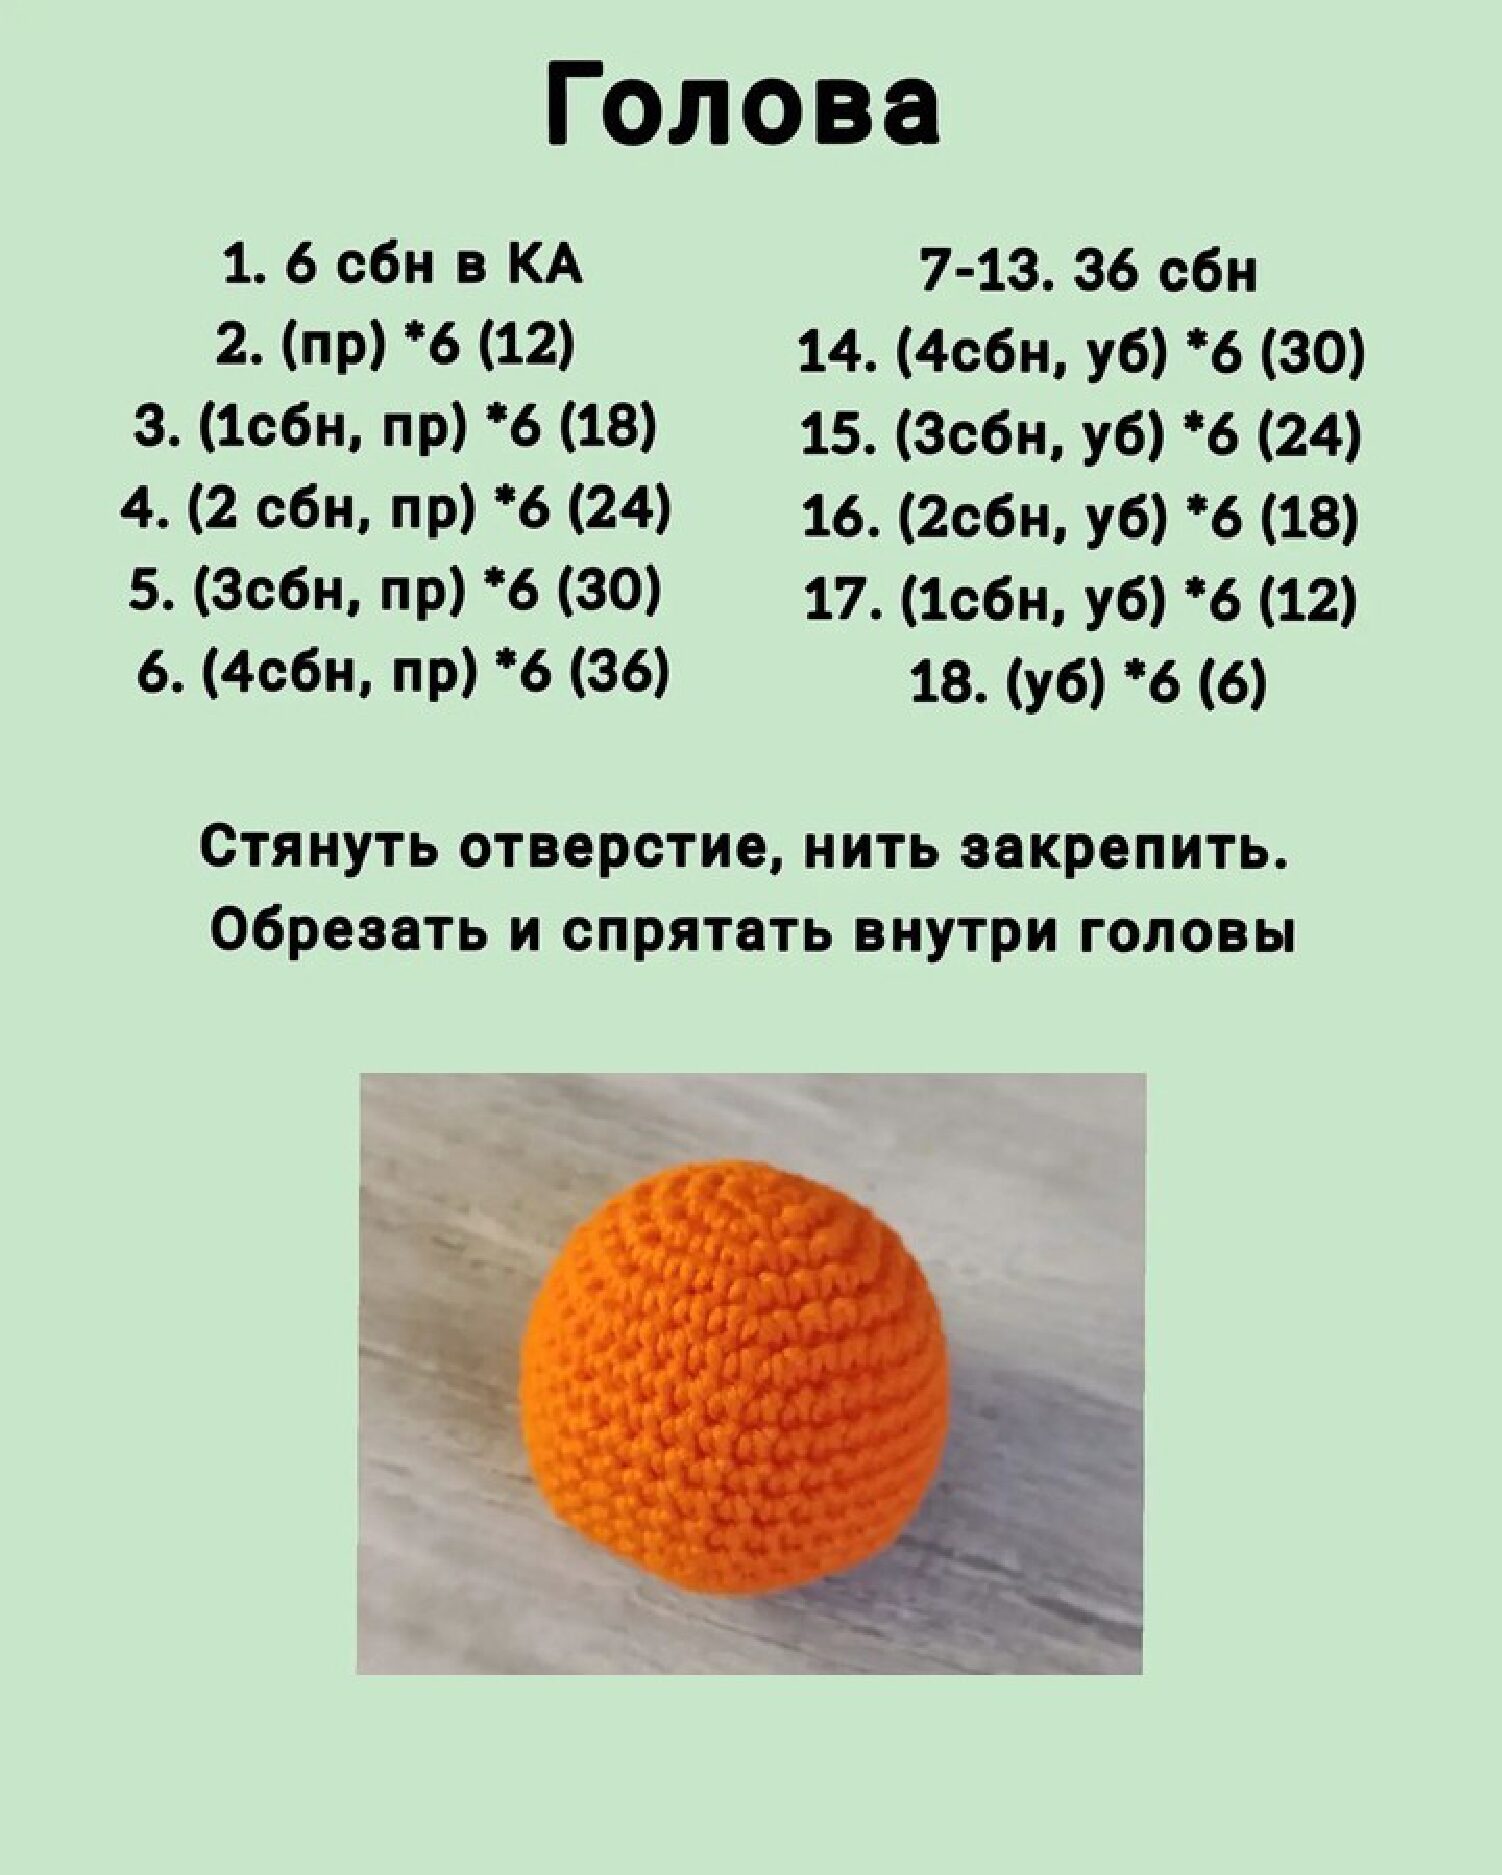
Step 3: The Head
Crochet the head separately using orange yarn.
- 6 SC in MR (6)
- (INC) * 6 (12)
- (1 SC, INC) * 6 (18)
- (2 SC, INC) * 6 (24)
- (3 SC, INC) * 6 (30)
- (4 SC, INC) * 6 (36)
- 7-13. 36 SC (7 rounds)
- (4 SC, DEC) * 6 (30)
- (3 SC, DEC) * 6 (24)
- (2 SC, DEC) * 6 (18)
- (1 SC, DEC) * 6 (12)
- (DEC) * 6 (6)
Cinch the opening closed, fasten off, and hide the tail.
Step 4: Ears (Make 2)
Use orange yarn. These are worked in rows, not a full circle.
- 5 SC in MR. Do not close the ring into a circle. Turn.
- CH 1, (INC) * 5 (10). Turn.
- 10 SL ST across the edge.
Fasten off, leaving a long tail for sewing to the head.
Step 5: Snout
Use white yarn. We will crochet around a foundation chain.
- CH 4
- Starting from the second chain from the hook: 2 SC, 3 SC in the last stitch. Work down the other side: 1 SC, INC (8)
- INC, 1 SC, (INC) * 3, 1 SC, (INC) * 2 (14)
- 14 SC
Fasten off, leaving a long tail. Stuff the snout lightly before sewing it to the head.
Step 6: Hind Paws (Make 2)
Start with white yarn. No stuffing needed.
- 5 SC in MR (5)
- SC, INC, SC, INC, SC (7)
- 7 SC
- Change to orange yarn:
- 4-6. 7 SC
Fasten off, leave a long tail for sewing.

Step 7: The Tail
Start with white yarn.
- 5 SC in MR (5)
- 2-3. 5 SC
- Change to orange yarn:
- 4-12. 5 SC (9 rounds)
Fold the top opening flat and crochet 2 SC through both layers to close it. Fasten off and leave a tail for sewing.
Assembly and Finishing Touches
Now that all your pieces are ready, it’s time to bring your tiger cub to life!
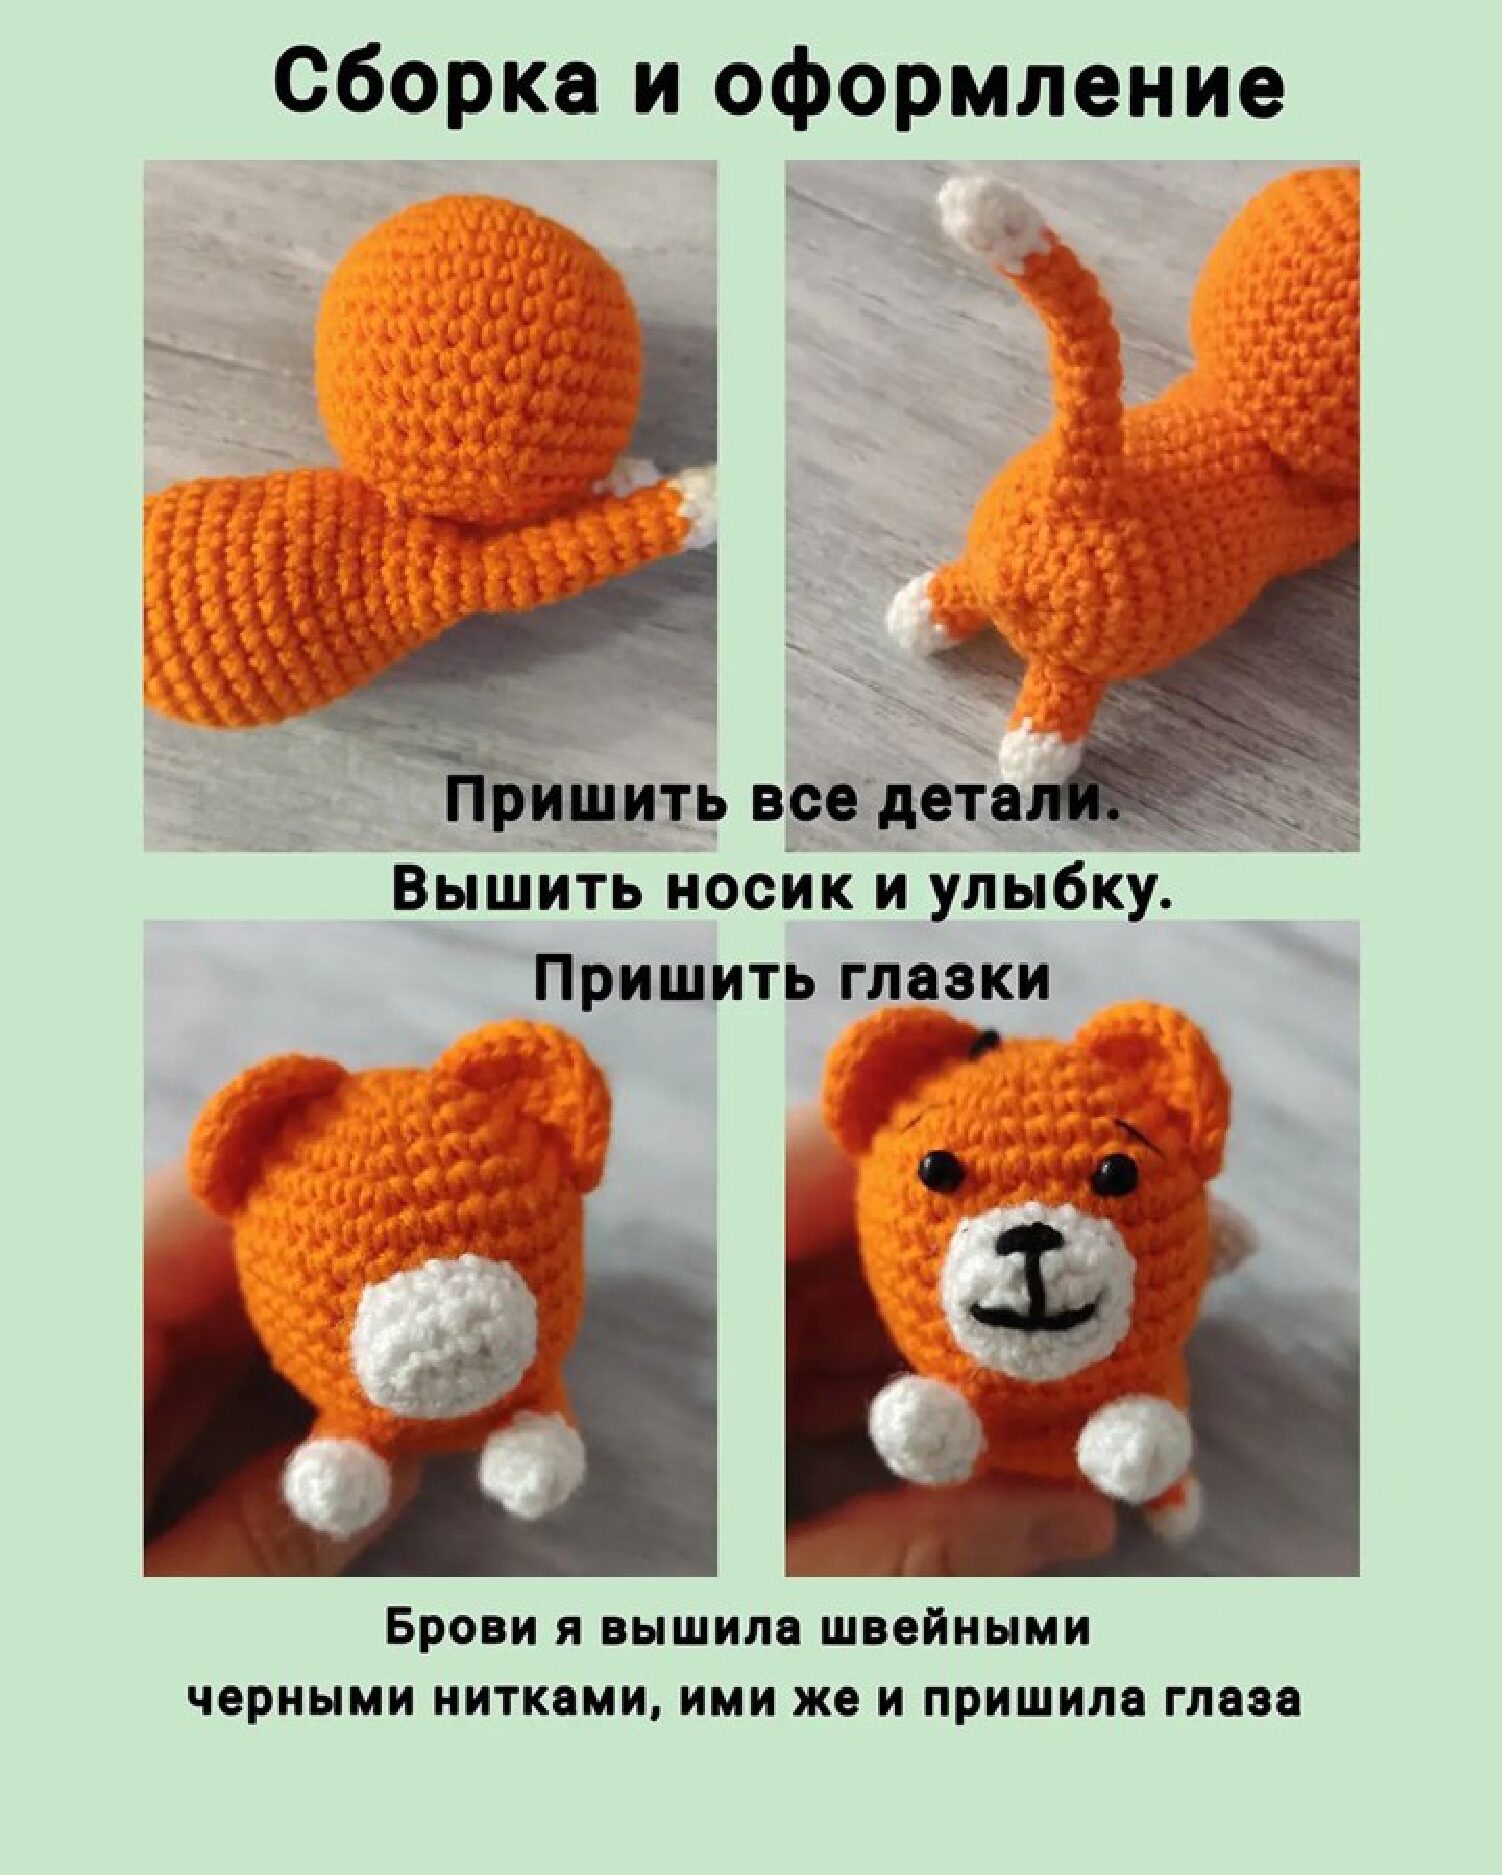
- Sewing: Attach the head to the body securely. Sew the ears to the top of the head and the snout to the center of the face.
- Hind Paws & Tail: Sew the hind paws to the bottom of the body so the tiger can sit or lay down. Attach the tail to the back.
- Face Details: Sew on the black beads for eyes. Using black thread, embroider a small “T” shape for the nose and mouth. Add tiny eyebrows for expression.
- Stripes: Use black yarn to embroider simple horizontal stitches on the head, back, and tail to create the tiger stripes.
Your tiger cub is finished!
If you enjoyed this pattern, don’t forget to share your creation and tag the designer @gnezdyshko_milidi on social media.
