
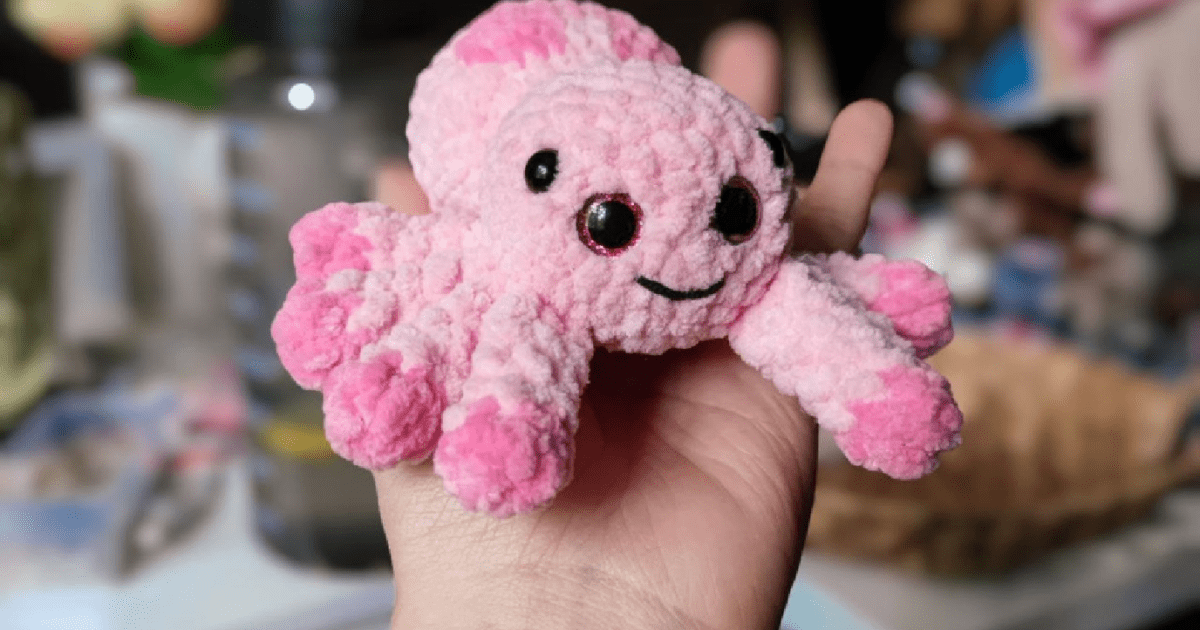
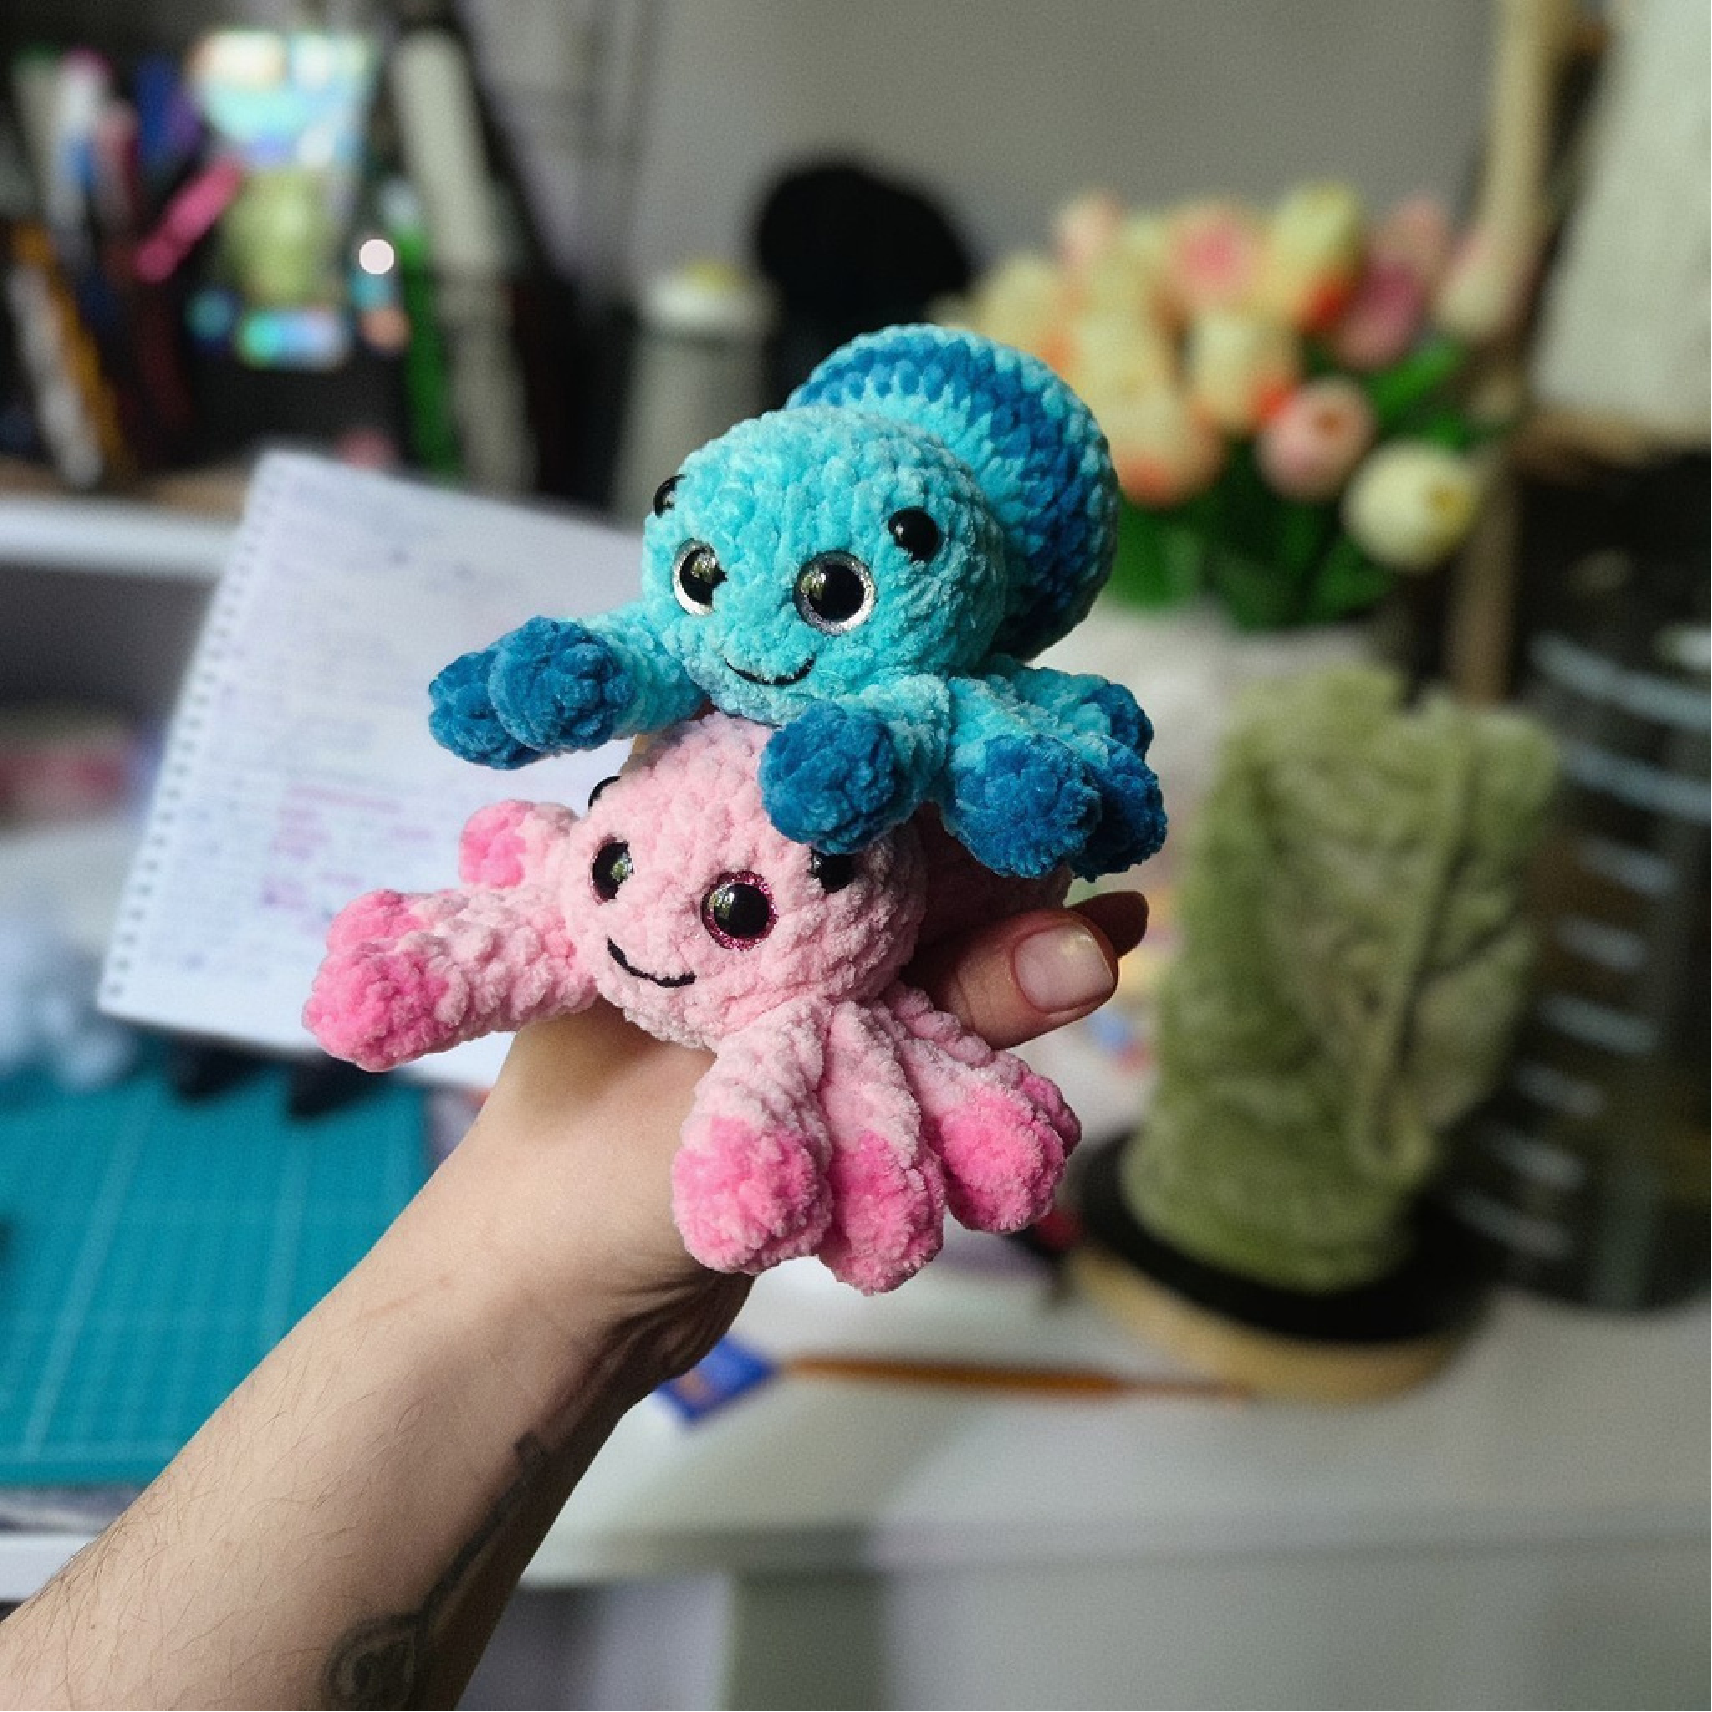
Crochet Your Adorable Little Spider Pattern!
Materials
To create your own Little Spider, you will need the following materials:
- Yarn: Cotton or plush yarn in two colors (Main Color and an Additional/Accent Color).
- Crochet Hook: Size appropriate for your chosen yarn (usually 2.0mm to 3.0mm).
- Safety Eyes: One pair of 12mm eyes (and optional 8mm eyes if you want more).
- Fiberfill: For stuffing.
- Tapestry Needle: For sewing and closing.
- Stitch Marker: To track your rounds.
Abbreviations (US Terms)
- MR: Magic Ring
- sc: Single crochet
- inc: Increase (2 sc in one stitch)
- dec: Decrease (sc 2 stitches together)
- ( … ) x 6: Repeat the sequence inside the parentheses 6 times
Step 1: The Legs (Make 8)
We will start by making 8 identical legs. These are worked from the bottom up and will be crocheted directly into the body later.
Start with your Additional Color:
- 6 sc in MR (6)
- 6 sc (6)
Change to Main Color:
- 3-5. 6 sc (3 rounds total)
Fold the piece in half. Crochet through both layers at once: 1 sc, then 1 dec. Cut the thread and fasten off. Repeat until you have 8 legs ready.
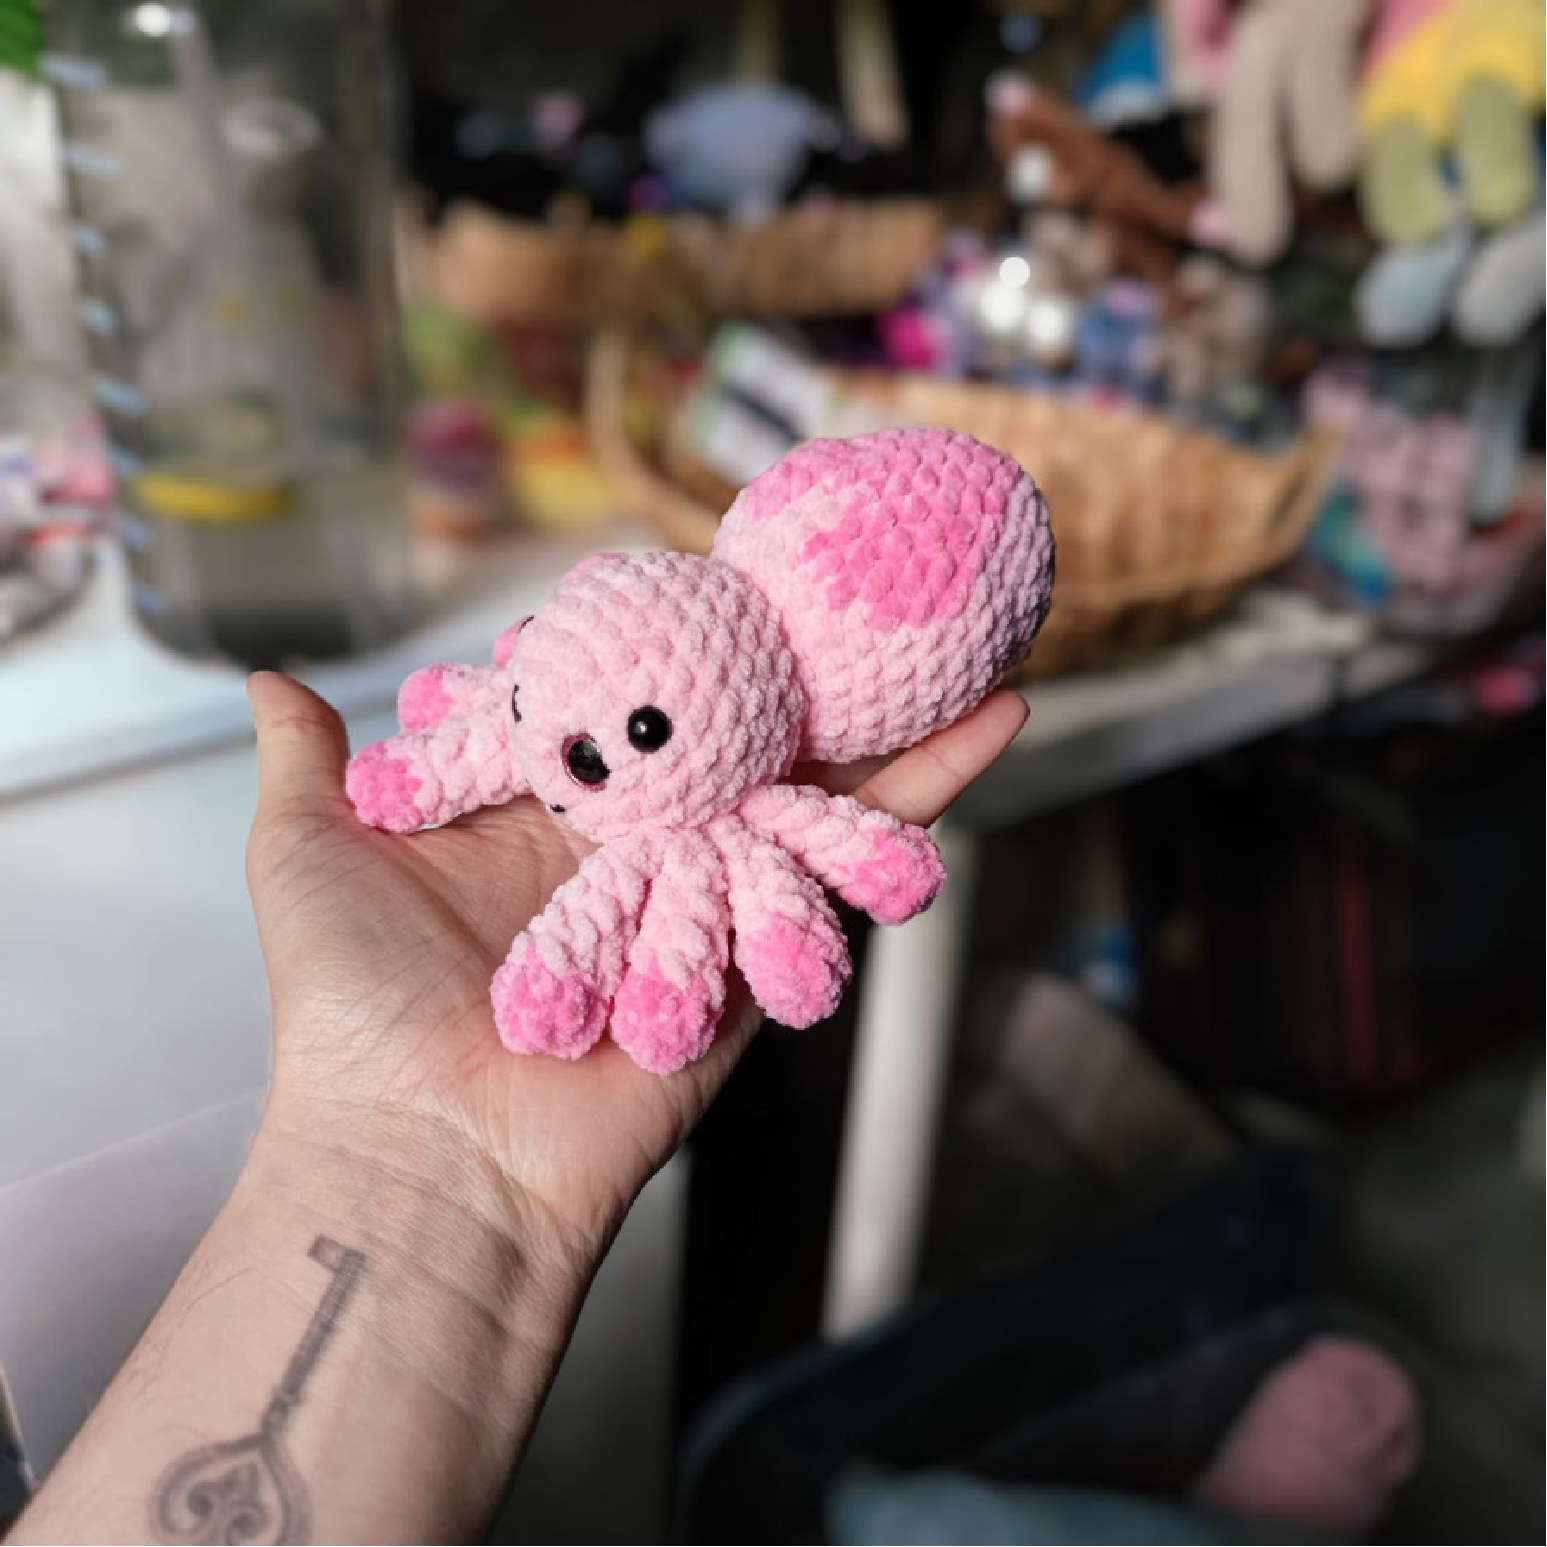
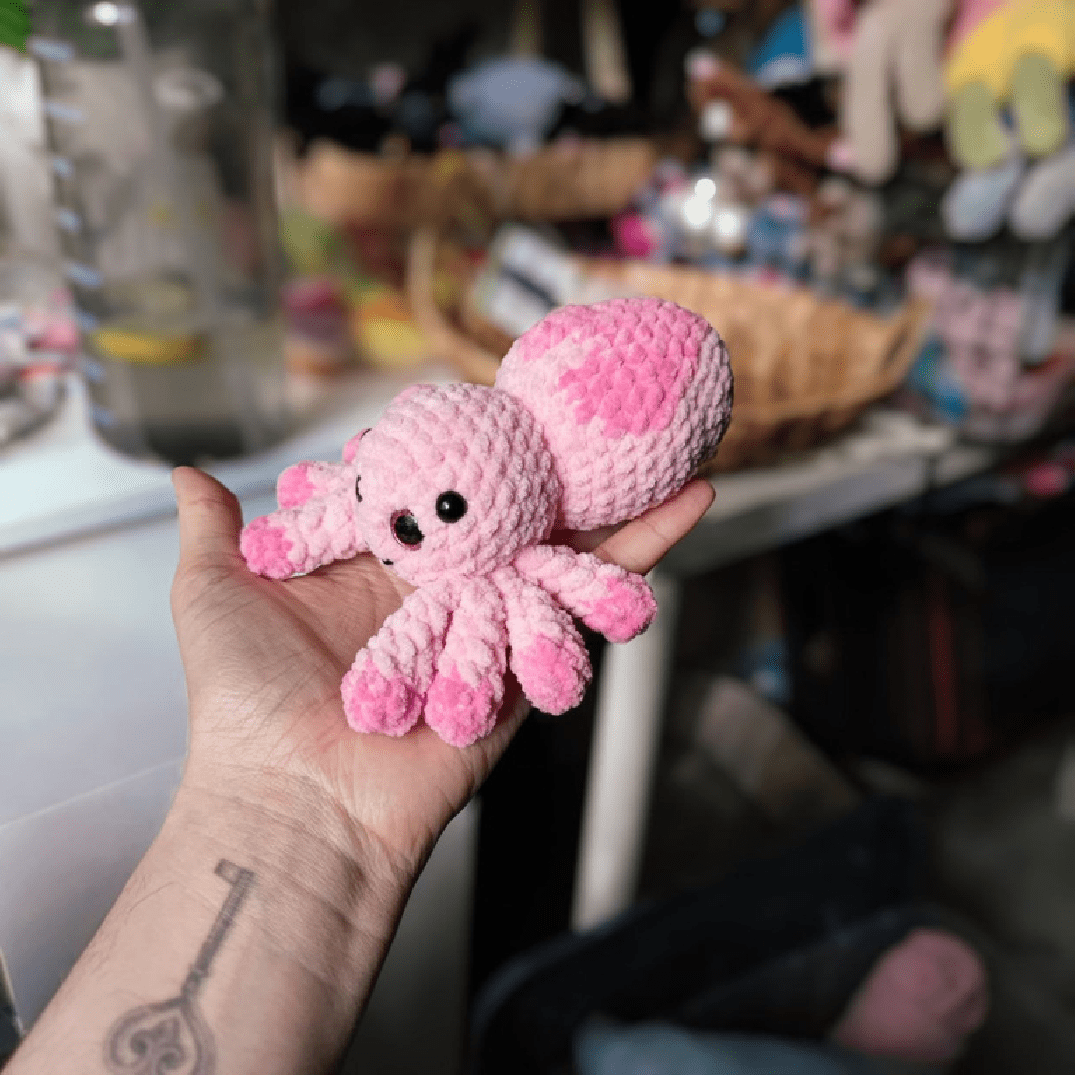
Step 2: The Body (Basic Version)
The body is worked in one piece starting from the head. Remember to stuff the toy firmly as you go!
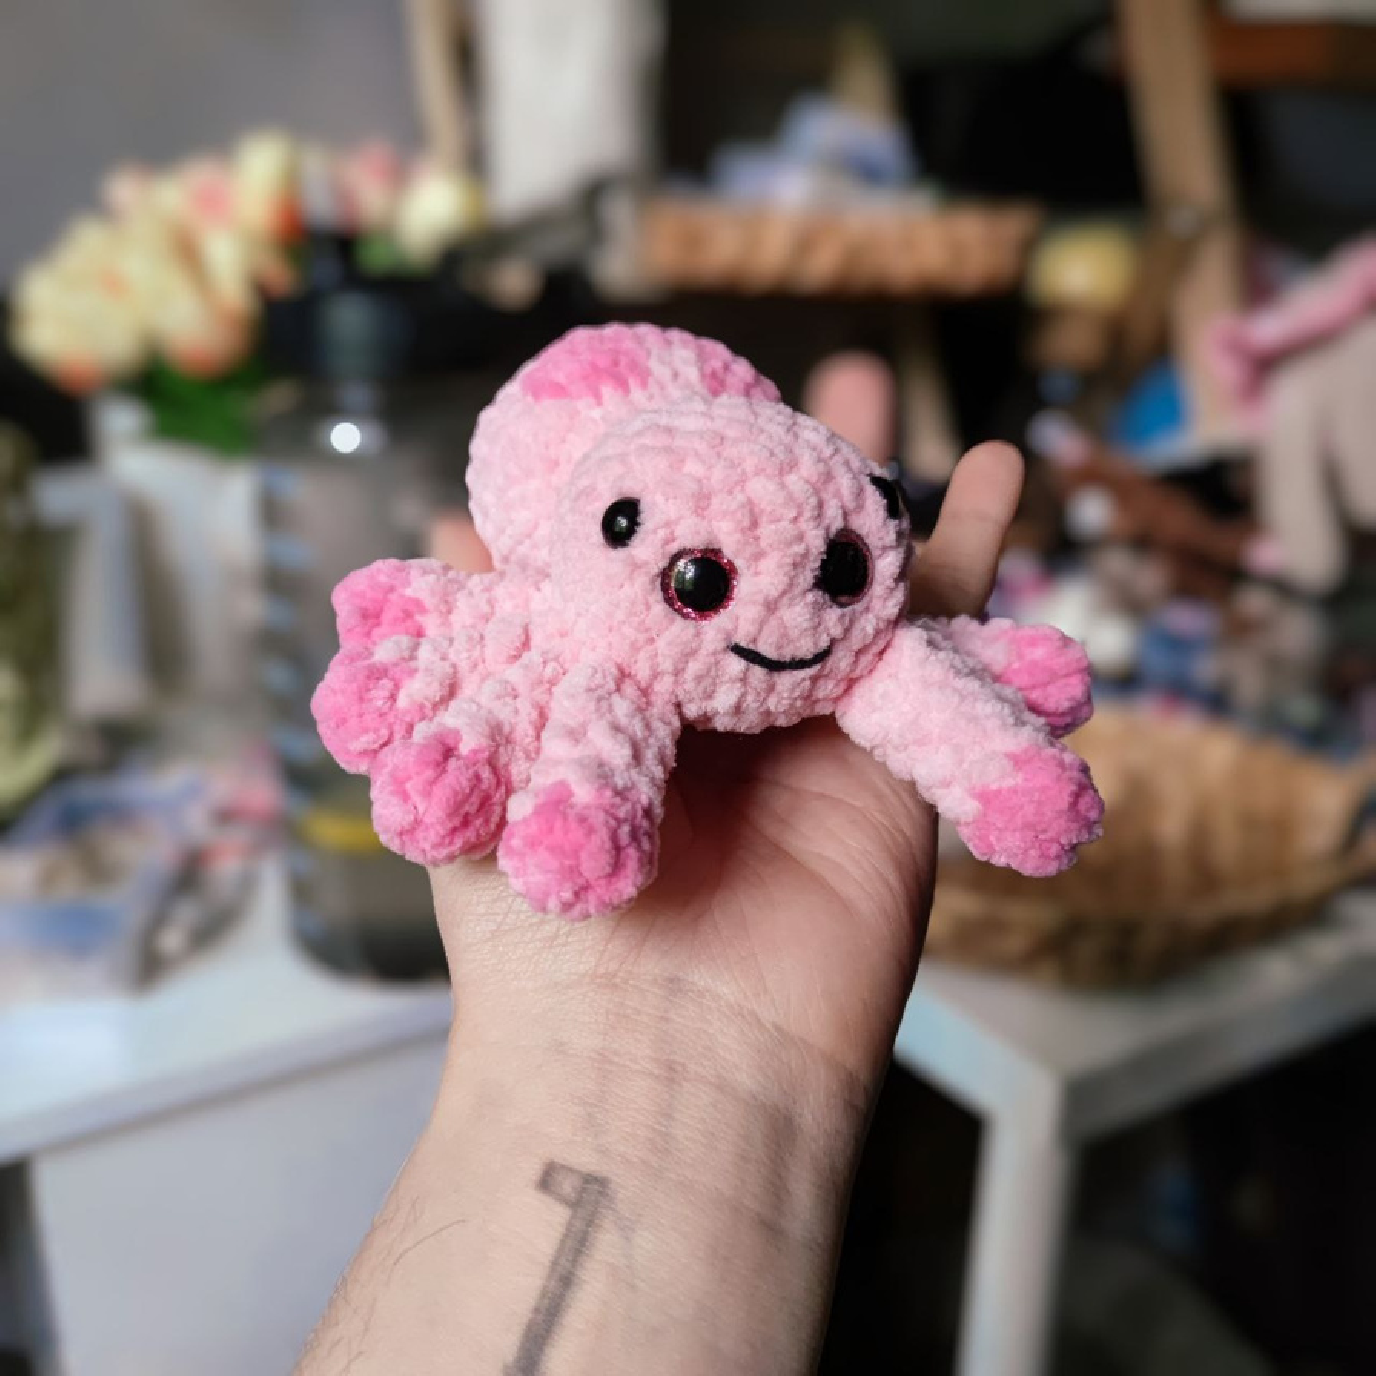
The Head
- 6 sc in MR (6)
- 6 inc (12)
- (1 sc, inc) x 6 (18)
- (2 sc, inc) x 6 (24)
- 5-8. 2 sc, 2 sc together with a leg, 15 sc, 2 sc together with a leg, 3 sc (24) — Repeat for 4 rounds total to attach legs.
- 24 sc (24)
- (2 sc, dec) x 6 (18)
- (1 sc, dec) x 6 (12)
Note: Insert 12mm safety eyes between rows 2 and 3, approximately 3-4 stitches apart. You can also add 8mm eyes nearby for a traditional spider look.
The Back & Tail
- 12 inc (24)
- 11 sc, 6 inc (center of the back), 7 sc (30)
- 14-18. 30 sc (5 rounds)
- 8 sc, 3 dec (on the side), 7 sc, 3 dec (on the side), 2 sc (24)
- 20-21. 24 sc (2 rounds)
- 9 sc, 3 dec (on the side), 2 sc, 3 dec (on the side), 1 sc (18)
- 18 sc (18)
- (1 sc, dec) x 6 (12)
- 6 dec (6)
Cut the thread, fasten off, and sew the opening closed.
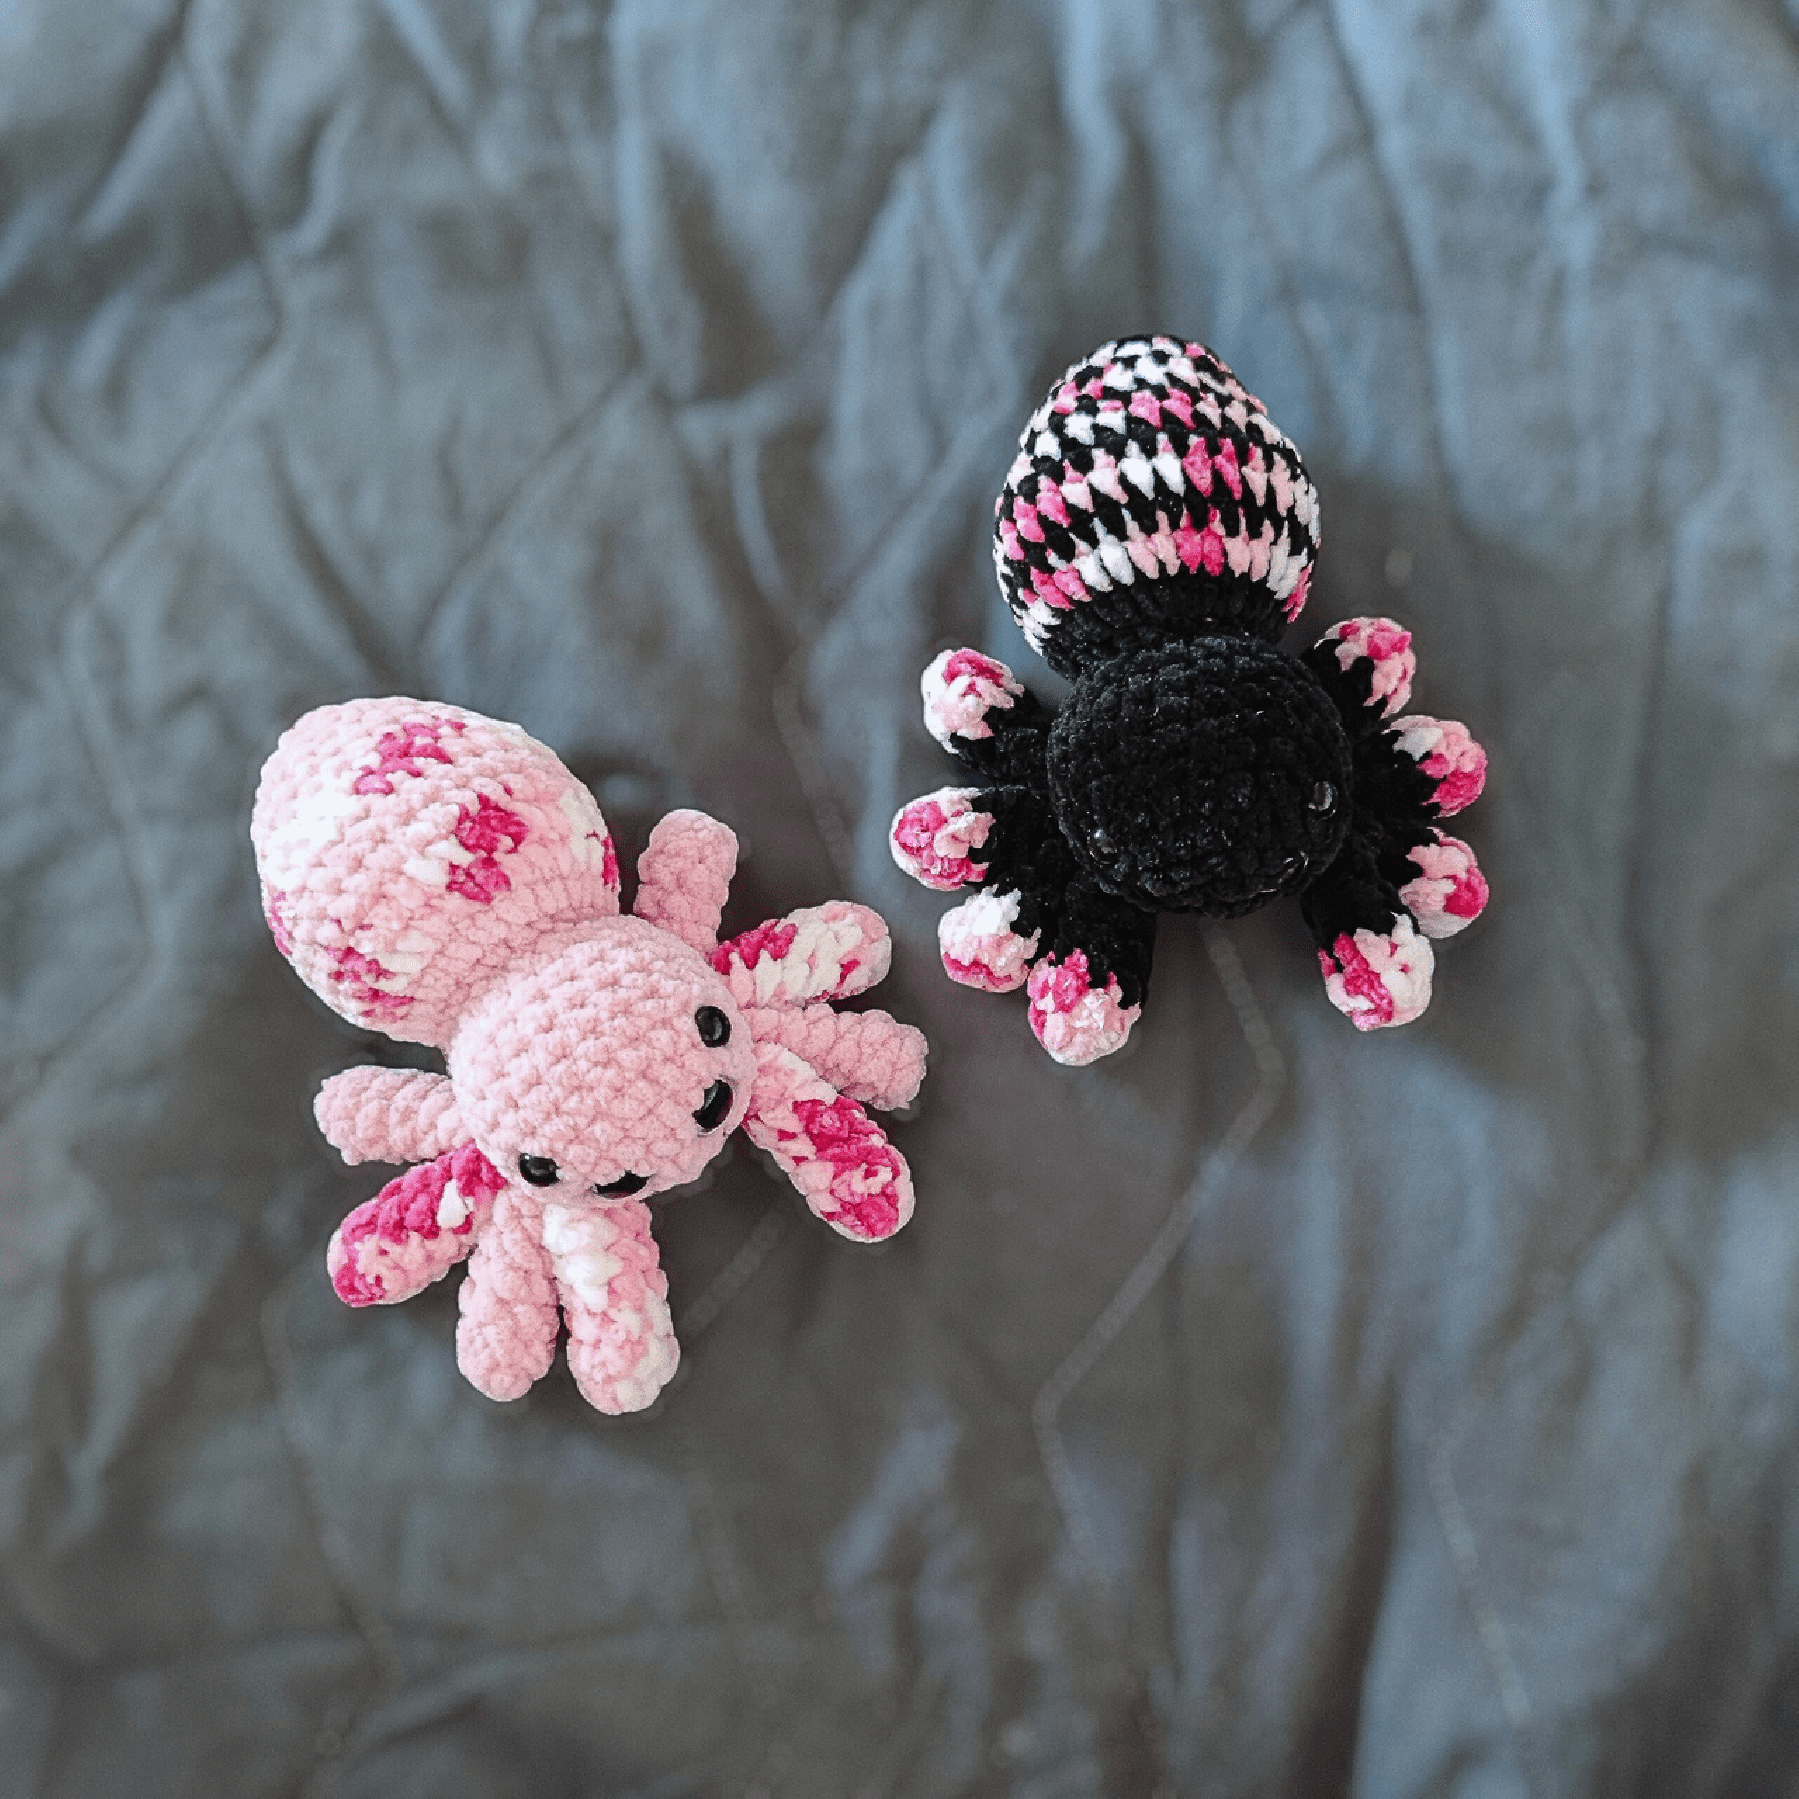
Option 2: Striped Body Variation
Follow the same instructions as the basic body, but change colors at the following points (Additional Color rounds are in bold):
- Rounds 1-13: Main Color
- Rounds 14-15: Additional Color
- Rounds 16-17: Main Color
- Round 18: Additional Color
- Round 19: Additional Color (Decrease round)
- Rounds 20-21: Main Color
- Round 22: Additional Color (Decrease round)
- Rounds 23-25: Main Color
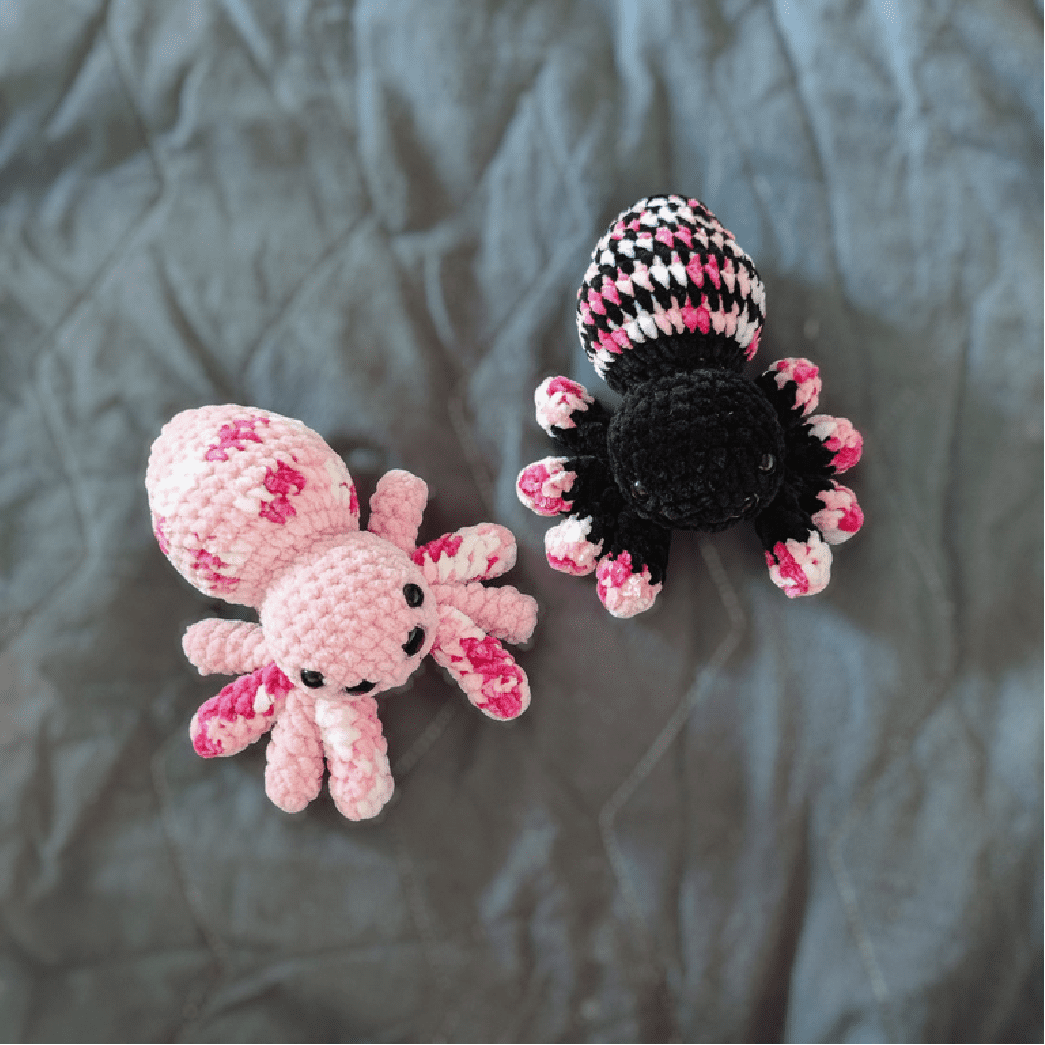
Option 3: Heart on Back Variation
For a romantic or cute spider, use tapestry crochet to create a heart pattern on the back. Change to Additional Color for the stitches in bold:
- 14 sc, 3 sc, 2 sc, 3 sc, 8 sc (30)
- 13 sc, 4 sc, 2 sc, 4 sc, 7 sc (30)
- 16-17. 13 sc, 10 sc, 7 sc (30)
- 14 sc, 8 sc, 8 sc (30)
- 8 sc, 3 dec (side), 7 sc (center), 3 dec (side), 2 sc (24)
- 13 sc, 5 sc, 6 sc (24)
- 14 sc, 4 sc, 6 sc (24)
- 9 sc, 3 dec (side), 2 sc, 3 dec (side), 1 sc (18)
Finishing Touches
Your spider is almost ready! Once you have finished the crocheting and closing the body, take a moment to sculpt the face if desired by pulling the yarn slightly between the eyes to create a more defined “nose” area. You can also embroider a small smile or add blush.