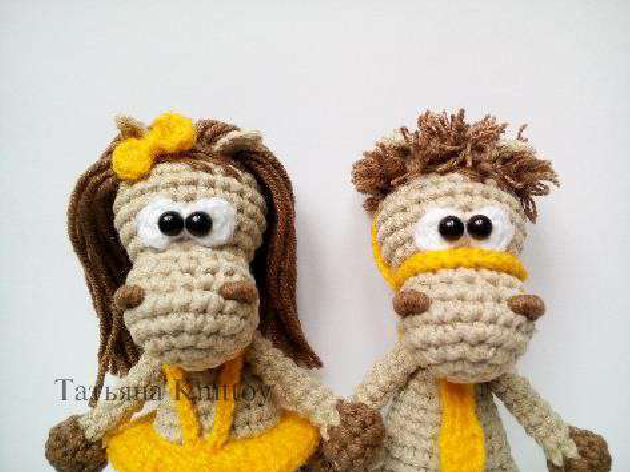
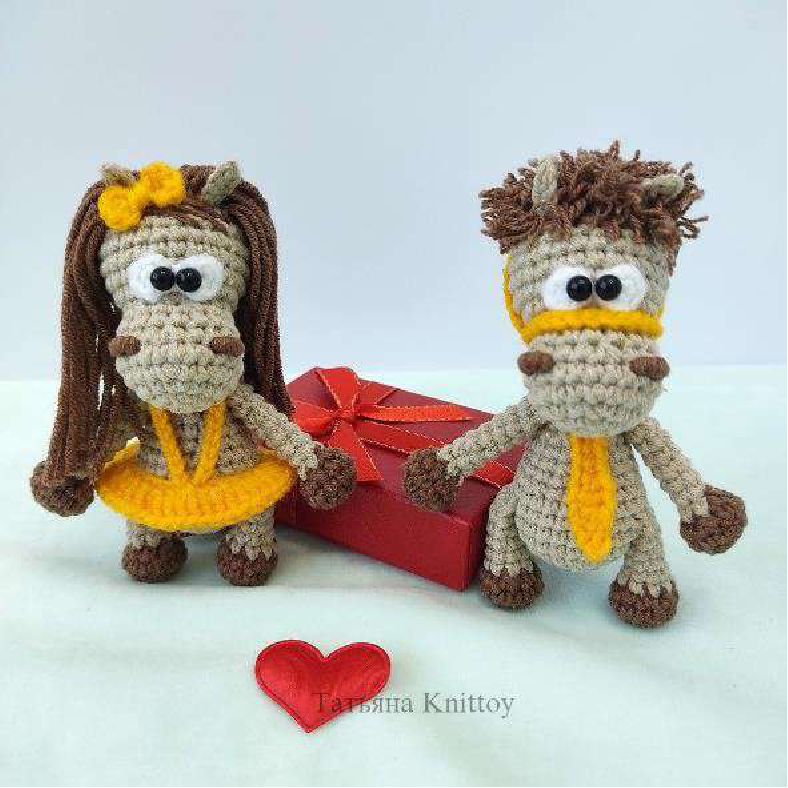
Crochet Your Adorable Seamless Pony Pair!
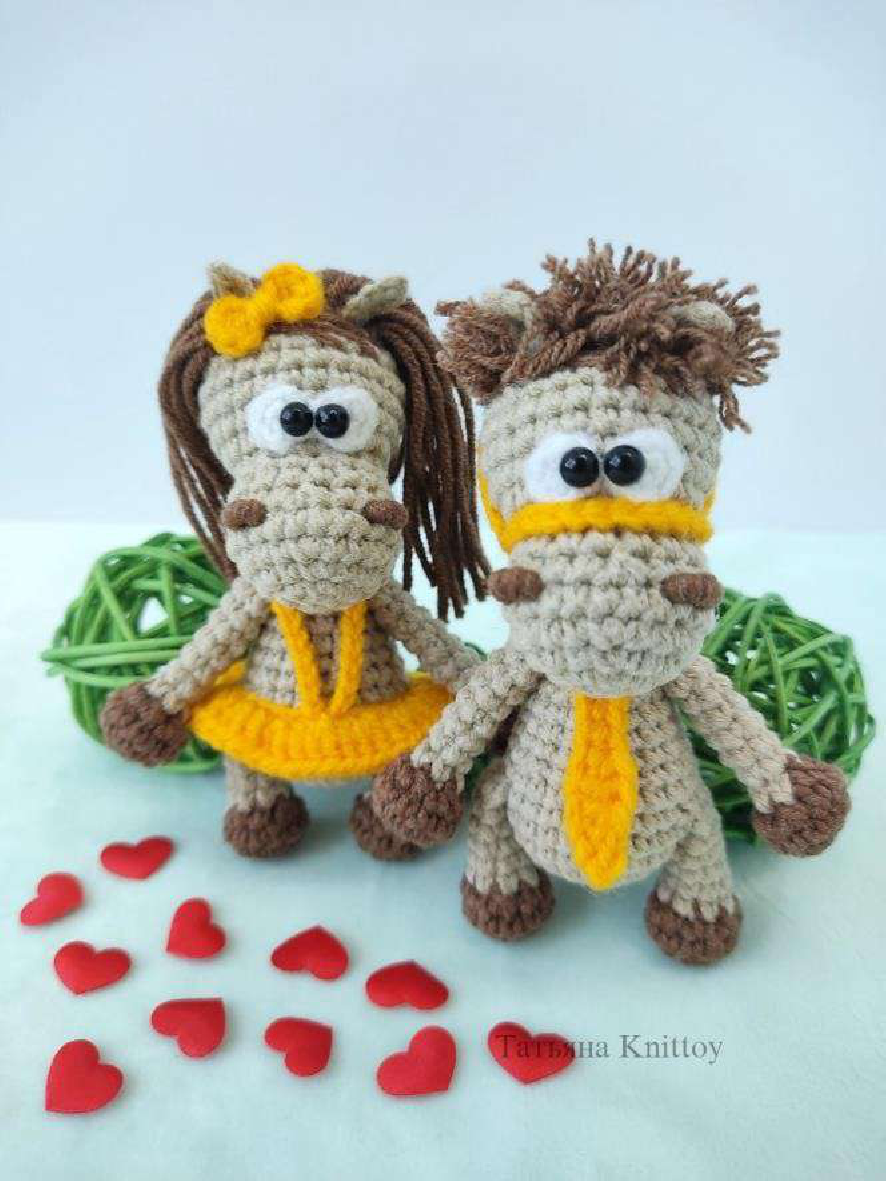
Welcome to this delightful crochet pattern for creating an adorable pair of ponies! This comprehensive guide by Tatiana Knittoy will walk you through each step, from crocheting the individual parts to assembling and adding charming details. Get ready to bring these cute little horses to life!
Materials
- Main Color Yarn (Brown): YarnArt Jeans (45% Acrylic, 55% Cotton; 50g – 160m).
- Hooves, Mane & Tail Yarn (Dark Brown): YarnArt Jeans (45% Acrylic, 55% Cotton; 50g – 160m).
- Eyes Yarn (White): YarnArt Baby (100% Acrylic; 50g – 150m).
- Clothes & Decor Yarn (Yellow): YarnArt Baby (100% Acrylic; 50g – 150m).
- Crochet hook, suitable for your yarn (e.g., No. 2 Clover).
- Stuffing material for toys.
- Needle for sewing and embroidering.
- Beads for eyes (2 pcs) or safety eyes with a diameter of 6 mm.
Attention: You can substitute the yarn with any other suitable type. Knit with the yarn you like best!
General Notes
- Knitting Method: In a spiral.
- Pony Size: Approximately 10 cm when standing.
Abbreviations
- sc: single crochet
- sl st: slip stitch
- inc: increase (2 sc in one stitch)
- dec: decrease (crochet two stitches together)
- ch: chain stitch
Important Information from the Designer
All master classes are my (Tatiana Knittoy’s) original design and are intended only for your personal use. It is forbidden to forward, publish, or otherwise distribute master classes! Toys knitted according to my descriptions may be sold provided there is an active link to my master classes.
My Official Pages:
- VK – https://vk.com/knittoyworld (My Group)
- VK – https://vk.com/knittoy (My Page)
- Livemaster – https://www.livemaster.ru/knittoy
- Telegram – https://t.me/MyKnittoyWorld
- Boosty – https://boosty.to/knittoyworld
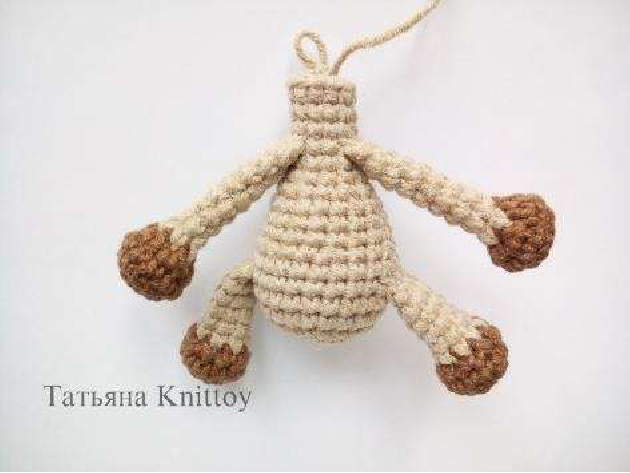
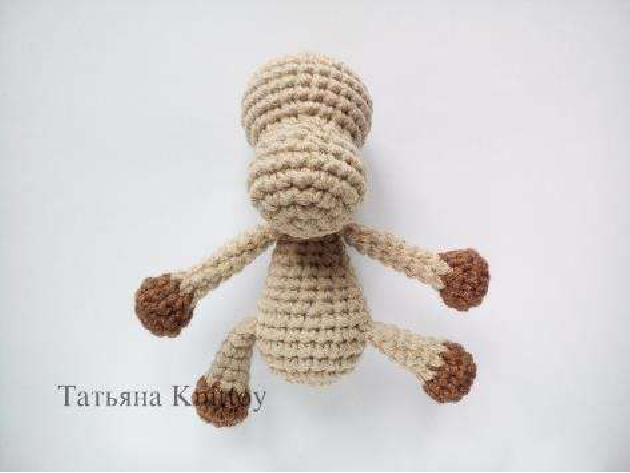
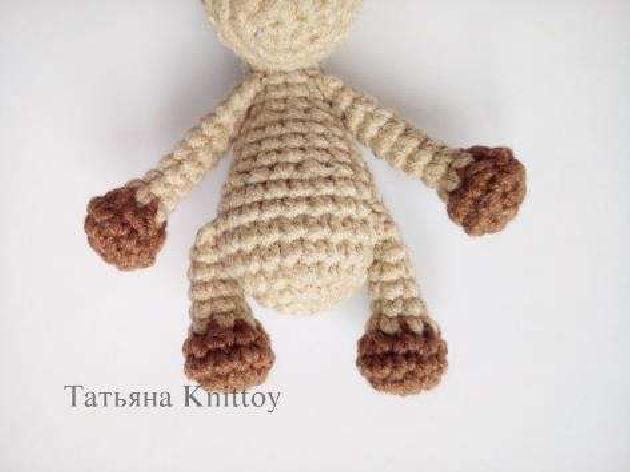
Pattern Details: Seamless Pony Construction
This pony is crocheted completely seamlessly! We’ll start by preparing the muzzle and legs, then attach them to the body.
Muzzle
Using the **main color yarn**:
- Start with 6 sc into an amigurumi ring. (6 stitches)
- Row 1: 12 sc (inc in each sc). (12 stitches)
- Row 2: 18 sc (inc in every second sc). (18 stitches)
- Row 3: 24 sc (inc in every third sc). (24 stitches)
- Row 4: 24 sc. (24 stitches)
- Row 5: 18 sc (dec in every third sc). (18 stitches)
- Row 6: 18 sc. (18 stitches)
- Row 7: 12 sc (dec in every second sc). (12 stitches)
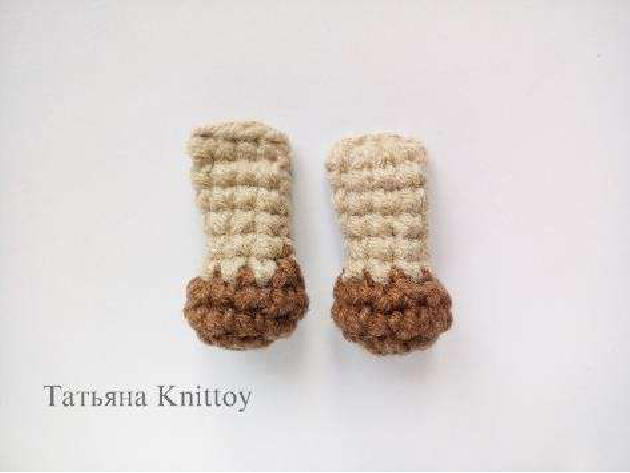
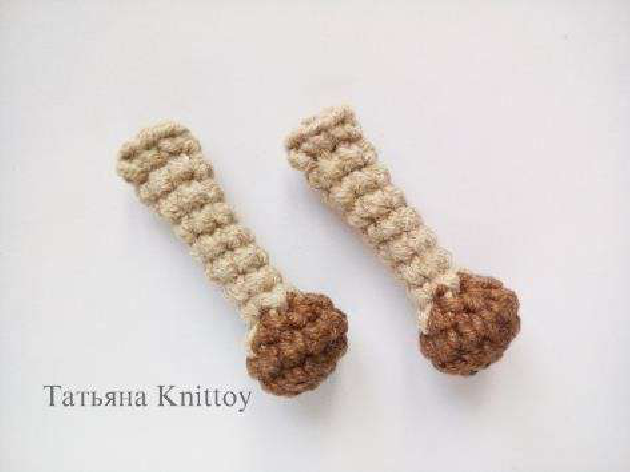
Lower Leg (Make 2)
Using **dark brown yarn** for the hoof:
- Start with 6 sc into an amigurumi ring. (6 stitches)
- Row 1: 12 sc (inc in each sc). (12 stitches)
- Row 2: 12 sc. (12 stitches)
- Row 3: 8 sc (dec by crocheting every second stitch together). (8 stitches)
Change yarn color to the **main color** and continue knitting:
- Rows 4-8: 8 sc. (8 stitches)
Lightly stuff the lower part of the leg with filler. Fold the opening in half and sew across 4 sc to close.
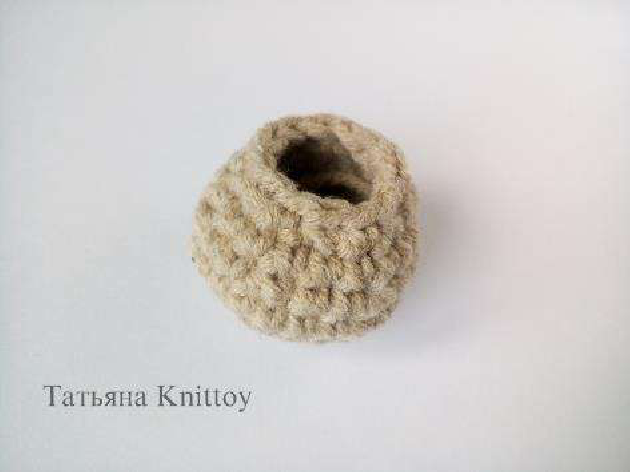
Upper Leg (Make 2)
Using **dark brown yarn** for the hoof:
- Start with 6 sc into an amigurumi ring. (6 stitches)
- Row 1: 12 sc (inc in each sc). (12 stitches)
- Row 2: 12 sc. (12 stitches)
- Row 3: 6 sc (dec by crocheting every 2 stitches together). (6 stitches)
Change yarn color to the **main color** and continue knitting:
- Rows 4-11: 6 sc. (6 stitches)
Lightly stuff the lower part of the leg with filler. Fold the opening in half and sew across 3 sc to close.
Body
Now we’ll start knitting the body and attaching all the prepared parts. Use the **main color yarn**.
- Start with 6 sc into an amigurumi ring. (6 stitches)
- Row 1: 12 sc (inc in each sc). (12 stitches)
- Row 2: 18 sc (inc in every second sc). (18 stitches)
- Row 3: 24 sc (inc in every third sc). (24 stitches)
- Rows 4-5: 24 sc. (24 stitches)
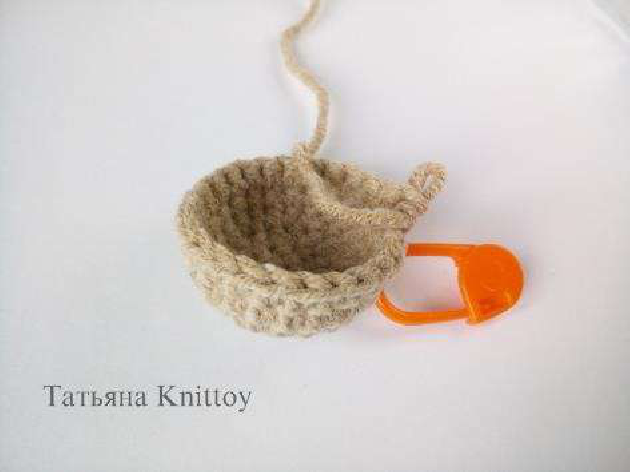
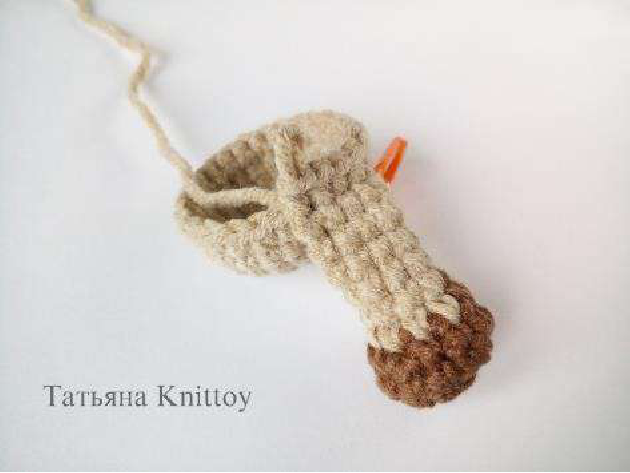
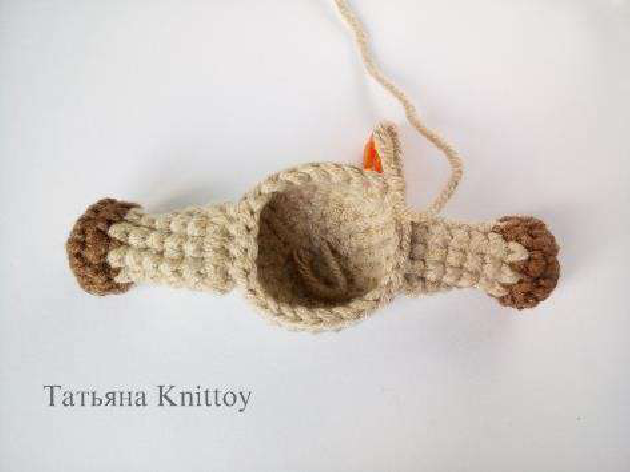
Attaching Lower Legs
You can place a stitch marker to keep track of your rounds.
- Row 6: 24 sc. This round involves attaching the lower legs.
- Crochet 8 sc around the body.
- Attach the first lower leg by crocheting through 4 stitches of the leg and 4 stitches of the body simultaneously.
- Crochet 8 sc around the body.
- Attach the second lower leg similarly, crocheting through 4 stitches of the leg and 4 stitches of the body.
- Finish the row by crocheting the remaining 8 sc around the body.
(The total stitch count remains 24 sc, as you are replacing body stitches with attached leg stitches.)
- Row 7: 24 sc. (24 stitches)
- Row 8: 18 sc (dec in every third sc). (18 stitches)
- Rows 9-10: 18 sc. (18 stitches)
- Row 11: 12 sc (dec in every second sc). (12 stitches)
- Rows 12-13: 12 sc. (12 stitches)
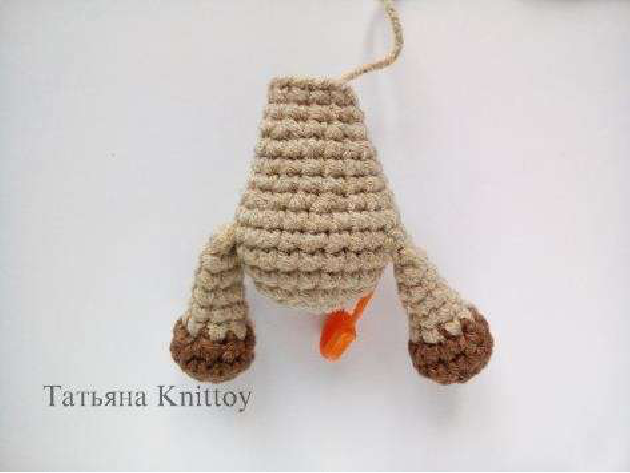
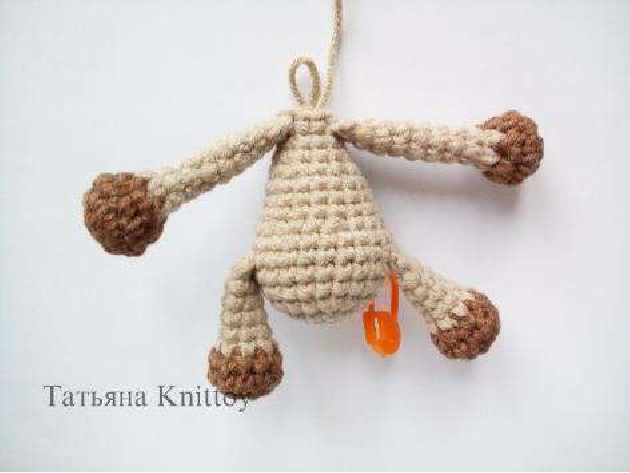
Attaching Upper Legs
- Row 14: 12 sc. This round involves attaching the upper legs.
- Crochet 1 sc around the body.
- Attach the first upper leg by crocheting through 3 stitches of the leg and 3 stitches of the body simultaneously.
- Crochet 2 sc around the body.
- Attach the second upper leg similarly, crocheting through 3 stitches of the leg and 3 stitches of the body.
- Finish the row by crocheting the remaining 3 sc around the body.
(The total stitch count remains 12 sc.)
- Rows 15-17: 12 sc. (12 stitches)
Stuff the body firmly with filler.
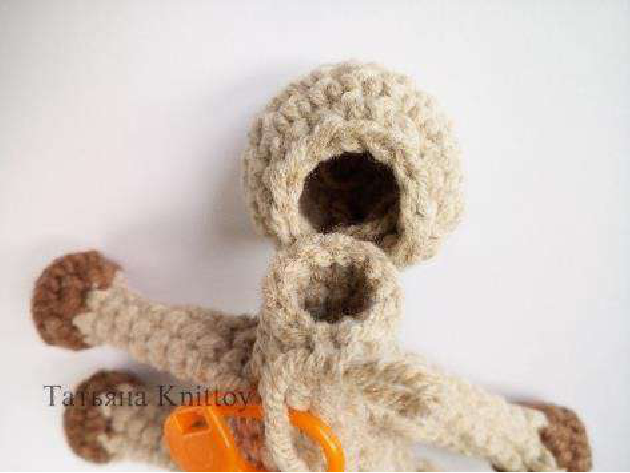
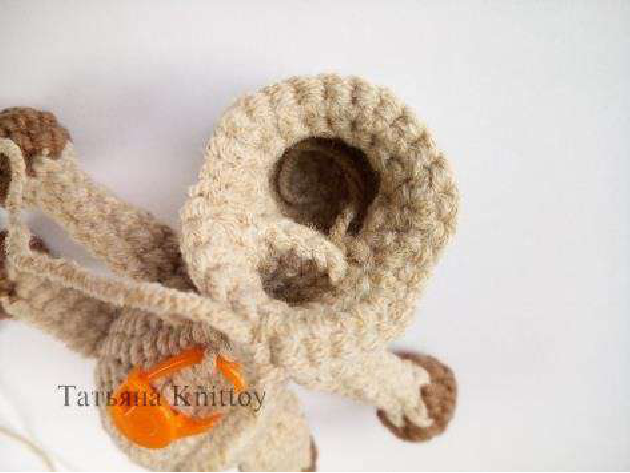
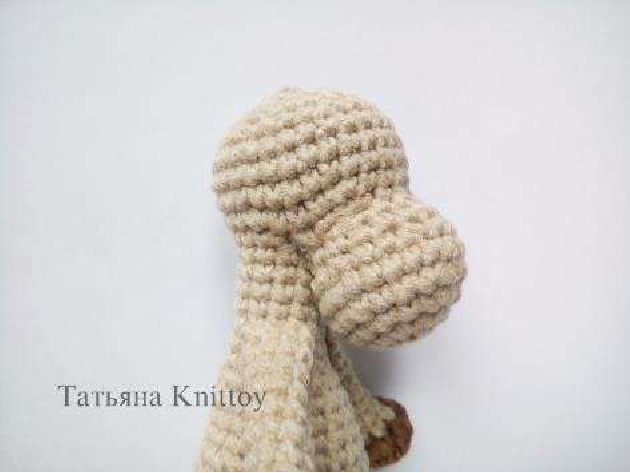
Attaching the Muzzle and Head Shaping
- Row 18: 12 sc. This round involves attaching the muzzle.
- Crochet 4 sc around the body (neck part).
- Attach the muzzle by crocheting through 3 stitches of the muzzle and 3 stitches of the body simultaneously.
- Finish the row by crocheting the remaining 5 sc around the body (neck part).
Now, we will knit across the entire piece, combining the neck and muzzle stitches. You will have a total of 18 sc (12 neck stitches + 12 muzzle stitches – 3 neck stitches used for attachment – 3 muzzle stitches used for attachment).

- Row 19: 24 sc (inc in every third sc). (24 stitches)
- Row 20: 30 sc (inc in every fourth sc). (30 stitches)
- Rows 21-23: 30 sc. (30 stitches)
- Row 24: 24 sc (dec in every fourth sc). (24 stitches)
- Row 25: 18 sc (dec in every third sc). (18 stitches)
Stuff the head and muzzle firmly with filler.
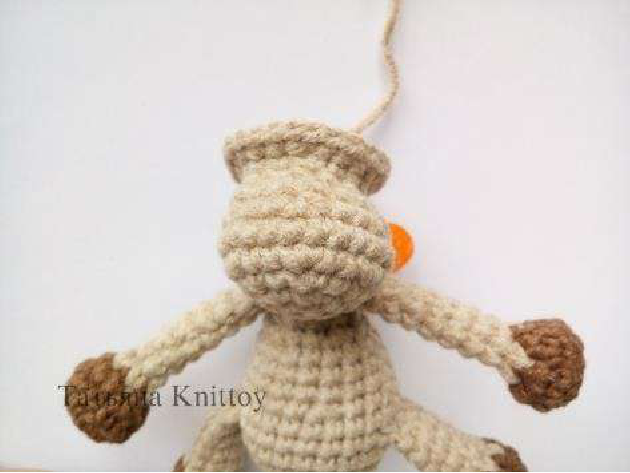
- Row 26: 12 sc (dec in every second sc). (12 stitches)
- Row 27: 6 sc (dec by crocheting every 2 stitches together). (6 stitches)
Leave a thread tail of about 30 cm for crocheting the ears. Fasten off and weave in the end to close the opening.
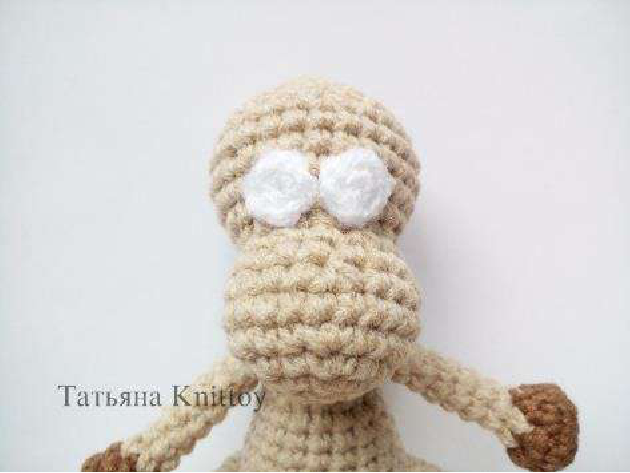
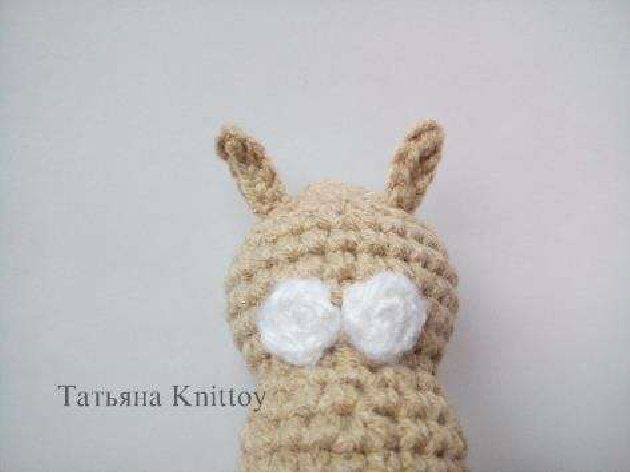
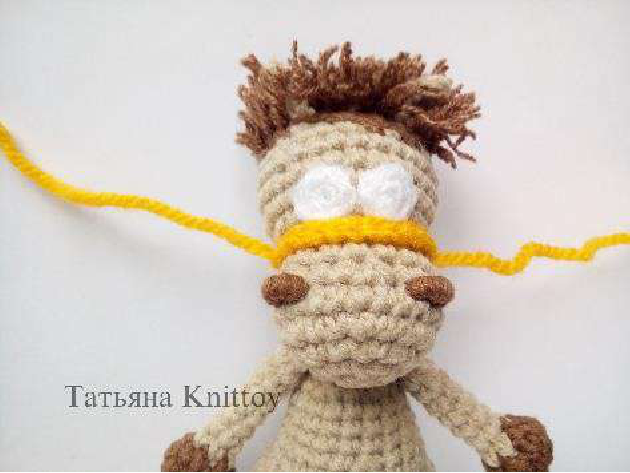
Eyes (Crocheted Base)
Using **white yarn** (these will be the base for your beads/safety eyes):
- Start with 6 sc into an amigurumi ring. (6 stitches)
Fasten off, leaving a tail for sewing. Make two of these.
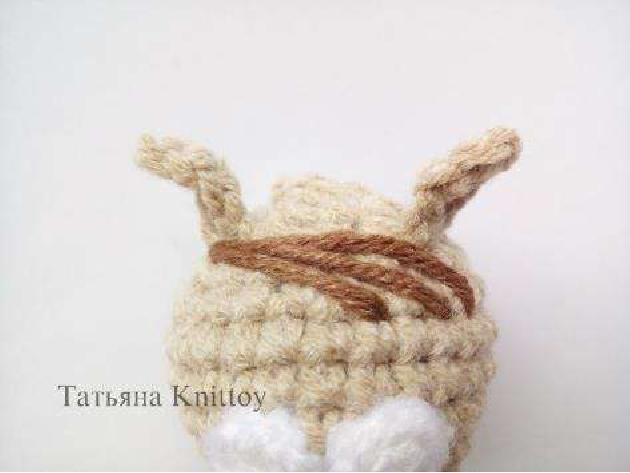
Ears (Make 2)
Choose a spot on the head where you want the ears to be. For example, in the 4th row from the top of the head.
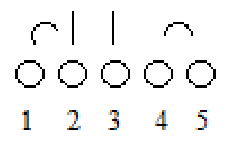
- Insert your hook into the chosen spot and attach the **main color yarn**.
- Chain 5 (ch 5).
- In the reverse direction (starting from the 2nd chain from the hook): crochet 1 sl st, then 2 sc, and finish the ear with a sl st into the base stitch on the head.
The graphic description for the ear looks like this:
    ○○○○○ (5 chain stitches)
    1 2 3 4 5
    (sl st, sc, sc, sl st back into head)
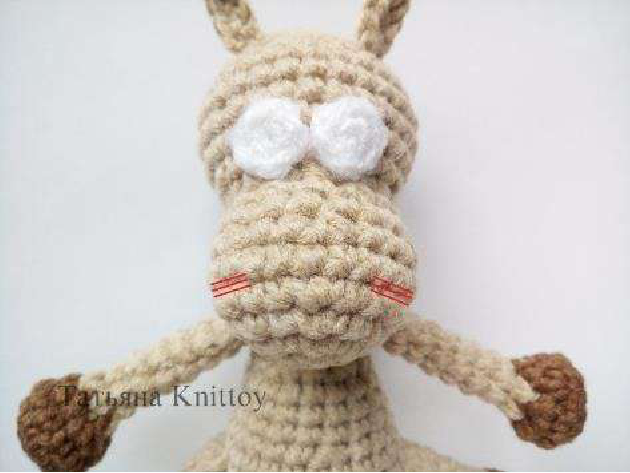
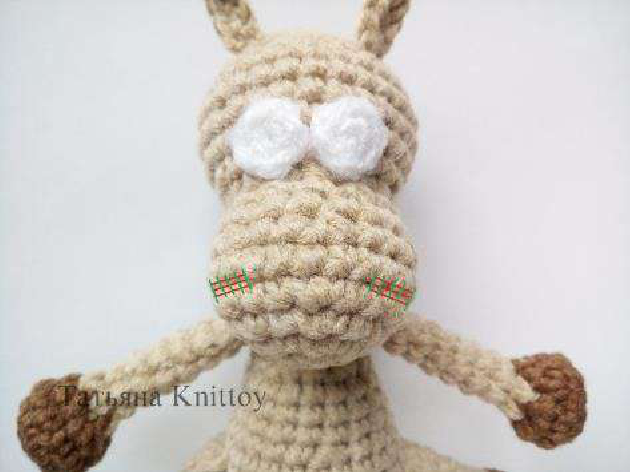
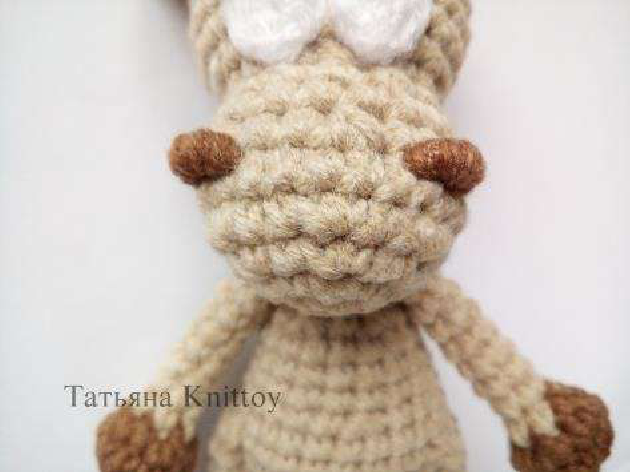
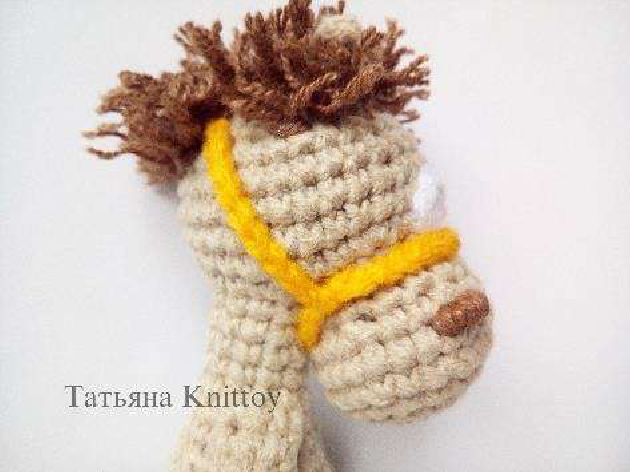
Nostrils
We will embroider the nostrils using **dark brown thread**.
- Choose a spot on the muzzle for the nostril.
- Make 3-4 small, parallel stitches horizontally. (Shown in red in the image.)
- Then, wrap these stitches tightly in a circle with the thread, pulling to create a defined nostril. (Shown in green in the image.)
Mane
Using **dark brown yarn**.
Boy’s Mane (Short)
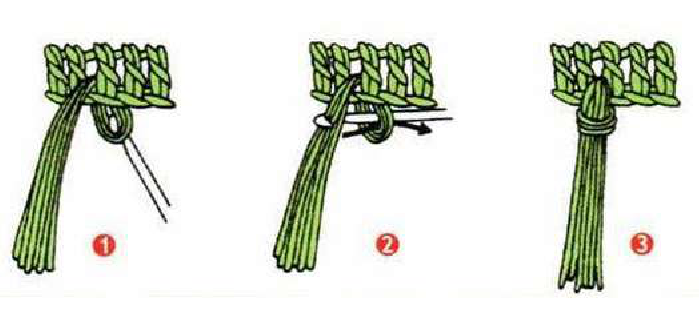
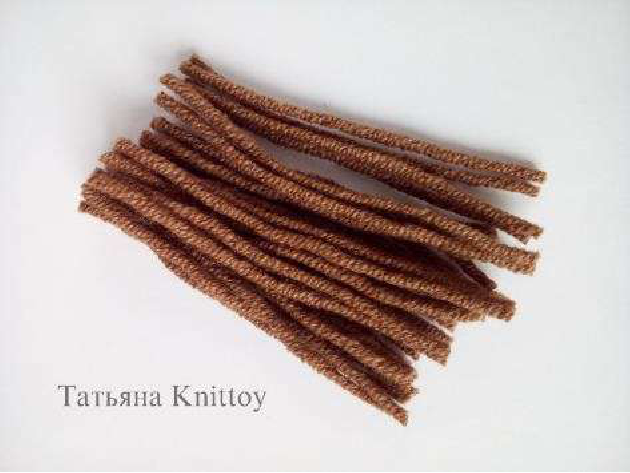
- Cut dark brown yarn into pieces about 4 cm long.
- Fold each piece of yarn in half.
- Using your hook, pull the folded loop through a stitch on the head where you want the mane.
- Pull the free ends of the yarn through the created loop and tighten to form a knot.
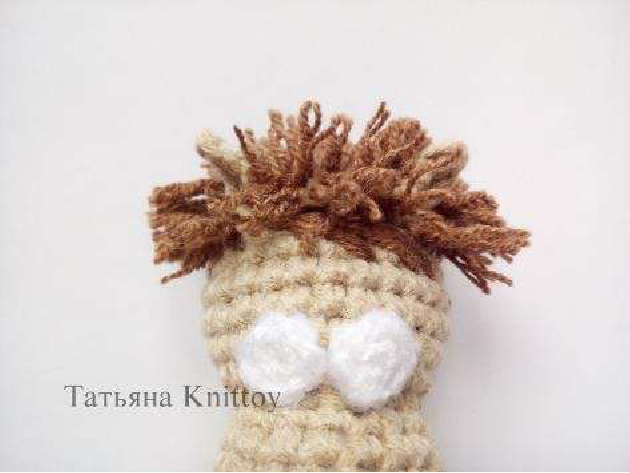
- Repeat this process along the top of the head/neck for the mane. You will need approximately 25-30 threads.
- Once all threads are attached, trim the length of the finished mane to your liking. For the boy, a shorter mane is typical.
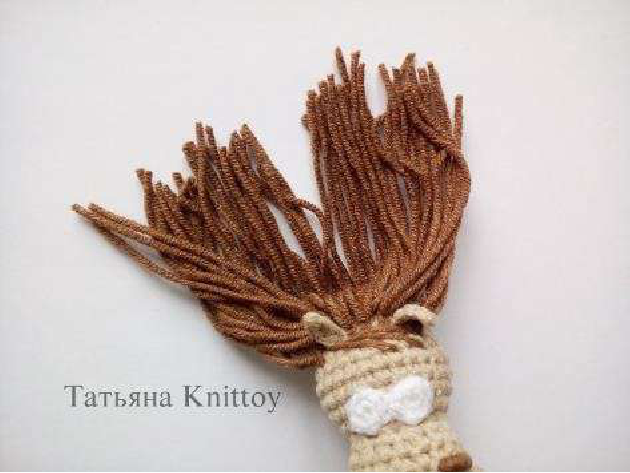
Girl’s Mane (Longer with Bangs)
- First, embroider bangs between the ears using dark brown yarn. Cut pieces of yarn about 10-12 cm long for this. Secure them on the head.
- Then, follow the same steps as the boy’s mane (steps 1-5 above) for the main part of the mane, but leave the pieces longer.
- Trim the mane to the desired length for the girl, keeping it longer than the boy’s.
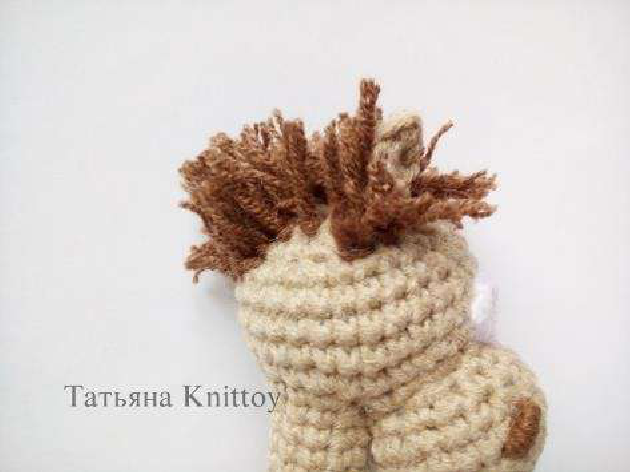
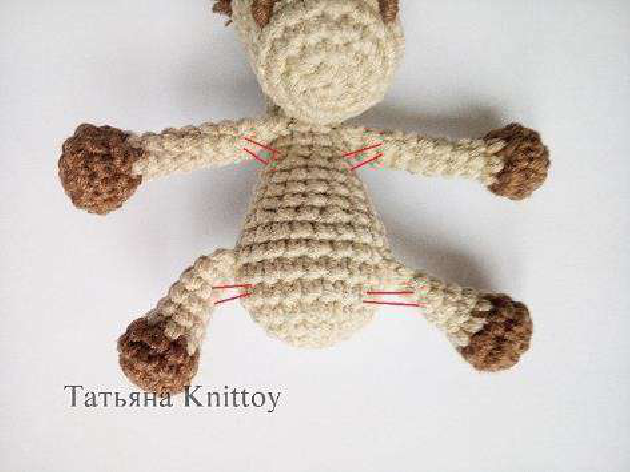
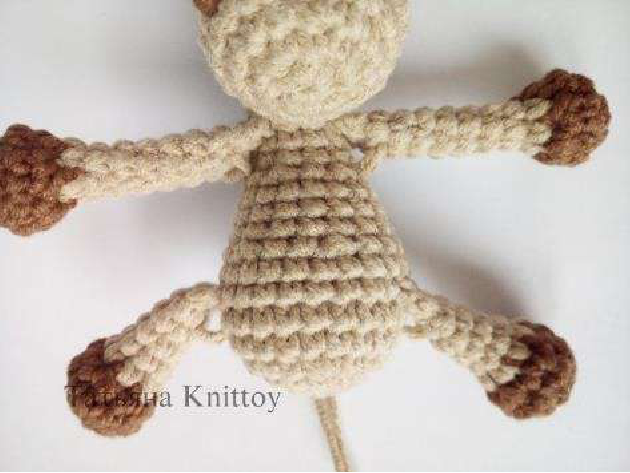
Tidying Up Attached Parts
Using the **main color thread** (you can use leftover from knitting the ears), use a needle to gently tighten any loose attachments. Pass the thread through the base of the upper and lower legs, pulling slightly to secure them firmly against the body so they don’t dangle. This is optional for the head, depending on how snug it is.
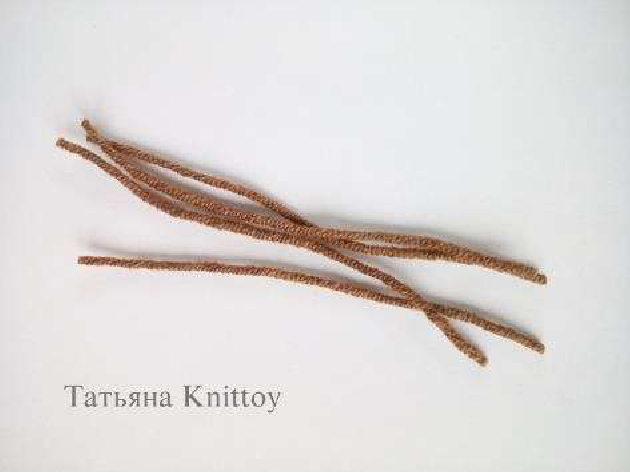
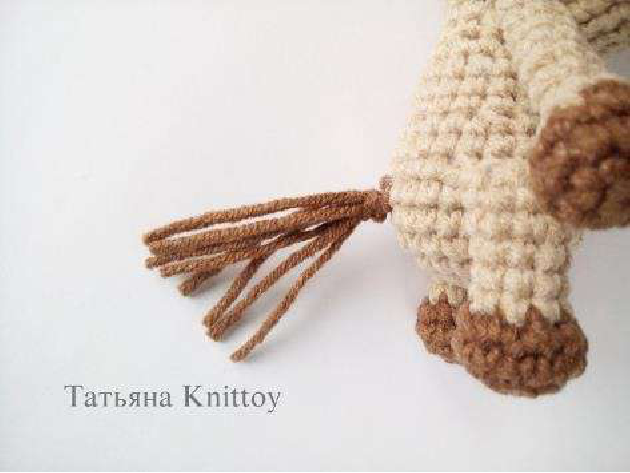
Tail
Using **dark brown yarn**.
- Cut yarn into pieces about 10-11 cm long, depending on the desired tail length.
- On the body, choose a spot for the tail at the back.
- Take 4 strands of yarn, fold them in half.
- Using your hook, pull the folded loop through one stitch on the body.
- Pull the free ends of the threads through the created loop and tie a knot, just like the mane.
- Cut another separate piece of thread and use it to gather all the tail strands together into a small bunch near the base, tying it securely to give the tail shape.
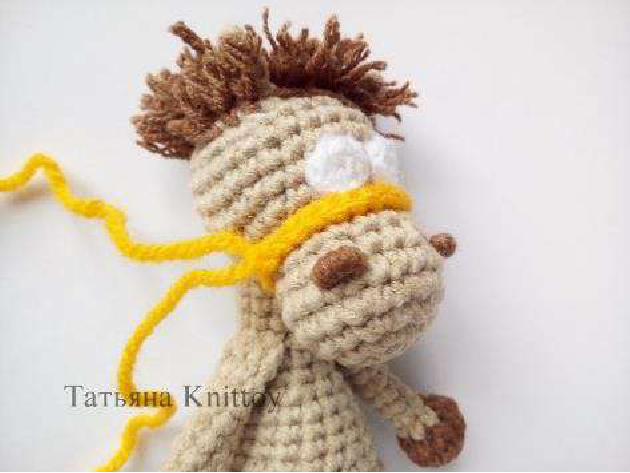
Boy Pony’s Accessories: Bridle and Tie
Using **yellow yarn**.
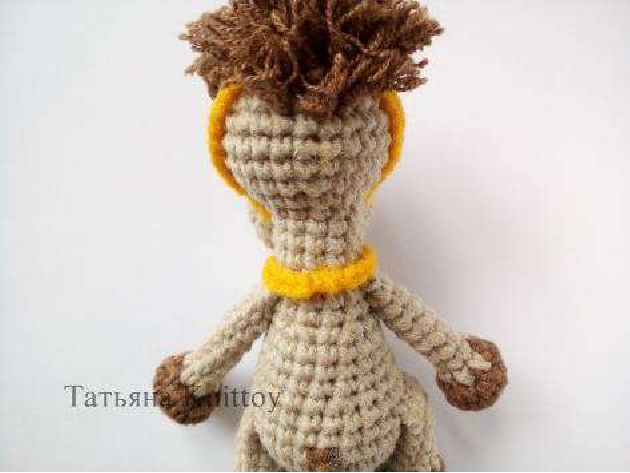
Bridle
- Leave a long thread tail (about 20-25 cm) for sewing.
- Chain 24 (ch 24) and then sl st to the first chain to form a ring.
- Place this ring on the pony’s muzzle.
- Using a needle, pass one end of the long thread tail through the muzzle to the opposite side, securing the bridle in place across the nose.
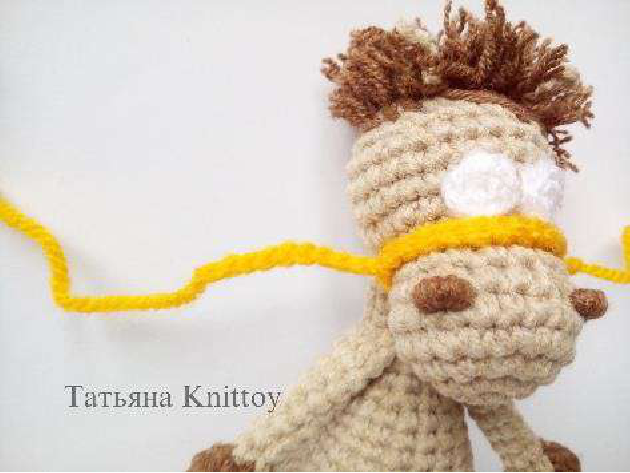
- On each side of the bridle (where it goes over the head), chain 10 (ch 10).
- Tie these chains securely on the top of the pony’s head.
- Hide the thread ends neatly near the mane.
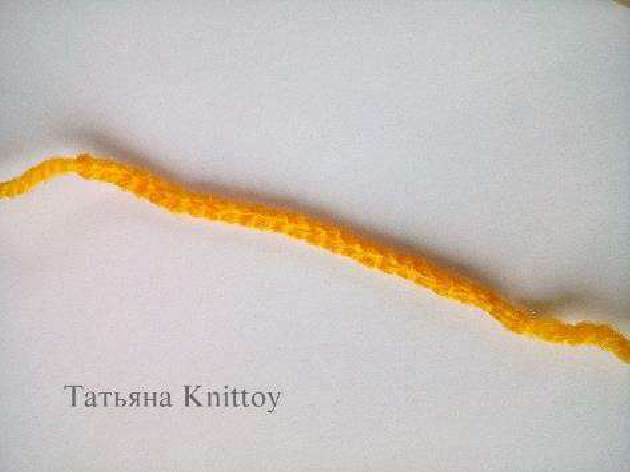
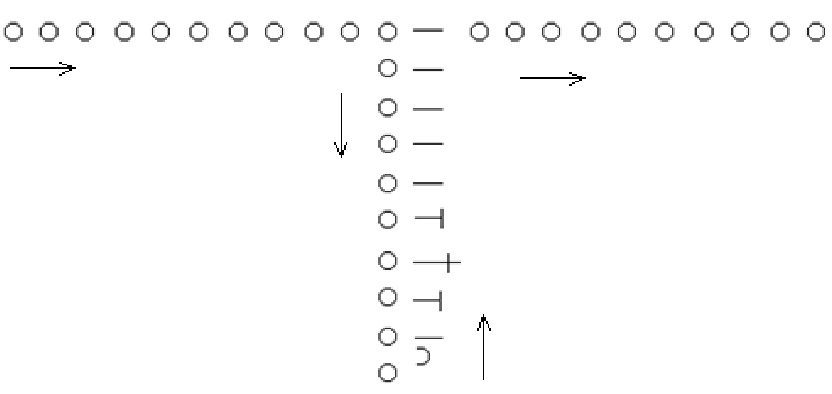
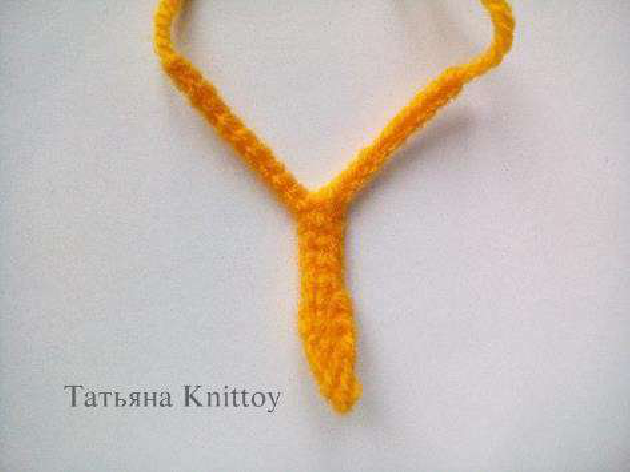
Tie
Using **yellow yarn**.
- Chain 20 (ch 20).
- Working in the reverse direction from the hook:
- 1 sl st
- 1 sc
- 1 half double crochet (hdc)
- 1 double crochet (dc)
- 1 half double crochet (hdc)
- 5 sc
- Then chain 10 (ch 10) for the tie string.
The graphic description for the tie looks like this:
    О-О-О-О-О-О-О-О-О-О-О-О-О-О-О-О-О-О-О- (ch 20)
    → (Working back)
    sl st, sc, hdc, dc, hdc, sc, sc, sc, sc, sc
                                         О
                                         О
                                         О
                                         О
                                         О
                                         О
                                         О
                                         О
                                       ↑ (ch 10)
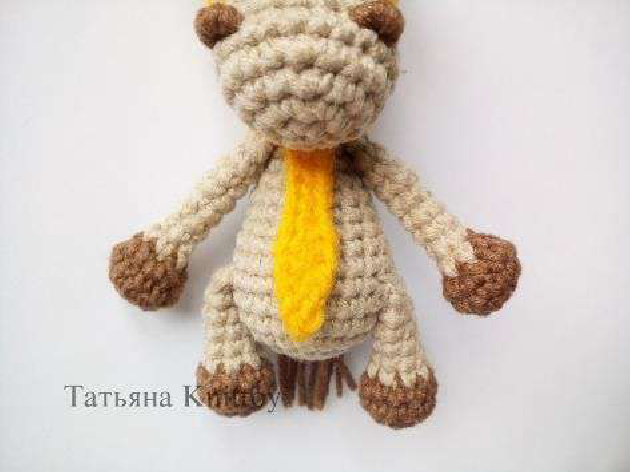
- Tie the finished tie around the pony’s neck.
- Hide the thread ends securely.
Girl Pony’s Accessories: Skirt and Bow
Using **yellow yarn**.
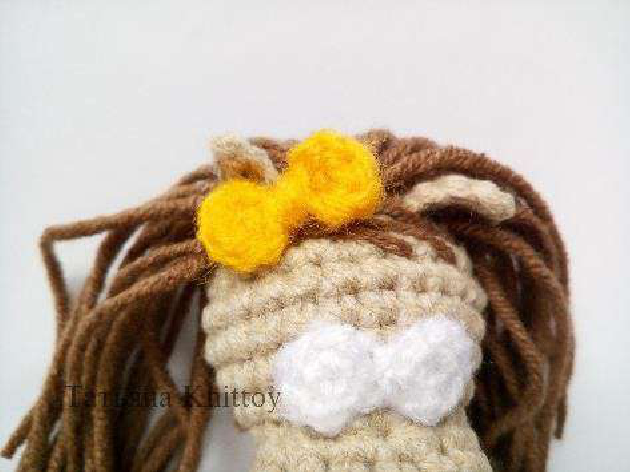
Bow
- Chain 2 (ch 2).
- Chain 2 more (ch 2) for turning.
- Into the second chain from the hook (of the initial 2 ch), crochet 2 sc.
- Chain 2 more (ch 2) to shape the piece.
- Sl st into the 1st chain (the very beginning of your knitting). This completes one half of the bow.
- Crochet the second part of the bow similarly to the first half.
The graphic description for the bow looks like this (it’s a little abstract, but shows the shape):
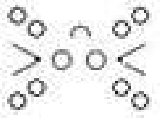
- Secure the finished bow on the girl pony’s head near one ear.
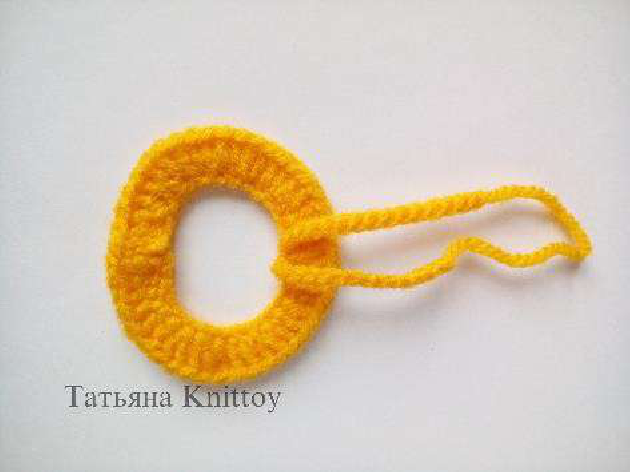
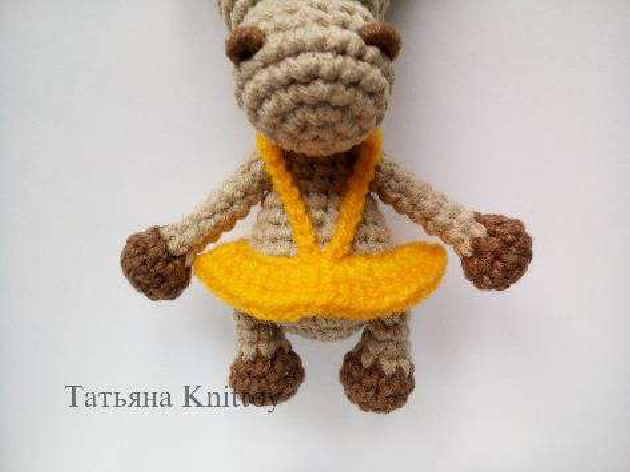
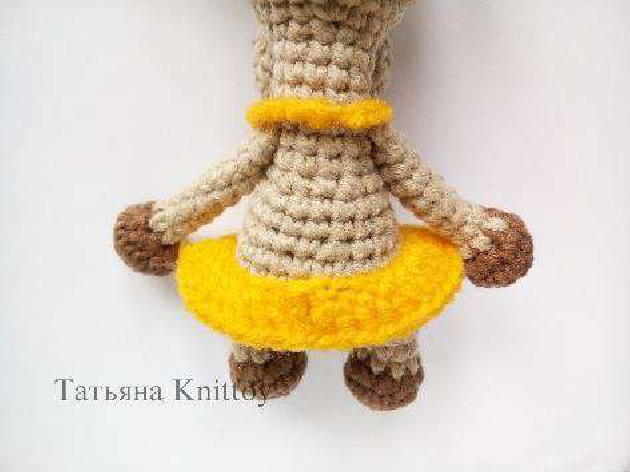
Skirt
Using **yellow yarn**.
- Chain 35 (ch 35) and sl st to the first chain to close into a ring.
- Row 1: 45 double crochet (dc) (inc in every second stitch). (45 stitches)
- In the center of the skirt, chain two sets of 15 chain stitches (ch 15) to create ribbons for tying.
- Put the skirt on the toy.
- Tie the ribbons at the back to secure the skirt.
- Hide the thread ends neatly.
Final Touches
Now for the finishing details to bring your ponies to life!
- Eyes: Securely glue on the beads or attach your safety eyes onto the white crocheted eye bases you made earlier, then sew/glue these onto the muzzle.
- Toning: Optionally, you can add some subtle toning with blush or fabric pastels to the cheeks or inside the ears for added depth and realism.
Congratulations! Your adorable pair of ponies is now complete!
Pattern designed by Tatiana Knittoy.