Crochet Your Own Adorable Tiny Mouse!
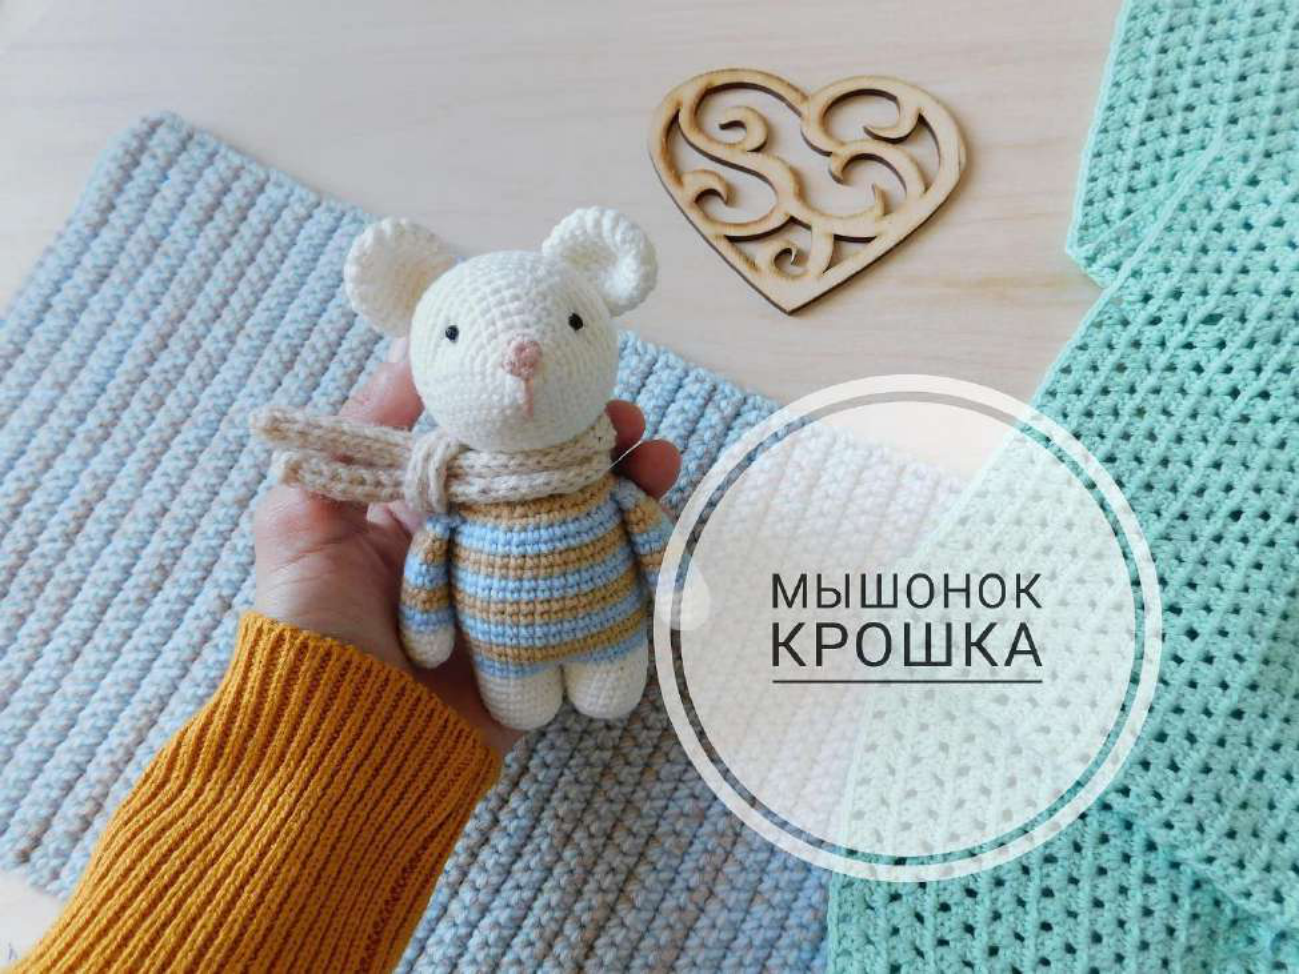
Master Class: Crochet Your Own Adorable Tiny Mouse!
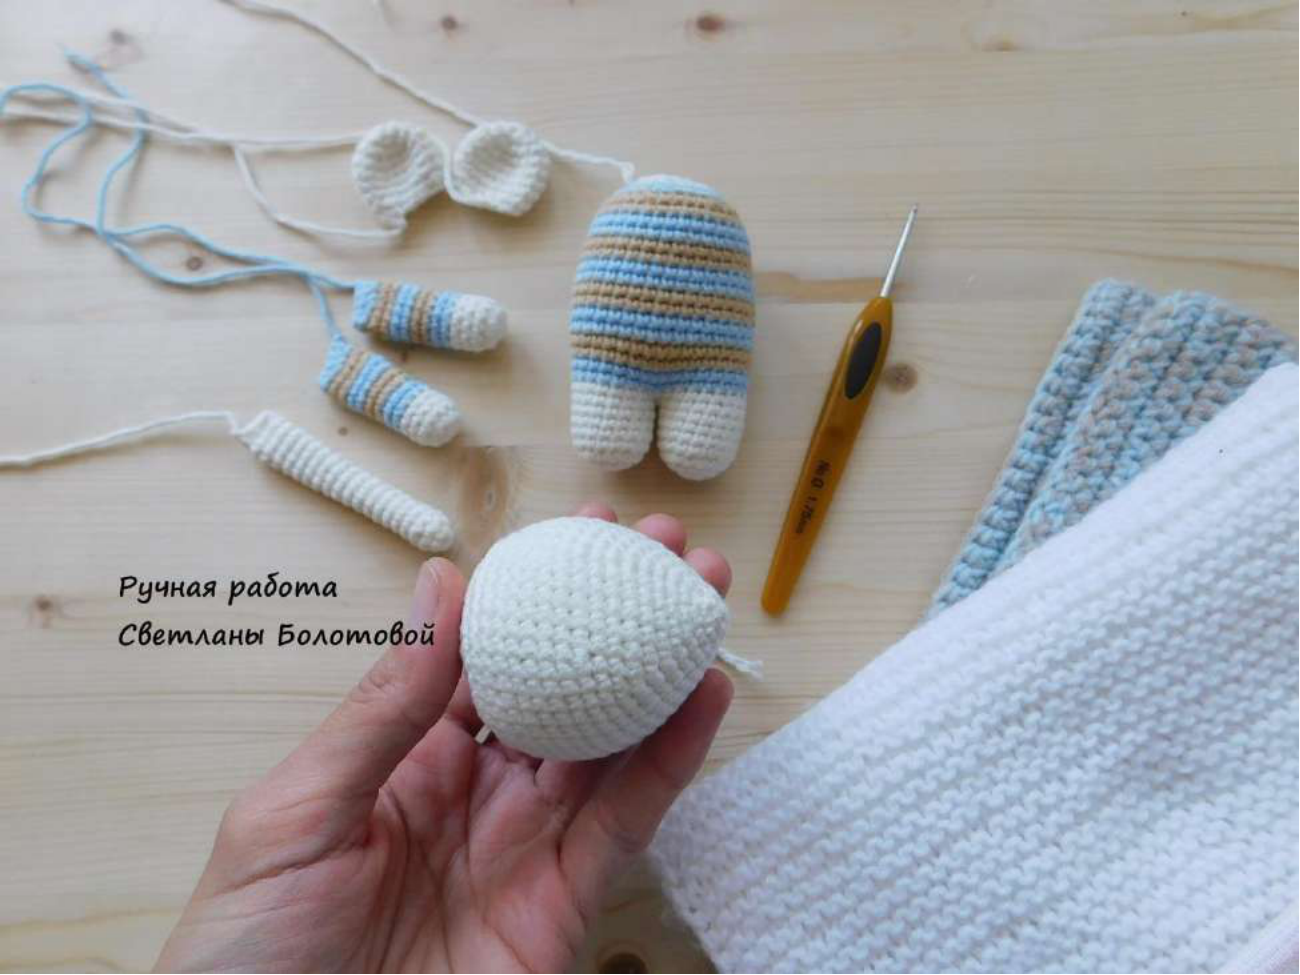
Welcome, fellow crafters, to a delightful journey into creating the most charming little companion – the Tiny Mouse! Whether you’re looking for a heartfelt gift, a whimsical decor piece, or simply to expand your collection of unique **crochet patterns**, this detailed guide from Svetlana Bolotova will lead you through every stitch. Get ready to bring this sweet mouse to life with your own hands and hook. Let’s start crocheting!

Project Overview
**Dimensions:** Approximately 13 cm.
Please note: The size of your finished toy will depend on the thickness of the yarn you choose, your personal knitting density, and the hook number used.
Necessary Materials:
- Filler for the toy (such as padding polyester, synthetic fluff, or holofiber).
- Semi-cotton yarn for the mouse body and its clothes.
- Cotton yarn (thin) for knitting the nose.
- Small beads for eyes.
- Crochet Hook No. 1.6 – 1.75.
Abbreviations:
- **sc:** single crochet
- **inc:** increase, two single crochets worked into one stitch
- **dec:** decrease, two single crochets worked together
- **ch:** chain
- **R:** Row
Getting Started: Happy Crocheting!
We extend our heartfelt thanks to Svetlana Bolotova for sharing her wonderful design. We encourage you to credit the author when showcasing your finished Tiny Mouse. Your feedback and suggestions are always welcome as we strive to provide the best possible patterns.
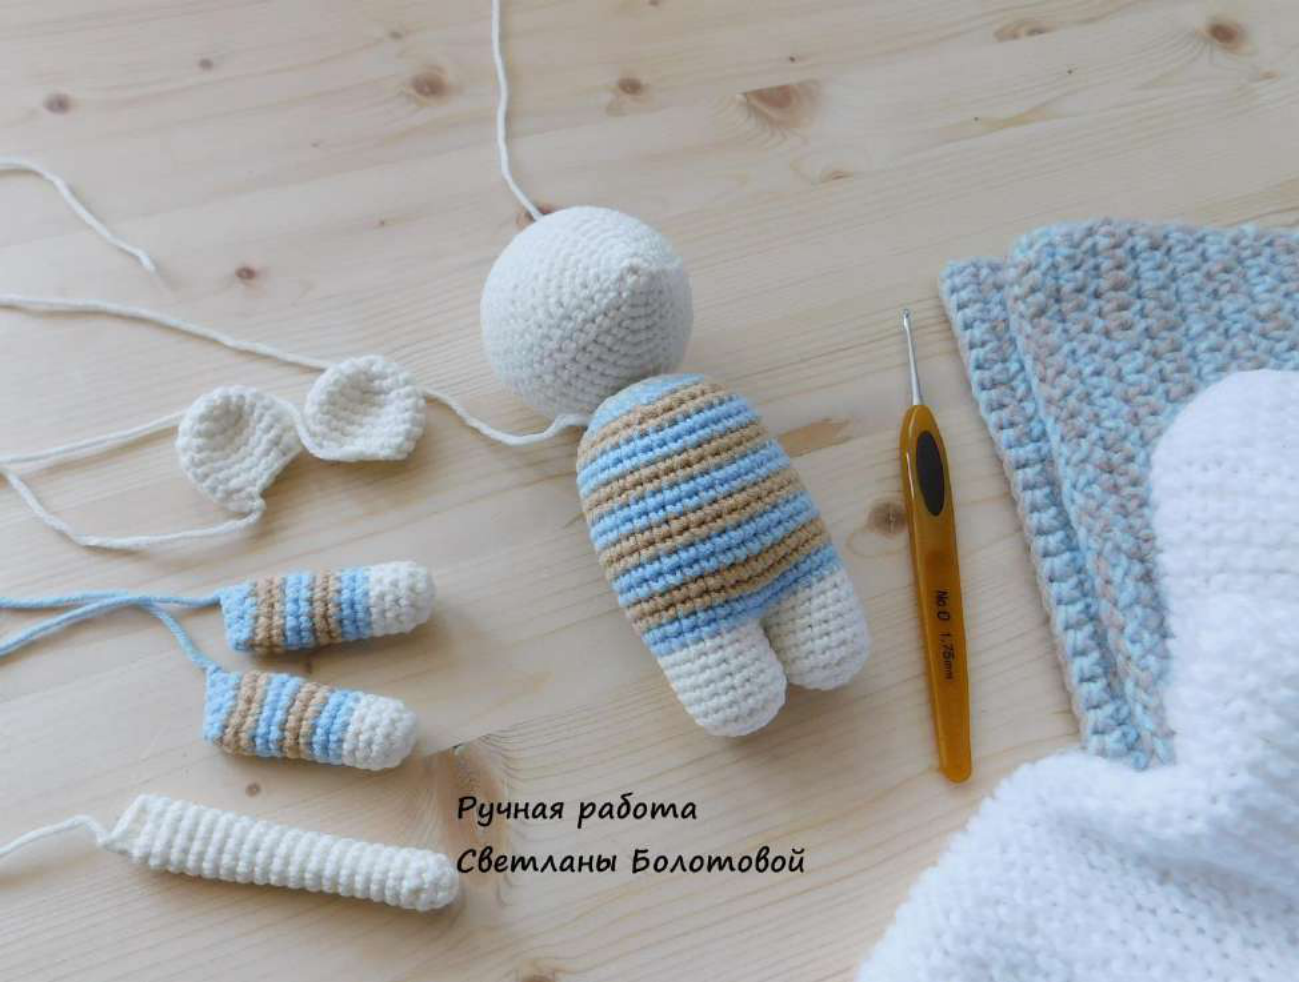
Let’s begin knitting with the legs!
Left Leg
R1: 6 sc in magic ring
R2: inc x 6 times = 12 sc
R3: (sc, inc) x 6 times = 18 sc
R4-8: (5 rows) 18 sc
At the end of R8, crochet 1 ch, pull the yarn through the ch, cut the yarn.
Right Leg
R1: 6 sc in magic ring
R2: inc x 6 times = 12 sc
R3: (sc, inc) x 6 times = 18 sc
R4-8: (5 rows) 18 sc
Joining Legs & Body
Next, we will join the legs and continue crocheting. The row numbering continues from here.
R9: 18 sc on the left leg, 18 sc on the right leg = 36 sc
Change yarn color to knit the sweater. Then alternate two different colors every two rows for the following sections.
R10-24: (15 rows) 36 sc
R25: (4 sc, dec) x 6 times = 30 sc
R26: (3 sc, dec) x 6 times = 24 sc
Change yarn color to the main color.
R27: 24 sc
Arms
R1: 6 sc in magic ring
R2: inc x 6 times = 12 sc
R3-5: (3 rows) 12 sc
Change yarn color to knit striped sweater sleeves. Then alternate two different colors every two rows for the following sections.
R6-14: (9 rows) 12 sc
R15: (2 sc, dec) x 3 times = 9 sc
R16: Fold the piece in half, crochet the front and back parts together with 4 sc.
Leave a long tail for sewing the piece.
Snout
R1: 6 sc in magic ring
R2: (sc, inc) x 3 times = 9 sc
R3: (2 sc, inc) x 3 times = 12 sc
R4: (2 sc, inc) x 4 times = 16 sc
R5: (3 sc, inc) x 4 times = 20 sc
R6: (4 sc, inc) x 4 times = 24 sc
R7: (5 sc, inc) x 4 times = 28 sc
R8: (6 sc, inc) x 4 times = 32 sc
R9: (7 sc, inc) x 4 times = 36 sc
R10: 36 sc
R11: (5 sc, inc) x 6 times = 42 sc
R12-18: (7 rows) 42 sc
R19: (5 sc, dec) x 6 times = 36 sc
R20: 36 sc
R21: (4 sc, dec) x 6 times = 30 sc
R22: (3 sc, dec) x 6 times = 24 sc
R23: (2 sc, dec) x 6 times = 18 sc
R24: (sc, dec) x 6 times = 12 sc
R25: dec x 6 times = 6 sc
Tighten the stitches, cut the yarn and hide the end inside the piece.
Nose
R1: 6 sc in magic ring
R2: (sc, inc) x 3 times = 9 sc
Tighten the stitches with a needle through the front loop of the R2 stitches. Sew onto the tip of the snout. With the same thread, embroider the mouth.
Tail
R1: 6 sc in magic ring
R2: (sc, inc) x 3 times = 9 sc
R3-20: (18 rows) 9 sc
R21: Fold in half and crochet 4 sc
Leave a long tail for sewing the piece.
Ears
R1: 6 sc in magic ring
R2: inc x 6 times = 12 sc
R3: (sc, inc) x 6 times = 18 sc
R4-6: (3 rows) 18 sc
R7: (4 sc, dec) x 3 times = 15 sc
R8: (3 sc, dec) x 3 times = 12 sc
Assembly & Decoration
- Sew eyes between R9 and R10 of the snout. The distance between the eyes is approximately 10-11 stitches.
- Sew ears between R17 and R18 of the snout. The distance between the ears is approximately 7 stitches.
- Sew arms between R24 and R25 of the body.
- Sew the tail at the back of the body.
- For the scarf, use knitting needles: Cast on 6 stitches, knit all odd rows as knit stitches, and all even rows as purl stitches. Continue until the desired length is reached.
Congratulations on creating your adorable Tiny Mouse! We hope you enjoyed this journey and are thrilled with your new handmade friend. We love seeing your creations, so please share your finished projects with us on social media and tag Crochetto!
Find Amazing Free Crochet Patterns on Crochetto.