Easy Amigurumi Mouse/Rat Crochet Pattern
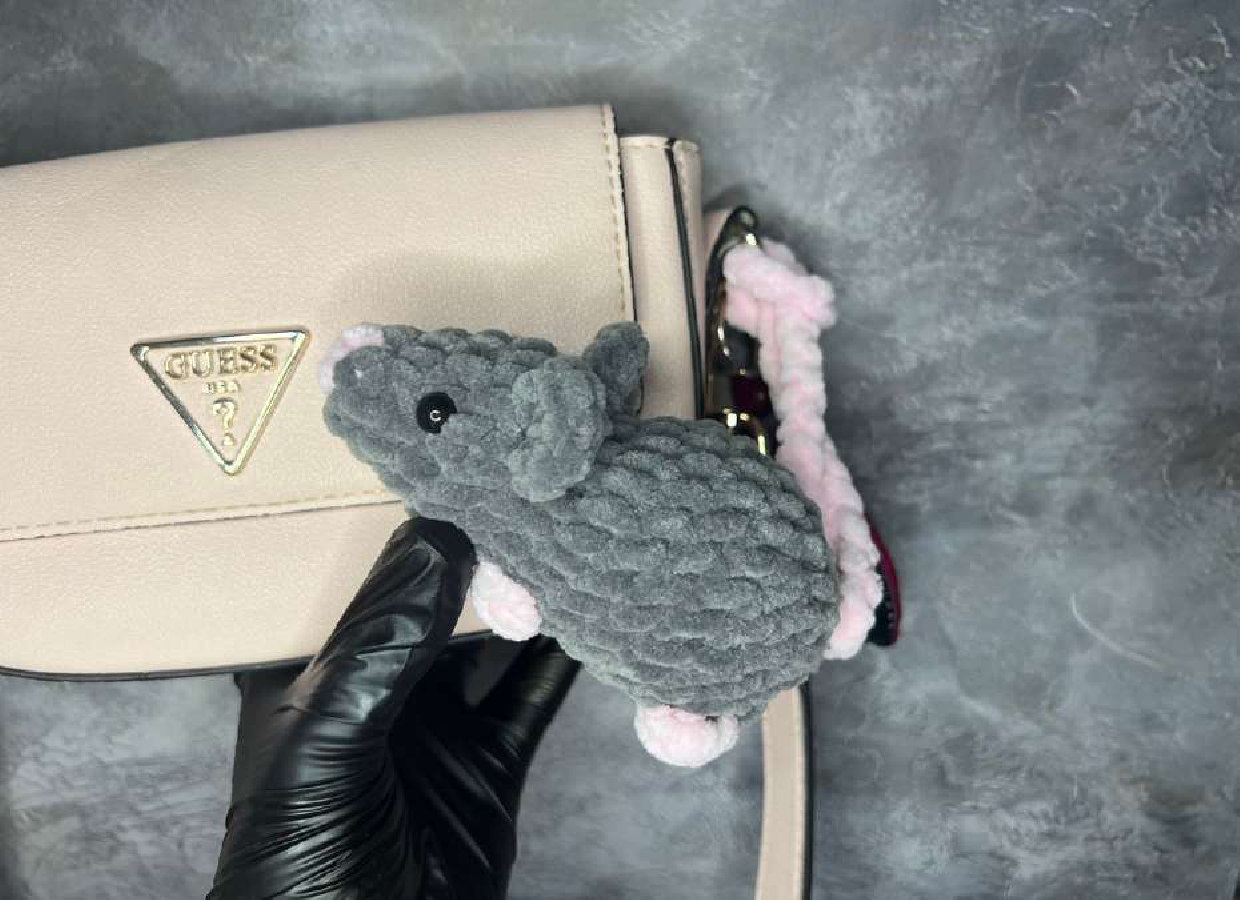
Adorable Amigurumi Mouse/Rat: A Detailed Crochet Pattern for All Skill Levels
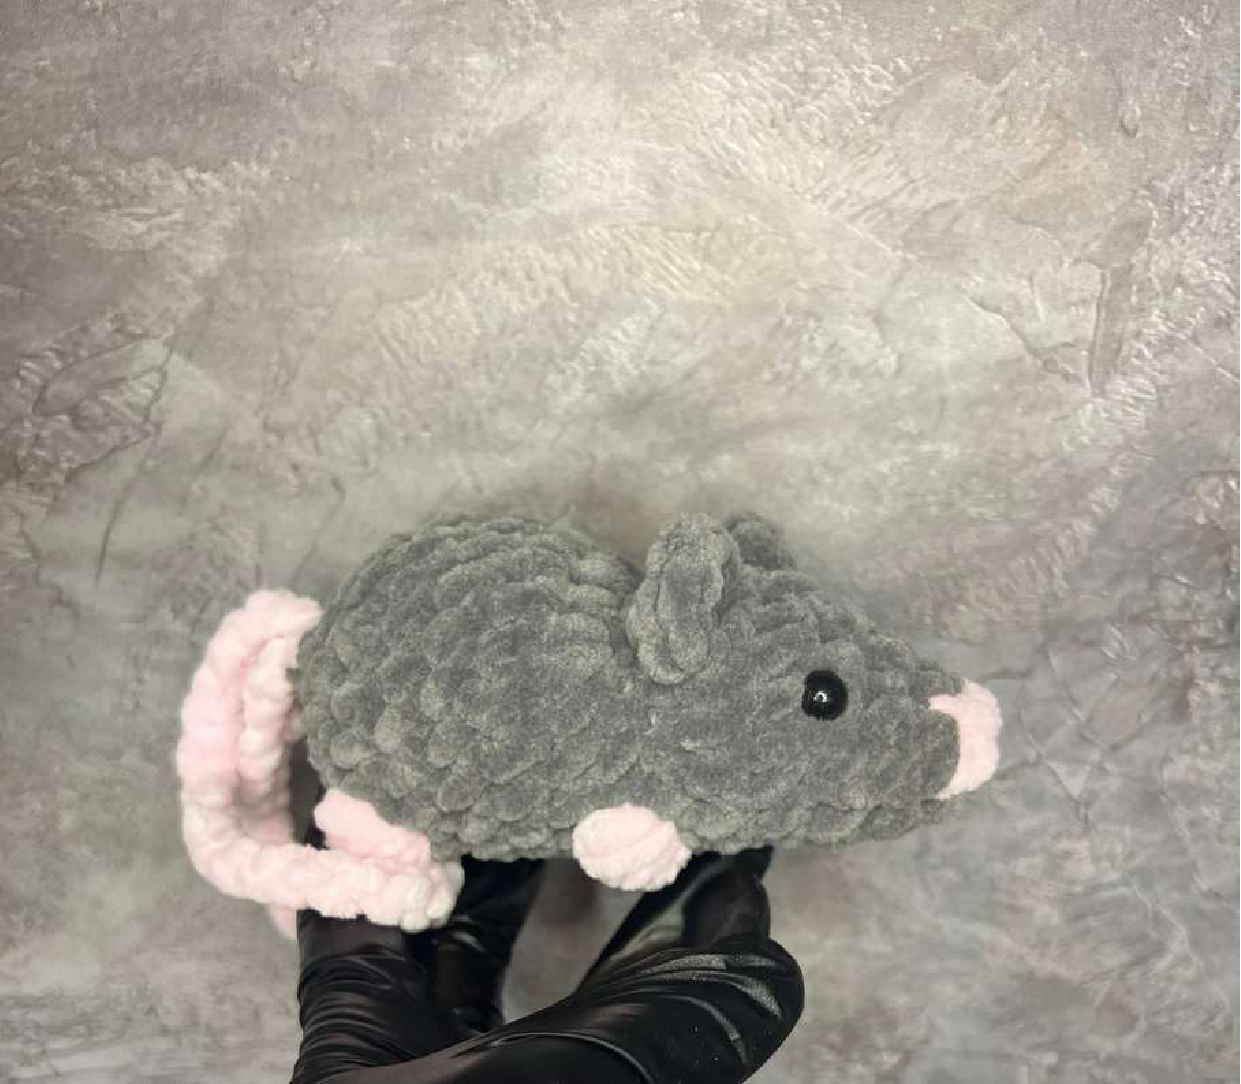
Welcome to Crochetto! Are you ready to create an irresistibly cute amigurumi mouse or rat? This detailed guide will walk you through every stitch, helping you craft a charming little friend perfect for gifts, decor, or simply to add a touch of handmade joy to your day. Whether you’re new to amigurumi or a seasoned pro, our easy-to-follow instructions and helpful tips will ensure a delightful crocheting experience. Dive into this fun project and discover the joy of bringing these tiny creatures to life with our premium crochet patterns!
Abbreviations Used in This Pattern
- SC – Single Crochet
- MR – Amigurumi Ring (Magic Ring)
- INC – Increase (2 SC in one stitch)
- SL ST – Slip Stitch
- CH – Chain Stitch
- DEC – Decrease (Single Crochet 2 Together)
- HDC – Half Double Crochet
- Bobble – 4 Double Crochet together
Materials You’ll Need
- Any plush yarn (choose your favorite color for the body and pink for details)
- 4mm crochet hook
- Tapestry needle
- Scissors
- 8mm or 10mm safety eyes
- Embroidery thread for facial details (if embroidering the nose instead of crocheting)
Important Notes and Customization Options
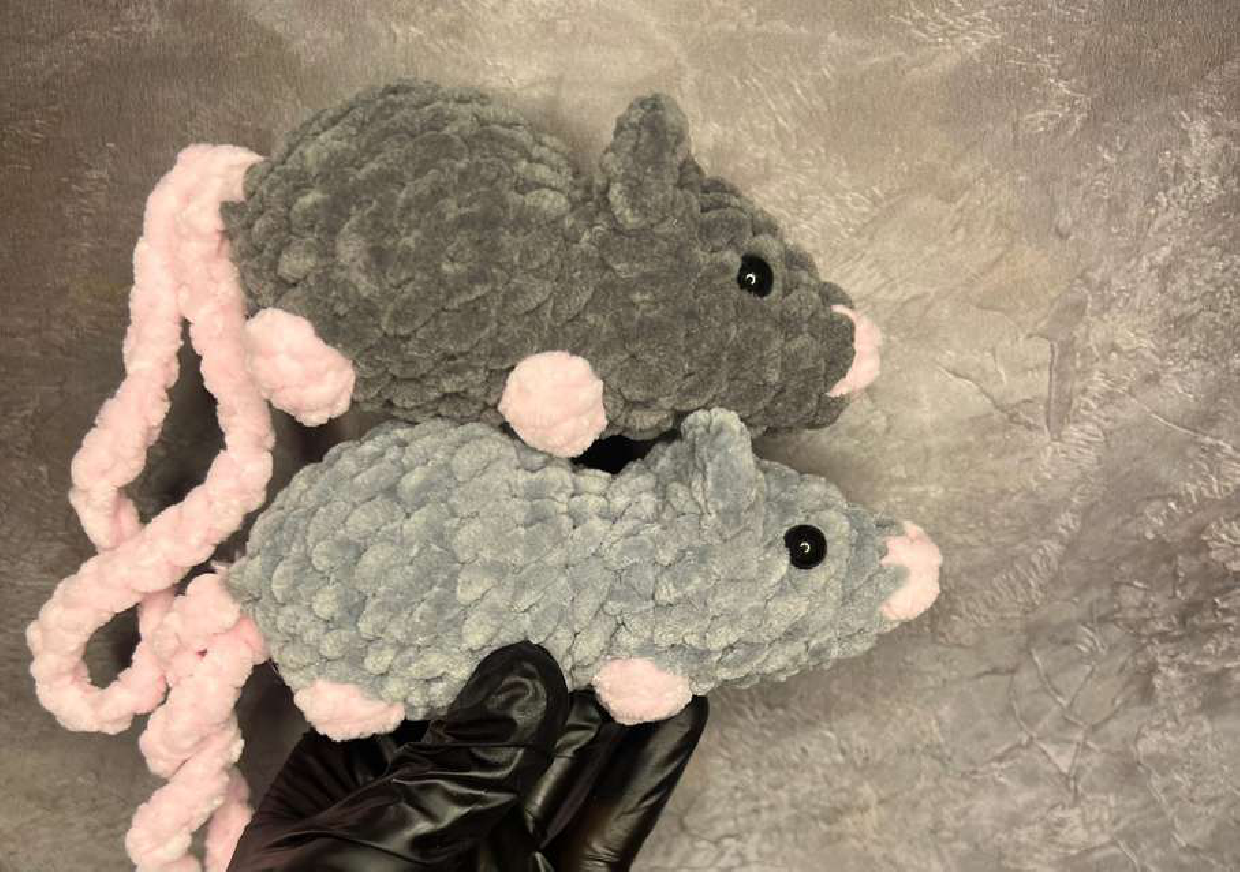
This pattern includes options for different muzzle lengths, leg placements, and ear sizes, allowing you to personalize your amigurumi mouse or rat. The images below illustrate some of these variations for your inspiration.
Explore Different Muzzle Lengths and Leg Placements
You can adjust the character of your mouse by altering its features. See how different muzzle lengths and leg positions can change the overall look.
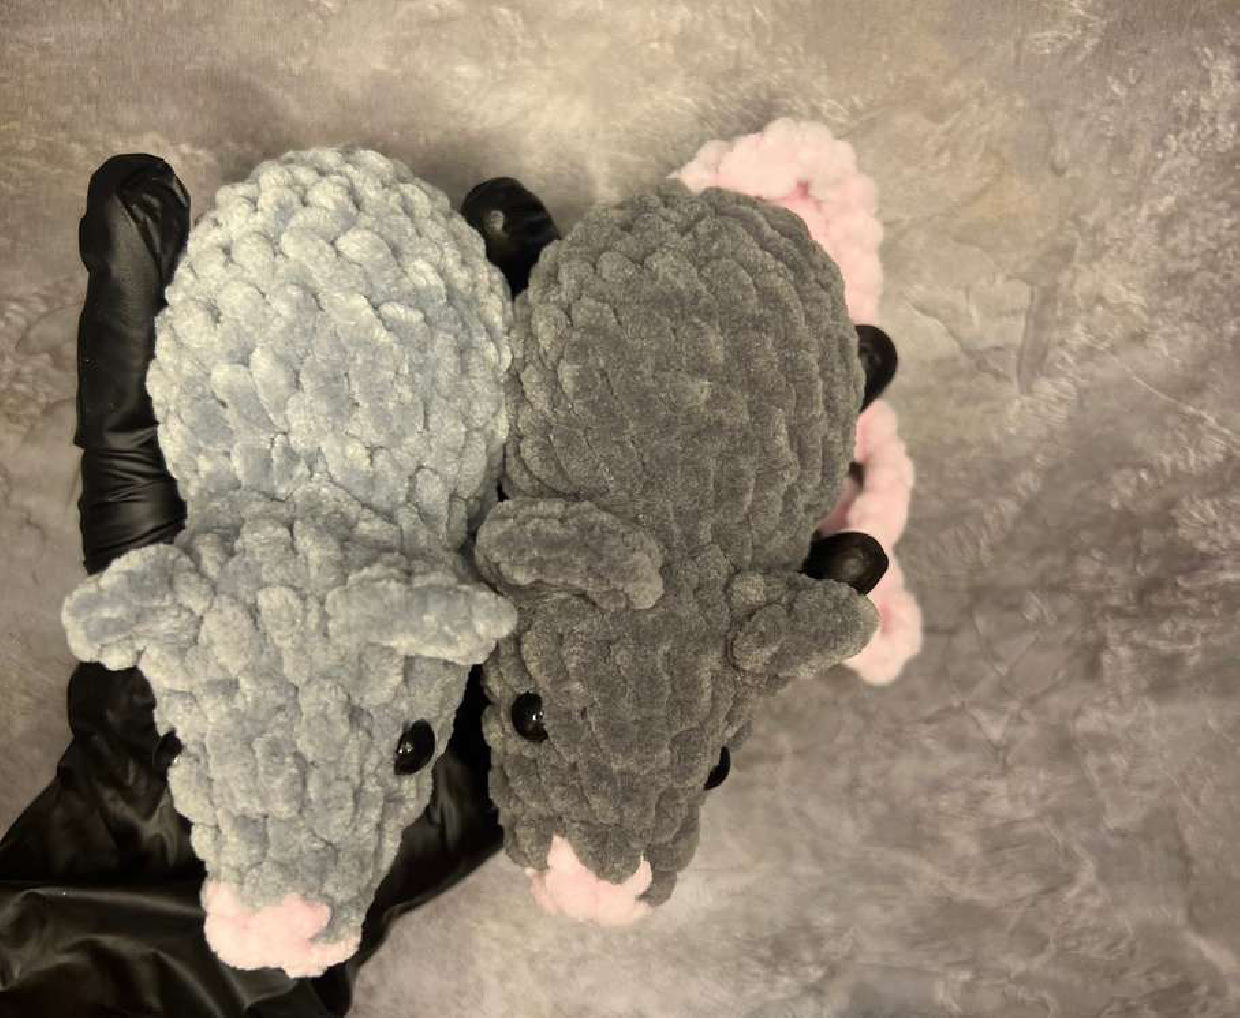
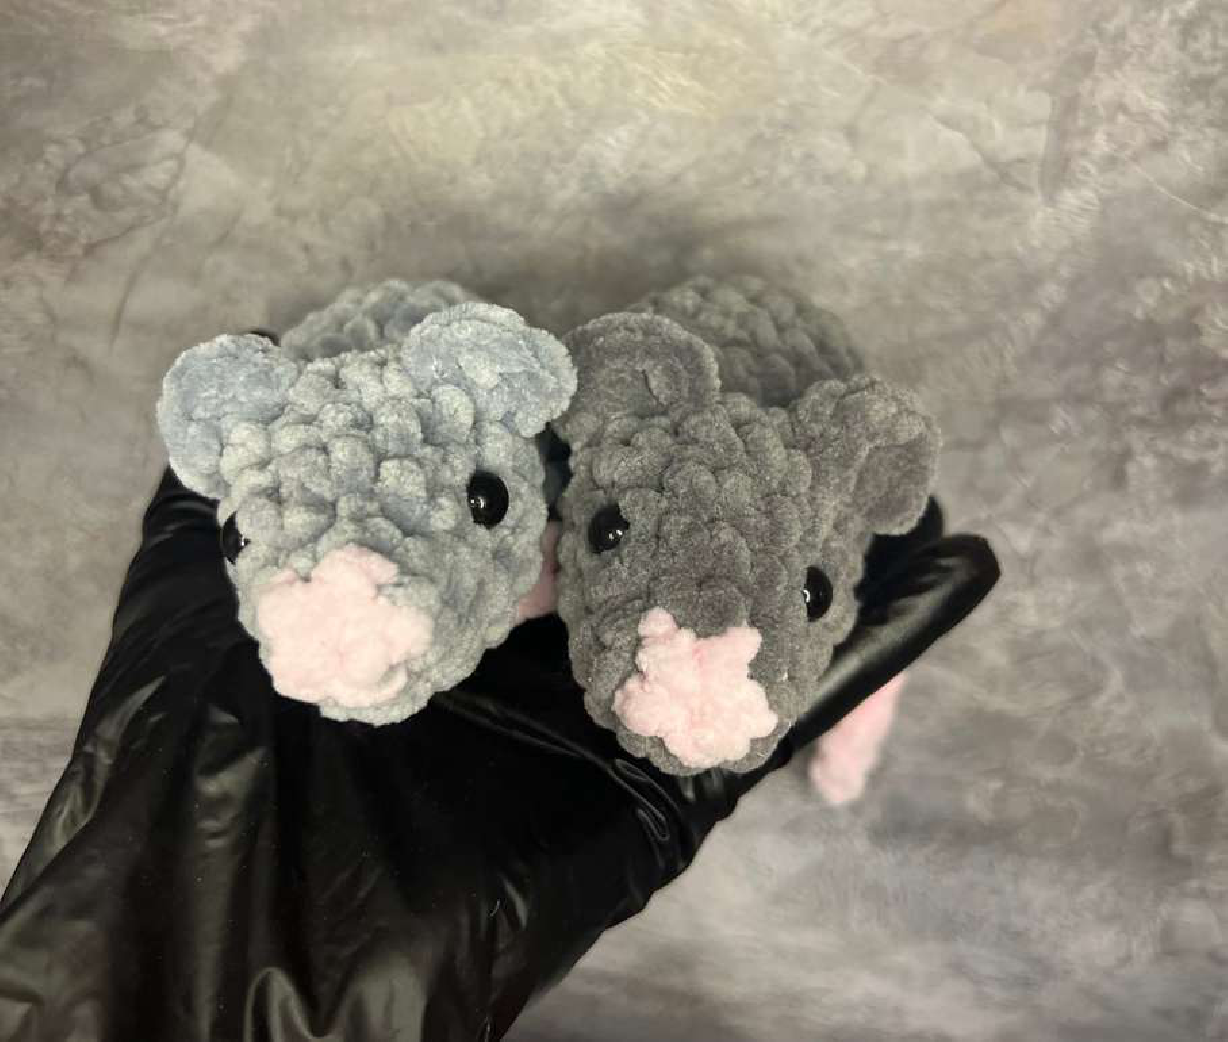
Ear Size Variations
Experiment with ear sizes to give your mouse a unique personality. The light grey mouse shown below has 3 HDC ears, while the dark grey one features 5 HDC ears, creating a noticeable difference.
Let’s Start Crocheting Your Amigurumi Mouse!
Body (Standard Pattern)
- 4 MR
- 4 INC (8)
- 2 SC, 3 INC, 3 SC (11)
- 5 SC, INC, 5 SC (12)
- 2 SC, (SC, INC)x4, 2 SC (16)
- 16 SC
- 3 SC, 5 DEC, 3 SC (11)
- 4 SC, 5 INC, SC, Bobble (16)
- 2 SC, Bobble, SC, (SC, INC)x4, 4 SC (20)
- Rows 10-12: 20 SC (3 rows)
- 5 SC, (SC, DEC)x4, 3 SC (16)
- Bobble, 3 SC, Bobble, 9 SC, DEC (15)
- (SC, DEC)x5 (10)
- 5 DEC (5)
Variation: For a Longer Muzzle
If you prefer a mouse with a more pronounced snout, use these modified rows for the beginning of the body. You will then continue with the main pattern from row 3 onwards.
- (SC, INC)x2 (6)
- (2 SC, INC)x2 (8)
Then, continue with the standard pattern starting from:
- 2 SC, 3 INC, 3 SC (11)
- 5 SC, INC, 5 SC (12)
…And so on, following the main pattern instructions from that point.
Variation: For Legs Closer to the Muzzle
To achieve the leg placement seen on the light-colored mouse example (closer to the muzzle), replace rows 7-9 of the standard pattern with the following instructions:
- 3 SC, 5 DEC, 2 SC, Bobble (11)
- 2 SC, Bobble, SC, 5 INC, 2 SC (16)
- 4 SC, (SC, INC)x4, 4 SC (20)
After completing these modified rows, continue with the standard pattern instructions from row 10 onwards.
Ears
The ears are crocheted directly into a single loop. You can choose between two sizes:
- 3 HDC, SL ST (for smaller ears)
- 5 HDC, SL ST (for larger ears)
Work all stitches into one single loop where you join the thread.
Ear Placement
Attach the ears between rows 6 and 7 of the body, regardless of the muzzle variation you chose.
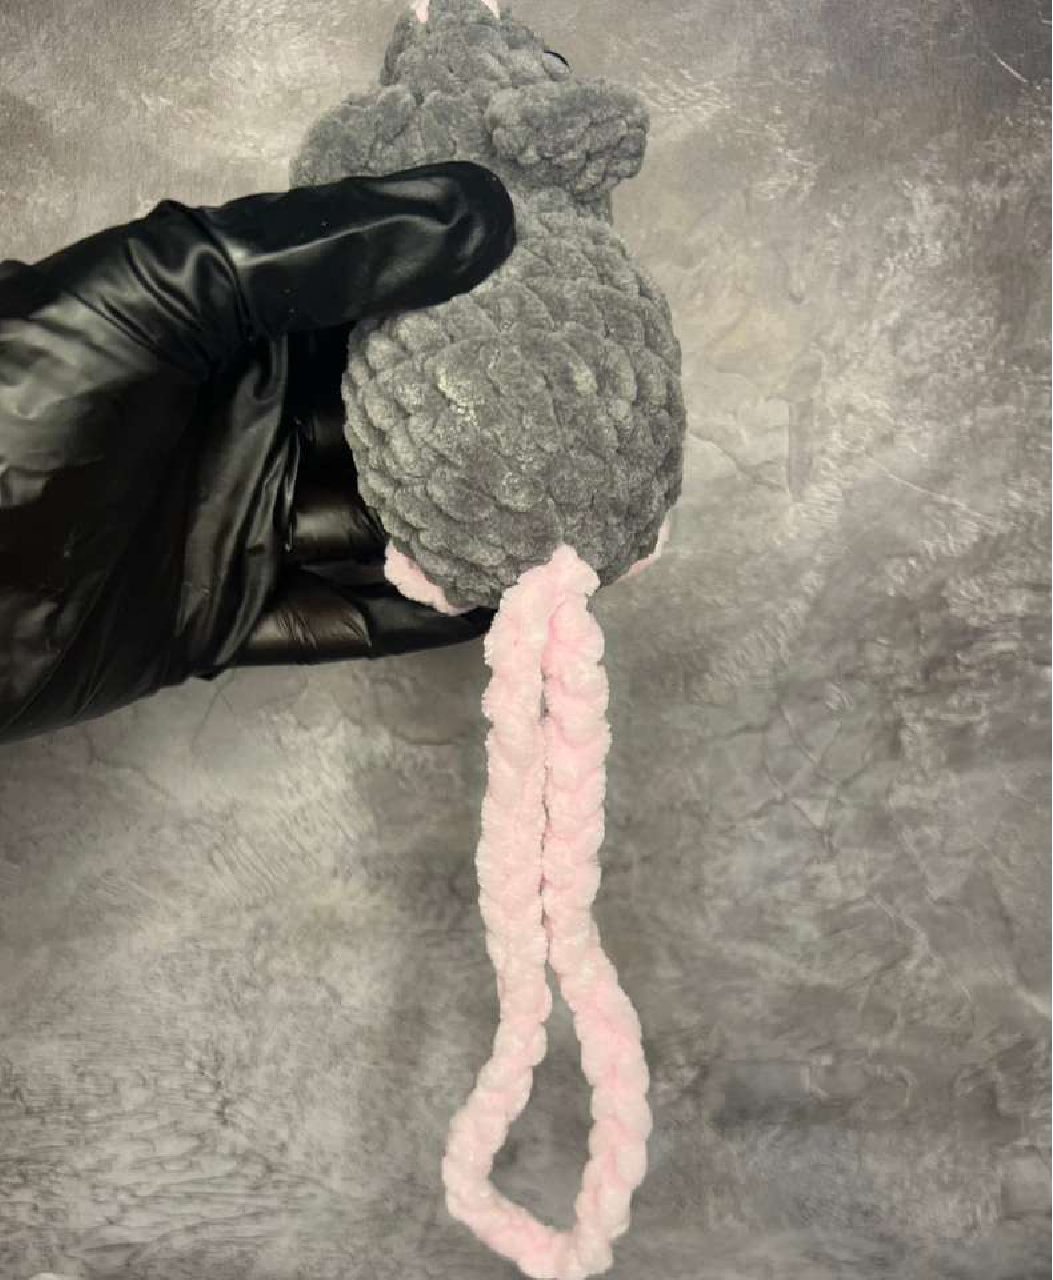
Tail
To create the tail, join your yarn to the desired spot on the body, then chain 40 stitches. Finish by making a slip stitch into the same place where you started the chain.
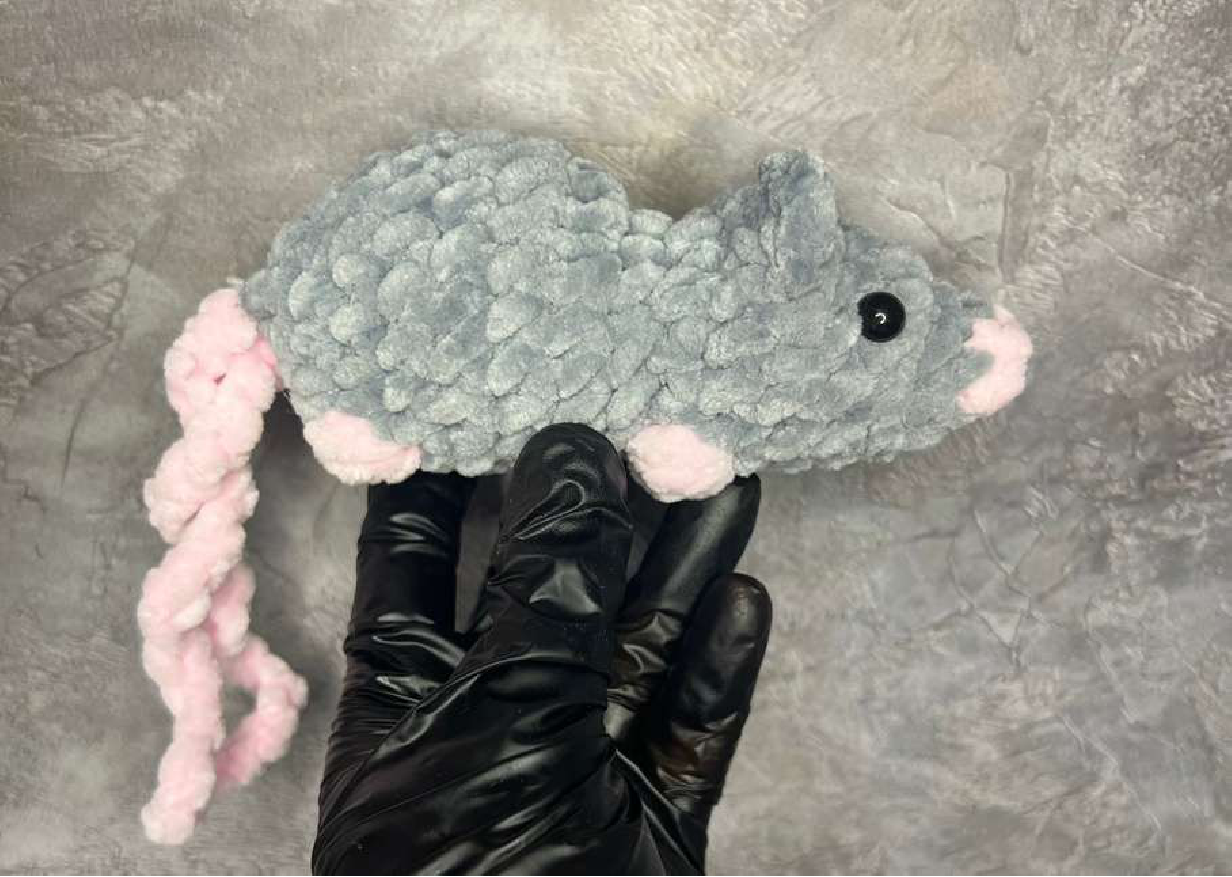
Eye Placement
Position the safety eyes on the 4th row of the body, leaving approximately 5 stitches between them. Remember that an increase (INC) counts as 2 stitches when determining spacing.
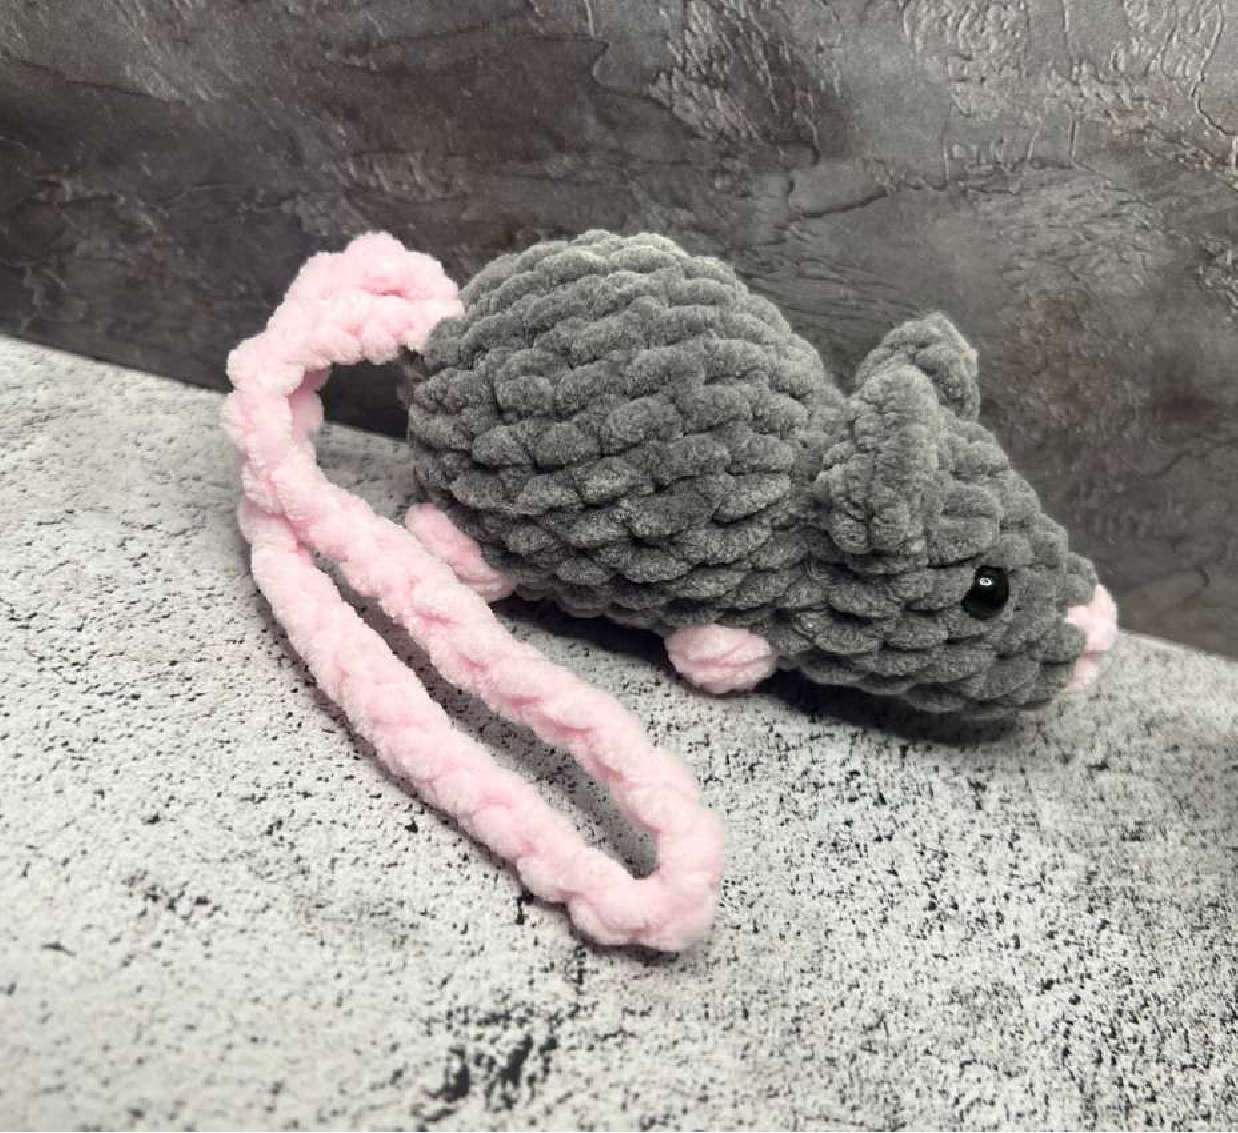
Your Amigurumi Mouse is Complete!
Congratulations! You’ve successfully crocheted an adorable amigurumi mouse or rat. We hope you enjoyed creating this charming little creature. Now, admire your handiwork!
We absolutely love seeing your creations! Share your finished amigurumi mouse or rat with the Crochetto community on social media, or tag us so we can celebrate your beautiful work. For more inspiring crochet patterns and helpful tutorials, explore our blog.
Happy Crocheting!