Easy Crochet Pirate Birdy: Free Beginner-Friendly Amigurumi Pattern
Welcome to Your New Favorite Crochet Project!
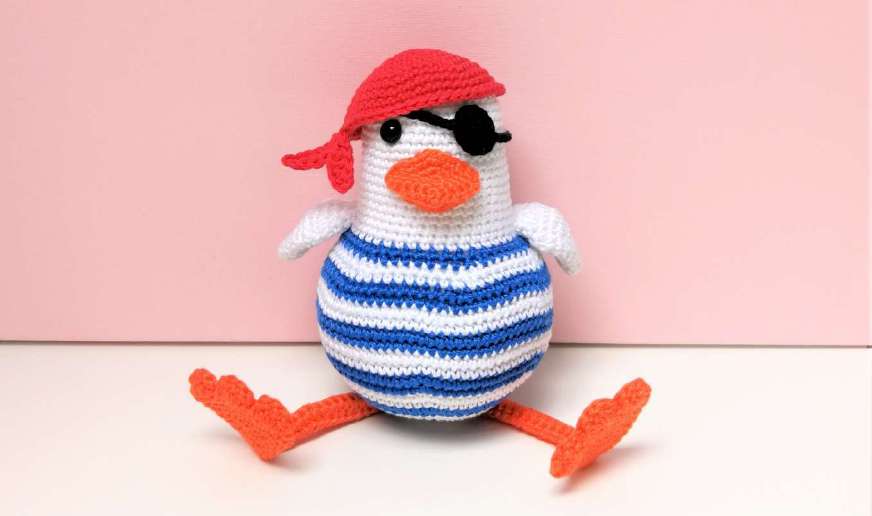
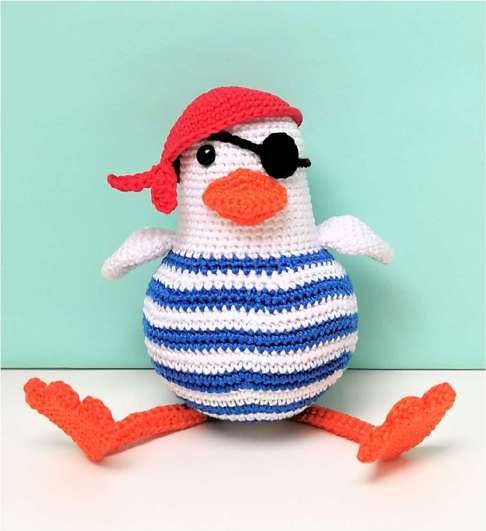
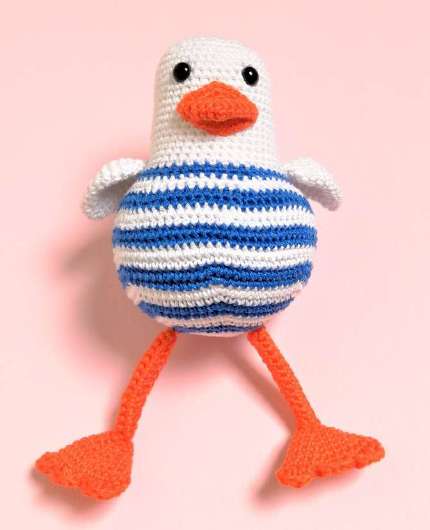
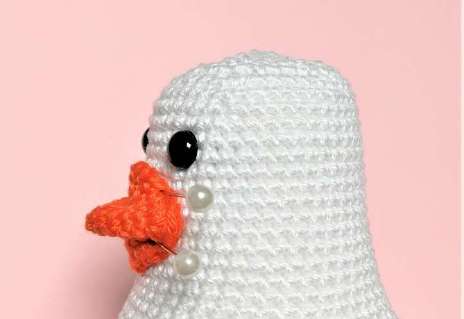
Ahoy, crocheters! 🏴☠️ If you’re looking for a fun, easy amigurumi project, this Pirate Birdy is perfect for you! Whether you’re a total beginner or just want a quick, cute make, this little bird is full of personality—complete with a tiny eye patch and bandana.
This pattern is worked in continuous rounds (no joining or turning), making it great for practicing basic stitches. Plus, you’ll learn how to shape a 3D toy, attach safety eyes, and stuff your creation like a pro. Ready to set sail on this crochet adventure? Let’s get started!
Materials Needed
Here’s what you’ll need to make your Pirate Birdy:
- Yarn:
- Catania white (1 ball, 50g)
- Catania blue (½ ball, 25g)
- Catania orange (for beak, legs, and feet)
- Catania red (for bandana)
- Catania black (for eye patch)
- Stuffing: Fiberfill
- Hook: Size C (2.5 mm)
- Other Supplies:
- Tapestry needle
- Two 8mm safety eyes (or one if sewing the eye patch)
- Optional: Pipe cleaner (for bendable legs)
- Stitch marker
Abbreviations & Notes
US Crochet Terms Used:
- Ch = chain
- Sl st = slip stitch
- Sc = single crochet
- Hdc = half double crochet
- Dc = double crochet
- Inc = increase (2 sc in same stitch)
- Dec = decrease (sc 2 stitches together)
Helpful Notes for Beginners:
- Work in continuous rounds (don’t join unless specified).
- Use a stitch marker to mark the start of each round.
- Stuff as you go to avoid gaps.
- Leave a long tail when finishing a piece for sewing later.
Crochet Pattern Instructions
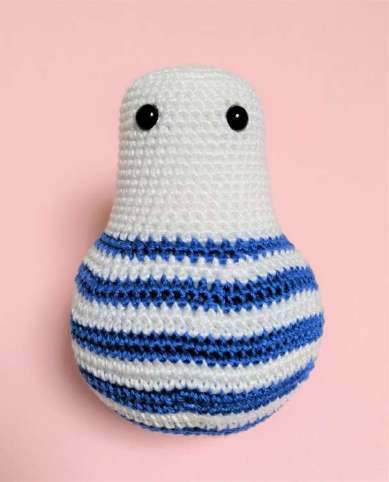
1. The Body (Start with white yarn)
- Magic Ring or Ch 2:
- Option 1: Ch 2, work 6 sc into the 2nd ch from hook.
- Option 2 (easier for beginners): 6 sc in a magic ring. (6)
- Round 2: Inc in each stitch around. (12)
- Round 3: (Sc 1, inc) x6. (18)
- Round 4: (Sc 2, inc) x6. (24)
- Switch to blue yarn.
- Continue increasing following the pattern up to Round 14 (84 stitches).
- Rounds 15-19: Sc around, switching colors as directed.
- Start decreasing from Round 20 until closing.
- Eyes: Place safety eyes between Rounds 39-40, 8 stitches apart.
- Stuff firmly before closing the final rounds.
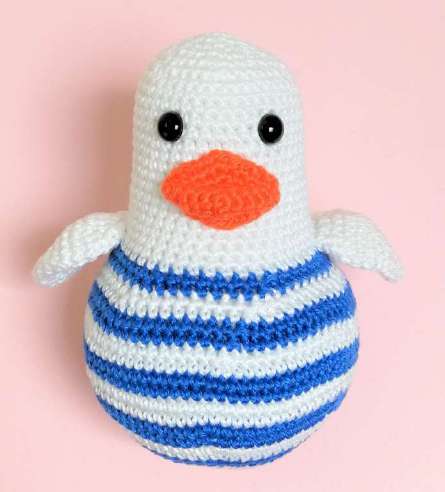
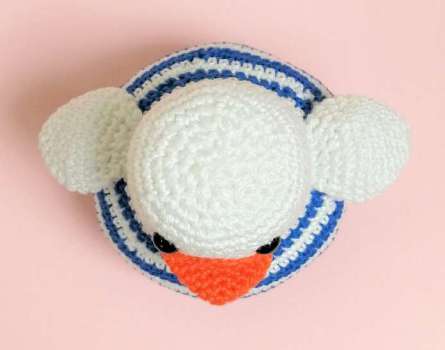
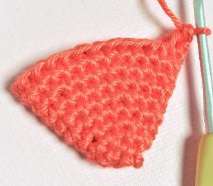
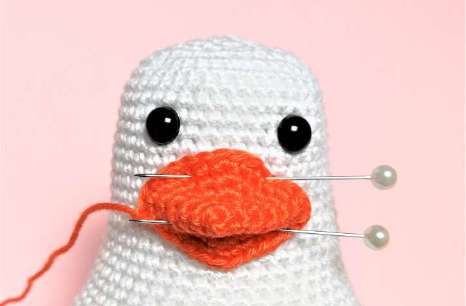
2. The Beak (Orange yarn)
- Start with 4 sc in a magic ring.
- Increase until you have 24 stitches.
- Shape the beak by working hdc and sc as directed.
- Flatten and sew onto the face.
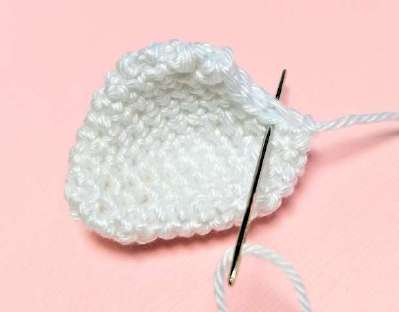
3. The Wings (Make 2, white yarn)
- Start with 6 sc in a magic ring.
- Follow the increase pattern up to 28 stitches.
- Decrease to shape the wing.
- Flatten and sew onto the body between Rounds 27-28.
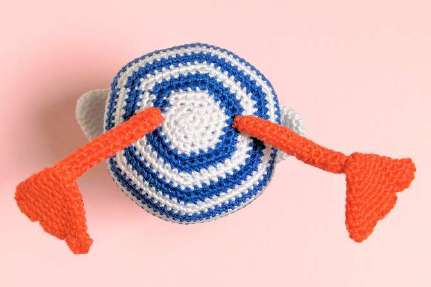
4. The Legs & Feet (Orange yarn)
Legs (Make 2):
- Ch 14, sc in the 2nd ch and across.
- Fold and sew into a tube.
Feet (Make 2):
- Start with 5 sc in a magic ring.
- Increase to 25 stitches.
- Flatten and sew legs onto feet.
- Attach to the body between Rounds 5-6.
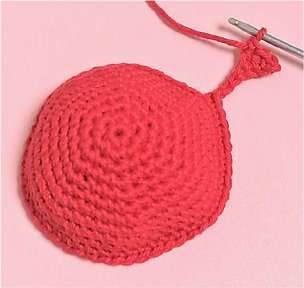
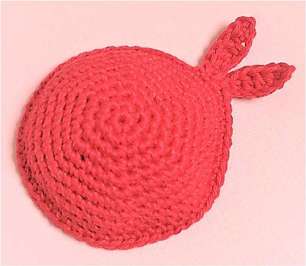
5. The Bandana (Red yarn)
- Start with 6 sc in a magic ring.
- Increase to 48 stitches.
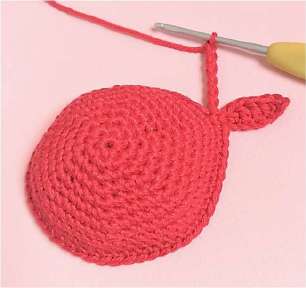
- Work the ties by chaining and stitching back.
- Sew onto the bird’s head.
6. The Eye Patch (Black yarn)
- 6 sc in a magic ring, increase to 12.
- Chain 36 for the strap.
- Sew onto the head, covering one eye.

Assembly Tips
- Stuff firmly but evenly to avoid lumps.
- Use pins to position parts before sewing.
- Weave in ends securely so they don’t unravel.