free crochet pattern chubby baby dolphin
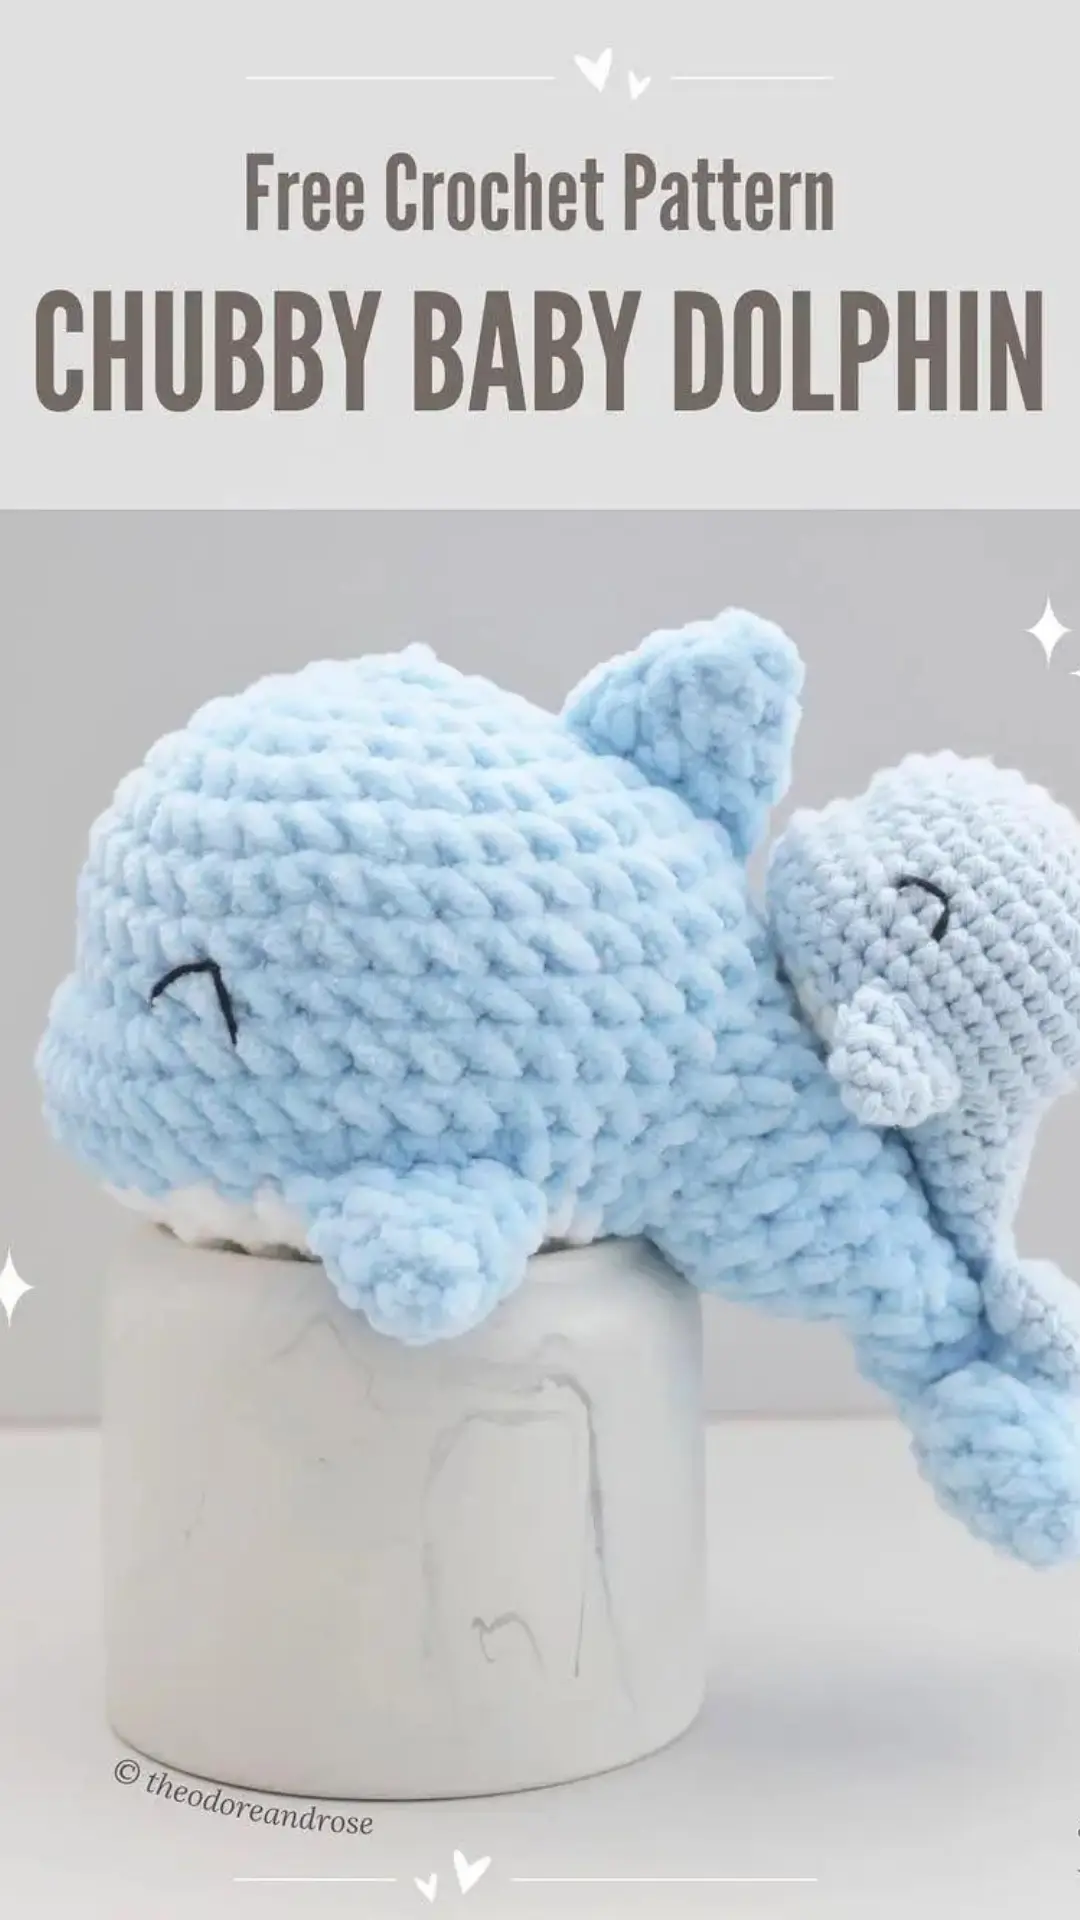
Dive In and Crochet This Darling Dolphin: A Free Amigurumi Pattern
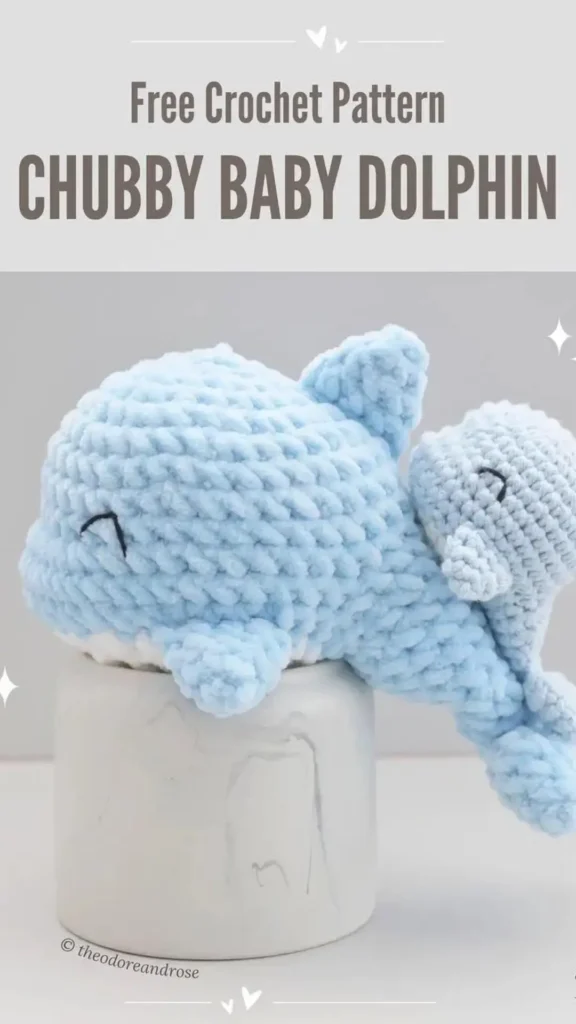
Get ready to create your new favorite aquatic friend! Today, we’re thrilled to share a beautifully designed and incredibly graceful amigurumi dolphin pattern from the talented creators at Theodore & Rose.
Perfect for advanced beginners, this pattern is a joy to work up, featuring clever shaping techniques that bring this gentle creature to life. Best of all, it comes with instructions for two sizes: a pocket-sized pal perfect for a keychain, or a larger, cuddly companion. With its sweet, embroidered eyes and elegant silhouette, this dolphin is a project you’ll be immensely proud of.
So, let’s gather our supplies and dive into this wonderful oceanic adventure!
Skill Level & Finished Sizes
- Skill Level: Advanced Beginner
- Small Dolphin: Approximately 11cm (4.3in) long
- Large Dolphin: Approximately 21cm (8.3in) long
Tools & Materials
Choose your materials based on the size of dolphin you wish to create.
- Hook:
- Small Dolphin: 3.5mm
- Large Dolphin: 5mm
- Yarn:
- Small Dolphin: Scheepjes Cahlista (Aran/10ply) in Bluebell (173) – 25g & Snow White (106) – 10g.
- Large Dolphin: Premier Parfait Chunky in Light Blue (05) – 30g & White (01) – 10g.
- Other Essentials:
- Scrap piece of black lightweight (4 ply) yarn for the eyes
- Fibre-fill for stuffing
- Stitch Marker
- Yarn Needle
- Scissors
- T-Pins (for easy placement of fins)
- Keychain (optional, for the small dolphin)
Abbreviations (US Terms)
- […] x times OR (…): Repeat instructions within brackets as directed
- ch: Chain
- dec: Decrease (work 2 crochet stitches together – an invisible decrease is recommended)
- FLO: Front Loop Only
- inc: Single Crochet Increase
- Rnd(s): Round(s)
- sc: Single Crochet
- slst: Slip Stitch
- st/s: Stitch/es
The Pattern
Body
Make a magic ring using blue yarn.
- Rnd 1: 6 sc into ring. Pull ring closed. (6 sts)
- Rnd 2: x6 (12 sts)
- Rnd 3: x6 (18 sts)
- Rnd 4: [2 sc, sc inc] x6 (24 sts)
- Rnd 5: [3 sc, sc inc] x6 (30 sts)
- Rnd 6: 2 sc, sc inc, [4 sc, sc inc] x5, 2 sc (36 sts)
- Rnds 7 – 8: 36 sc (2 Rnds)
- Rnd 9: 9 sc, [dec] x3, 21 sc (33 sts)
- Rnd 10: 7 sc, x7, 19 sc (40 sts)
Mark for Shaping: Between the 1st and 2nd inc and the 6th and 7th inc in Rnd 10, insert a stitch marker at the base of the stitch. This will be for the facial shaping later.
- Rnd 11: 31 sc, ch 8, sk next 6 sts, 3 sc (34 sts & 8 ch)
- This clever step creates the opening where we will later build the tail!
- Rnd 12: 7 sc, [dec] x7, [2 sc, dec] x2, 2 sc, working into ch; [dec, 2 sc, dec, 2 scl, dec, sc] (30 sts)
- Change to white yarn.
- Rnd 13: [3 sc, dec] x6 (24 sts)
- Rnd 14: [2 sc, dec] x6 (18 sts)
- Rnd 15: x6 (12 sts)
Stuff the body with fibrefill.
Face Shaping:
- Cut a 20cm length of yarn and thread it onto a tapestry needle.
- Insert the needle through the open bottom of the body and bring it out at one of the marked stitches between Rnds 9 and 10.
- Insert the needle in through the second marked stitch and exit through the bottom of the body again.
- Pull both yarn tails firmly to create a gentle indent between the marked stitches, shaping the face.
- Tie a few knots to hold the shaping in place.
- Rnd 16: [dec] x6 (6 sts)
Fasten off. Weave the yarn tail through the FLO of Rnd 16 and pull firmly to close the body.
Tail
- Rnd 1: Leaving a long yarn tail, join blue yarn to the last chained st made in Rnd 11. Work 8 sc into the side of Rnd 11, 6 sc, sc into other side of Rnd 11 (16 sts).
- Rnd 2: 16 sc (16 sts)
- Rnd 3: 11 sc, dec, 3 sc (15 sts)
- Rnd 4: 11 sc, dec, 2 sc (14 sts)
- Rnd 5: 3 sc, dec, 9 sc (13 sts)
- Rnd 6: 3 sc, dec, 8 sc (12 sts)
- Rnd 7: [2 sc, dec] x 3 (9 sts)
Pause here to stuff the tail lightly with fibrefill, concentrating the stuffing where the tail meets the body.
- Rnd 8: [3 sc, dec] x3 (6 sts)
- Rnd 9: 6 sc (6 sts)
Fasten off. Weave the yarn tail through the FLO of Rnd 9 and pull firmly to close. Use the starting yarn tail to sew closed any gaps at the corners where the tail joins the body.
Dorsal Fin & Flippers (Make 3)
Using blue yarn, make a magic ring.
- Rnd 1: 4 sc into magic ring. Pull ring closed. (4 sts)
- Rnd 2: x4 (8 sts)
- Rnd 3: 8 sc (8 sts)
- Rnd 4: Flatten the fin together at the base and work through both layers; 4 sc (4 sts)
Fasten off leaving a long yarn tail for sewing. Make two more for a total of three identical pieces.
Flukes (Make 2 – Tail Fins)
Using blue yarn, make a magic ring.
- Rnd 1: 3 sc into magic ring. Pull ring closed. (3 sts)
- Rnd 2: x3 (6 sts)
- Rnd 3: x3 (9 sts)
- Rnd 4: [2 sc, sc inc] x3 (12 sts)
- Rnd 5: [dec] x6 (6 sts)
Fasten off, leaving a long yarn tail for sewing. Do not stuff. Weave the tail through the FLO of Rnd 5 and pull firmly to close off the fluke.
Assembly & Finishing Touches
- Dorsal Fin: Pin the dorsal fin in place, centring it on the dolphin’s back over Rnds 5 to 8. Use the yarn tail to sew it securely.
- Flippers: Position the flippers on each side of the body between Rnds 12 & 13. Sew them securely using the yarn tails.
- Flukes: Position each fluke so the last round rests against the tip of the tail, forming a ‘V’ shape. Use the yarn tails to sew them into place.
- Embroider Eyes: Use a piece of lightweight (4 ply) black cotton to embroider a little eye, 2 stitches wide by 1 stitch high, over Rnd 9 on each side of the head.
- (Optional) Keychain: To turn your small dolphin into a keychain, thread a loop of yarn from the bottom of the dolphin through the clasp ring, then back down to the bottom. Tie the yarn tails securely in a knot and weave them into your work to finish.
Need a Little Extra Help?
If you’d like more detailed photo and video support, head over to www.theodoreandrose.com for a more comprehensive guide to this pattern.
A huge thank you to Theodore & Rose for this stunning design. We hope you enjoy bringing your beautiful dolphin to life!
Happy Crocheting