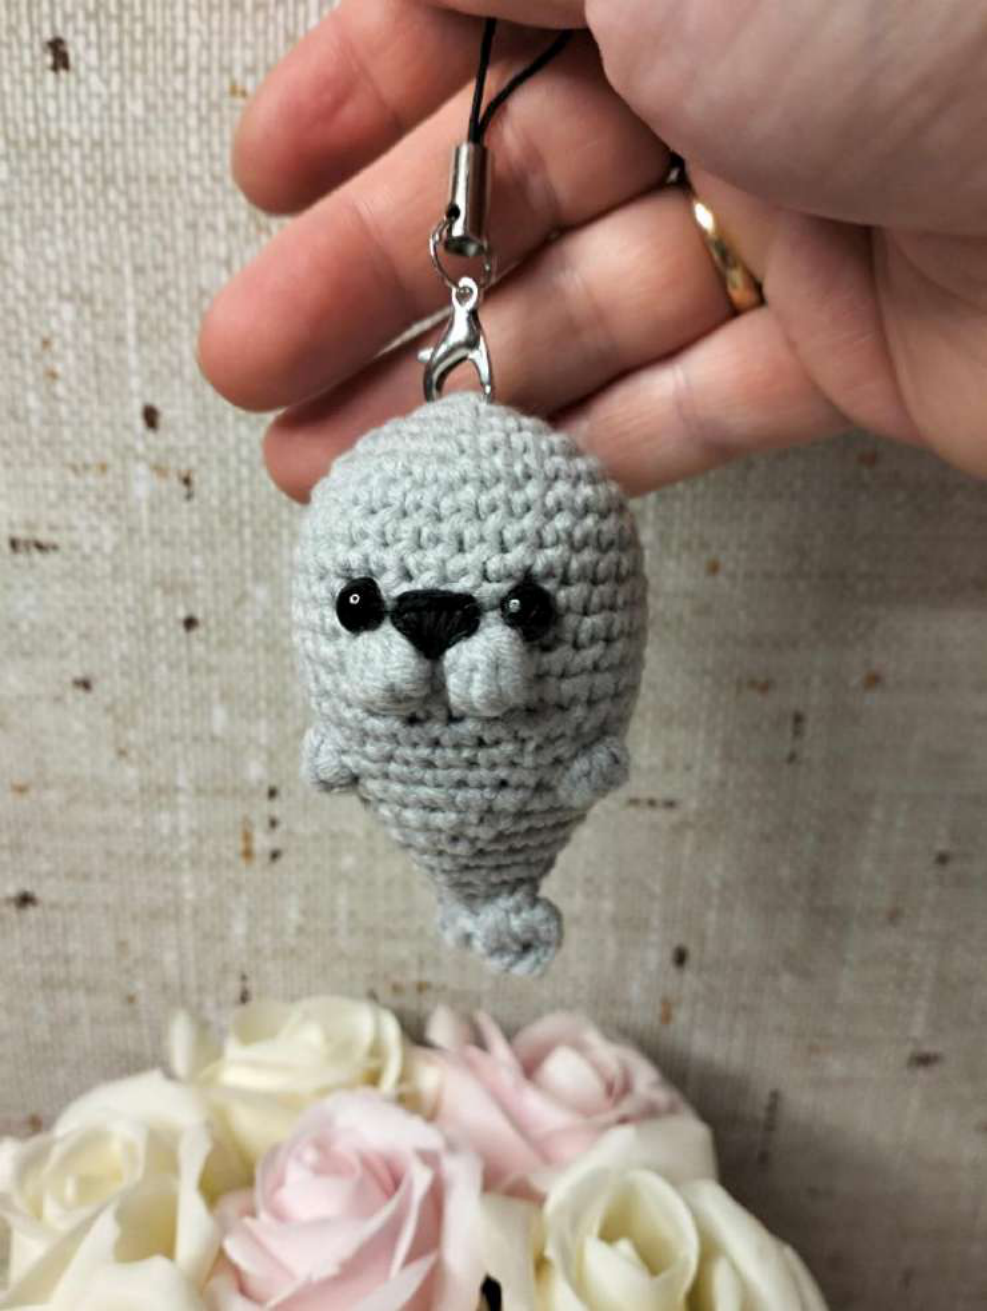
Free Master Class: Crochet Amigurumi Seal!
Materials You’ll Need:
- Hook: No. 2 crochet hook
- Yarn: YarnArt Jeans yarn, Color 49 (or any similar weight yarn in your preferred seal color)
- Accent Yarn: A small amount of black yarn for embroidering the nose
- Safety Eyes: 6mm safety eyes
- Filler: Polyester fiberfill or other suitable stuffing material
Understanding the Abbreviations:
- MR: Magic Ring
- INC: Increase (make 2 single crochet stitches in the same stitch)
- SC: Single Crochet
- DEC: Decrease (single crochet 2 stitches together)
- B6: Bobble Stitch (make 6 Double Crochet stitches into one stitch, then pull yarn through all loops on hook to close)
- B5: Bobble Stitch (make 5 Double Crochet stitches into one stitch, then pull yarn through all loops on hook to close)
- DC: Double Crochet
- HDC: Half Double Crochet
- TRC: Treble Crochet
- SL ST: Slip Stitch
- (..): Indicates the total number of stitches you should have at the end of the round
Important Notes Before You Start:
- ✨ This entire seal is crocheted in one continuous piece! No sewing body parts together – just pure crochet magic!
- 👁️🗨️ Eye Placement: You’ll insert your 6mm safety eyes between Round 9 and Round 10. Make sure there are exactly 3 single crochet stitches visible between the eyes.
Let’s Get Started: Crochet Your Adorable Seal!
We’ll be working in continuous rounds unless otherwise specified. Get ready to create!
- Round 1: Start with a Magic Ring (MR) and crochet 6 SC into it. (6 stitches)
- Round 2: INC in each stitch around. (12 stitches)
- Round 3: (1 SC, INC) repeated 6 times. (18 stitches)
- Round 4: (2 SC, INC) repeated 6 times. (24 stitches)
- Round 5: (3 SC, INC) repeated 6 times. (30 stitches)
- Rounds 6 – 10: SC in each stitch around. (30 stitches for 5 rounds)
- Round 11 (Creating the Snout): Work 14 SC, then make a B6 (bobble with 6 DC), 1 SC, make another B6, then finish with 13 SC. (30 stitches total). This forms the seal’s cute little snout!
- Rounds 12 – 13: SC in each stitch around. (30 stitches for 2 rounds)
- Round 14: (3 SC, DEC) repeated 6 times. (24 stitches)
- Round 15 (Creating the Front Paws): Work 9 SC, then make a B5 (bobble with 5 DC), 7 SC, make another B5, then finish with 6 SC. (24 stitches total). These are your seal’s adorable front paws!
- Round 16: SC in each stitch around. (24 stitches)
- Round 17: (6 SC, DEC) repeated 3 times. (21 stitches)
- Round 18: (5 SC, DEC) repeated 3 times. (18 stitches)
- Round 19: (4 SC, DEC) repeated 3 times. (15 stitches)
- Round 20: (3 SC, DEC) repeated 3 times. (12 stitches)
- Round 21: (2 SC, DEC) repeated 3 times. (9 stitches)
- Round 22: (1 SC, DEC) repeated 3 times. (6 stitches)
- Final Steps for the Tail Fin:
- Make one more decrease stitch. At this point, you’ll want to slightly shift your stitches so that the remaining opening can be folded perfectly in half.
- Pinch the opening closed, ensuring you catch both sides of the stitches to form the tail base.
- Into this folded opening, crochet the tail fin directly: (1 HDC, 1 DC, 1 TRC, 1 DC, 1 HDC).
- Secure the fin by making 2 Slip Stitches (SL ST x2) into the base.
- Fasten off your yarn, leaving a short tail for weaving in.
Finishing Touches:
Make sure your seal is firmly stuffed with fiberfill, especially as you worked through the decreasing rounds and before the opening became too small. This will give it a nice, plump shape.
Using your small amount of black yarn and a tapestry needle, carefully embroider a cute little nose onto the snout, right between the two bobble stitches you created earlier.
Weave in any remaining yarn ends neatly and securely to give your seal a polished look.
Congratulations! Your adorable little seal is now ready to swim into your heart and bring a smile to your face! Enjoy! 🙂
“`