
Free Master-Class Crochet Dog Toy Pattern!
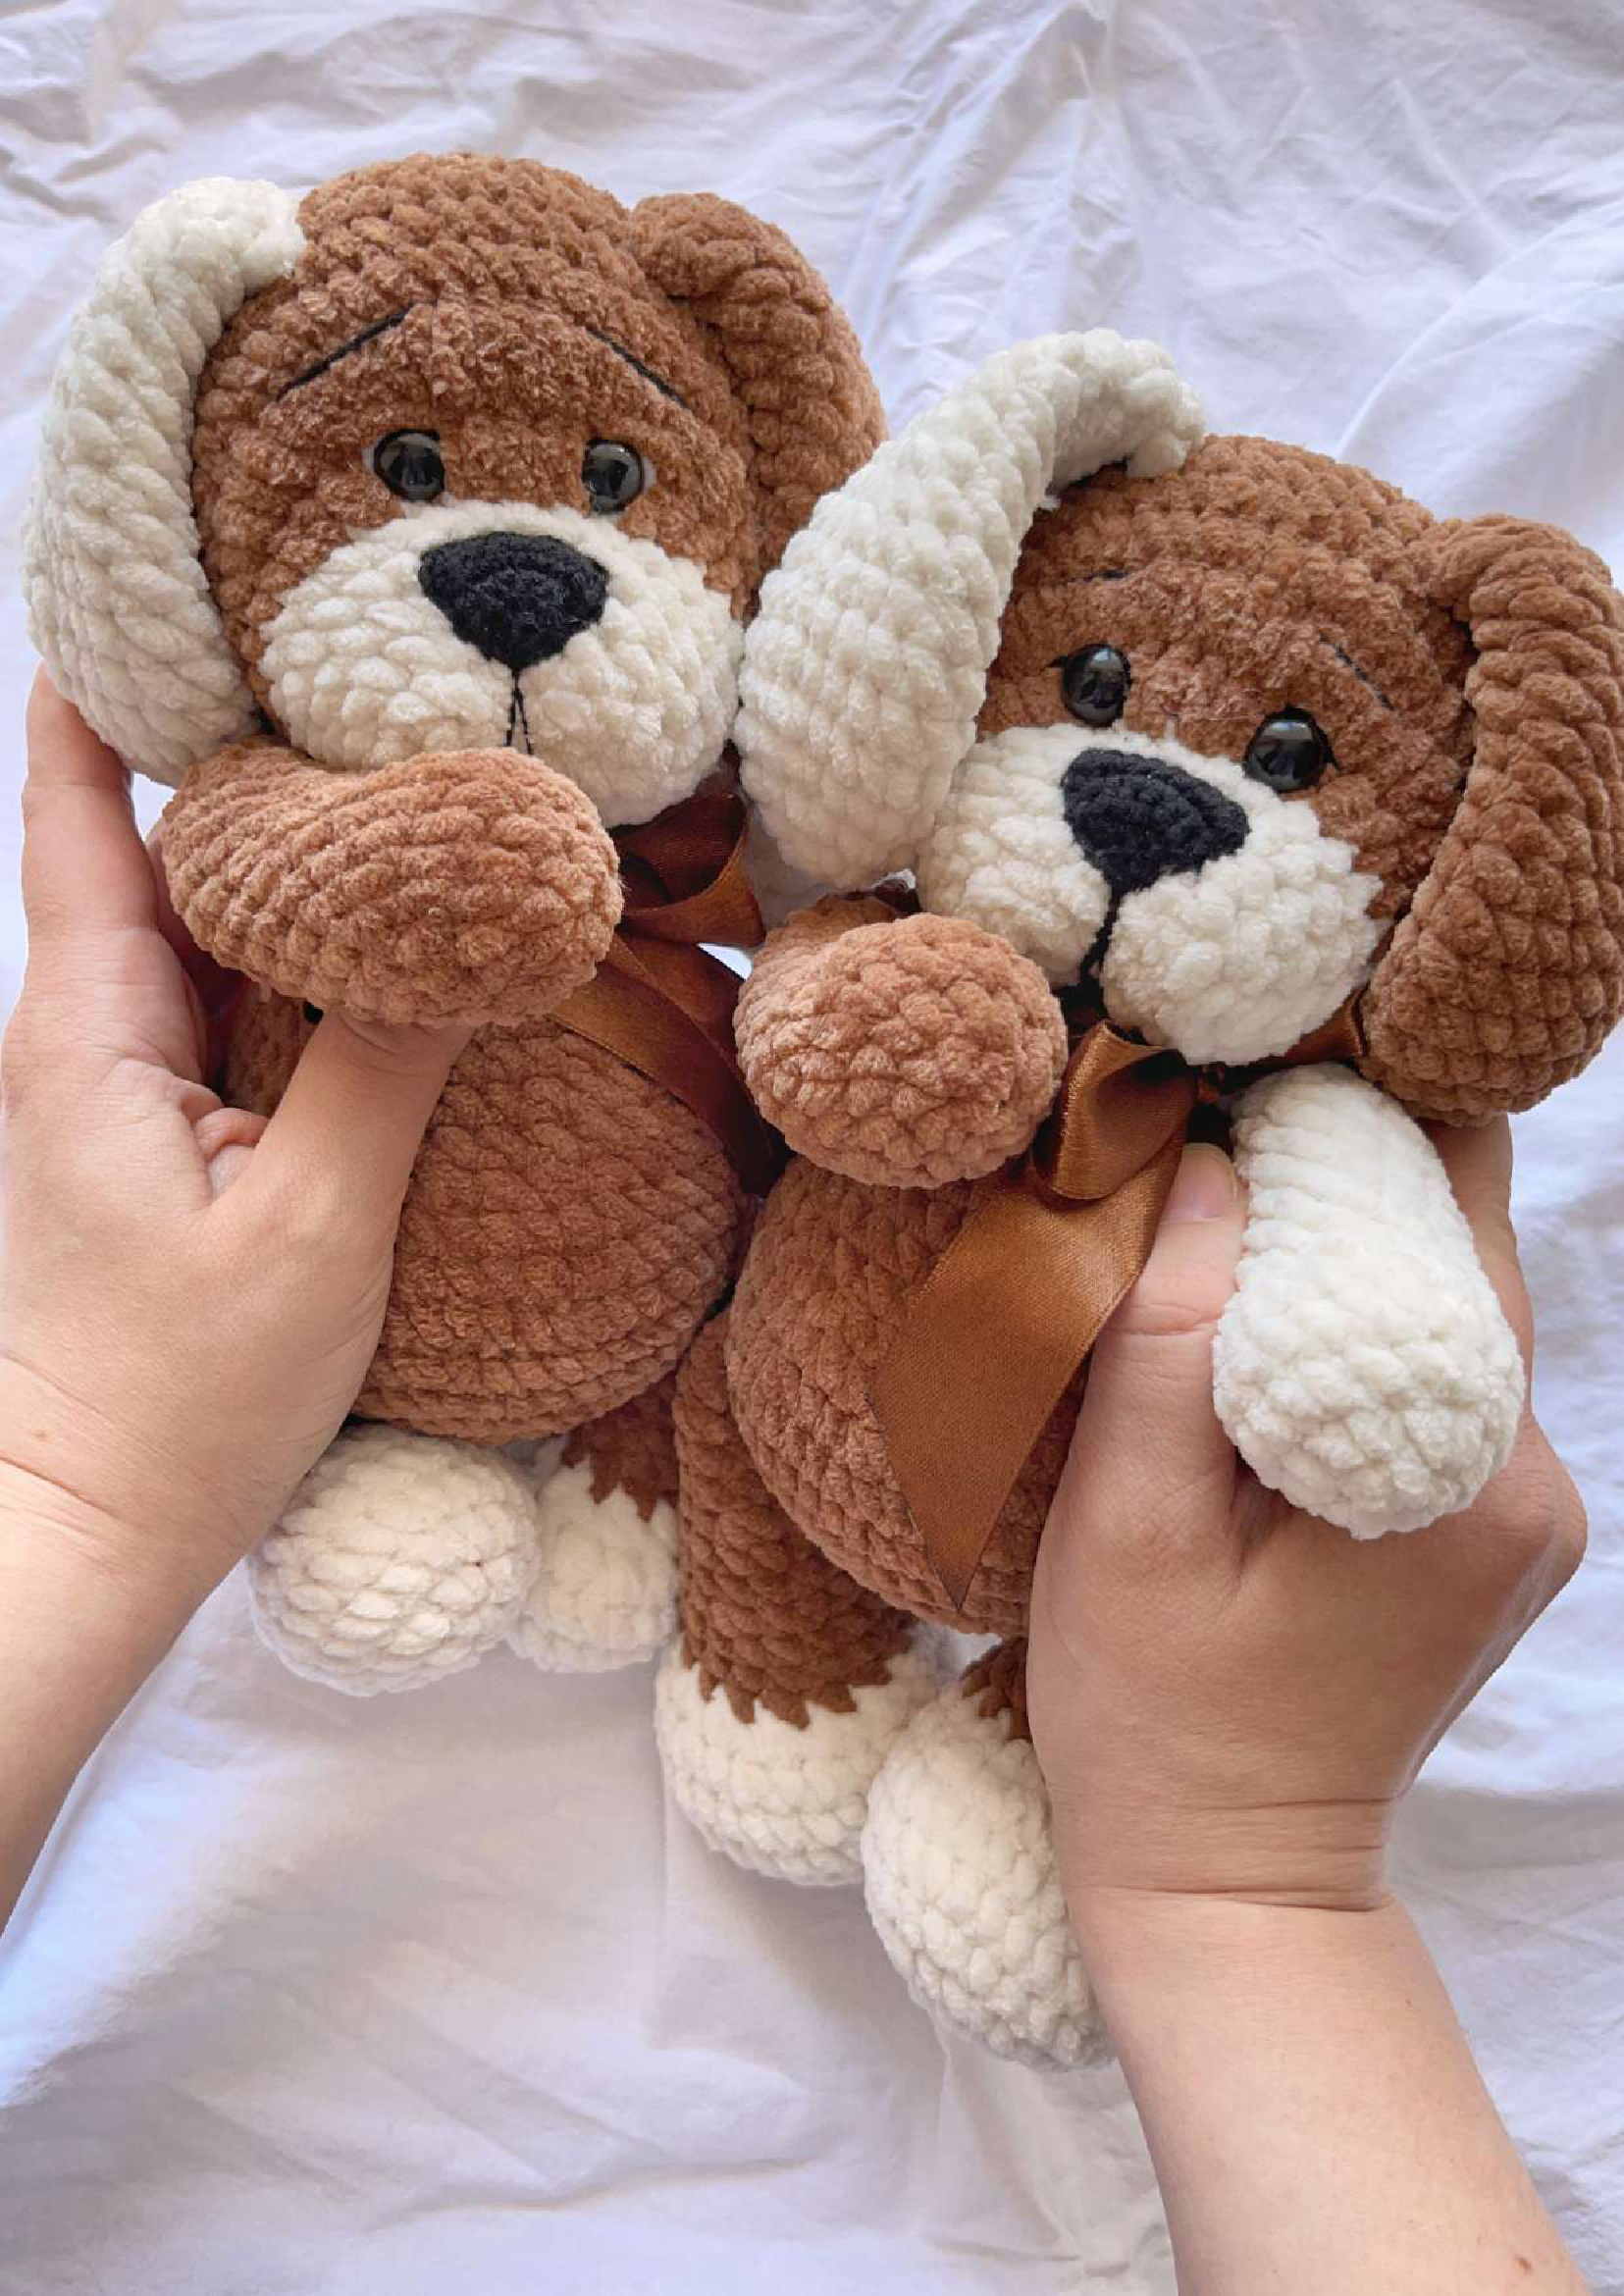
Welcome to the Crochetto community! There’s nothing quite like the joy of bringing a charming new friend to life with your own hands. Today, we’re thrilled to share a wonderful free master-class by the talented @blue_bunny_toys, guiding you through creating your very own adorable crochet dog. This pattern is designed with clear, detailed instructions, ensuring a delightful crafting experience from start to finish. Get ready to pick up your hook and yarn, and let’s create something truly special together!
Important Note
This master class is the original work of Timofeeva Victoria (@blue_bunny_toys). It is intended for personal use only. Publishing this master class under your own name, copying it fully or partially, or translating it into other languages for sale is strictly forbidden.
To connect with the author, please find them on Instagram: @blue_bunny_toys.
Materials
1. LaVita Yarn Velour: One skein of the main color and a little of an additional color. You can use any plush yarn equivalent that is approximately 100g/120m.
2. YarnArt Jeans Black: For shaping the muzzle and nose.
3. Stuffing
4. Safety Eyes: 12 mm
5. Crochet Hooks: No. 4 for the main toy, No. 2 for the nose.
6. Sewing Pins
7. Scissors
8. Darning Needle: For sewing on parts and embroidering facial features.
9. Strong Thread: For securely sewing on parts.
10. Needles (or long pins): For fixing the head in place during assembly.
11. Stitch Marker: To mark the beginning of the row.
Abbreviations
MR – Magic Ring / Amigurumi Ring
Sc – Single Crochet
Inc – Increase (2 sc in one stitch)
Dec – Decrease (sc2tog)
Ch – Chain Stitch
Hdc – Half Double Crochet
Ch 1 – Chain 1 (turning chain)
Sl st – Slip Stitch
(…)n – Repeat the combination in parentheses “n” times
Ears: (Make 2)
Start crocheting with the main color yarn.
1. 8 sc in MR (8)
2. 8 inc (16)
3. (1 sc, inc)8 (24)
4. (2 sc, inc)8 (32)
5-7. 32 sc (3 rows)
8. (6 sc, dec)4 (28)
9. 28 sc
10. (5 sc, dec)4 (24)
11. 24 sc
12. (4 sc, dec)4 (20)
13. 20 sc
14. (3 sc, dec)4 (16)
15. 16 sc
16. (2 sc, dec)4 (12)
17. 12 sc
Fold the piece in half and crochet 6 sc through both layers together to close the opening. Fasten off and cut the yarn, leaving a long tail for sewing.
Nose
Leave a long yarn tail at the beginning to embroider a stripe under the nose later.
1. Ch 2
2. Inc in the 2nd chain from hook (2)
Work in turning rows from here:
3. Ch 1, 2 inc (4)
4. Ch 1, (1 sc, inc)2 (6)
5. Ch 1, (2 sc, inc)2 (8)
6-7. 8 sc
Then, Ch 1 and sc around the entire piece: 5 sc along the first side, 1 sc into the base, and 5 sc along the second side. Fasten off and cut the yarn, leaving a long tail for sewing.
Tail
1. 6 sc in MR (6)
2. (2 sc, inc)2 (8)
3. (3 sc, inc)2 (10)
4-5. 10 sc (2 rows)
Fold the piece in half and crochet 5 sc through both layers together to close the opening. Fasten off and cut the yarn, leaving a long tail for sewing.

Head
Start crocheting with the additional color yarn.
1. Ch 7
2. In the 2nd chain from hook, 5 sc; 3 sc in the last chain; working along the other side of the chain, 4 sc, inc (14)
3. Inc, 4 sc, 3 inc, 4 sc, 2 inc (20)
4. (4 sc, inc)4 (24)
5. (3 sc, inc)6 (30)
6. 30 sc
Pay close attention to rows 7 and 8!
7. 4 sc, inc. Change yarn to main color. Then, (4 sc, inc)2, 3 sc, (2 hdc in next stitch)8, 3 sc, inc (42)
8. 21 sc, (1 hdc, 2 hdc in next stitch)8, 5 sc (50)
9-12. 50 sc (4 rows)
13. (23 sc, dec)2 (48)
Insert safety eyes in Row 7, after the second and sixth increases.
14. (6 sc, dec)6 (42)
15. (5 sc, dec)6 (36)
16. (4 sc, dec)6 (30)
17. (3 sc, dec)6 (24)
18. (2 sc, dec)6 (18)
19. (1 sc, dec)6 (12)
20. 6 dec
Cinch the opening closed, fasten off, and hide the yarn tail inside the piece.
Arms: (Make 2)
Start crocheting with the main color yarn.
1. 6 sc in MR (6)
2. 6 inc (12)
3. (1 sc, inc)6 (18)
4. 18 sc
5. 6 sc, 3 dec, 6 sc (15)
6. 5 sc, 2 dec, 6 sc (13)
7-11. 13 sc (5 rows)
12. 6 sc, dec, 5 sc (12)
13. 5 sc, dec, 5 sc (11)
14. 4 sc, dec, 5 sc (10)
15-16. 10 sc
Fold the piece in half and crochet 5 sc through both layers together to close the opening. Fasten off and cut the yarn, leaving a long tail for sewing.
Legs: (Make 2)
Start crocheting with the additional color yarn.
1. 8 sc in MR (8)
2. 8 inc (16)
3. (1 sc, inc)8 (24)
4. (3 sc, inc)6 (30)
5-6. 30 sc
7. 6 sc, (1 sc, dec)6, 6 sc (24)
8. 6 sc, 6 dec, 6 sc (18)
Change yarn to main color.
9-11. 18 sc (3 rows)
12. (4 sc, dec)3 (15)
13-14. 15 sc (2 rows)
15. (3 sc, dec)3 (12)
16-19. 12 sc (4 rows)
Work 3 sc to shift the starting point to the center. Note that your stitch count for this shift might vary depending on your tension.
Fold the piece in half and crochet 6 sc through both layers together to close the opening. Fasten off and cut the yarn, leaving a long tail for sewing.

Body
1. 6 sc in MR (6)
2. 6 inc (12)
3. 12 inc (24)
4. (3 sc, inc)6 (30)
5. (4 sc, inc)6 (36)
6. (5 sc, inc)6 (42)
7. (6 sc, inc)6 (48)
8. (7 sc, inc)6 (54)
In the next row, we will crochet the legs and tail into the body. The stitch marker should be at the back.
9. 9 sc, 6 sc with Leg (crochet through body and leg stitches), 24 sc, 6 sc with Leg, 6 sc, 3 sc with Tail (54)
To ensure the tail is centered on the back, adjust its position slightly in row 10 if needed.

10. 2 sc with Tail (continue integrating tail stitches), 12 sc, (2 sc, dec)6, 15 sc (48)
11. 48 sc
12. 15 sc, (1 sc, dec)6, 15 sc (42)
13-14. 42 sc (2 rows)
15. (3 sc, dec)3, 12 sc, (3 sc, dec)3 (36)
16. 12 sc, 6 dec, 12 sc (30)
17. 30 sc
18. (3 sc, dec)6 (24)
19. 24 sc
In the next row, we will crochet the arms into the body. They should be placed precisely on the sides. If they are not, adjust their placement.
20. 5 sc, 5 sc with Arm, 8 sc, 5 sc with Arm, 1 sc (24)
21. (2 sc, dec)6 (18)
22. 18 sc
Fasten off the yarn. If needed, leave a long tail for sewing the head. The author recommends sewing the head with strong nylon thread.
Face Sculpting and Shaping
Perform face sculpting as shown in the photos:


Embroider eyebrows and eyelids, then sew on the nose and ears.
Final Assembly
All that’s left is to sew the head to the body, and your little dog is ready!


We hope you enjoyed crafting this delightful dog! Sharing your creations inspires our entire community. When you post your finished work on social media, be sure to tag Crochetto and credit the original designer: @blue_bunny_toys! We can’t wait to see your unique take on this charming pattern. Happy crocheting!