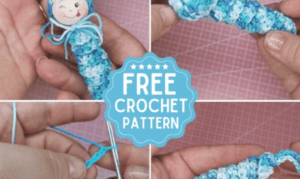
Free Pattern: Crochet Adorable Easter Decor!

Materials
Welcome to this detailed crochet pattern for an adorable Easter Decor piece, designed by Yulia Deinega. Follow these instructions carefully to create your charming item.
Yarn: Himalaya Dolphin Baby yarn (120m/100g). This is a super bulky (category 6) chenille-style yarn, known for its softness, making it ideal for plush toys and cozy decor items.
Hook: 3.5 mm crochet hook. This size is recommended for achieving a tight enough fabric to contain stuffing without large gaps, while still being easy to work with this type of yarn.
Filler: Polyester fiberfill or any suitable stuffing material to give your decor item its shape and plushness.
Abbreviations
Familiarize yourself with these standard crochet abbreviations used throughout this pattern:
sc: Single crochet – A basic crochet stitch. Insert hook into stitch, yarn over, pull up a loop (2 loops on hook), yarn over, pull through both loops.
ch: Chain stitch – The foundation of most crochet projects. Yarn over, pull hook through loop on hook.
inc: Increase – Work 2 single crochets into the same stitch. This adds stitches to your round, expanding the circumference of your work.
sl st: Slip stitch – A very flat stitch used for joining, moving yarn across stitches without adding height, or finishing. Insert hook into stitch, yarn over, pull through stitch and loop on hook.
dc: Double crochet – A taller stitch than single crochet. Yarn over, insert hook into stitch, yarn over, pull up a loop (3 loops on hook), yarn over, pull through 2 loops (2 loops on hook), yarn over, pull through remaining 2 loops.
Instructions: Main Body/Base
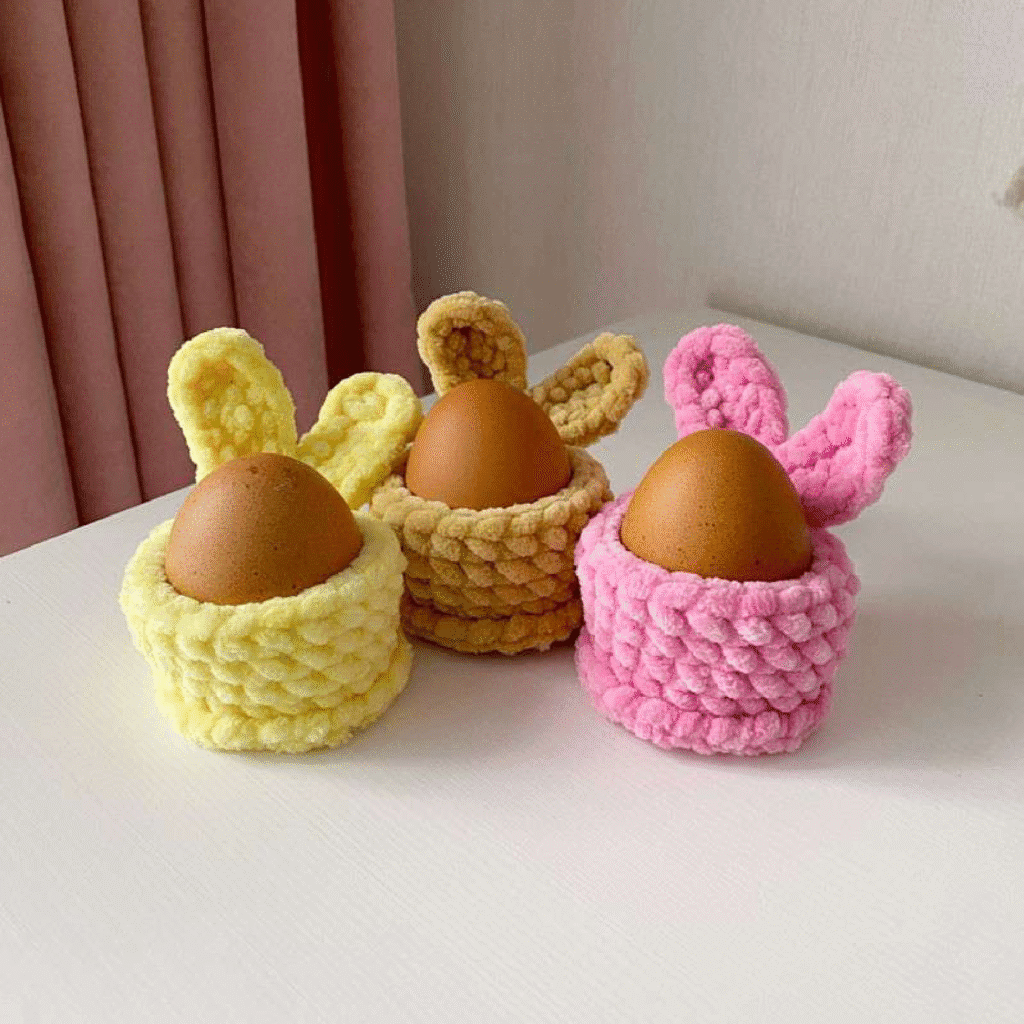
This section guides you through creating the main, rounded body of your Easter decor.
Round 1: Begin by creating a magic ring, or by chaining 2. If chaining 2, work 7 single crochets (sc) into the second chain from the hook. This forms your initial circle.
(You should have 7 stitches)
Round 2: Work an increase (inc) in each of the 7 stitches around. To do this, work 2 single crochets into each single crochet stitch from the previous round.
(You should have 14 stitches)
Round 3: Repeat the sequence (single crochet, increase) 7 times. This means you will work 1 single crochet into the first stitch, then 2 single crochets into the next stitch. Repeat this sequence until the end of the round.
(You should have 21 stitches)
Round 4: Work 21 single crochets (sc) into the back loop only (BLO) of each stitch from the previous round. Working into the back loop creates a defined edge, leaving the front loops accessible for later use (specifically for the base edging).
(You should have 21 stitches)
Rounds 5-8: Work 21 single crochets (sc) in each round. This means working 1 single crochet into each of the 21 stitches from the previous round. Repeat this for 4 consecutive rounds (Rounds 5, 6, 7, and 8), working in continuous spirals without increasing or decreasing.
(You should have 21 stitches at the end of each of these rounds)
Crocheting the Ears
After completing Round 8, you will begin to form the ears directly onto the main body.
1. First Ear Foundation: From your current position, chain 5.
2. Starting from the second chain from the hook, work 4 single crochets (sc) down the chain. This forms the foundation of your first ear.
3. Attach First Ear: Insert your hook into the next available stitch on the main body of the piece (the stitch immediately following where you finished Round 8) and make a slip stitch (sl st) to attach the ear foundation.
4. Space Between Ears: Work 1 single crochet (sc) into the very next stitch on the main body. This single crochet creates a small, intentional gap between the two ears.
5. Second Ear Foundation: From this new position, chain 5.
6. Starting from the second chain from the hook, work 4 single crochets (sc) down the chain, just as you did for the first ear.
7. Attach Second Ear: Insert your hook into the next available stitch on the main body and make a slip stitch (sl st) to attach the second ear foundation.
8. Important: Do not cut the yarn at this point.
Edging the Ears
Now that the ear foundations are attached, you will add a decorative edge to give them shape and definition.
1. First Ear Edging: You should be positioned at the base of the second ear. Rotate your piece slightly to begin working along the edge of the first ear’s foundation (the one you just created).
Work 4 single crochets (sc) evenly along the first side of the ear’s foundation chain.
When you reach the tip of the ear (the last chain stitch of your initial chain-5 for that ear), work 4 double crochets (dc) into that single stitch. This creates a rounded, full tip for the ear.
Rotate your piece to work along the opposite side of the ear. Work 4 single crochets (sc) evenly along this side.
Make a slip stitch (sl st) into the single crochet stitch that you previously made to create the space between the ears on the main body. This secures the first ear’s edging.
2. Second Ear Edging: Repeat the exact same process for the second ear:
Work 4 single crochets (sc) along the first side of the ear’s foundation chain.
Work 4 double crochets (dc) into the tip (the last chain stitch of the chain-5 for this ear).
Work 4 single crochets (sc) along the opposite side of the ear.
Make a slip stitch (sl st) into the next available stitch on the main body, directly adjacent to where the second ear is attached. This completes the second ear’s edging.
3. Finishing: Cut the yarn, leaving a tail long enough to weave in securely. Use a yarn needle to weave in all loose ends, hiding them within your stitches for a neat finish.
Finishing the Base (Bottom)
To complete your Easter decor, you will add a decorative edge to the base using the front loops left unworked from Round 4.
1. Join Yarn: Join your yarn to any of the front loops that were left unworked from Round 4. You can do this by making a slip knot on your hook and inserting it into a front loop, then pulling the slip knot through.
2. Edging Pattern: Chain 1. Then, make a slip stitch (sl st) into the next front loop. Repeat this pattern: chain 1, then slip stitch into the next front loop. Continue this sequence all the way around the entire base until you reach your starting point. This creates a charming scalloped or picot-like edge.
3. Finalize: Once you have completed the edging around the entire base, make a final slip stitch to join, cut the yarn, and weave in any remaining loose ends.
Enjoy creating your charming Easter Decor!