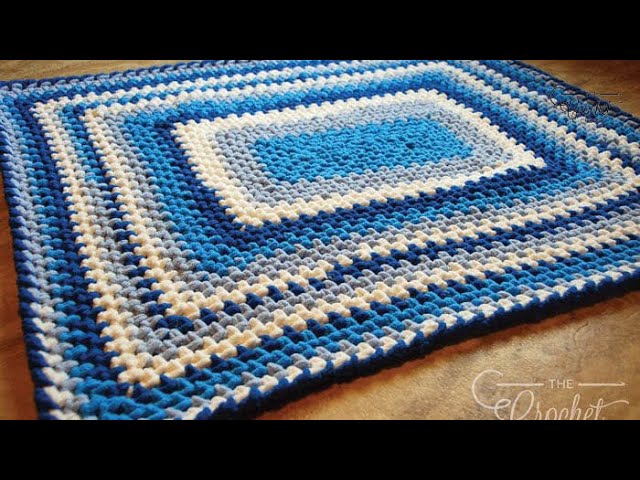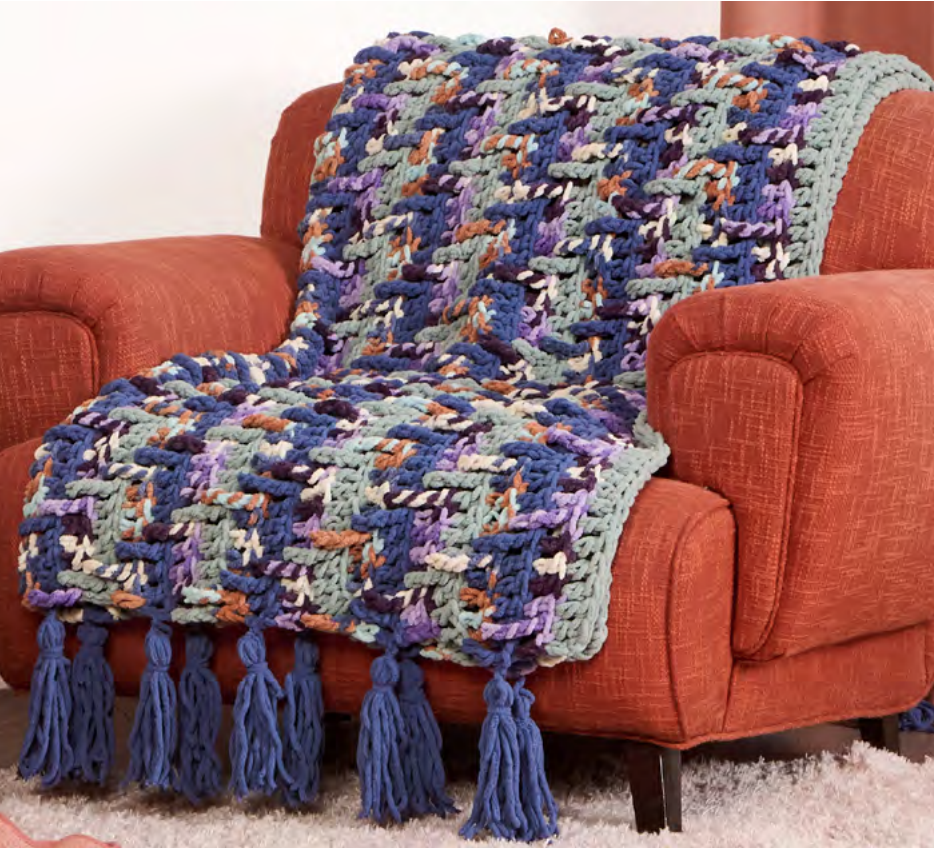
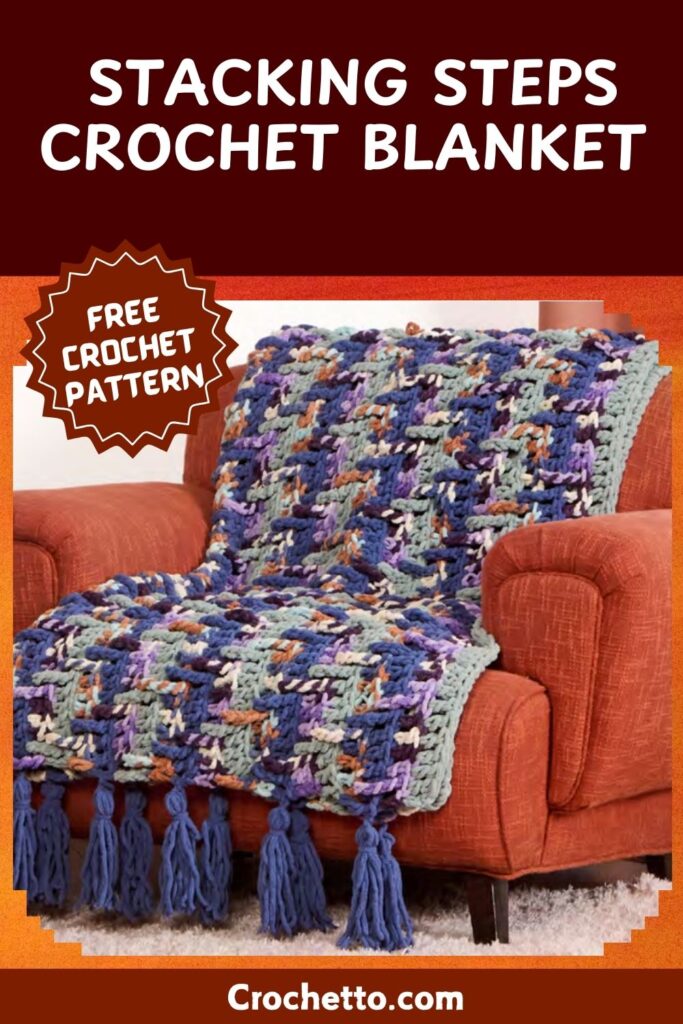
Get Cozy with the Bernat Stacking Steps Crochet Blanket!
Hello fellow yarn enthusiasts! Are you ready for a project that’s not only fun to make but also incredibly cozy? I’m so excited to share the details for the Bernat Stacking Steps Crochet Blanket – a gorgeous design that’s sure to become a cherished part of your home decor.
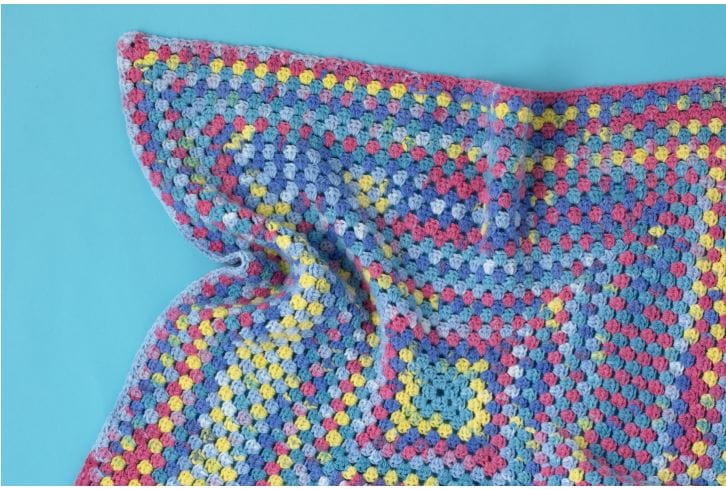
This blanket features a unique textured pattern and beautiful color transitions, making it a perfect project for adding a touch of handmade charm to any space. It’s a great way to practice a variety of techniques, without being too complicated. So, let’s dive in!

What You’ll Need
- Yarn: Bernat® Blanket™ – A super bulky yarn known for its softness and coziness.
- Contrast A (Green Mist): 1 ball or 411 yards (376 meters)
- Contrast B (Beach Day): 1 ball or 299 yards (273.5 meters)
- Contrast C (Blue Bayou): 1 ball or 399 yards (365 meters)
- Contrast D (Plum Harmony): 1 ball or 328 yards (300 meters)
- Hook: Size M/13 (9 mm) Susan Bates® Silvalume® crochet hook (or size needed to meet gauge).
- Extras: A Susan Bates® yarn needle for weaving in ends and assembling tassels.
Key Information:
- Skill Level: Easy
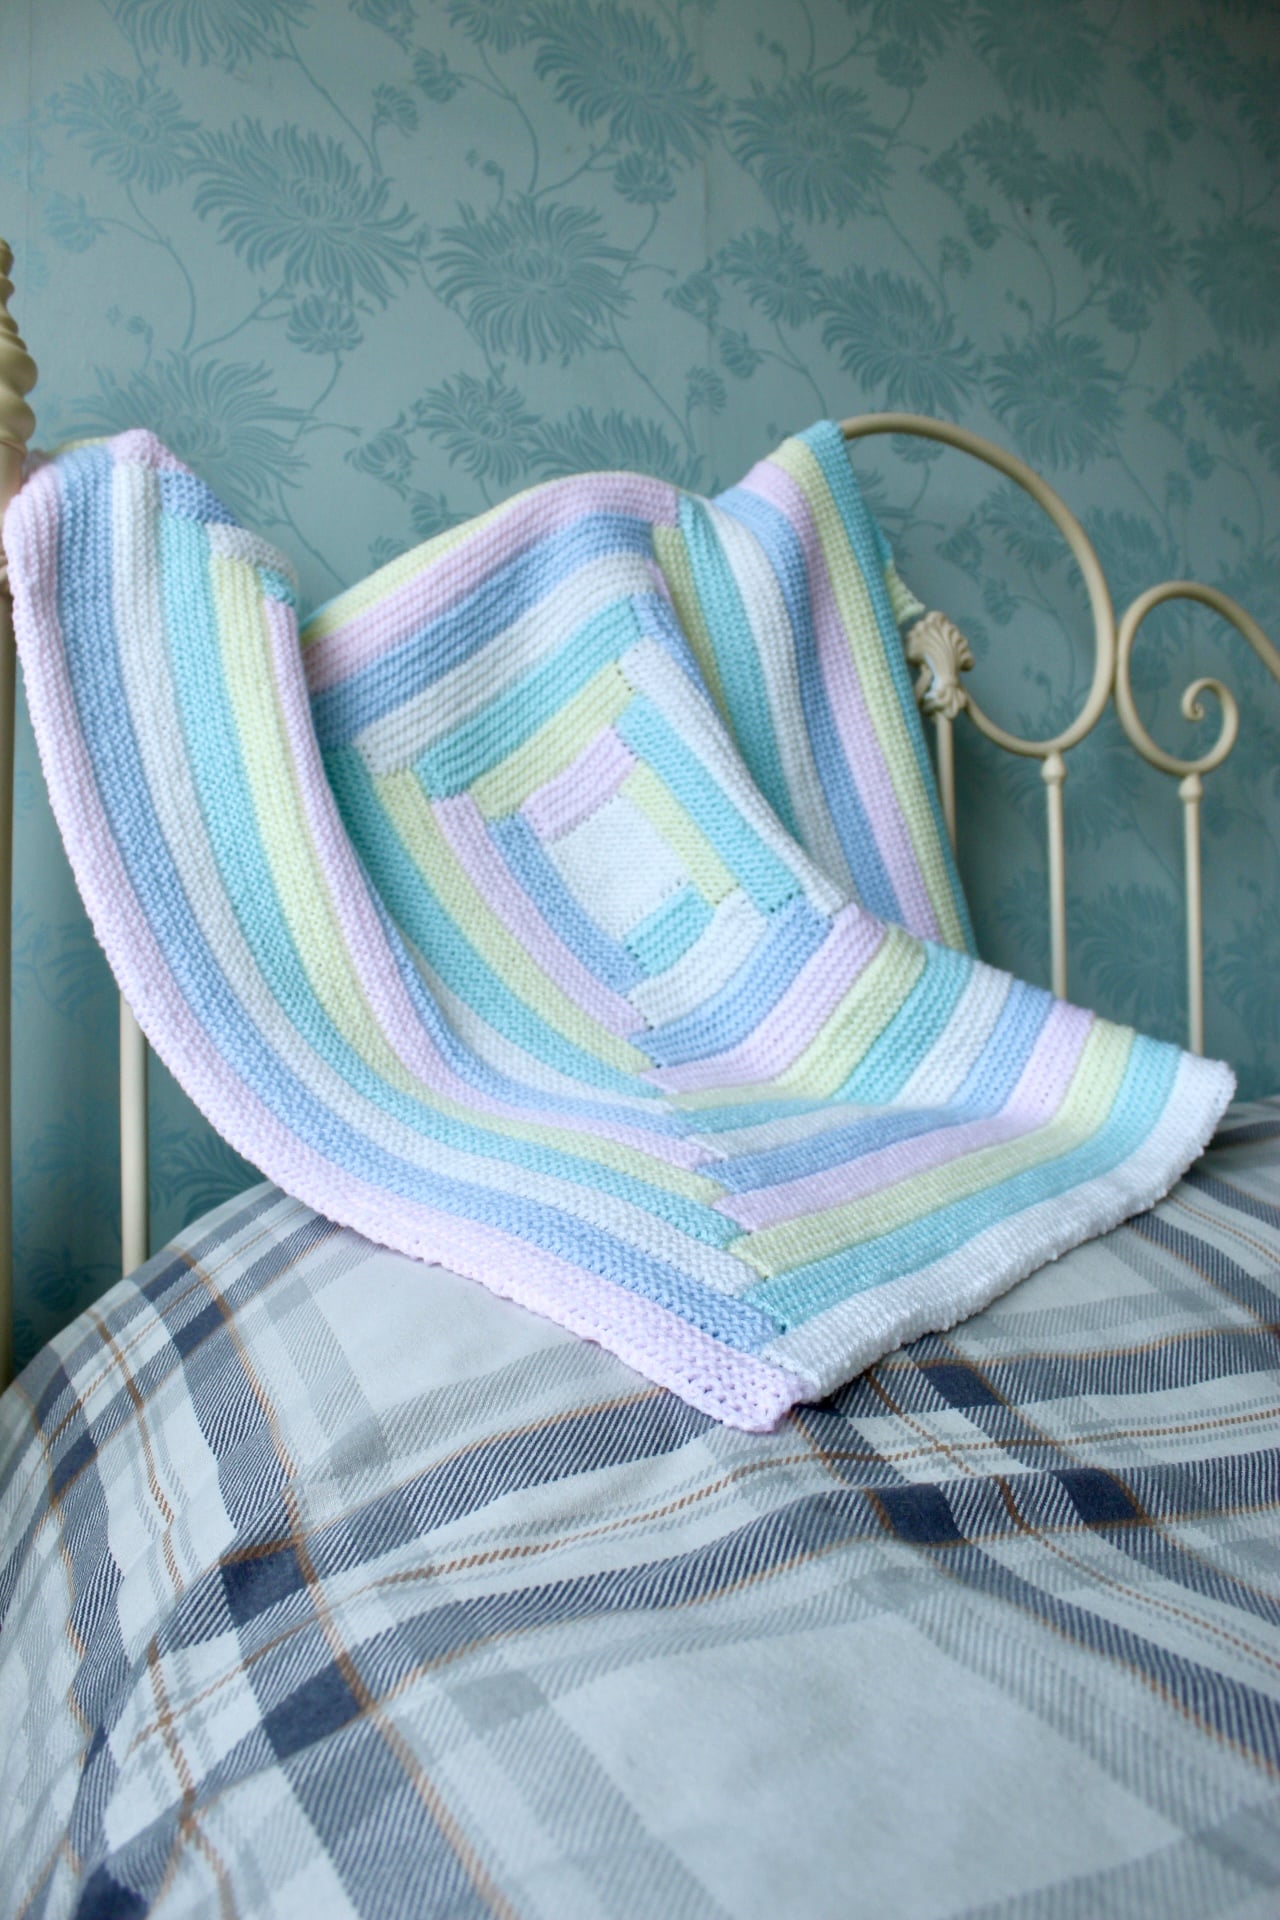
- Finished Size: Approximately 60 inches wide by 51 inches long (152.5 cm x 129.5 cm), excluding tassels
- Gauge: 6 double crochet stitches and 3 rows equal 4 inches (10 cm)
Understanding the Abbreviations
Before we start, let’s get familiar with the abbreviations:
- Approx: Approximately
- Beg: Beginning(ning)
- Ch: Chain(s)
- Cont: Continue(ity)
- Dc: Double crochet
- Dtr: Double treble crochet ((Yoh) 3 times. Draw up a loop in indicated stitch. (Yoh and draw through 2 loops on hook) 4 times.)
- Pat: Pattern
- Rem: Remaining
- Rep: Repeat
- RS: Right side
- Sl st: Slip stitch
- St(s): Stitch(es)
- Yoh: Yarn over hook
Getting Started: The Stripe Pattern
The blanket is worked sideways, using a repeating stripe pattern with varying stitch heights to create the “stacking steps” look. Here’s a breakdown of each section:
- Base Row: With yarn A, chain 92. Work 1 double crochet (dc) into the 4th chain from the hook, and then 1 dc into each remaining chain. Fasten off (90 dc).
- Second Row: With yarn B, join to the top of the first chain 3. Chain 3. Working in the back loops, work 1 dc into each stitch to the end of the row. Fasten off.
- Third Row: With yarn C, join to the top of the chain 3. Chain 3. Working in back loops, work 1 dc in each of the next 3 stitches. Then, work 1 double treble crochet (dtr) into the front loop of the stitch that is 2 rows below. Work 1 dc in each of the next 4 stitches, then work 1 dtr into the front loop of the stitch 2 rows below. Repeat from * to the end of the row. Fasten off.
- Fourth Row: With yarn D, join to the top of the chain 3. Chain 1. Then, work 1 dtr into the front loop of the first stitch 2 rows below. Then, working in back loops, work 1 dc in each of the next 4 stitches. Work 1 dtr in the front loop of the stitch 2 rows below. Then work 1 dc in each of the next 4 stitches. Repeat from * to the end of the row. Fasten off.
- Fifth Row: With yarn A, join to the first dtr. Chain 3. Work 1 dtr in the front loop of the stitch 2 rows below. Working in the back loops, work 1 dc in each of the next 4 stitches. Repeat from * to the last 4 stitches. Work 1 dtr in the front loop of the stitch 2 rows below. Then work 1 dc in each of the last 3 stitches. Fasten off.
- Sixth Row: With yarn B, join to the top of the chain 3. Chain 3. Working in back loops, work 1 dc into the next dtr. Work 1 dtr in the front loop of the stitch 2 rows below. Work 1 dc in each of the next 4 stitches. Repeat from * to the last 3 stitches. Work 1 dtr in the front loop of the stitch 2 rows below. Then work 1 dc in each of the last 2 stitches. Fasten off.
- Seventh Row: With yarn C, join to the top of the first chain 3. Chain 3. Working in back loops, work 1 dc in each of the next 2 stitches. Work 1 dtr in the front loop of the stitch 2 rows below. Work 1 dc in each of the next 4 stitches. Repeat from * to the last 2 stitches. Work 1 dtr in the front loop of the stitch 2 rows below, work 1 dc in the last stitch. Fasten off.
The first 7 rows form the base of the Stripe Pattern.
Continue with the Pattern:
Repeat rows 3 through 7 until your work measures approximately 49 ½ inches (125.5 cm) from the beginning, ending on a D row. Then work one last row of A.
Then, work a row with A. Ch 3, Working in back loops, 1 dc in each st to end of row. Fasten Off.
Adding the Tassels:
To make the tassels, follow these steps:
- Cut a 5-inch (12.5 cm) wide piece of cardboard.
- Wind yarn C around the cardboard 8 times.
- Cut the yarn, leaving a long tail. Thread the tail through a yarn needle.
- Slip the needle through all the loops and tie tightly.
- Remove the cardboard.
- Wind yarn around the loops about 1 inch (2.5 cm) below the fold. Fasten securely.
- Cut the remaining loops and trim the ends evenly.
- With C, sew 1 Tassel to end of each stitch along the top and bottom edges of Blanket as shown in photo.
Tips for Success
- Keep it Consistent: Try to keep your tension consistent for even results.
- Pay Attention to Stitch Placement: Be sure to work double treble crochets into the correct front loops.
- Block if Needed: If your blanket seems uneven after finishing you can block it.
- Color Play: Feel free to play with colors and create your own combination!
Final Thoughts
The Bernat Stacking Steps Crochet Blanket is a wonderful way to add some texture and warmth to your home. Its stunning design and unique stitch patterns will make it a statement piece in any room. So, grab your favorite colors of Bernat Blanket yarn and let’s get started!