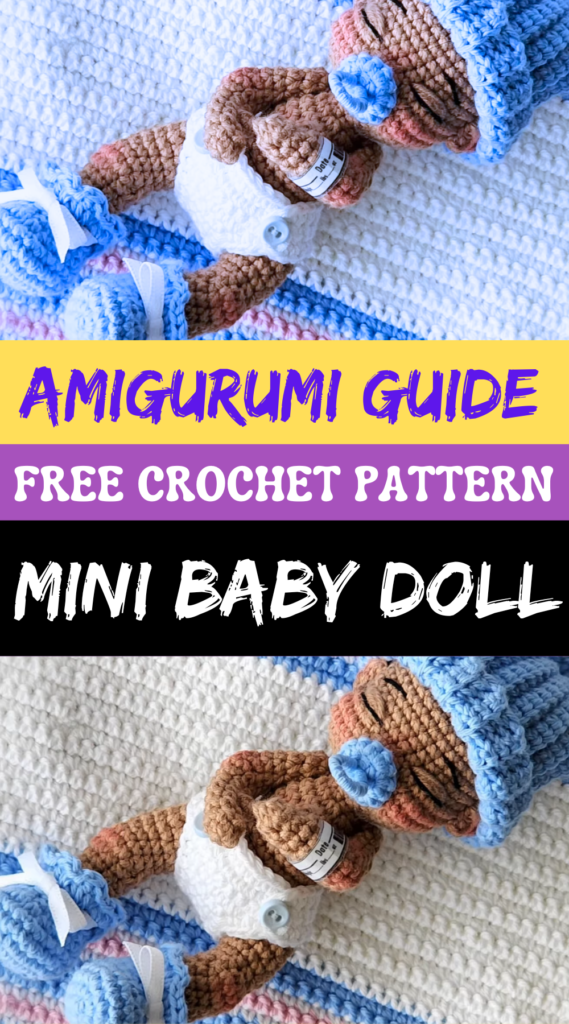
Guide to Crafting Mini Baby Doll Crochet
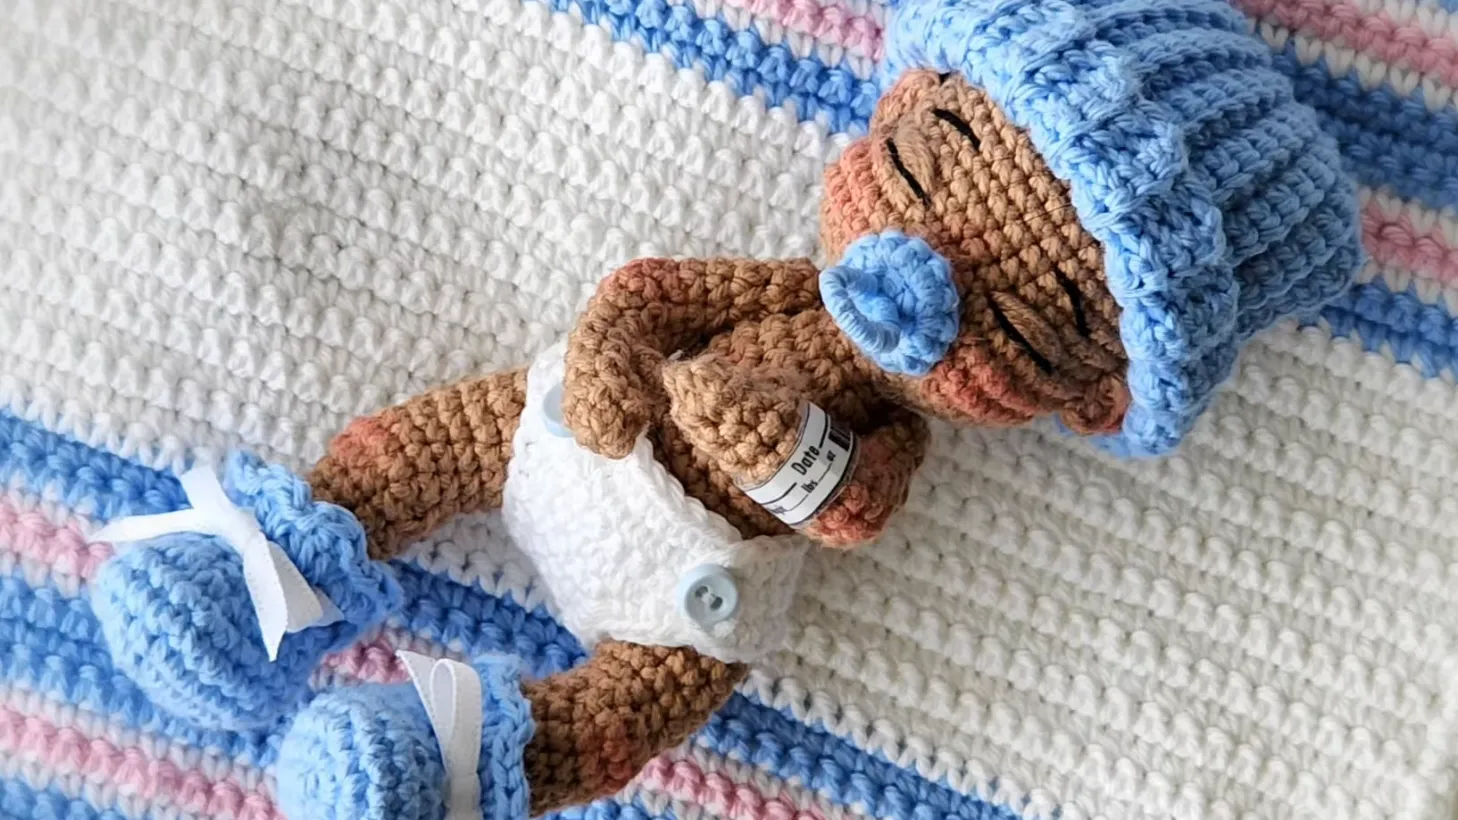
Crocheting tiny details like baby feet can be a challenging yet rewarding experience. Whether you’re a beginner or an experienced crocheter, this guide will walk you through each step with clarity and precision. Follow along to create the adorable feet for your Sweet Handfuls Mini Baby Doll!
Materials Needed
- Crochet hook (size recommended in the pattern)
- Yarn (as specified in the pattern)
- Stitch markers
- Small piece of contrasting yarn (for marking loops)
Step 1: Starting the Left Foot
Foundation Chain & First Round
- Chain 5. Begin by chaining five stitches.
- Start in the second chain from the hook.
- Make two single crochets in this stitch.
- Increase in the next stitch.
- Continue with three single crochets in the next chain.
- Work three single crochets across the end.
- Work along the opposite side.
- Tug the tail gently.
- Add two single crochets followed by an increase in the last chain.
🧶 Check: You should have 11 stitches by the end of this round.
Step 2: Shaping the Foot
Round 2: Forming the Heel & Toes
- Mark your stitches. Place a stitch marker to track your rounds.
- Create the heel shape:
- Work five single crochets into the same stitch to round the heel.
- Follow up with nine single crochets around the foot.
- End the round with one slip stitch to complete the shaping.
By now, you should have 15 stitches in total.
Step 3: Defining the Toes & Foot Arch
Marking the Back Loops
Before moving forward, locate the next two back loops and mark them using a contrasting yarn. This will help when forming the arch later.
Creating the Toes
- In the front loops only:
- Make one half double crochet, followed by one slip stitch.
- Repeat this process in the next front loop.
- Forming the big toe (Bobble Stitch):
- Yarn over, insert your hook into the stitch, and pull up a loop.
- Continue as if making a double crochet, repeating until you have five loops on your hook.
- Yarn over and pull through all five loops to create a puffy, rounded toe.
- Securing the toe: Work one single crochet behind the Bobble stitch to ensure it stands out.
🧶 Tip: Pull the stitch snug to shape the toe nicely!
Step 4: Refining the Shape
- Work single crochets around the foot to complete the shaping.
- Use an invisible decrease where necessary to maintain a seamless design.
- Remove markers and finish off the round.
By now, your baby foot should be fully formed, and you can follow the pattern instructions to continue building the leg.
Step 5: Crafting the Right Foot
The process for the right foot is similar, with slight modifications to ensure symmetry. Follow the same foundation chain and shaping process, but be mindful of stitch placements to maintain proper alignment.
Final Touches & Assembly
Once both feet are completed, compare them to ensure symmetry. Then, proceed with the rest of the pattern to complete the mini baby doll’s legs.
Conclusion
Crocheting tiny feet requires patience and attention to detail, but with practice, it becomes second nature. Keep refining your technique, and soon, you’ll be crafting adorable baby dolls with perfectly shaped feet.
Happy crocheting! 🧶✨
Would you like any additional refinements, like adding more visuals or tips? 😊