Hook Up This Cute Plush Keychain FREE!
Crochet a Cute Plush Keychain: Free Pattern!
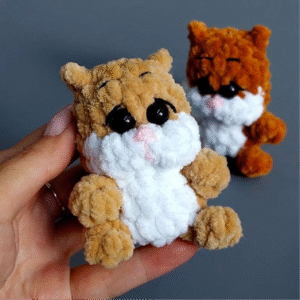
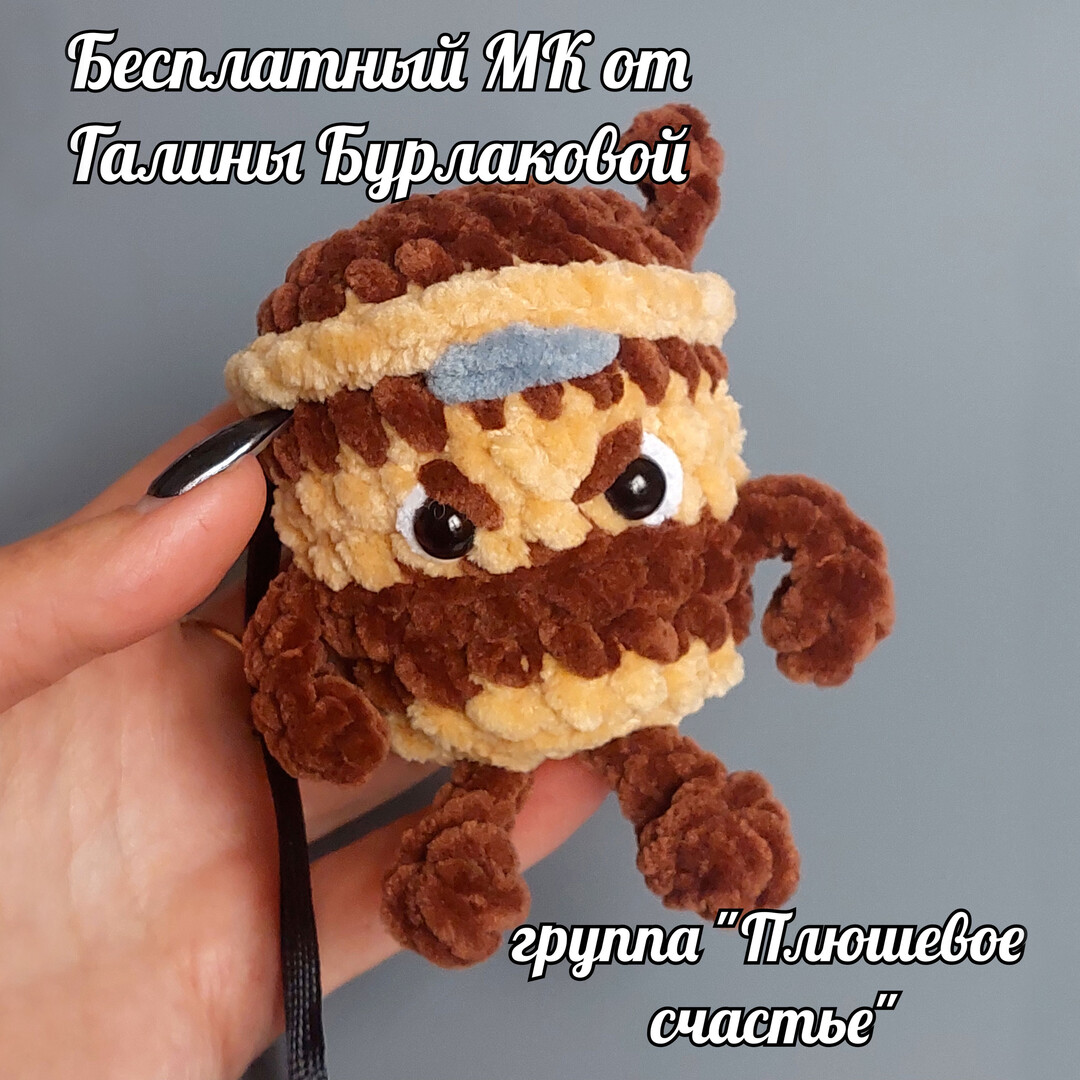
Get ready to create an adorable plush keychain with this easy-to-follow free crochet pattern by Galina Burlakova! This project is perfect for using up your plush yarn scraps and makes a fantastic gift or a charming accessory for your keys or bag. Let’s get started!
Materials You’ll Need
- Plush yarn with a density of 120m/100g (e.g., Himalaya Dolphin Baby, YarnArt Dolce)
- Crochet Hook: 3.75 mm
- Stuffing (polyester fiberfill)
- Tapestry needle
- Stitch marker
- Safety eyes: 8 mm
- Small amount of white yarn for eye whites embroidery
- Small amount of gray yarn for emblem embroidery
Abbreviations
- sc: single crochet
- inc: increase (work 2 sc in the same stitch)
- dec: decrease (crochet 2 sc together)
- ch: chain stitch
- sl st: slip stitch
- dc: double crochet
- hdc: half double crochet
- bobble: bobble stitch made of 3 dc in one stitch with one top (yarn over, insert hook, pull up loop, yarn over, pull through 2 loops – repeat 2 more times in the same stitch; you will have 4 loops on hook, yarn over, pull through all 4 loops)
- B: Beige yarn
- D_br: Dark brown yarn
- blo: work in back loop only
- flo: work in front loop only
Special Stitches: Legs & Arms
These limbs are worked directly into your main body piece as you crochet.
Leg (worked in Dark Brown (D_br))
- Chain 5.
- Starting from the 2nd chain from your hook, work 1 bobble stitch.
- Work 3 slip stitches (sl st) down the remaining chains.
- Finish with a slip stitch into the base stitch of the main body where you started the chain for the leg.
Arm (worked in Dark Brown (D_br))
- Chain 5.
- Starting from the 2nd chain from your hook, work 2 half double crochets (hdc) into the same 2nd chain.
- Work 3 slip stitches (sl st) down the remaining chains.
- Finish with a slip stitch into the base stitch of the main body where you started the chain for the arm.

Let’s Crochet! Body and Head
We’ll be working in continuous rounds unless otherwise specified. Use a stitch marker to keep track of your first stitch in each round.
Start with Beige yarn (B)
Round 1: Create a magic ring. Or, chain 2 and work into the second chain from the hook: 3 single crochet (sc) stitches. Now, attach Dark Brown yarn (D_br) and create your first Leg (as described in “Special Stitches”). Finish the leg with a sl st back into the same stitch of the body. Switch back to Beige (B). Work 2 sc. Attach Dark Brown yarn (D_br) and create your second Leg. Finish the leg with a sl st back into the same stitch of the body. Switch back to Beige (B). Work 3 sc. (8 stitches total in the round – this count refers to the main body stitches, not including the attached limbs).
Round 2: (Using Beige (B) yarn throughout this round) Work [1 inc] in each of the 8 stitches around. (16 stitches).
The next round (Round 3) will be worked in the back loop only (blo).
Round 3: (Using Beige (B) yarn) Work 16 sc in the back loop only (blo). (16 stitches).
The next round (Round 4) will be worked in the front loop only (flo).
Round 4: (Using Dark Brown (D_br) yarn) Work 16 sc in the front loop only (flo). (16 stitches).
Round 5: (Using Dark Brown (D_br) yarn) Work 3 sc, then 1 inc, then 1 sc. Now, attach Dark Brown yarn (D_br) and create your first Arm (as described in “Special Stitches”). Finish the arm with a sl st back into the same stitch of the body. Continue with D_br yarn: Work 2 sc, then 1 inc, then 3 sc, then 1 inc. Attach Dark Brown yarn (D_br) and create your second Arm. Finish the arm with a sl st back into the same stitch of the body. Continue with D_br yarn: Work 3 sc, then 1 inc. (20 stitches).
The next round (Round 6) will be worked in the back loop only (blo).
Round 6: (Using Beige (B) yarn) Work 20 sc in the back loop only (blo). (20 stitches).
Round 7: (Using Beige (B) yarn) Work [4 sc, 1 inc] repeated 4 times around. (24 stitches).
The next round (Round 8) will be worked in the front loop only (flo).
Round 8: (Using Dark Brown (D_br) yarn) Work 24 sc in the front loop only (flo). (24 stitches).
The next round (Round 9) will be worked in the front loop only (flo).
Round 9: (Using Beige (B) yarn) Work 24 sl st in the front loop only (flo). (24 stitches).
The next round (Round 10) will be worked in the back loop only (blo).
Round 10: (Using Dark Brown (D_br) yarn) Work [4 sc, 1 dec] repeated 4 times around. (20 stitches).
Stuff your piece firmly as you go. Ensure the head and body are well-shaped.
Round 11: (Using Dark Brown (D_br) yarn) Work [3 sc, 1 dec] repeated 4 times around. (16 stitches).
Round 12: (Using Dark Brown (D_br) yarn) Work [1 dec] repeated 8 times around. (8 stitches).
Fasten off, leaving a long tail for closing. Use your tapestry needle to weave the tail through the front loop of each remaining stitch and pull tight to close the opening. Weave in the end.
Finishing Touches
Decorative Trim
Go back to Round 10. Using the remaining front loops from this round, attach Beige (B) yarn and work 24 sl st around for a neat trim. Fasten off and weave in ends.
Ties at the Back
Locate Round 8 at the back of your keychain. Attach Dark Brown (D_br) yarn:
- Chain 6.
- Work 5 sl st back along the chain.
- Sl st into the same stitch where the yarn was attached to the body.
- Chain 6 again.
- Work 5 sl st back along the chain.
- Sl st into the same base stitch.
Cut yarn, secure, and hide the ends.
Flap on Top (Lid)
Attach Dark Brown (D_br) yarn to the very top center of the head:
- Chain 3.
- Work 2 sc into the same stitch where you attached the yarn.
- Sl st back into the base.
Cut yarn, secure, and hide the ends.
Eyes and Facial Details
- Eyes: Insert 8mm safety eyes between Rows 6 and 7, approximately 3 stitches apart. Secure them in place.
- Eye Whites: With white yarn and a tapestry needle, carefully embroider small whites around the safety eyes for more character.
- Eyebrows: Embroider eyebrows using Dark Brown (D_br) yarn.
- Emblem: In Round 8, use gray yarn to embroider a small emblem (e.g., a simple cross or two small stitches) on the front of the body.
Your Keychain is Ready!
Congratulations! You’ve successfully crocheted your very own plush keychain. We hope you enjoyed making this adorable little friend. It’s perfect for adding a touch of handmade charm to your keys, backpack, or purse.
Share your creations with us on social media! Tag us if you post your finished keychain.
For more patterns and crochet inspiration, check out Galina Burlakova’s group on VK: https://vk.com/plyushevoe_schastye
Happy Crocheting!