How to Do a Waistcoat Stitch Crochet: A Detailed Guide for Beginners
If you’ve ever admired the seamless texture of knitted fabrics, you’ve likely wondered if you could achieve the same look with crochet. Enter the waistcoat stitch, a crochet technique that mimics the appearance of knitting and offers a unique texture to your projects. This guide is your go-to resource for mastering the waistcoat stitch, especially if you’re starting out.
Understanding the Waistcoat Stitch
The waistcoat stitch, known for its knit-like appearance, is a single crochet variation that adds a refined texture to any piece. While it looks intricate, it’s surprisingly simple once you get the hang of it. This stitch is ideal for those looking to add a touch of knitted elegance to their crochet works.
Characteristics of the Waistcoat Stitch
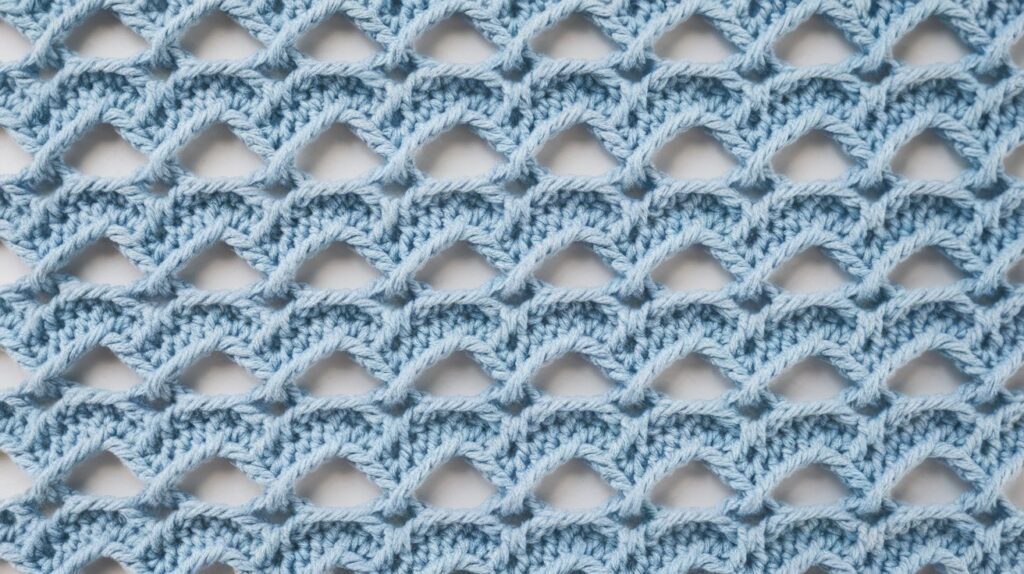
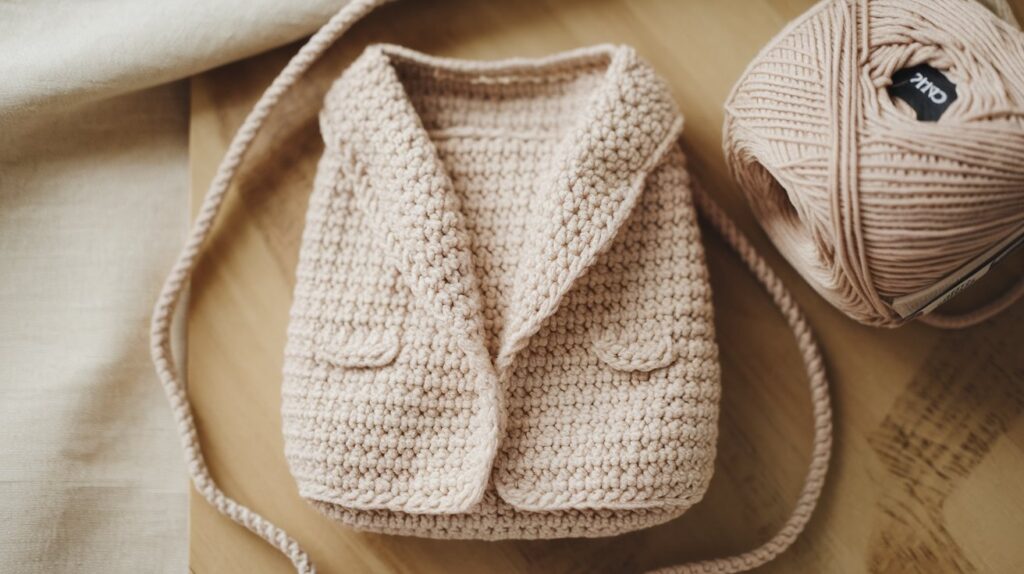
Sometimes referred to as the knit stitch, the waistcoat stitch has a dense and sturdy finish, making it perfect for items that need to hold their shape, like bags or baskets. Its structure, which involves inserting the hook between the posts of the stitches from the previous row, is what gives it that signature knit-like look. Explore more about the waistcoat stitch to see how it compares to other crochet techniques.
Why Choose the Waistcoat Stitch?
One of the main draws of the waistcoat stitch is its texture, which mimics knitting without requiring knitting needles. It’s incredibly versatile, suitable for various projects—from cozy winter garments to hardy accessories. The tightly woven pattern also means it provides extra warmth, making it a fantastic choice for scarves and blankets. If you’re curious about other beginner-friendly stitches, check out simple crochet stitches for beginners.
Getting Started with Waistcoat Stitch
Starting with the waistcoat stitch requires some basic crochet knowledge, but don’t worry; this guide will walk you through every step.
Materials Needed
Before you dive in, gather these essentials:
- Yarn: Choose a yarn weight that suits your project, though medium weight is often recommended for beginners.
- Hook: A hook that works with your yarn weight, typically a size or two larger than what you would normally use for single crochet.
- Accessories: Stitch markers and a yarn needle for finishing off your work.
Basic Crochet Techniques to Know
Before attempting the waistcoat stitch, ensure you’re comfortable with these basic techniques:
- Chain Stitch: Essential for starting most crochet projects.
- Single Crochet: The foundation for the waistcoat stitch.
For a thorough overview of these techniques, you might find this guide on basic crochet stitches quite helpful.
Step-by-Step Guide to Crochet Waistcoat Stitch
Ready to crochet the waistcoat stitch? Follow these steps to get started.
Creating a Foundation Chain
Every good crochet project begins with a solid foundation chain. For the waistcoat stitch, you can chain any number of stitches. If you’re making a scarf, for instance, consider the desired width of your scarf to determine the chain length.
Working the Waistcoat Stitch
- Row 1: Insert your hook into the second chain from the hook, and create a single crochet. Continue to the end of the row.
- Subsequent Rows: Here’s where the magic happens. Insert your hook between the legs of the stitch from the previous row, just under the inverted “V”. Yarn over and pull through, completing as you would a single crochet. Watch a waistcoat stitch crochet tutorial for a visual representation.
Tips for Perfecting Your Stitch
- Tension: Keep your tension even to prevent the fabric from curling.
- Troubleshooting: If the stitch feels too tight, try using a larger hook size.
Projects to Try with Waistcoat Stitch
With your newfound skill, you can now take on a variety of projects.
Scarves and Cowls
The waistcoat stitch’s dense texture is perfect for scarves and cowls, offering both warmth and style. A scarf made with this stitch not only keeps you cozy but also looks like it was knitted, fooling even the savviest knit fans.
Blankets and Throws
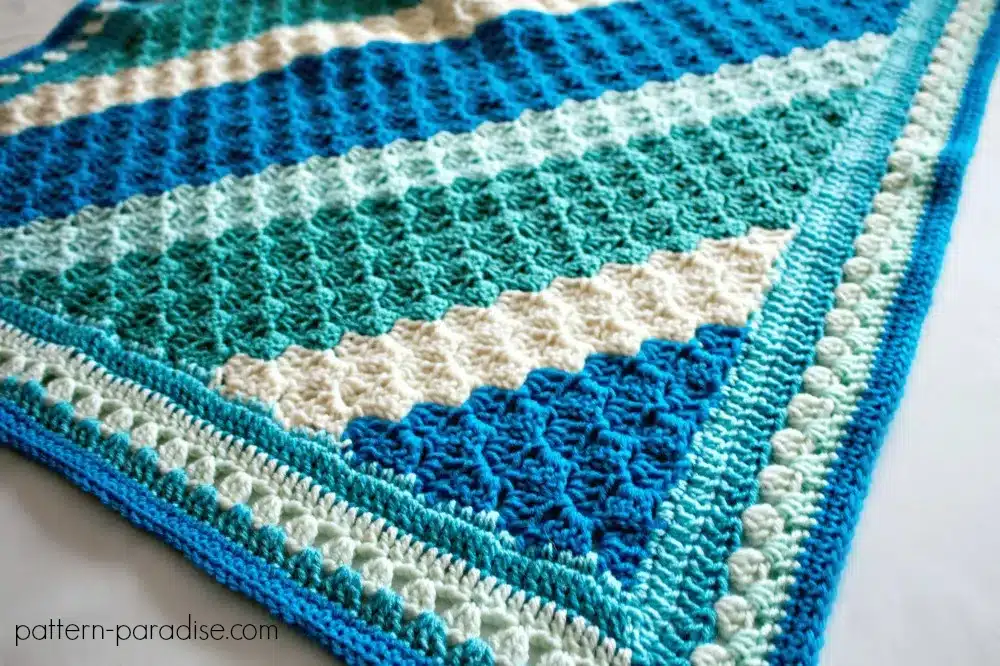
Looking to crochet a blanket? The waistcoat stitch creates a thick, durable fabric, ideal for throws that are as warm as they are beautiful. It’s also perfect for showing off variegated yarns, adding depth and color to your project.
Conclusion and Further Learning
Congratulations! You’ve now mastered the basics of the waistcoat stitch. This guide aimed to provide you with the tools and confidence to incorporate this stitch into your crochet repertoire.
Don’t stop here; continually practice and consider exploring other how to crochet the knit stitch tutorials to expand your skills. Whether you’re making gifts for loved ones or creating something cozy for yourself, enjoy the process and the creative journey.

