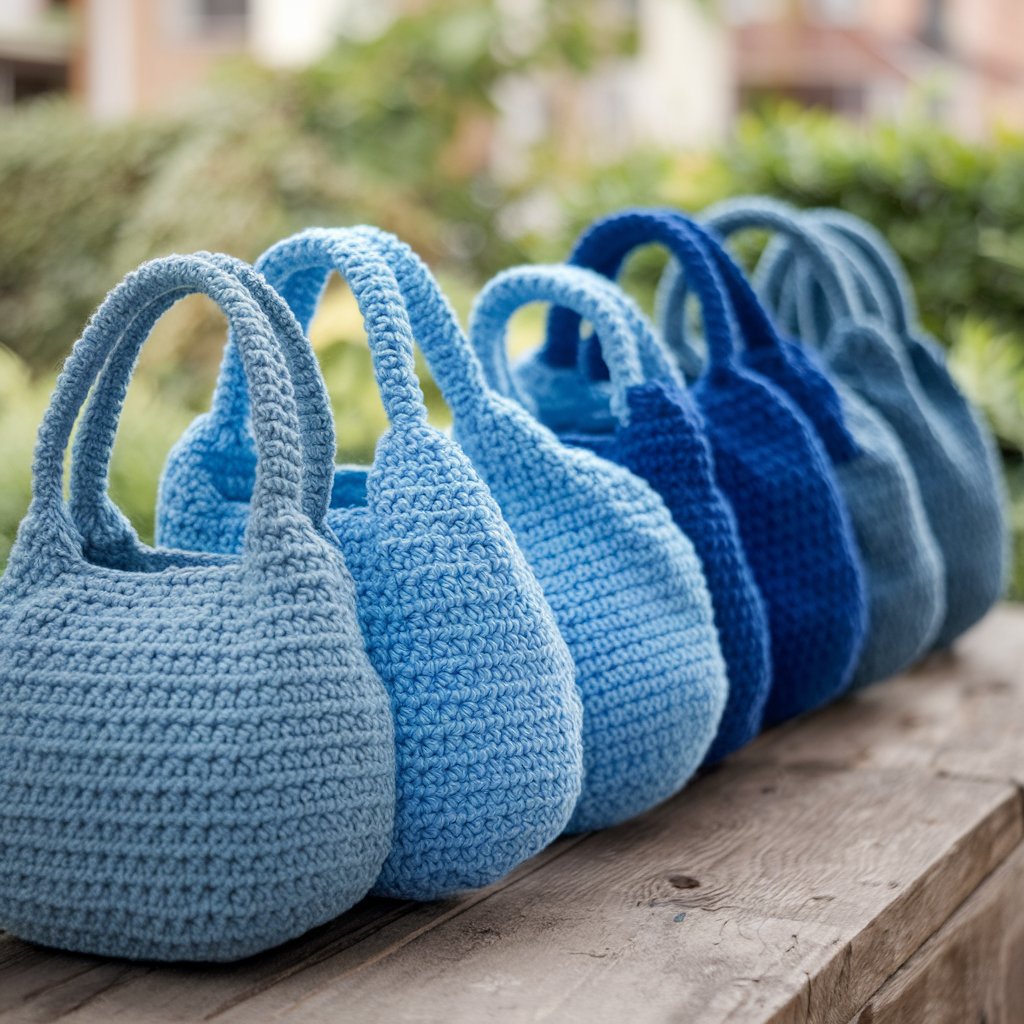
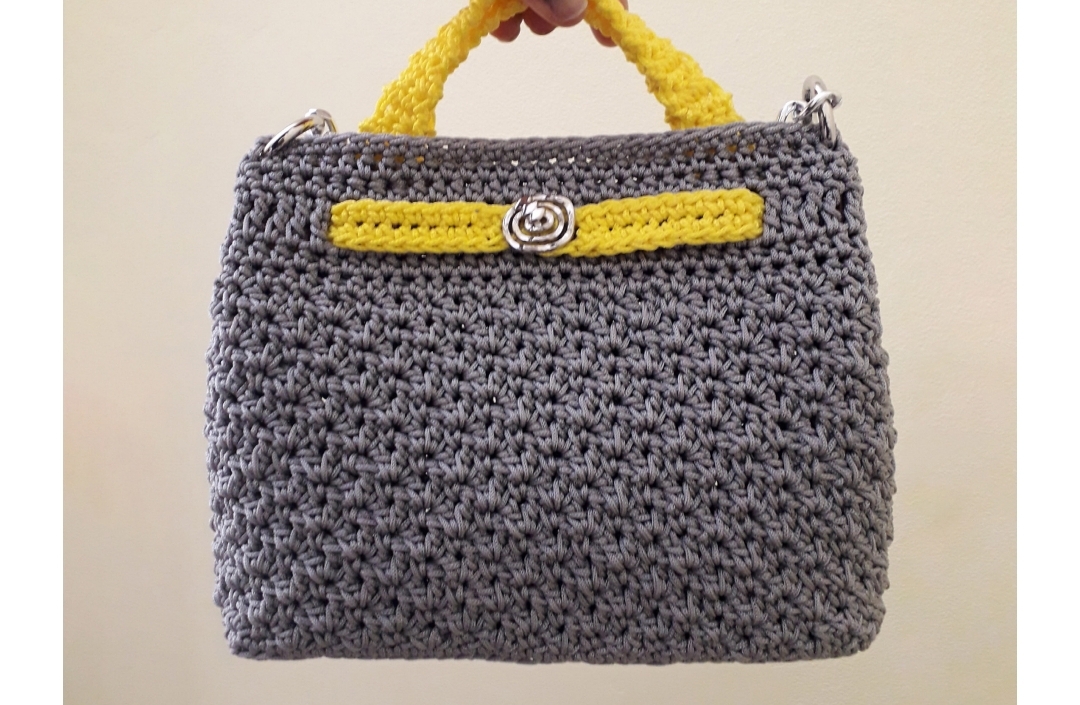
How to Make a Chunky Fluffy Crochet Bag: A Step-by-Step Guide
Learn how to make a chunky fluffy crochet bag with this comprehensive step-by-step guide. Perfect for beginners, this stylish bag is easy to create and makes for a wonderful DIY gift!
Chunky Fluffy Crochet Bag
How to Make a Chunky Fluffy Crochet Bag
Are you looking for a fun and easy crochet project? In this guide, we’ll show you how to create a chunky fluffy crochet bag, affectionately named the “cloud bag.” This stylish accessory is perfect for carrying your essentials and makes for a fantastic DIY gift!
Materials Needed
To start, gather the following materials:
- Yarn: Bernat chunky yarn or any similar chunky yarn.
- Crochet Hook: An 8 mm crochet hook.
- Big Crochet Needle: For sewing in loose ends.
- Scissors: For cutting the yarn.
Step-by-Step Instructions
1. Create a Slip Knot
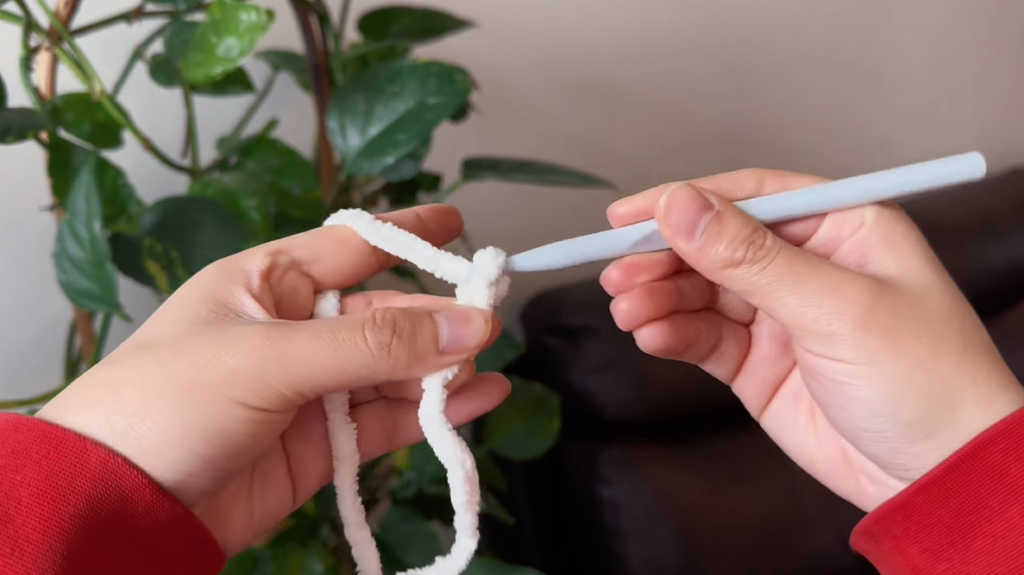
Begin by making a slip knot. If you’re unsure how to do this, here’s a quick guide:
- Take two fingers and form a loop.
- Pull another loop through the first one.
- Insert your crochet hook into the loop and ensure that the part of the loop in front is the moving one.
2. Make the Base
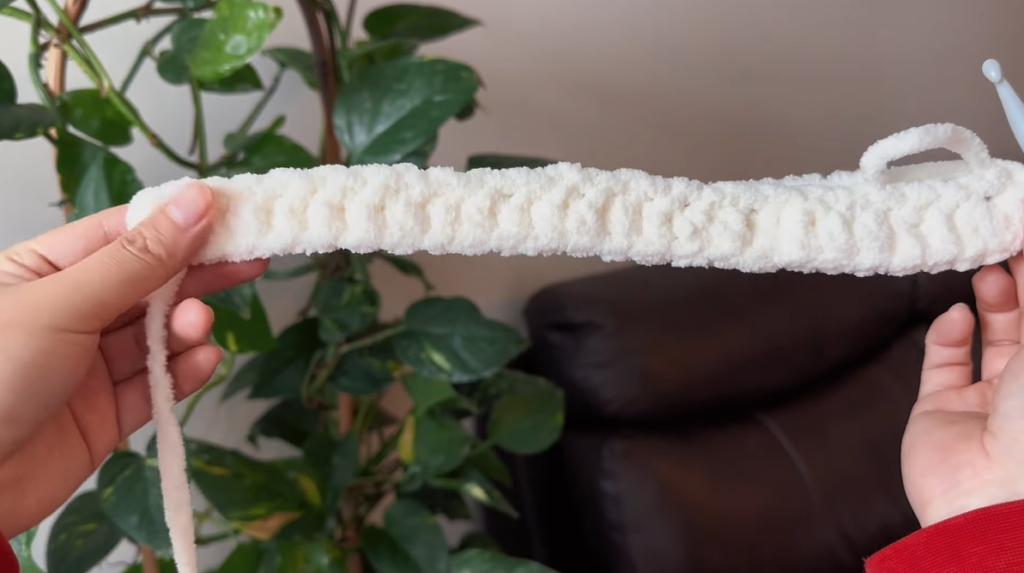
Now, chain 25. This will form the base of your bag. To create a chain, simply grab some yarn and pull it through the loop on your hook. Repeat this 25 times.
Once you have your 25 chains, you will start building the bag from the bottom up. For the first row, perform a half double crochet in the second chain from your hook. Here’s how to do a half double crochet:
- Yarn over (YO) and insert your hook into the loop.
- You will have three loops on your hook.
- Yarn over again and pull through all three loops.
Continue this half double crochet stitch until you reach the end of the chain.
3. Shape the Bag
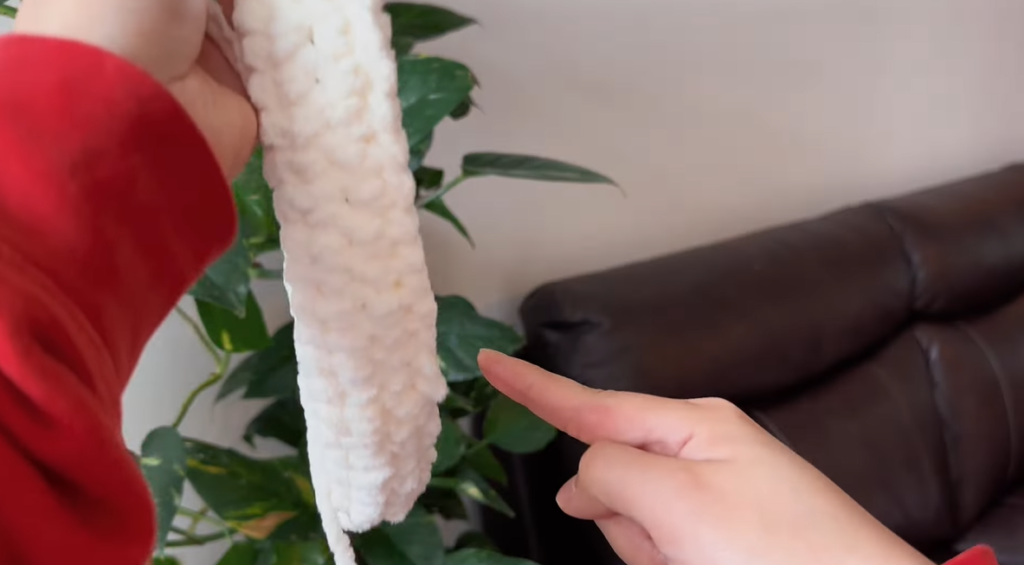
At the end of the chain, place three half double crochets into the last stitch (where you started) to create a rounded base. This will ensure that your bag has a nice shape.
Next, work half double crochets along the side until you return to your starting point. This gives the bag a boat-like shape. Once you reach the end, join the two ends together with a slip knot.
4. Continue Upwards
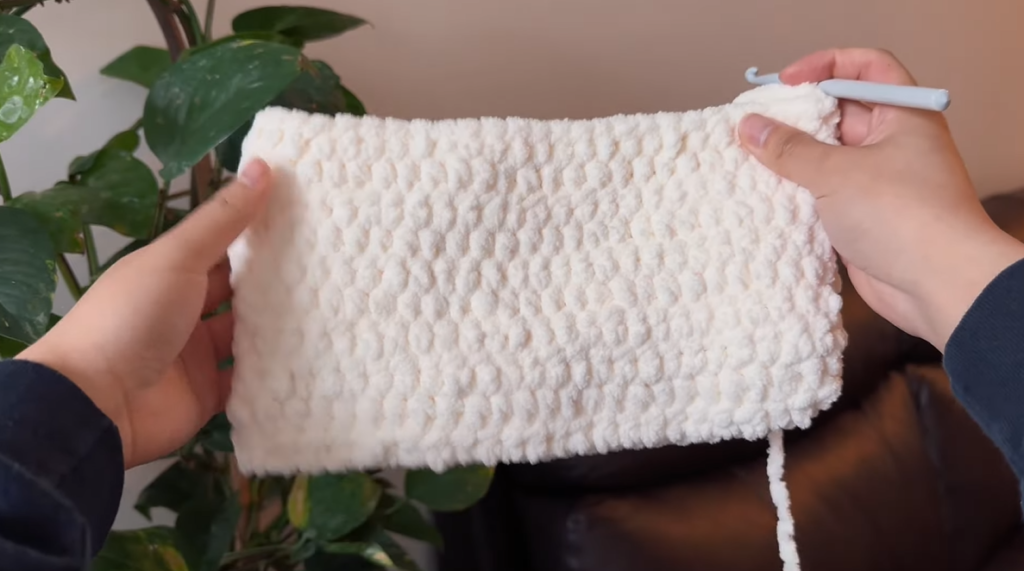
After securing the base, chain one and flip your work over. Continue making half double crochets all the way around. Repeat this process until the bag reaches your desired height, typically around six inches.
5. Create the Cinched Top
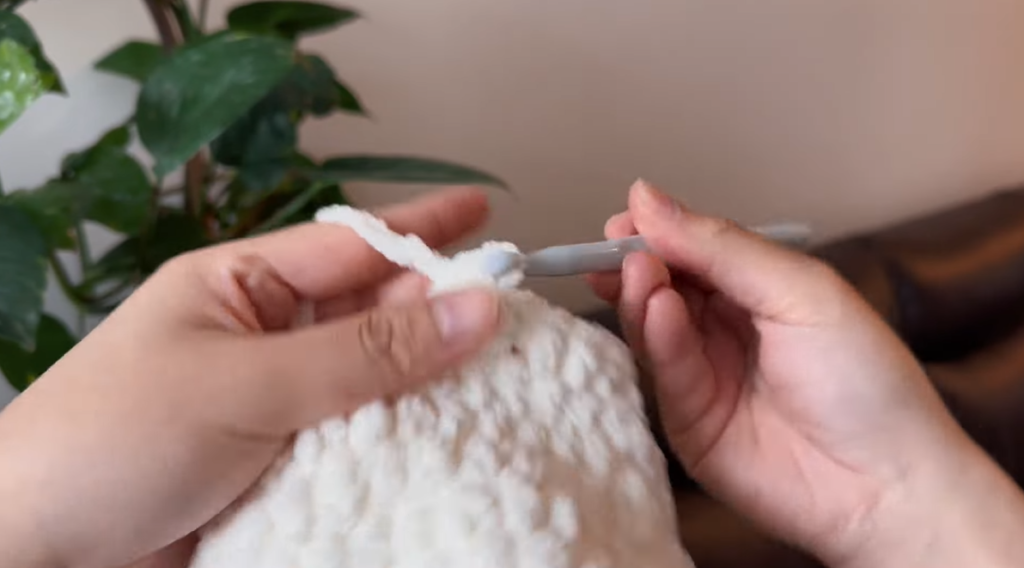
For the last row, we will cinch the top opening to make it smaller. Chain one and flip your work again. Here, you will make three half double crochets, skip the next stitch, and repeat this pattern for the entire row.
6. Make the Strap
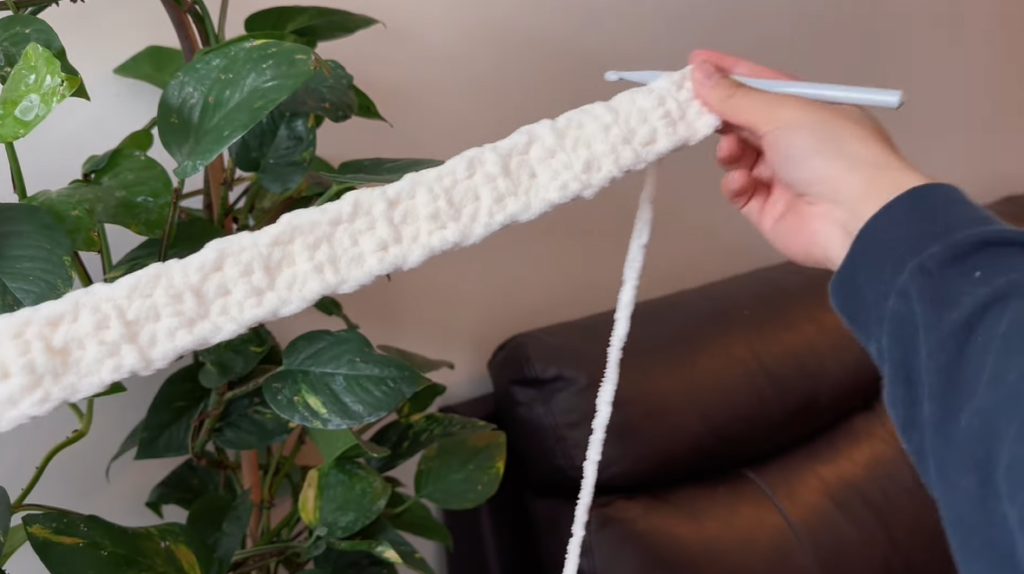
To create the strap, chain one and make a slip stitch in the next stitch. Begin making three half double crochets, then chain one and flip the work. Repeat this process until the strap reaches your desired length, which can vary based on personal preference.
7. Attach the Strap
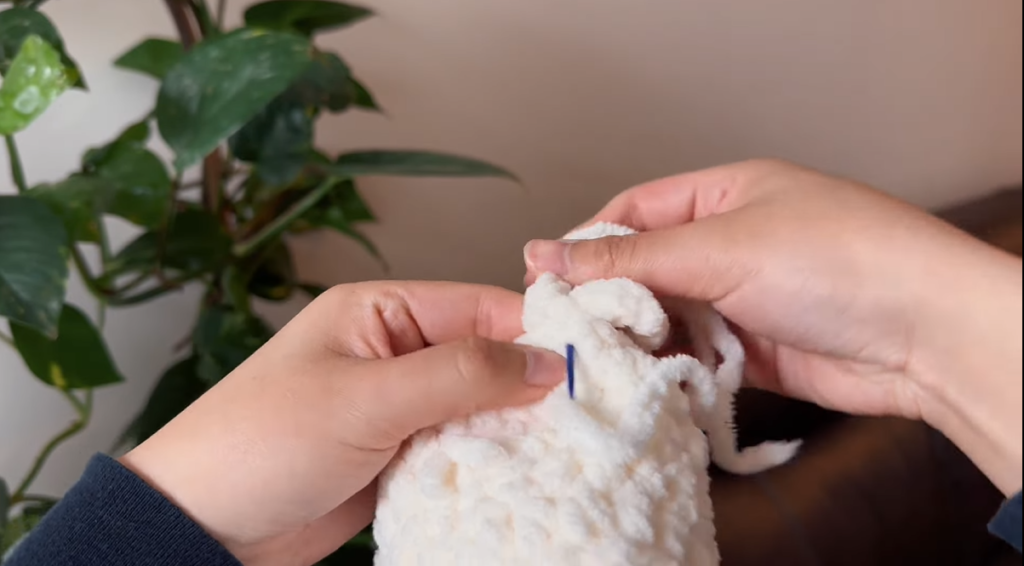
Before cutting the yarn, secure the end by making a chain and pulling it through. Attach the other end of the strap to the opposite side of the bag using a vertical sewing technique for a clean finish. Tie a knot to secure it and weave in any loose ends.
Final Touches
Your chunky fluffy crochet bag is now complete! This bag is reversible, so feel free to choose the side that looks best to you. The entire project typically takes about one to one and a half hours to complete, making it a quick and rewarding crochet project.


