Knit a Cozy Headband Pattern
Knit a Cozy Headband Pattern: A Complete Guide
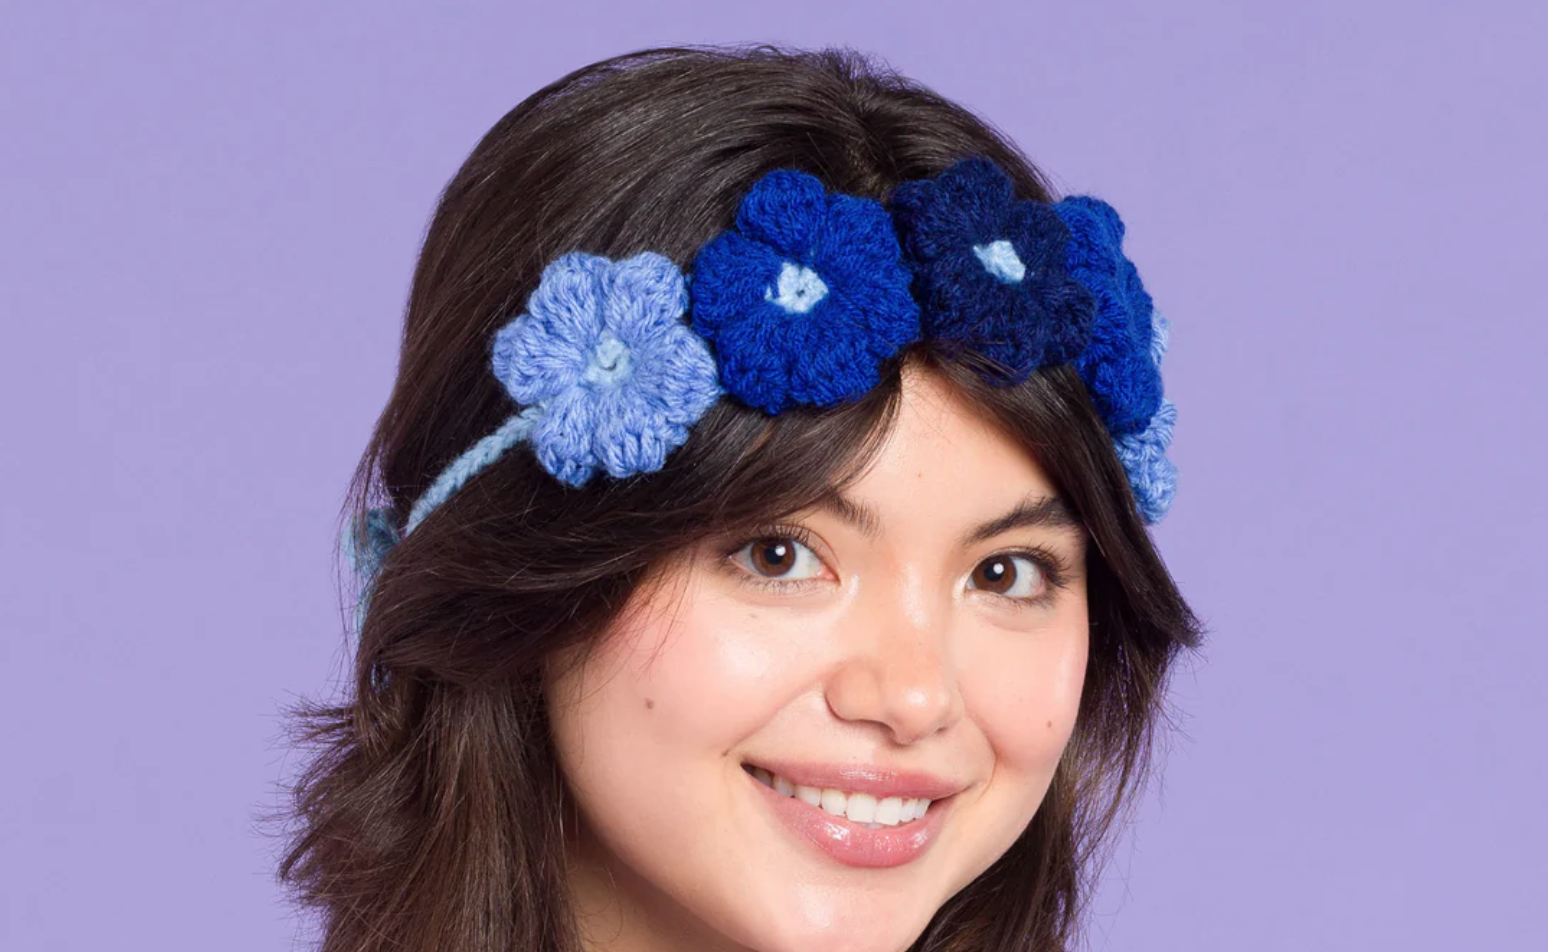
Do you fancy a stylish yet practical accessory to keep your ears warm? Knitting a cozy headband might just be the perfect project for you. Not only are knitted headbands popular for their warmth and charm, but they also make great gifts. Best of all, you can customize them to suit your personal taste, from yarn color to unique design features. This guide will walk you through various YouTube tutorials and provide a step-by-step process for knitting your own headband.

Photo by cottonbro studio
Essential Supplies Needed for Knitting
Before you start, gather all the essential materials. Having the right tools ensures a smoother knitting experience and better end results. Here’s what you’ll need:
Yarn Selection
Choosing the right yarn is crucial for knitting a cozy headband. Many experienced knitters recommend Lion Brand Yarn’s Wool-Ease Thick & Quick, known for its warmth and texture. A wool or wool-blend yarn offers excellent insulation, perfect for chilly weather. Opt for chunky yarn if you’re aiming for extra warmth and a quick knit.
Needles and Tools
For most headbands, 9 mm needles work well with thicker yarn types. You might also need a cable needle if you’re adding a twist design, along with scissors and a tape measure. These basic tools are crucial in shaping and completing your knit.
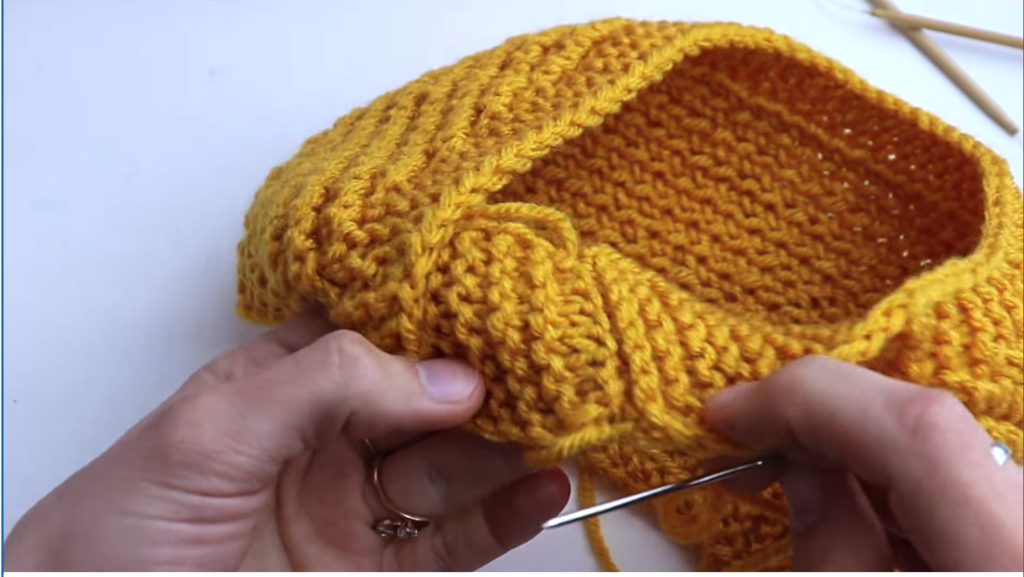
Step-by-Step Guide to Knitting a Cozy Headband
With supplies in hand, you’re ready to start knitting. Here’s a simple guide to follow:
Casting On Stitches
Casting on is the foundational step in any knitting project. For beginners, the long-tail cast-on method is a robust choice. It’s featured in various tutorials, giving your piece a neat and stretchable start.
Knitting Techniques
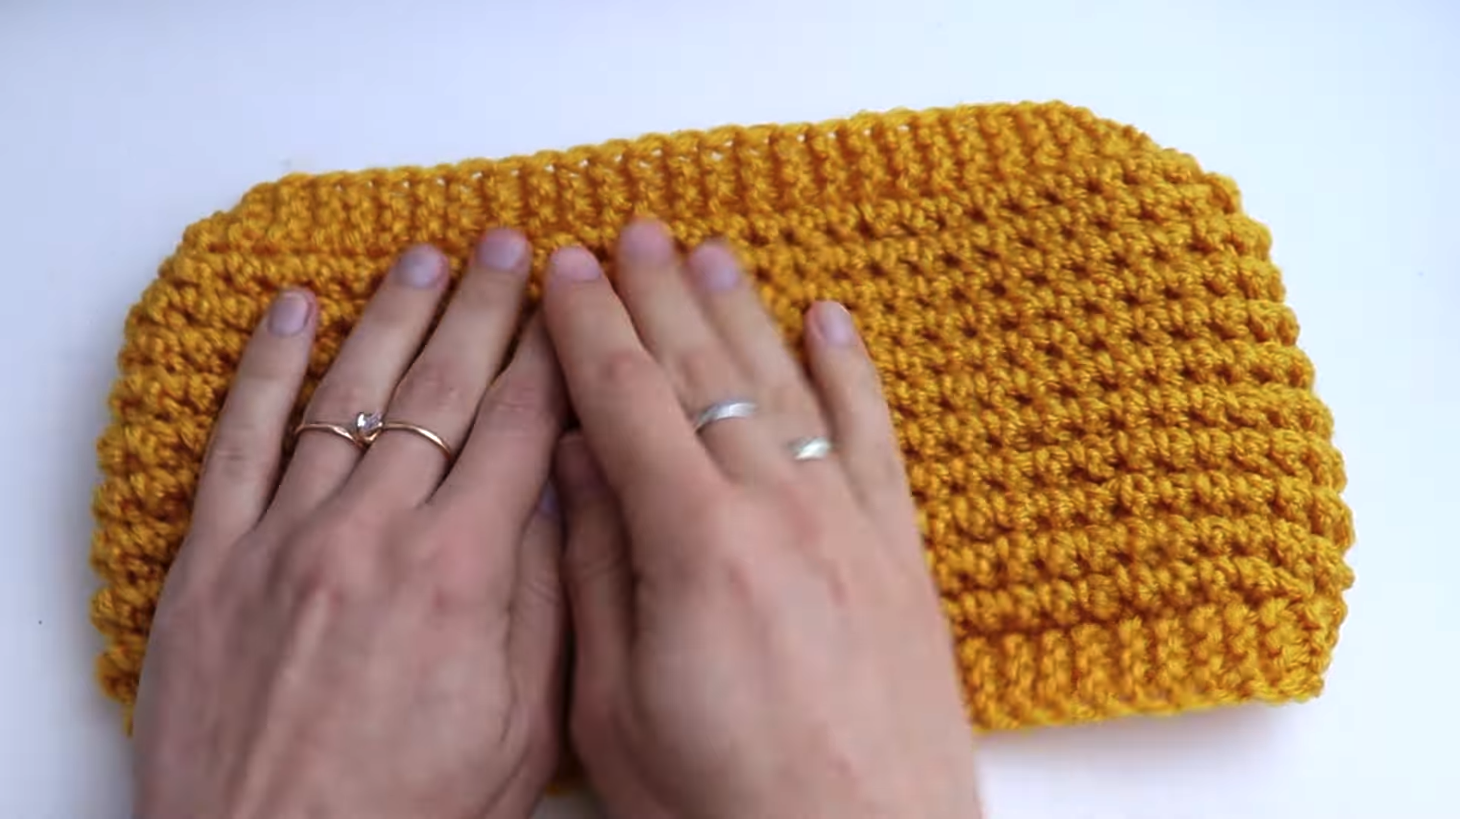
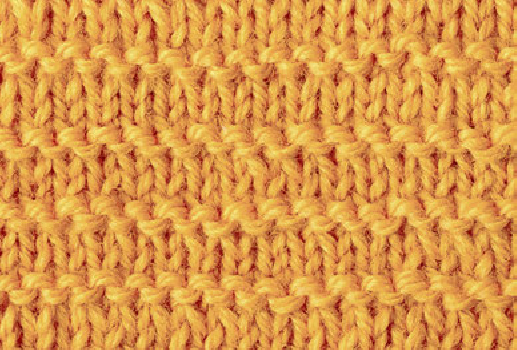
Different stitches can enhance the texture of your headband. The seed stitch, for instance, is excellent for creating a rich texture that looks more complicated than it is. Another popular technique is the twisted stitch, adding a stylish twist to your band.
Shaping the Headband
When knitting the headband, it’s important to shape it comfortably to fit your head. Regularly measuring your work ensures it’s the right length. Adding a twist, like those shown in the TWISTED HEADBAND Knitting Tutorial, can bring an appealing dynamic to your design.
Popular YouTube Tutorials for Reference
Watching experts knit can vastly improve your technique. Here are some YouTube tutorials that offer unique approaches:
Beginner Seed Stitch Twist Headband
This tutorial provides a free pattern ideal for novices. The step-by-step guide helps you confidently navigate through the seed stitch process, emphasizing ease and accessibility.
Twisted Knit Headband for Beginners
Another excellent resource is the How to knit a headband with a twist tutorial. It focuses on creating a refined twist, perfect for beginners seeking a challenge without overwhelming complexity.
Final Touches and Customization Options
Personalizing your headband makes it unique and meaningful. Here are some finishing tips:
Adding Finishing Touches
After knitting, bind off your stitches carefully to secure your work. Ensure all yarn ends are woven in neatly to prevent unraveling. This step enhances the headband’s durability and finish.
Embellishments and Personalization
Consider embellishing your headband with buttons, beads, or even embroidery. These elements add a personalized flair, making your creation uniquely yours. Explore different ideas and infuse your headband with your personal style.
Conclusion
Knitting a cozy headband not only brings warmth and style but also provides the satisfaction of a handmade project. With the variety of techniques and tutorials available, anyone can create a headband that’s both beautiful and functional. Whether you’re knitting for yourself or crafting gifts for friends, embrace the joy and creativity of knitting. Share your accomplishments and inspire others to try their hand at this rewarding craft.

