learn to knit socks for beginners 101 – Easy Method
learn to knit socks for beginners – the easiest way
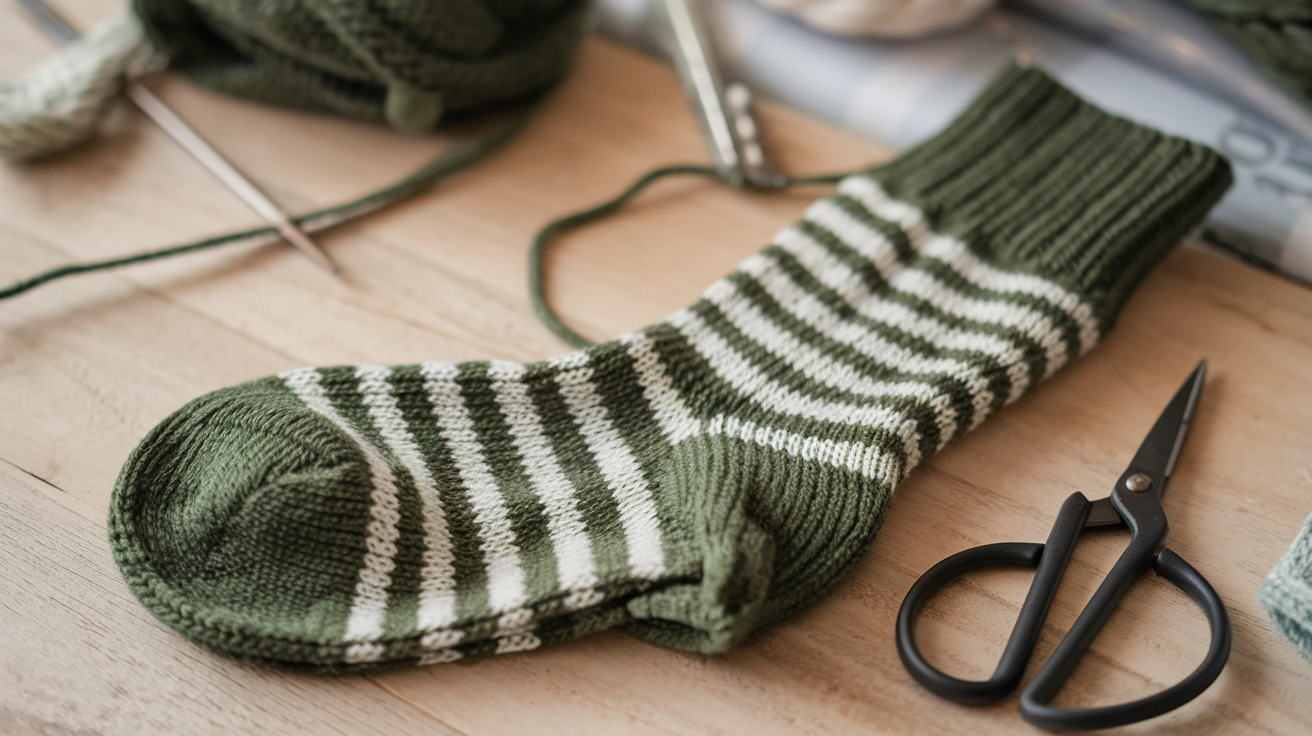
Knitting your own socks brings a unique satisfaction – imagine slipping your feet into cozy, perfectly fitted socks you’ve created with your own hands. You might think sock knitting is complex, but it’s an accessible craft that any beginner can master with the right guidance.
Ready to start your sock knitting journey? You’ll discover that creating these essential wardrobe items is both rewarding and practical. Each stitch builds your confidence, and watching your sock take shape provides a sense of accomplishment that store-bought pairs simply can’t match.
Many new knitters shy away from socks, believing they’re too challenging. The truth? You can create beautiful, wearable socks using basic knitting techniques. We’ll walk you through the simplest method to knit your first pair, breaking down each step into manageable parts.
Get your needles ready – you’re about to join countless knitters who’ve discovered the joy of creating their own custom-fit, handmade socks.
Understanding Sock Anatomy
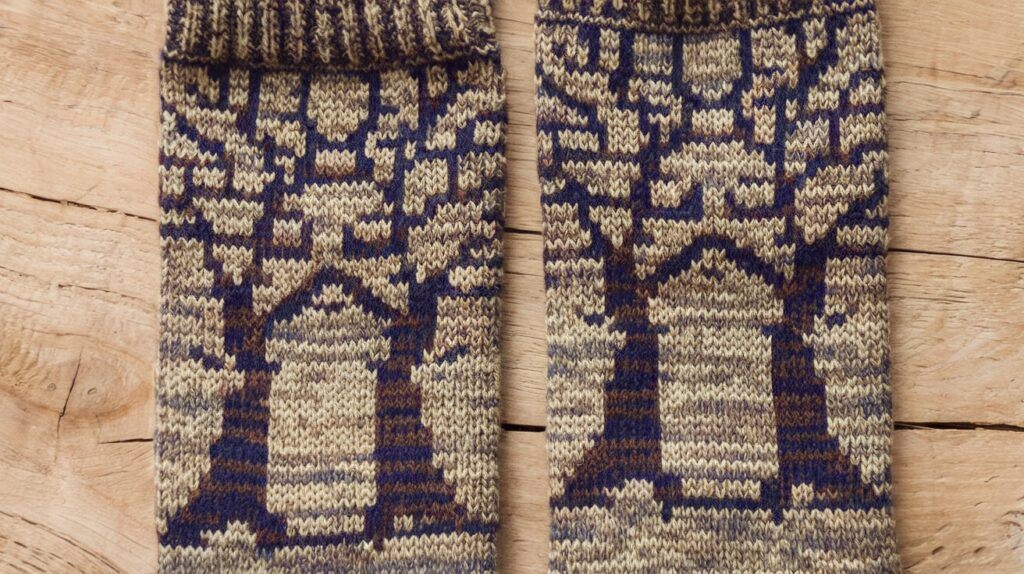
A well-fitting sock consists of six essential components that work together to create comfort and durability. Let’s break down each part:
- Cuff: The ribbed top section that grips your leg and prevents the sock from sliding down. A proper cuff maintains elasticity while providing gentle compression.
- Leg: The straight portion that extends from the cuff to your ankle, typically worked in stockinette stitch for a smooth, comfortable fit.
- Heel Flap: A reinforced rectangular section that protects your heel from wear. This crucial component absorbs impact and provides cushioning where you need it most.
- Gusset: The triangular-shaped area connecting the heel to the foot. It creates the perfect angle for your sock to hug your ankle and prevent bunching.
- Foot: The main body of the sock that covers the top and bottom of your foot. This section needs to be neither too tight nor too loose.
- Toe: The shaped end that encases your toes. A properly constructed toe features decreases that create a smooth, seamless finish without uncomfortable ridges.
Understanding these components helps you create socks that fit perfectly and last longer. Each section requires specific techniques and attention to detail during the knitting process.
Essential Materials for Sock Knitting
Your sock knitting journey starts with selecting the right materials. Here’s what you’ll need:
Yarn Selection
- Sock-specific yarn: Look for blends containing 75-80% wool with 20-25% nylon
- Fingering weight (4-ply): Creates durable, comfortable socks that fit inside shoes
- Yardage: 350-400 yards for an average adult pair
Knitting Needles
- Size: 2.25mm – 2.75mm (US 1-2) for standard sock yarn
- Double-Pointed Needles (DPNs): Set of 4-5 needles, ideal for small circumference knitting
- Circular Needles: 32-inch length for magic loop method, perfect for knitting two socks at once
Additional Tools
- Stitch markers to track pattern sections
- Tapestry needle for weaving ends
- Measuring tape for accurate sizing
DPNs work best for traditional sock knitting, distributing stitches across multiple needles. Circular needles suit knitters who prefer working with two long needles using the magic loop technique. Both methods create identical results – your choice depends on personal comfort.
You may like : Discover Bag patterns
Basic Sock Knitting Techniques
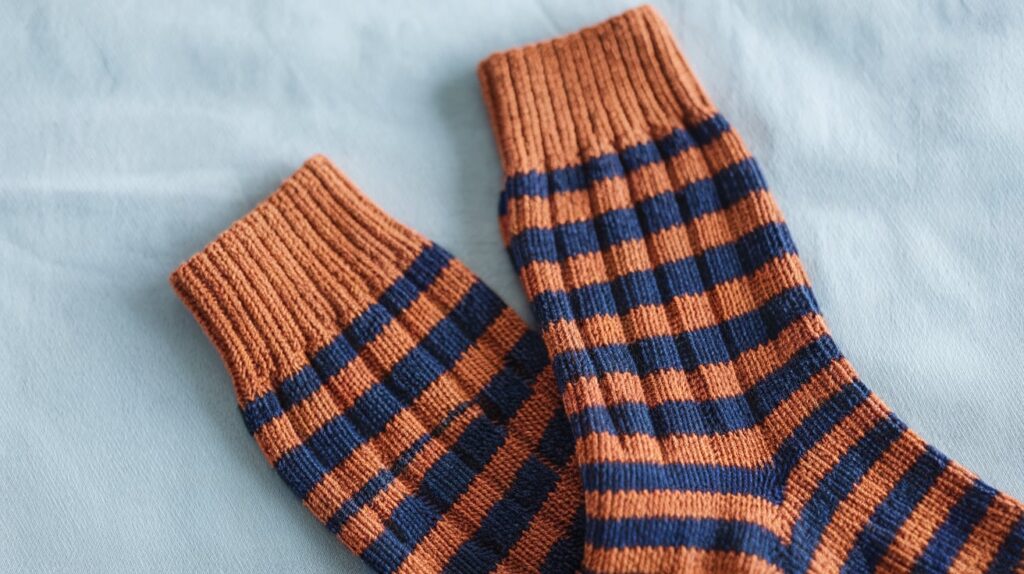
Starting with a simple tube sock pattern helps you master essential techniques without feeling overwhelmed. The basic sock construction involves two primary stitches: ribbing for the cuff and stockinette for the main body.
Creating the Ribbing Cuff:
- Cast on your stitches using a long-tail cast-on method or refer to this guide on how many stitches to cast on for socks
- Work in K2, P2 ribbing pattern for 15-20 rounds
- This creates an elastic cuff that holds your sock in place
Transitioning to Stockinette Stitch:
- Switch to knitting every stitch for each round
- Continue this pattern until reaching your desired leg length
- Keep your tension consistent for an even fabric
The tube sock design eliminates complex heel shaping, making it ideal for beginners. You’ll create a rounded toe through basic decrease stitches at the end.
Watch this beginner-friendly tube sock tutorial
Pro Tip: Practice the stockinette stitch on a small swatch before starting your sock. This helps you maintain even tension throughout your project.
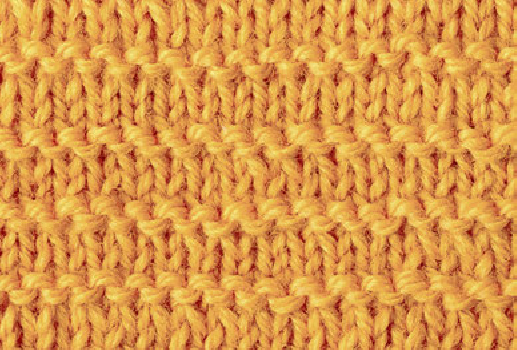
The stockinette stitch creates a smooth, professional-looking fabric that forms the main body of your sock. Your stitches should look like small V’s on the right side and bumps on the wrong side.
Step-by-Step Guide to Knitting Your First Pair of Socks
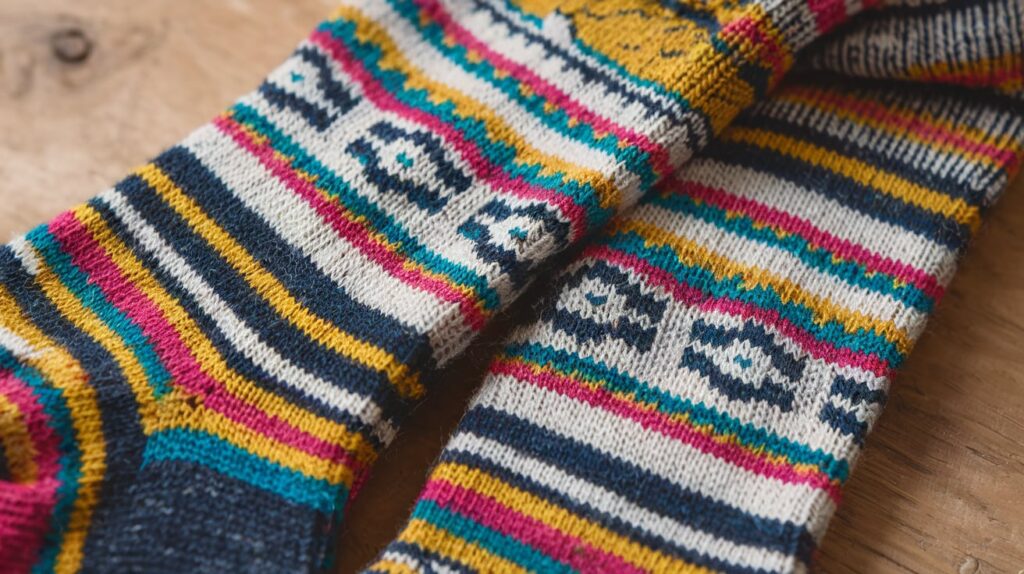
Let’s break down the sock-knitting process into clear, manageable steps. This guide focuses on creating a basic sock using the traditional top-down method.
1. Casting On and Knitting the Cuff
- Cast on 60 stitches using double-pointed needles (DPNs)
- Distribute stitches evenly across three needles (20 stitches each)
- Join work in the round, placing a stitch marker to mark beginning
- Create ribbing pattern: K2, P2 repeat around for 15-20 rows
- Check ribbing fits snugly around your leg
2. Creating the Heel Flap
- Transfer 30 stitches to one needle for heel flap
- Place remaining 30 stitches on hold
- Work heel flap in rows:
- Row 1 (RS): Slip 1, K1 repeat to end
- Row 2 (WS): Slip 1, purl to end
- Continue for 30 rows or desired length
3. Picking Up Stitches for Gusset
- Turn heel using short-row technique
- Pick up 15 stitches along each side of heel flap
- Resume working in rounds
- Decrease gusset stitches:
- Round 1: Knit to last 3 stitches, K2tog, K1
- Round 2: Knit all stitches
- Continue until original stitch count restored
4. Knitting Foot and Shaping Toe
- Work in stockinette stitch until piece measures 2 inches less than desired foot length
- Begin toe decreases:
- K6, K2tog around
- Alternate decrease rounds with plain knit rounds
- Continue decreases until 8 stitches remain
- Close toe using Kitchener stitch
Pro Tip: Measure your foot length from heel to toe and subtract 1 inch for negative ease – this ensures your sock stays snug.
Choosing Yarn and Needles Wisely
Selecting the right yarn makes a significant difference in your sock knitting success. Here’s what you need to know about choosing the perfect materials:
Yarn Selection Criteria:
- Fiber Content: Look for yarns with 20-25% nylon content mixed with wool or other natural fibers
- Weight: Sock/fingering weight (4-ply) yarn works best for most patterns
- Durability: Choose tightly plied yarns that resist pilling and wear
Recommended Needle Sizes:
- 2.25mm – 2.75mm (US size 1-2) for standard sock yarn
- Adjust needle size to achieve 8 stitches per inch gauge
Best Yarn Brands for Beginners:
- Opal Sock Yarn
- Regia 4-Ply
- Lang Jawoll
Pro Tips:
- Test yarn elasticity by stretching a strand – it should bounce back to shape
- Dark colors hide potential mistakes better than light ones
- Purchase enough yarn for both socks (typically 100g/400m total)
- Consider self-striping yarns to maintain interest while knitting
Tips for Perfect Fitting Socks
Creating well-fitting socks requires attention to detail during your knitting process. Here’s how you can achieve the perfect fit:
1. Try on as you knit
Slip your work onto waste yarn at different stages to check the fit. This helps you catch any sizing issues early.
2. Measure key points
- Ankle circumference
- Foot length from heel to toe
- Leg length from ankle to desired height
- Ball of foot circumference
3. Adjust stitch count
Your socks should have negative ease (slightly smaller than your actual measurements) to ensure they stay up and don’t slouch:
- Reduce stitches by 10% of your foot circumference
- Add extra stitches if you have high insteps
- Decrease stitches for narrow heels
4. Common fit solutions
- Tight cuff? Use larger needle size for ribbing
- Baggy ankle? Decrease stitches after heel
- Long toe? Start decreases earlier
- Loose heel? Pick up extra stitches along flap
You’ll find free sock knitting patterns often include sizing adjustments. These modifications help you customize the fit as you learn to knit socks for your unique foot shape.
Learning Resources and Community Support
You’ll find a wealth of support and guidance in the knitting community. The Winwick Mum Sockalong stands out as an exceptional resource for beginners. This free online tutorial series breaks down sock knitting into manageable steps, with clear photos and detailed instructions.
Here’s where you can find help with your sock knitting journey:
1. Online Communities
- Ravelry groups dedicated to sock knitting
- Facebook knitting communities
- Instagram hashtags like #sockknitting and #sockknittersofinstagram
2. Video Tutorials
- YouTube channels specializing in sock knitting techniques
- Craftsy classes for visual learners
- Live streaming sessions from experienced knitters
3. Local Support
- Yarn shop workshops
- Knitting circles and meetups
- One-on-one lessons with experienced knitters
The knitting community embraces newcomers with open arms. You’ll discover experienced knitters ready to share their knowledge, troubleshoot problems, and celebrate your successes. Many local yarn shops host regular sock knitting classes, creating spaces for hands-on learning and immediate feedback.
Practice Makes Perfect in Sock Knitting!
Knitting socks takes dedication and persistence. Your first pair might have a few imperfections – uneven stitches, loose gussets, or slightly mismatched sizes. These “learning opportunities” help you develop your skills and understanding of sock construction.
Key practices for improvement:
- Start with simple patterns
- Keep detailed notes of modifications
- Take photos of your progress
- Embrace mistakes as learning experiences
Each pair you create builds muscle memory and confidence. Many experienced sock knitters treasure their first attempts, displaying the remarkable progress they’ve made. Remember – every sock knitting expert started as a beginner, learning one stitch at a time.
Ready to cast on your first sock? Grab your needles and yarn – your sock knitting journey starts now!
FAQs (Frequently Asked Questions)
What are the key components of a sock?
The key components of a sock include the cuff, leg, heel flap, gusset, foot, and toe. Each section plays an important role in the overall fit and function of the sock.
What materials do I need to start knitting socks?
To start knitting socks, you’ll need suitable yarn types (preferably nylon-containing for durability), knitting needles (either double-pointed or circular), and stitch markers. The choice of yarn and needle type can significantly affect your knitting experience.
Can you recommend a simple pattern for beginners?
A great starting point for beginners is a basic tube sock pattern with a rounded toe. This allows you to practice essential techniques such as ribbing for cuffs and transitioning to stockinette stitch.
How do I ensure my socks fit well?
To ensure a good fit, it’s important to try on your socks at various stages of knitting. This allows you to make adjustments as needed for comfort and fit before finishing the project.
Where can I find resources or community support for sock knitting?
Online resources like Winwick Mum Sockalong offer tutorials and community support specifically designed for beginners looking to learn how to knit socks.
How important is practice in learning to knit socks?
Practice is essential in learning to knit socks successfully. The more you practice, the more comfortable you’ll become with the techniques involved in sock knitting.

