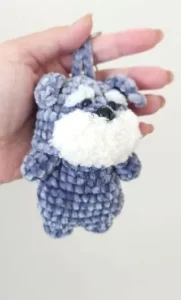
Make This Adorable Dog Leo Keychain!
Dear crochet friends, are you ready to create an adorable little companion? Today, I’m thrilled to share a super cute pattern for an Amigurumi Dog Leo keychain! While amigurumi dogs might be a little rarer than our bunny and bear friends, they are undeniably charming. This little guy features a unique spotted head design with an asymmetrical touch that gives him so much character.
He’s perfect for attaching to your keys, bag, or even gifting to a fellow dog lover. With his large, floppy ears and tiny paws, he’s sure to bring a smile to anyone’s face!

Materials You’ll Need
- Yarn in two colors: Beige and Brown (The original pattern used Tex 333 yarn, 58% cotton and 42% acrylic, for reference)
- Embroidery thread in dark brown (for the snout)
- Crochet hook compatible with your chosen yarn (The original pattern used a 1.8mm hook)
- Tapestry needle (for sewing parts together and weaving in ends)
- Safety eyes: 8mm
- Keychain ring
- Scissors
- Stuffing (polyester fiberfill)
- Blush (optional, for cheeks)
Size & Gauge
When made with a 1.8mm hook and Tex 333 yarn, your finished Dog Leo will be approximately 9cm (about 3.5 inches) tall.
Abbreviations (US Crochet Terms)
- sc: single crochet
- sl st: slip stitch
- inc: increase (2 sc in one stitch)
- dec: decrease (sc 2 stitches together)
- MR: magic ring (also known as magic circle)
- ch: chain
- BLO: back loop only
- hdc: half double crochet
- FLO: front loop only
- st: stitch(es)
- x: repeat
Important Notes Before You Start:
- Work in continuous rounds unless otherwise stated.
- Use a stitch marker to keep track of your first stitch in each round.
- Stuff your amigurumi firmly as you go.
Let’s Get Started!
Legs (Make 2)
Start with brown yarn.
- Round 1: Make 6 sc in a magic ring. (6 st)
- Round 2: (2 sc in next st, 2 hdc in next st) repeat 2 times. (12 st)
Change to beige yarn.
- Round 3: Sc in next 4 st, hdc in next 4 st, sc in next 4 st. (12 st)
- Round 4: Sc in each stitch around. (12 st)
- Round 5: Sc in next 4 st, 2 decreases (dec), sc in next 4 st. (10 st)
- Round 6: Sc in next 4 st, 1 decrease (dec), sc in next 4 st. (9 st)
- Round 7: Sc in next 3 st, (1 increase in front loop only) 3 times, sc in next 3 st. (12 st)
- Rounds 8-9: Sc in each stitch around. (12 st) (2 rows)
- Round 10: Sc in next 6 st, 1 decrease (dec), sc in next 4 st. (11 st)
- Round 11: Sc in next st, 5 decreases (dec). (6 st)
Gather the remaining outer loops and pull tight to close. Fasten off. Leave a long tail on one leg only for sewing.
Arms (Make 2)
Start with brown yarn.
- Round 1: Make 5 sc in a magic ring. (5 st)
- Round 2: Increase (inc) in each stitch around. (10 st)
Change to beige yarn.
- Round 3: Sc in each stitch around. (10 st)
- Round 4: Sc in next 3 st, 2 decreases (dec), sc in next 3 st. (8 st)
- Round 5: Sc in next 3 st, 1 decrease (dec), sc in next 3 st. (7 st)
- Rounds 6-10: Sc in each stitch around. (7 st) (5 rows)
Gather the remaining outer loops and pull tight to close. Fasten off. Leave a long tail on one arm only for sewing.
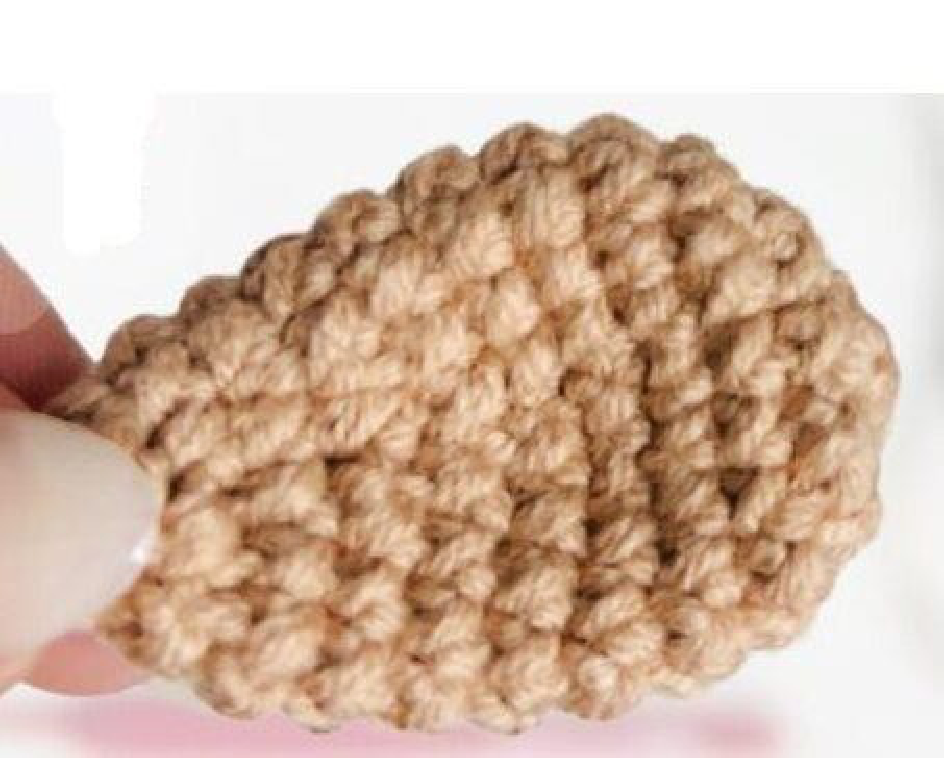
Ears (Make 2)
Using brown yarn.
- Round 1: Make 6 sc in a magic ring. (6 st)
- Round 2: Increase (inc) in each stitch around. (12 st)
- Round 3: (Sc in next st, 1 increase) repeat 6 times. (18 st)
- Rounds 4-5: Sc in each stitch around. (18 st) (2 rows)
- Round 6: 1 decrease (dec), sc in next 16 st. (17 st)
- Round 7: 1 decrease (dec), sc in next 15 st. (16 st)
- Round 8: 1 decrease (dec), sc in next 12 st, 1 decrease (dec). (14 st)
- Round 9: 1 decrease (dec), sc in next 10 st, 1 decrease (dec). (12 st)
- Round 10: Sc in each stitch around. (12 st)
- Round 11: Decrease (dec) in each stitch around. (6 st)
Gather the remaining outer loops and pull tight to close. Fasten off. Leave a long tail on one ear only for sewing.
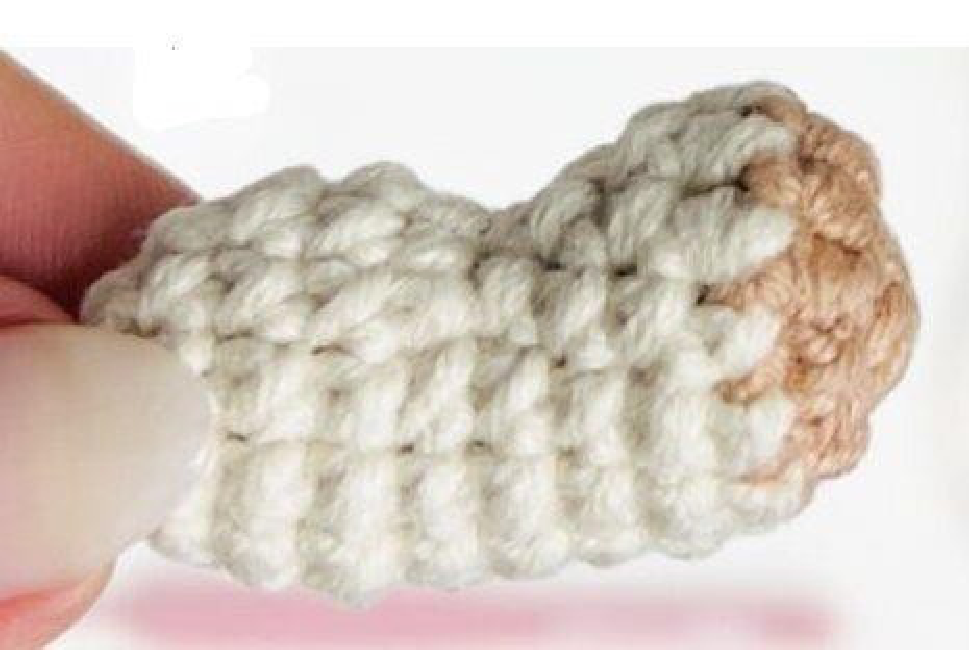
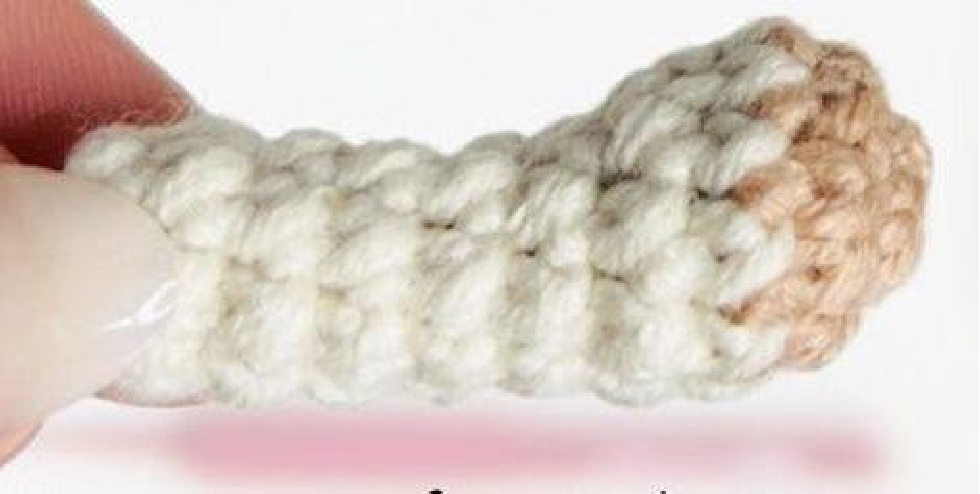
Body and Head (One Piece)
Start with beige yarn.
- Round 1: Make 6 sc in a magic ring. (6 st)
- Round 2: Increase (inc) in each stitch around. (12 st)
- Round 3: (Sc in next st, 1 increase) repeat 6 times. (18 st)
- Round 4: Sc in next st, 1 increase, (sc in next 2 st, 1 increase) repeat 5 times, sc in next st. (24 st)
- Round 5: (Sc in next 3 st, 1 increase) repeat 6 times. (30 st)
- Round 6: Sc in next 2 st, 1 increase, (sc in next 4 st, 1 increase) repeat 5 times, sc in next 2 st. (36 st)
- Rounds 7-8: Sc in each stitch around. (36 st) (2 rows)
- Round 9: Sc in next 2 st, 1 decrease (dec), (sc in next 4 st, 1 decrease) repeat 5 times, sc in next 2 st. (30 st)
- Round 10: (Sc in next 3 st, 1 decrease) repeat 6 times. (24 st)
- Round 11: Sc in each stitch around. (24 st)
- Round 12: Sc in next st, 1 decrease (dec), (sc in next 2 st, 1 decrease) repeat 5 times, sc in next st. (18 st)
- Round 13: Sc in each stitch around. (18 st)
- Round 14: (Sc in next st, 1 decrease) repeat 6 times. (12 st)
- Round 15: (Working in front loop only – FLO) (Sc in next st, 1 increase) repeat 6 times. (18 st)
- Round 16: Sc in next st, 1 increase, (sc in next 2 st, 1 increase) repeat 5 times, sc in next st. (24 st)
- Round 17: (Sc in next 3 st, 1 increase) repeat 6 times. (30 st)
- Round 18: Sc in next 2 st, 1 increase, (sc in next 4 st, 1 increase) repeat 5 times, sc in next 2 st. (36 st)
- Round 19: (Sc in next 5 st, 1 increase) repeat 6 times. (42 st)
Start stuffing the body firmly.
- Round 20: Sc in next 24 st (beige), change to brown yarn, sc in next 6 st (brown), change to beige yarn, sc in next 12 st (beige). (42 st)
- Round 21: Sc in next 23 st (beige), change to brown yarn, sc in next 8 st (brown), change to beige yarn, sc in next 11 st (beige). (42 st)
- Round 22: (Sc in next 5 st, 1 decrease) repeat 3 times (beige), sc in next st (beige), change to brown yarn, sc in next 4 st (brown), 1 decrease (brown), sc in next 4 st (brown), change to beige yarn, sc in next st (beige), 1 decrease (beige), sc in next 5 st (beige), 1 decrease (beige). (36 st)
- Round 23: Sc in next 9 st (beige), 1 decrease (beige), sc in next st (beige), chain 1, skip 1 stitch (beige), 1 decrease (beige), sc in next st (beige), 1 decrease (beige), change to brown yarn, 1 decrease (brown), sc in next st (brown), 1 decrease (brown), chain 1, skip 1 stitch (brown), sc in next st (brown), 1 decrease (brown), sc in next 2 st (brown), change to beige yarn, sc in next 7 st (beige). (30 st)
- Rounds 24-26: Sc in next 15 st (beige), change to brown yarn, sc in next 8 st (brown), change to beige yarn, sc in next 7 st (beige). (30 st) (3 rows)
Place your 8mm safety eyes now! Insert them into the chain spaces created in Round 23. This is the perfect spot for Leo’s little face!
- Round 27: (Sc in next 3 st, 1 decrease) repeat 3 times (beige), sc in next st (beige), change to brown yarn, sc in next 2 st (brown), 1 decrease (brown), sc in next 2 st (brown), change to beige yarn, sc in next st (beige), 1 decrease (beige), sc in next 3 st (beige), 1 decrease (beige). (24 st)
- Round 28: Sc in next 14 st (beige), change to brown yarn, sc in next 3 st (brown), change to beige yarn, sc in next 7 st (beige). (24 st)
- Round 29: Sc in next st, 1 decrease (dec), (sc in next 2 st, 1 decrease) repeat 5 times, sc in next st. (18 st)
- Round 30: (Sc in next st, 1 decrease) repeat 6 times. (12 st)
- Round 31: Make 4 decreases (dec). (8 st)
Gather the remaining outer loops and pull tight to close. Fasten off, leaving a long tail for attaching the keychain ring.
Assembly Instructions
Now comes the fun part – bringing your Dog Leo to life!
- Keychain Ring: Use the long yarn tail left from the head/body to attach your keychain ring to the back of Dog Leo’s head.
- Ears: Sew the ears between rows 4 and 5 of the head, counting from the top/end of the head. Position them so they flop nicely.
- Legs: Sew the legs to the bottom of the body, between rows 5 and 6 of the body.
- Arms: Attach the arms to the sides of the body, between rows 11 and 12.
- Snout Embroidery: With dark brown embroidery thread, embroider the snout. Make a straight stitch 3 stitches wide, positioned between rows 21 and 22 of the body (this should be one row below the safety eyes). Then, make a vertical stitch extending about 1.5 rows downwards from the center of the straight stitch to form the mouth.
- Cheeks (Optional): Gently apply a little blush to his cheeks for an extra touch of cuteness!
And there you have it! Your very own crocheted Amigurumi Dog Leo Keychain is complete. We hope you enjoyed this pattern and love your new little companion. Feel free to share your creations with us online!