Adorable Crochet Mini Octopus
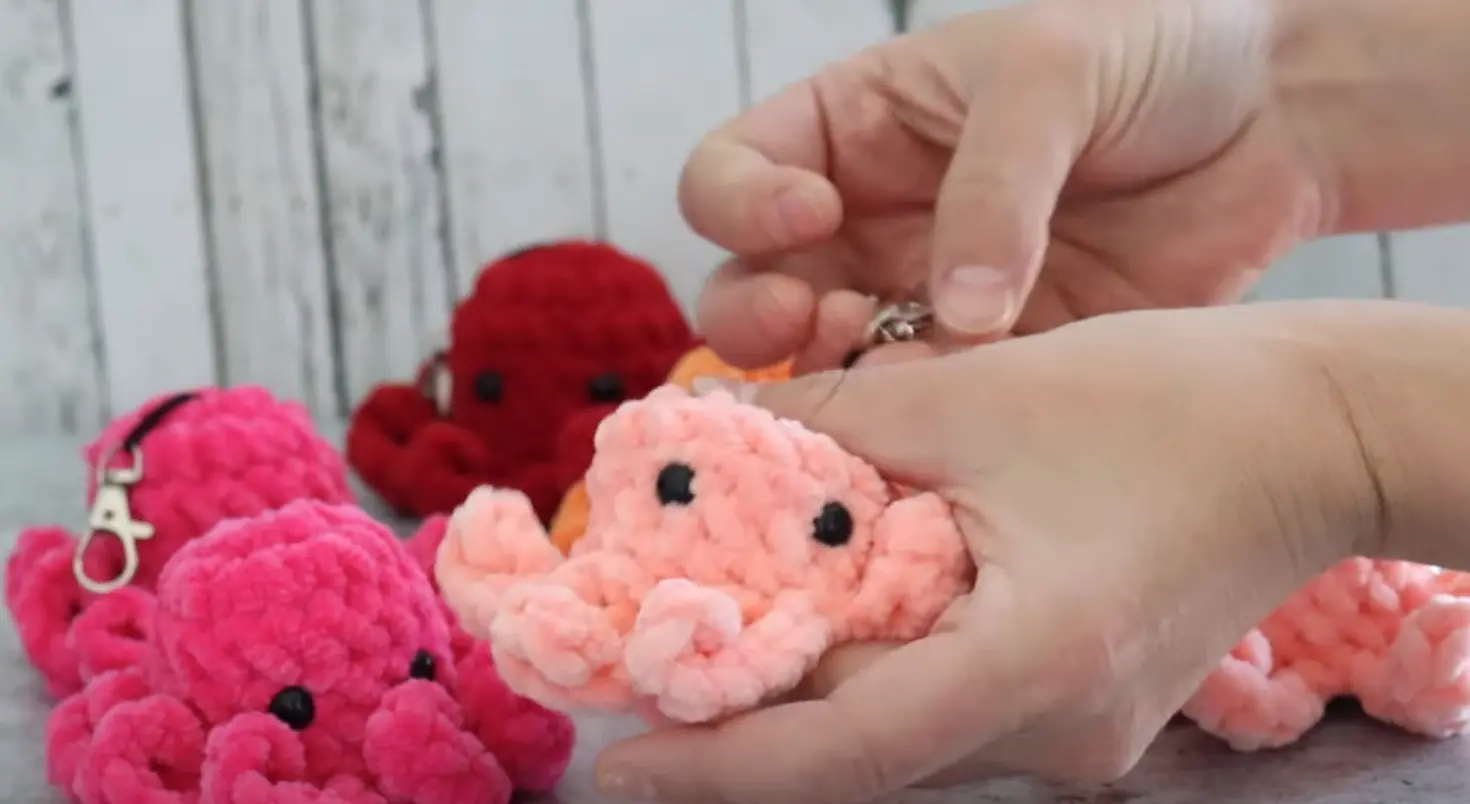
Are you ready to dive into a world of cute and cuddly crochet? This step-by-step guide will show you how to create a super cute, no-sew mini octopus plushie that’s perfect for beginners and pros alike. Whether you’re adding to your amigurumi collection or making a delightful gift, this project is sure to bring smiles all around.
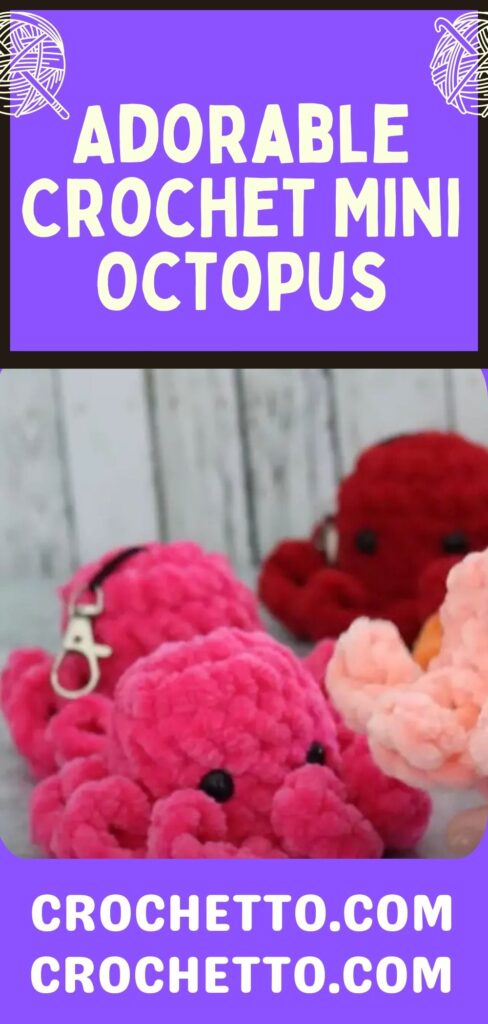
Materials You’ll Need
For this project, we’ll use plush yarn and a few simple tools. Here’s the complete list:
- Yarn: Size 6 plush yarn (e.g., Sweet Snuggles Light in your favorite colorway).
- Hook: J 6.5 mm crochet hook.
- Extras: Stitch markers, stuffing, plastic safety eyes, and a bit of hot glue (optional for securing eyes).
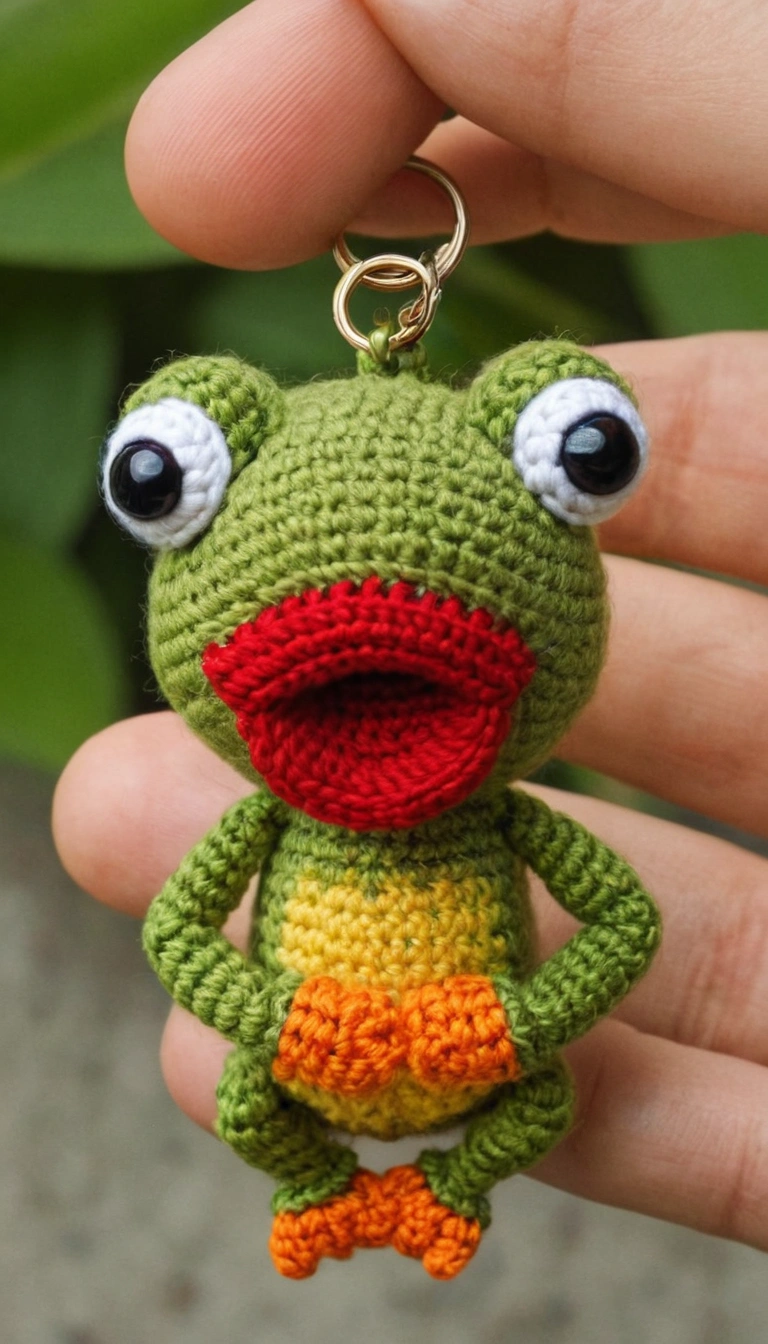
- Optional: A string and clip if you want to turn your octopus into a keychain.
Let’s Crochet Your Mini Octopus!
Step 1: Make the Magic Ring
- Begin with a magic ring (also called an adjustable loop).
- Chain 1 to secure it, then work 8 single crochets (sc) into the ring.
- Place a stitch marker into the first stitch to track your rounds.
Pro Tip: Gently pull the ring closed once all 8 sc are complete to avoid tangling.
Step 2: Building the Octopus Body
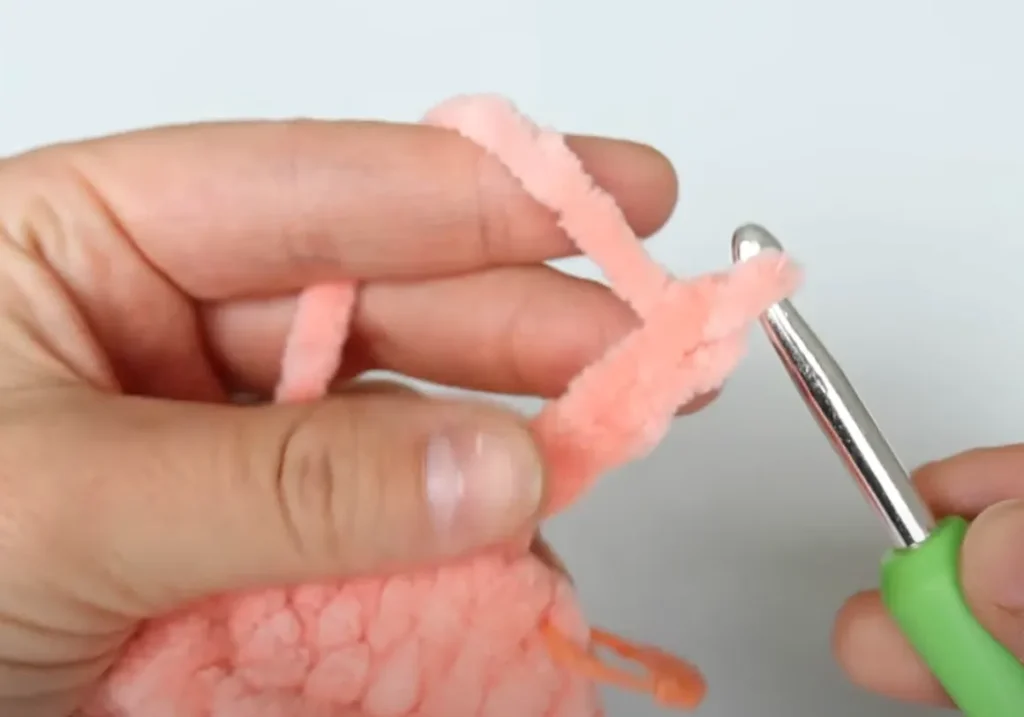
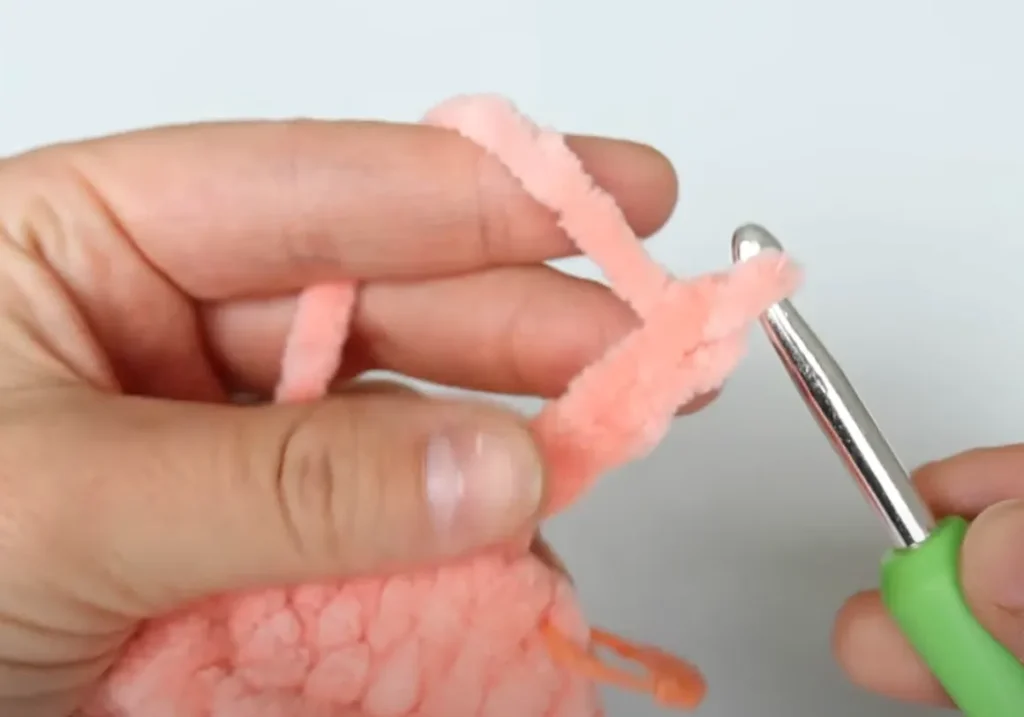
- Round 2: Work 2 single crochets into each stitch around (increase in each stitch). You’ll end up with 16 stitches.
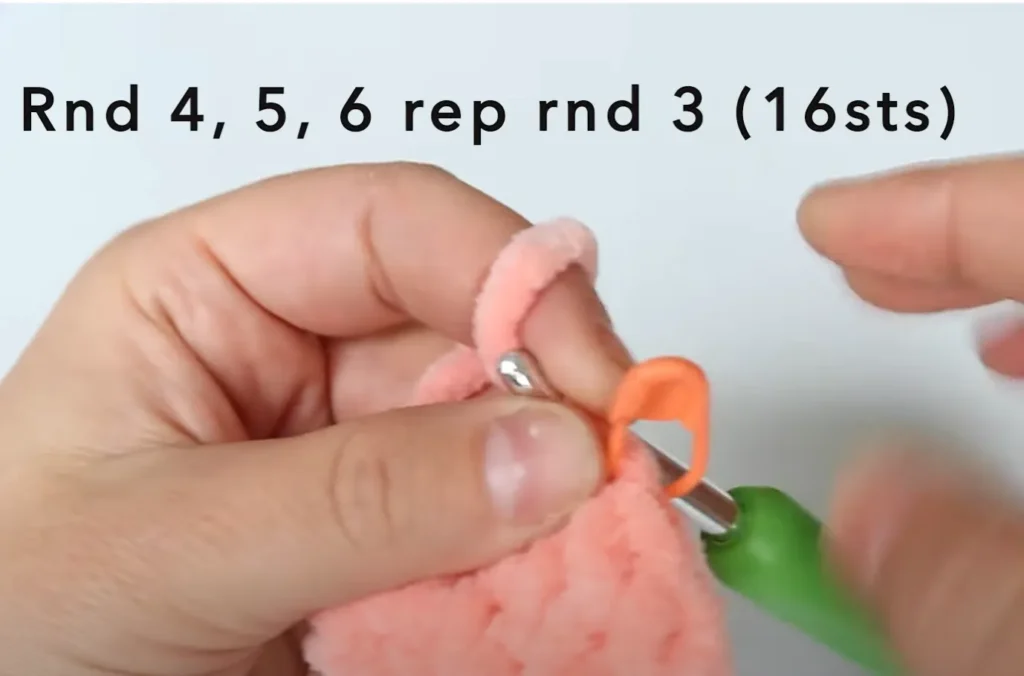
- Rounds 3-6: Single crochet into each stitch (16 sc per round). Remember to move your stitch marker at the end of each round.
- After completing Round 6, your work should look like a small, rounded bowl.
Step 3: Closing the Body
- Move the stitch marker to the front loop of the last stitch from Round 6.
- Use back loop-only decreases to reduce the stitch count, leaving you with 8 stitches.
- Cut the yarn and pull the tail through the last loop to secure the opening.
Step 4: Add the Tentacles
This step transforms your octopus into an adorable sea creature!
- Attach yarn to the front loops of the remaining stitches.
- For each tentacle:
- Chain 5.
- Work 2 single crochets into the second chain from the hook.
- Repeat the increase in the next 2 chains.
- Slip stitch into the last chain, and give the tentacle a gentle twist for shape.
- Slip stitch into the next two front loops on the body and repeat the tentacle process.
You should end up with 8 cute little tentacles! Finish by slip stitching into the starting loop and securing the yarn.
Step 5: Add the Face
No octopus is complete without a cheerful face!
- Place the safety eyes between Round 4, about 3 stitches apart.
- Secure the eyes with hot glue (optional for extra hold) and plastic backs.
- Use black yarn or embroidery floss to create a sweet little smile.
Step 6: Stuff and Shape
Gently stuff your octopus to make it plush and smooth. Adjust the stuffing to your liking, ensuring the body stays round and even.
Optional: Add a String and Clip
Want to make your octopus portable? Attach a string and clip to transform it into a keychain or bag charm.
Tips for Personalization
- Experiment with different yarn colors to create a rainbow of mini octopus friends!
- Add embellishments like bows, beads, or embroidered cheeks for extra personality.
- Use glow-in-the-dark yarn for a fun twist!
Show Off Your Octopus
Congratulations! You’ve completed your no-sew crochet mini octopus. Don’t forget to share your adorable creation with friends or on social media. Tag your projects so we can see your work!

