Adorable Crochet Bunny (Plus a Sweet Hat)
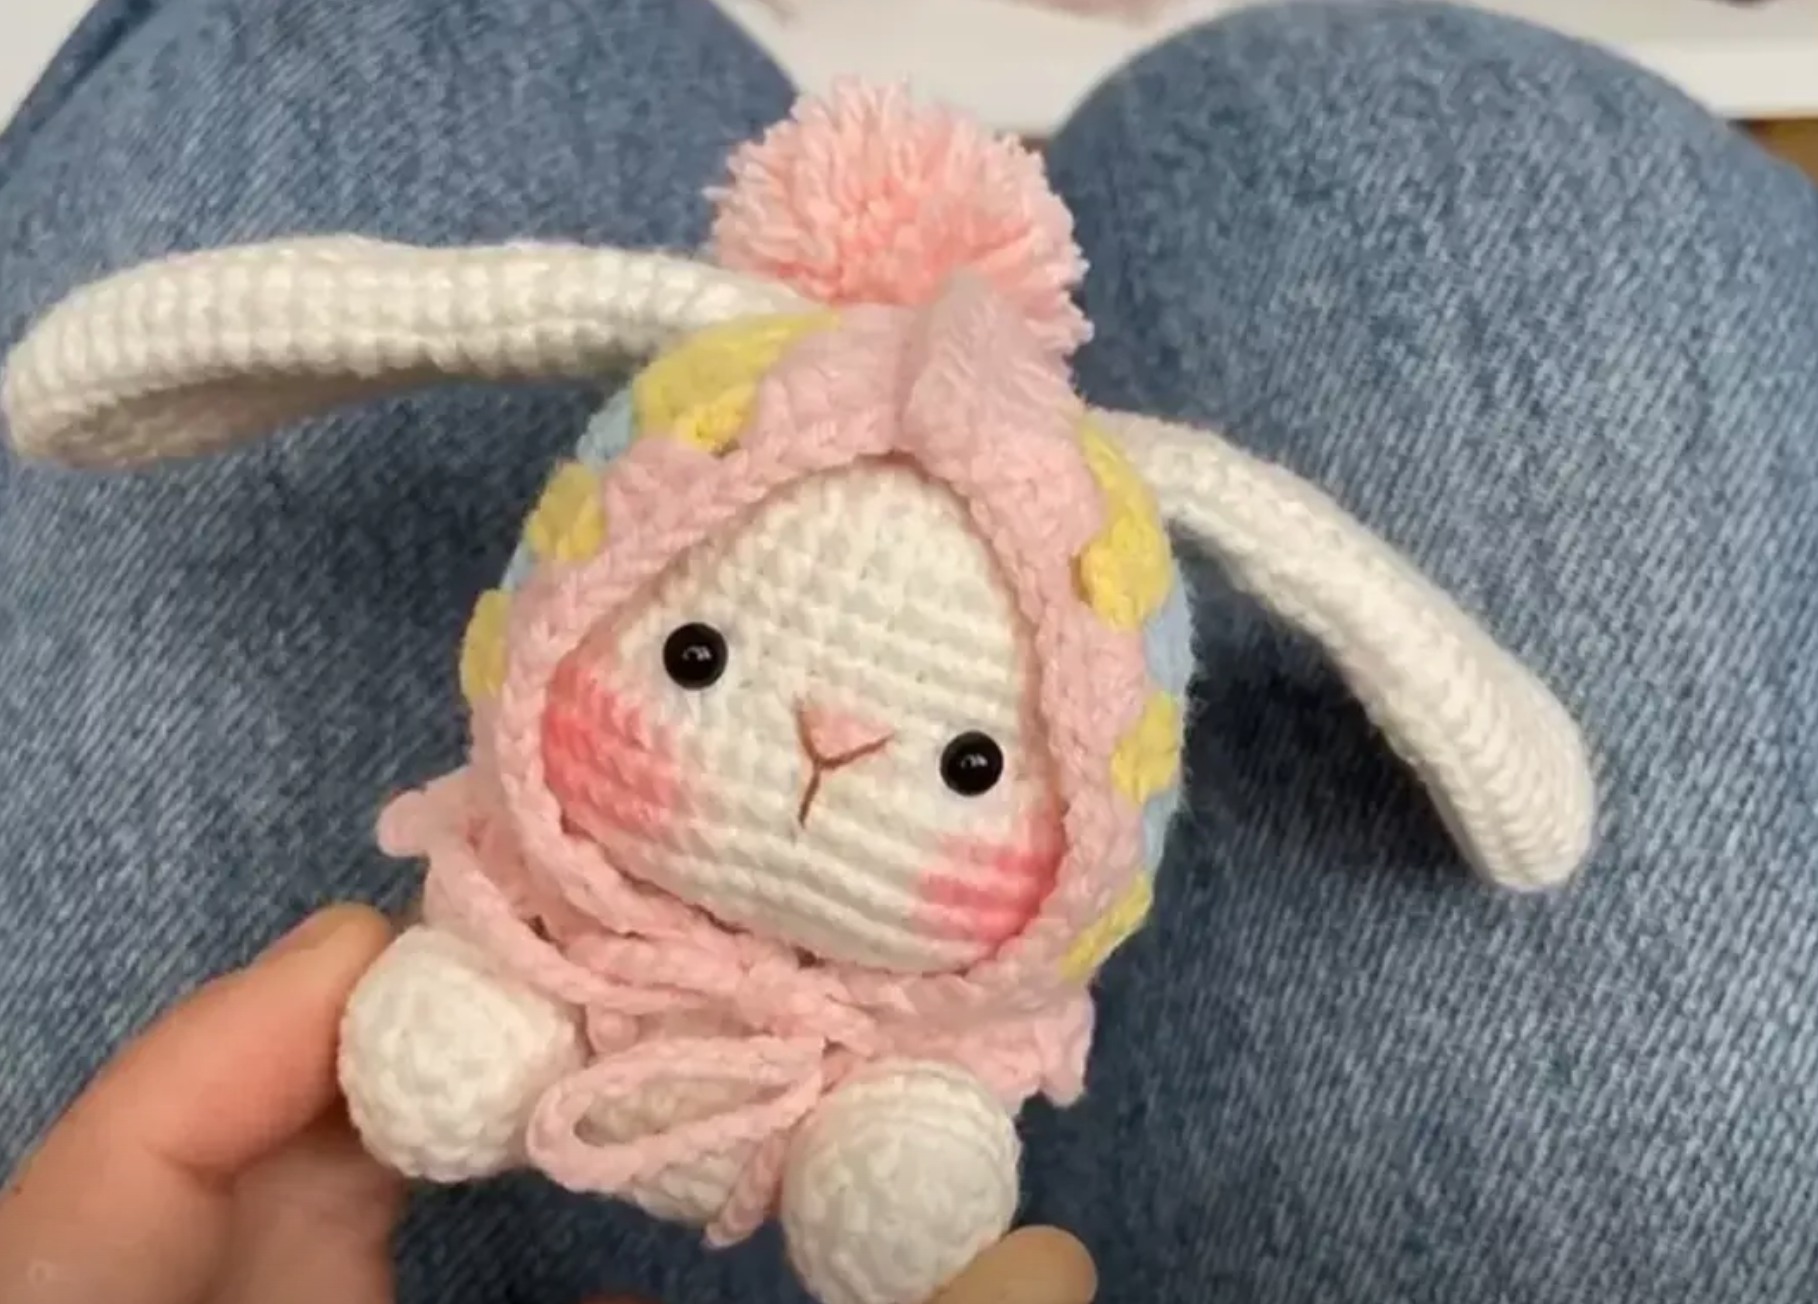
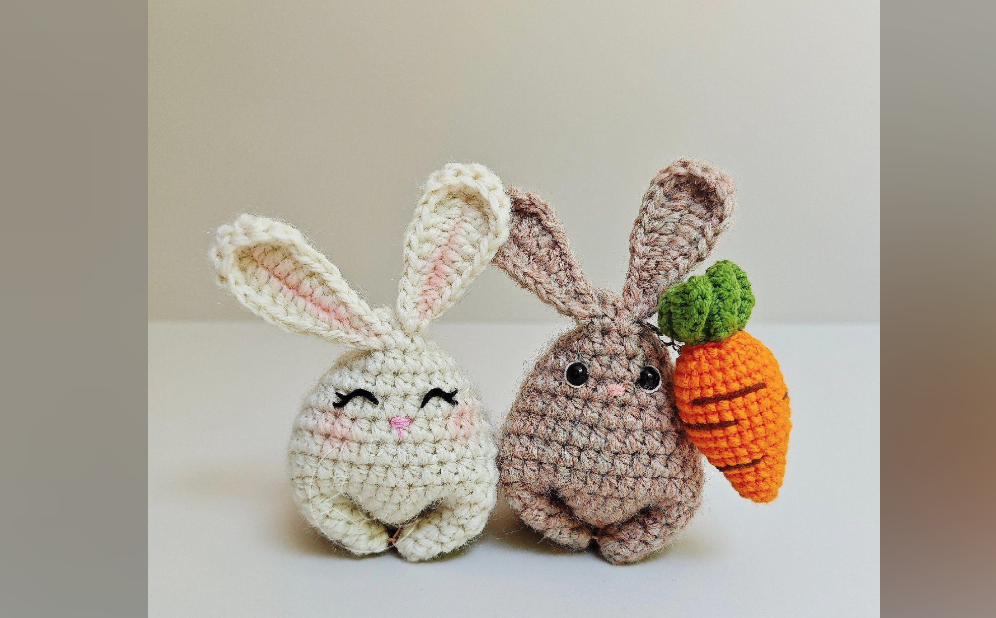
Hop Into Spring with This Adorable Crochet Bunny (Plus a Sweet Hat & Square Motif!)
If you’ve been on the hunt for a fun and versatile crochet project, look no further than this adorable bunny pattern! From its floppy ears to its cute little tail, this bunny is perfect as a cuddly toy, a baby shower gift, or a delightful addition to your Easter décor. Plus, we’ve got a bonus hat pattern and an easy decorative square motif to personalize your project even further. So, grab your hooks, pick your favorite yarn, and let’s get stitching!
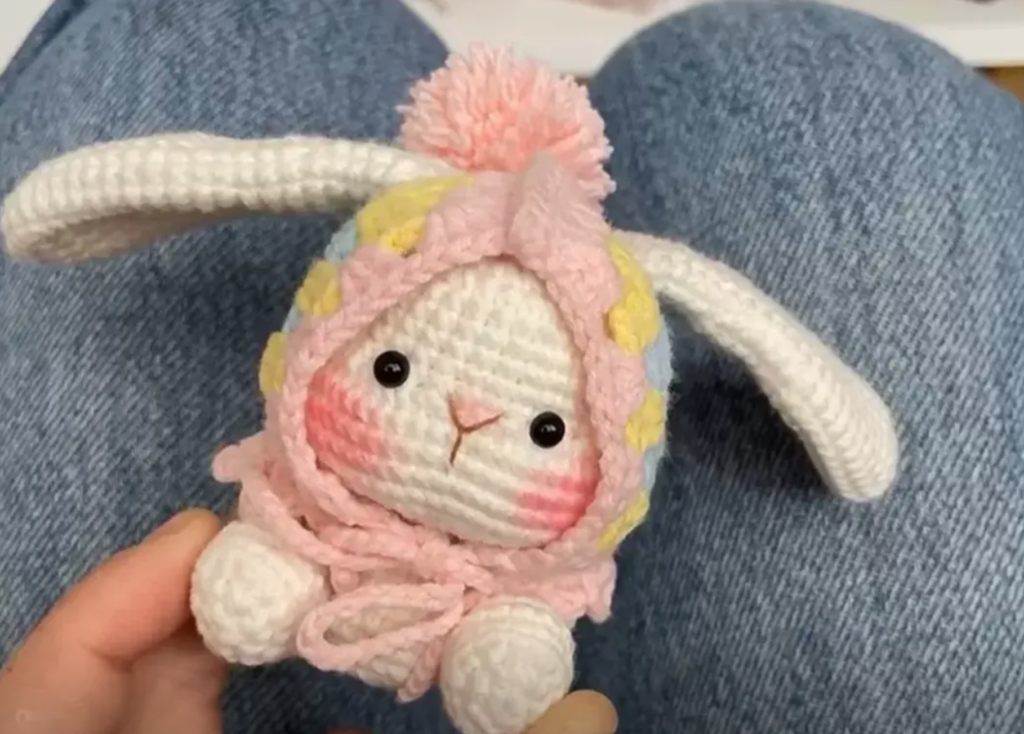
Materials & Tools
- Yarn: Medium-weight (Worsted/Aran) in desired colors (e.g., white or pastel for bunny, accent color for hat)
- Hook: US size G/6 (4.0 mm) or size needed to achieve gauge
- Stuffing: Polyfill or preferred toy stuffing
- Tapestry needle: For sewing pieces together and weaving in ends
- Safety eyes or embroidery thread: For the bunny’s facial details
- Stitch markers (optional but handy)
- Scissors
Abbreviations & Stitch Guide (US Terms)
- ch: Chain
- sc: Single crochet
- dc: Double crochet
- inc: Increase (2 single crochets in the same stitch)
- dec: Decrease (single crochet 2 stitches together)
- sl st: Slip stitch
- st: Stitch
- (…) x times: Repeat the instructions inside parentheses the indicated number of times
Tip: Use a stitch marker to mark the first stitch of each round. Move it up as you work so you always know where your round starts.
Bunny Pattern
Head
- Round 1: Magic ring, 6 sc. (6)
- Round 2: Inc in each st around. (12)
- Round 3: (Sc, inc) 6 times. (18)
- Round 4: (2 sc, inc) 6 times. (24)
- Round 5: (3 sc, inc) 6 times. (30)
- Rounds 6-9: Sc in each st around. (30)
- Round 10: (6 sc, dec) 3 times, then 7 sc. (43)
- Round 11: 5 sc, dec, 29 sc, dec, 5 sc. (41)
- Rounds 12-14: Sc in each st around. (41)
- Round 15: 5 sc, dec, 7 sc, dec, 7 sc. (25)
- Round 16: (3 sc, dec) 4 times. (20)
- Round 17: (2 sc, dec) 5 times. (15)
- Round 18: (Sc, dec) 5 times. (10)
Finish off, leaving a long tail for sewing to the body. Stuff the head firmly as you go, shaping it neatly.
Body
- Round 1: Magic ring, 6 sc. (6)
- Round 2: Inc in each st around. (12)
- Round 3: (Sc, inc) 6 times. (18)
- Round 4: (2 sc, inc) 6 times. (24)
- Rounds 5-6: Sc in each st around. (24)
- Round 7: (3 sc, dec) 4 times. (20)
- Round 8: (Sc, dec) 4 times. (16)
- Rounds 9-10: Sc in each st around. (16)
- Round 11: (2 sc, dec) 3 times. (12)
- Round 12: (Dec) 5 times. (10)
Finish off, leaving a long tail for sewing the head and the tail later. Stuff the body firmly.
Arms (Make 2)
- Round 1: Magic ring, 6 sc. (6)
- Rounds 2-7: Sc in each st around. (6)
Leave a long tail for sewing. Lightly stuff if desired.
Legs (Make 2)
- Round 1: Magic ring, 6 sc. (6)
- Round 2: (Sc, inc) 3 times. (9)
- Round 3: Sc in each st around. (9)
Finish off, leaving a tail for sewing. Lightly stuff.
Ears (Make 2)
- Round 1: Magic ring, 6 sc. (6)
- Round 2: (Sc, inc) 6 times. (12)
- Rounds 3-6: Sc in each st around. (12)
- Round 7: (2 sc, dec) 3 times. (9)
- Rounds 8-10: Sc in each st around. (9)
Finish off, leaving a tail for sewing. Do not stuff the ears.
Tail
- Round 1: Magic ring, 6 sc. (6)
- Round 2: (Sc, inc) 3 times. (9)
- Round 3: (Sc, dec) 3 times. (6)
Finish off and leave a tail for sewing. Lightly stuff the tail to keep it nice and round.
Optional Bunny Hat
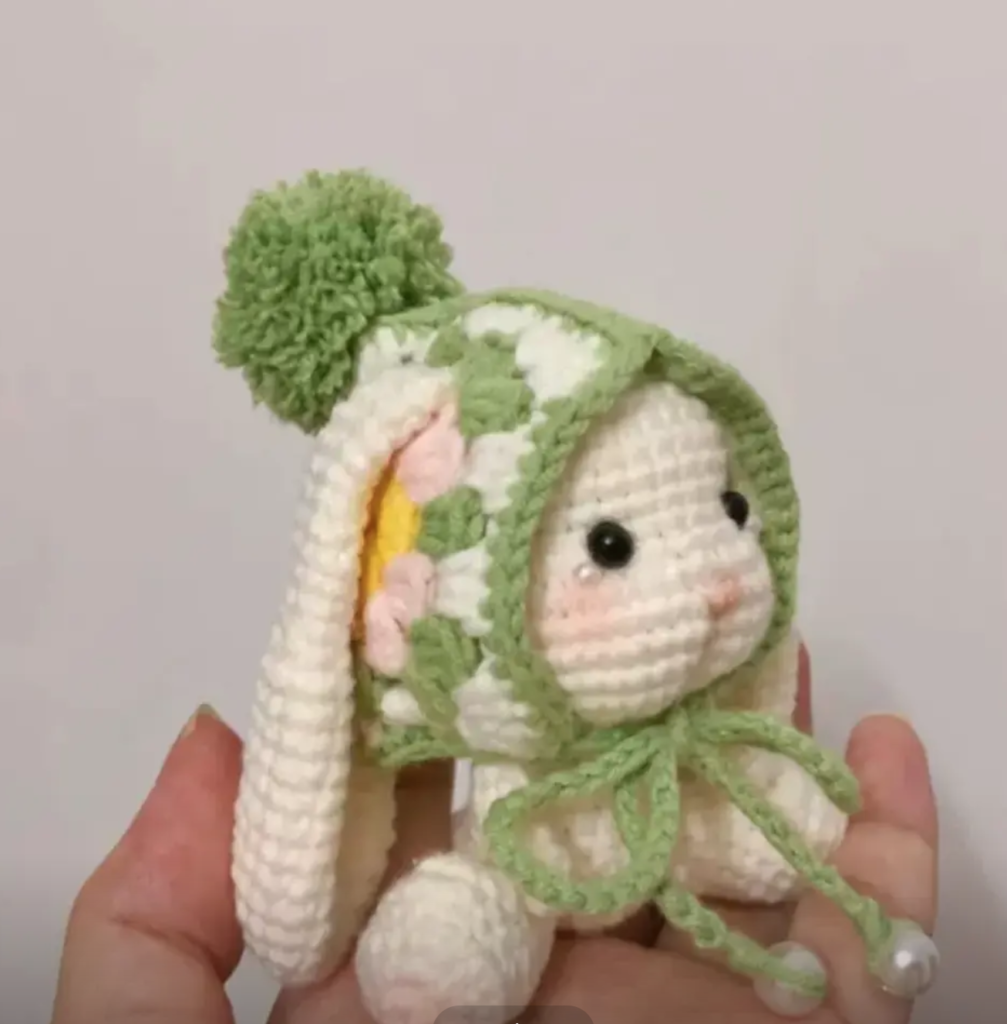
Give your bunny extra style with a cozy little hat! You’ll make two identical pieces and stitch or glue them together to form a 3D shape.
- Round 1: Magic ring, 6 sc. (6)
- Round 2: Inc in each st around. (12)
- Round 3: (Sc, inc) 6 times. (18)
- Round 4: (2 sc, inc) 6 times. (24)
- Round 5: Sc in each st around. (24)
- Rounds 6-9: Sc in each st around. (24)
- Round 10: (3 sc, dec) 4 times. (20)
- Round 11: (2 sc, dec) 4 times. (16)
- Round 12: (Sc, dec) 4 times. (12)
- Round 13: Dec 6 times. (6)
Finish off and weave in the ends. Repeat to make the second hat piece. Sew or glue the two pieces together around the edges, leaving an opening for the bunny’s head to slip through (or simply sew one piece on top of the bunny’s head like a beret).
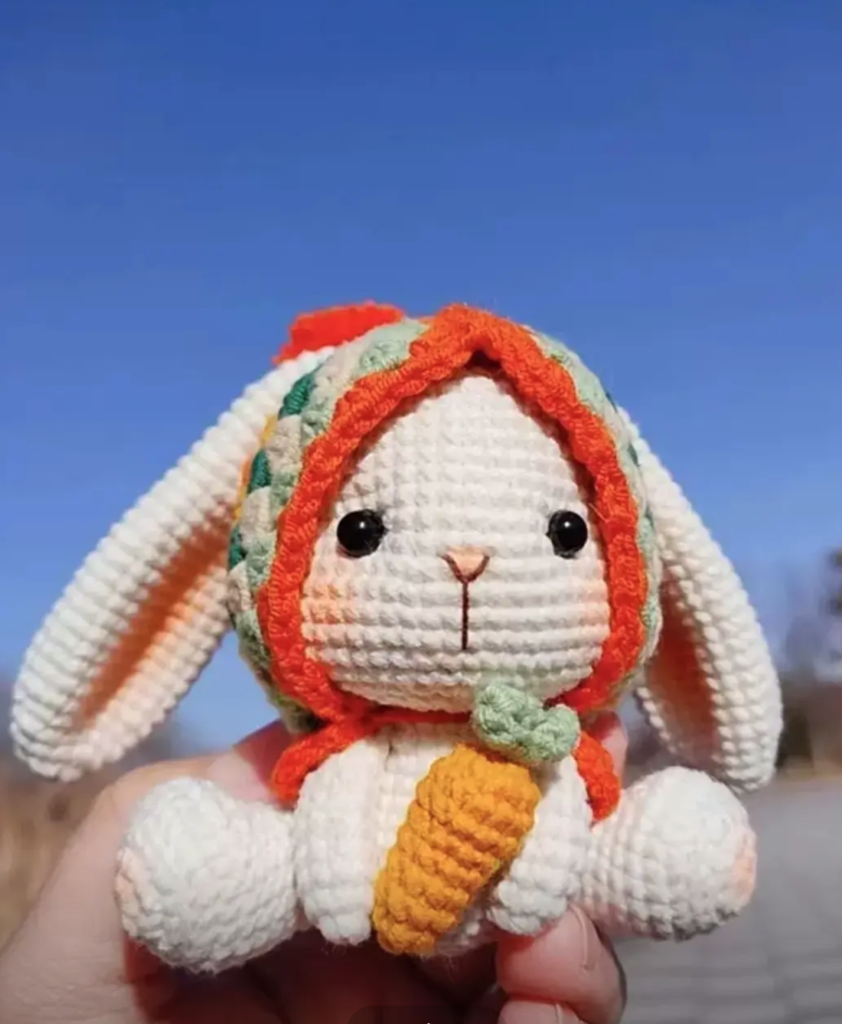
Decorative Square Motif (Optional)
Add a charming accent to your bunny’s outfit or use this motif as part of a blanket, garland, or any creative project!
- Round 1: Magic ring. Ch 4 (counts as 1 dc + ch 1), then (dc, ch 1) 11 times into the ring. Sl st to the first dc to close. (12 dc with ch-1 spaces)
- Round 2: Sl st into the next ch-1 space. Ch 4 (counts as 1 dc + ch 1). (dc, ch 1) into each ch-1 space. Sl st to the first dc to close. (24 dc with ch-1 spaces)
- Round 3: In each ch-1 space, work (2 dc, ch 2, 2 dc) to form corners and (2 dc) in the remaining spaces. Sl st to close.
- Round 4: Continue the pattern, working (2 dc, ch 2, 2 dc) in corners and (2 dc) in side spaces to expand the square.
- Repeat until your square reaches the desired size. Finish off and weave in ends.
Tip: Use these squares as coasters or join multiple squares to create a larger project like a throw blanket!
Assembly
- Attach the head to the body. Using the tail from the head, sew the head securely onto the top of the body.
- Sew the ears onto the head. Position the ears on top of the head, pin if needed, and stitch in place.
- Add the arms and legs. Attach the arms to the sides of the body, and the legs to the bottom of the body.
- Sew on the tail. Center the tail at the back, giving your bunny the cutest little puff.
- Facial features. Add safety eyes or embroider the eyes with black thread. Use pink or a contrasting color for the nose and mouth details.
- Finishing touches. If using a hat, place it on the bunny’s head and sew or glue as desired. Decorate with your crocheted square motif or any embellishments you love.
Helpful Tips & Tricks
- Stitch Markers: When working in continuous rounds, stitch markers can be a lifesaver.
- Gauge: Exact gauge isn’t critical for this plushie, but consistency in tension helps all parts match up.
- Stuffing: Overstuffing can leave gaps; understuffing can make your bunny floppy. Aim for a happy medium.
- Experiment with Colors: Swap out traditional pastels for bright neons or neutral earth tones for a modern flair!
You’re Done!
That’s it—your new handmade bunny is ready to hop into someone’s heart! Whether you keep this cuddly friend for yourself or gift it to a loved one, your crochet skills are sure to shine. Don’t forget to share pictures of your finished creation and decorative squares on social media—tag us so we can admire your amazing work!
Happy crocheting!

