Finding the Perfect Fit: Crochet Beanie Sizes Chart Explained
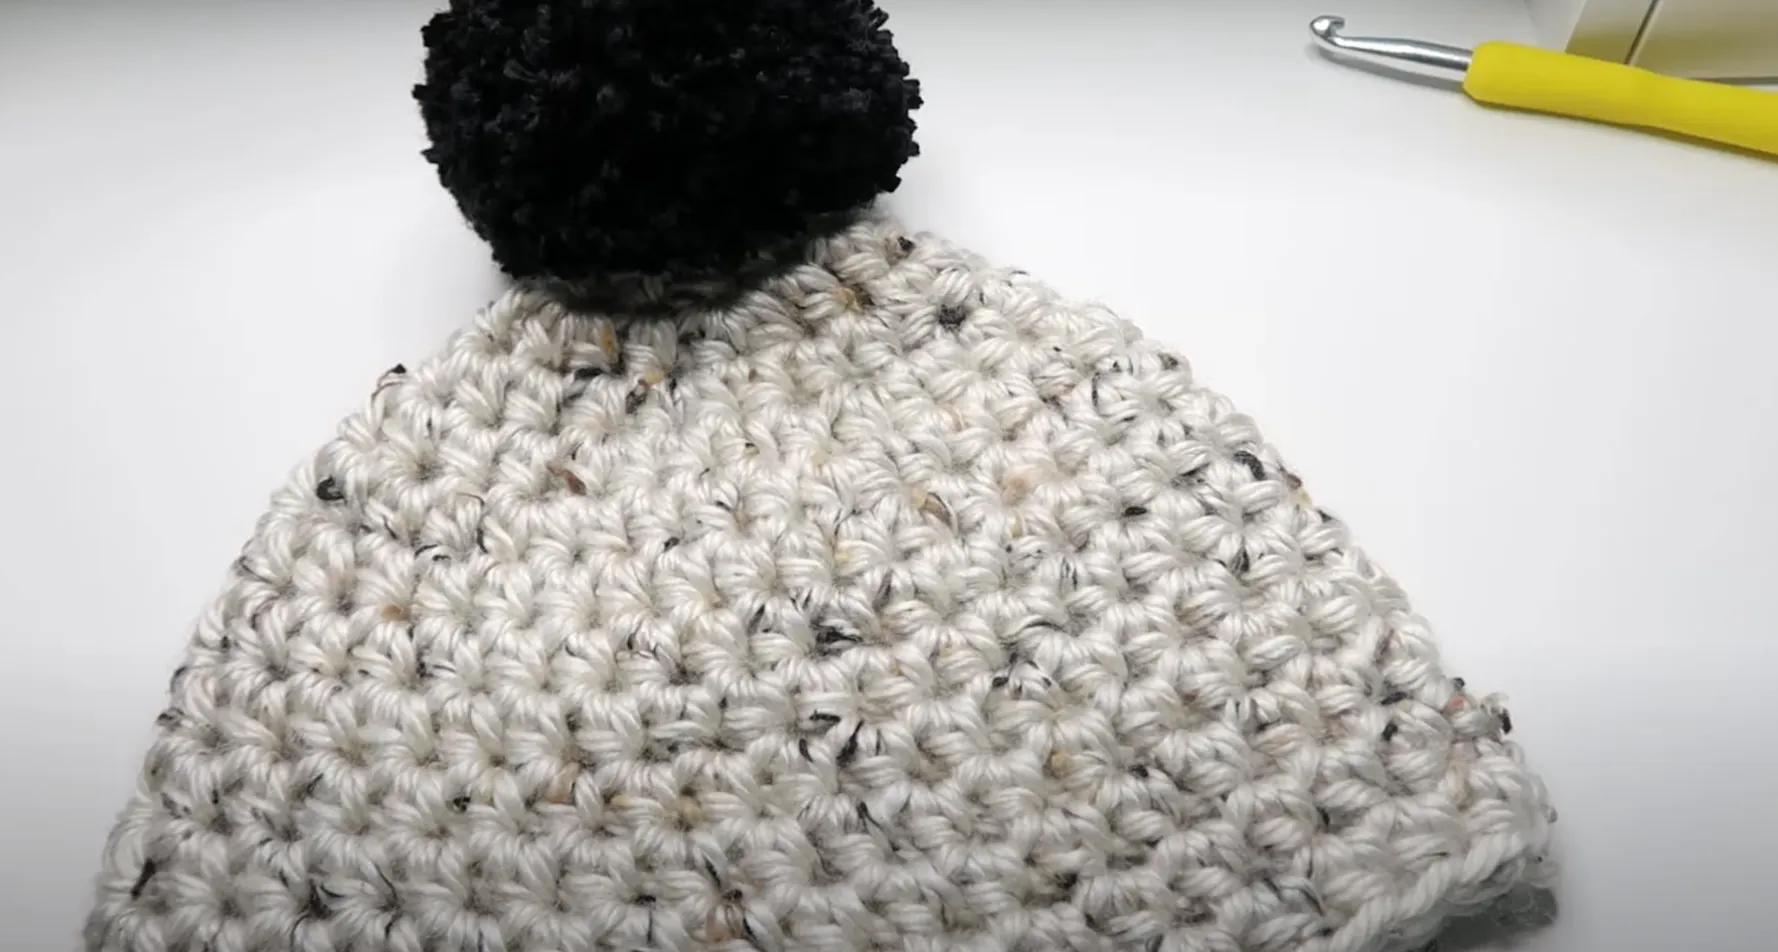
Crochet beanie sizes chart is the key to creating hats that fit perfectly every time. Crochet beanies have become a crowd favorite among crafters and fashion enthusiasts alike—they’re warm, stylish, and a snap to customize for any occasion. But getting the right fit can make or break a project. When a beanie sits just right—cozy but not too snug—it’s a go-to accessory rather than something lost at the back of the closet. In this guide, you’ll discover how to use a handy sizing chart and simple measuring tips to ensure every hat you make turns out to be the perfect fit.
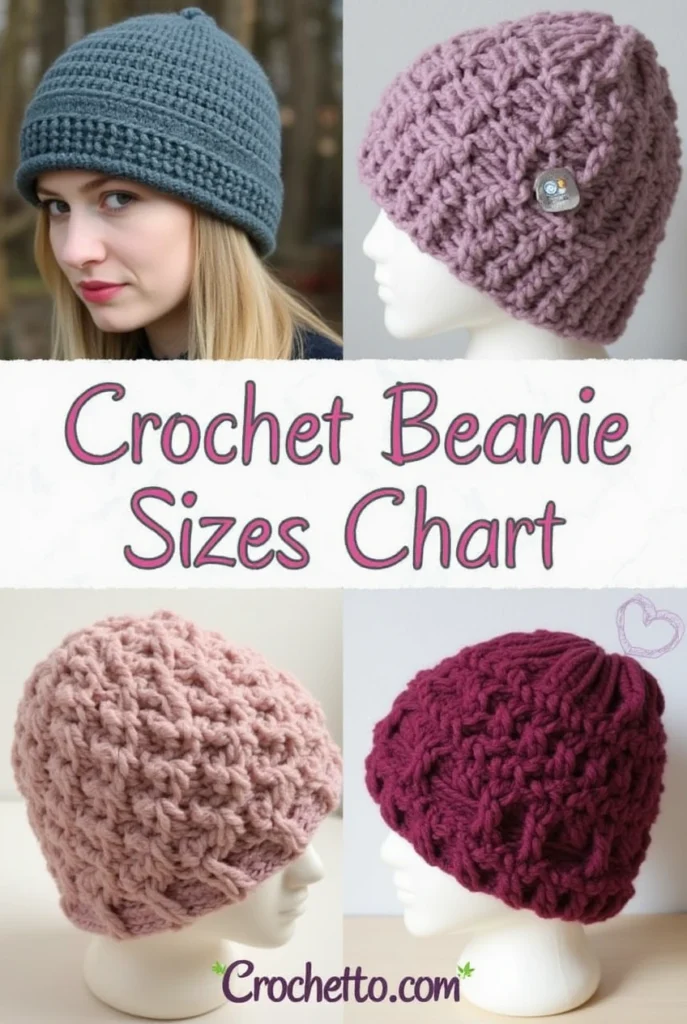
Crochet Beanie Sizes Chart: Understanding Head Measurements
Head circumference is the most important measurement for making perfectly fitted crochet beanies. This measurement determines the width of your beanie’s band – the part that hugs the head. A precise head circumference measurement ensures your beanie stays comfortably in place without sliding off or causing discomfort from being too tight.
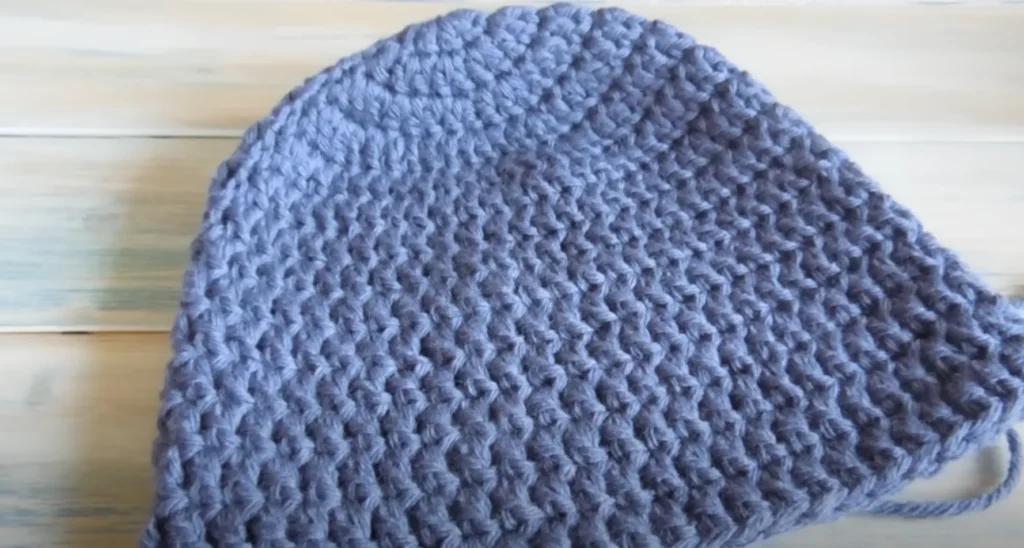
How to Measure Head Circumference Accurately
Follow these steps to measure head circumference accurately:
1. Gather Your Tools
- Flexible measuring tape
- Mirror (optional)
- Paper and pen to note measurements
2. Position the Measuring Tape
- Place the tape around the head
- Position it approximately ½ inch above the ears
- Align with the middle of the forehead
- Ensure the tape runs across the largest part of the back of the head
3. Take the Measurement
- Pull the tape snug but not tight
- You should be able to slip one finger under the tape
- Record the measurement in inches or centimeters
Pro Tips for Accurate Measurements:
- Measure twice to confirm your numbers
- Keep the measuring tape level all around
- Remove hair accessories that might affect the measurement
- For long hair, measure with hair both up and down to accommodate different styling options
Remember: A well-measured head circumference leads to a beanie that fits like a dream – not too loose, not too tight, but just right!
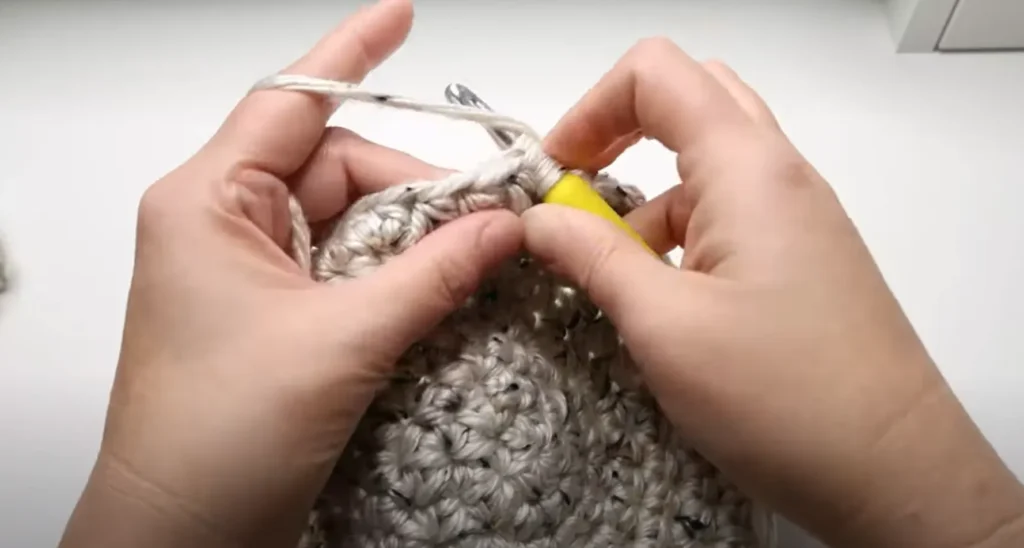
Standard Crochet Beanie Sizes
Creating the perfect beanie starts with understanding standard size measurements across different age groups. Let’s dive into the essential measurements that will help you craft well-fitting beanies for everyone on your project list.
Age-Based Size Guide
Crochet beanie sizes follow a natural progression from tiny newborn heads to full-grown adult sizes. Each age group requires specific measurements to ensure comfort and proper fit:
Babies & Infants
- Newborn (0-3 months): 13-14 inches
- Baby (3-6 months): 14-15 inches
- Infant (6-12 months): 15-16 inches
Toddlers & Young Children
- Toddler (1-3 years): 16-18 inches
- Preschooler (3-5 years): 18-19 inches
- Young Child (5-8 years): 19-20 inches
Older Children & Adults
- Older Child (8-12 years): 20-21 inches
- Teen/Adult Small: 21-22 inches
- Adult Medium: 22-23 inches
- Adult Large: 23-24 inches
Comprehensive Size Chart Reference
| Age Group Head Circumference Crown Diameter Newborn | 13-14″ | 5-5.5″ |
| 3-6 months | 14-15″ | 5.5-6″ |
| 6-12 months | 15-16″ | 6-6.5″ |
| 1-3 years | 16-18″ | 6.5-7″ |
| 3-5 years | 18-19″ | 7-7.5″ |
| 5-8 years | 19-20″ | 7.5-8″ |
| 8-12 years | 20-21″ | 8-8.5″ |
| Teen/Adult S | 21-22″ | 8.5-9″ |
| Adult M | 22-23″ | 9-9.5″ |
| Adult L | 23-24″ | 9.5-10″ |
Gender-Specific Considerations
Women’s heads typically measure between 21-22.5 inches, while men’s heads usually range from 22-23.5 inches. These measurements serve as general guidelines – individual measurements can vary:
Women’s Sizes
- Small: 21-21.5 inches
- Medium: 21.5-22 inches
- Large: 22-22.5 inches
Men’s Sizes
- Small: 22-22.5 inches
- Medium: 22.5-23 inches
- Large: 23-23.5 inches
Remember that these measurements represent industry standards, but personal preference plays a significant role in how loose or snug someone likes their beanie to fit. Some people prefer a slouchy style that requires additional length, while others enjoy a more fitted look that sits closer to the head.
If you’re looking for more detailed information about crafting various types of
Additional Dimensions for Crochet Beanies
Creating the perfect beanie requires attention to multiple measurements beyond basic head circumference. Let’s explore these crucial dimensions that shape your crochet masterpiece.
1. Hat Circumference
The finished hat circumference determines how your beanie hugs the head. A well-fitted beanie should measure:
- 1-2 inches less than head circumference for a snug fit
- Equal to head circumference for a relaxed fit
- 1-2 inches more than head circumference for a slouchy style
2. Crown Diameter
The crown diameter shapes the top of your beanie. To measure:
- Lay your beanie flat
- Measure across the widest part of the crown
- Multiply this measurement by 2
Ideal crown diameter measurements:
- Adults: 8-9 inches
- Children: 6-7 inches
- Infants: 4-5 inches
3. Hat Height
Your beanie’s height affects both style and comfort. Standard measurements include:
Basic Beanie Heights
- Adults: 8-9 inches
- Children: 6-7 inches
- Infants: 5-6 inches
Slouchy Style Heights
- Add 2-4 inches to basic measurements
To measure hat height accurately:
- Start at the bottom edge
- Measure straight up to the crown center
- Include any brim or cuff in your measurement
These dimensions work together to create your beanie’s unique shape and fit. A balanced combination of measurements ensures your finished project sits comfortably while maintaining its intended style.
The Concept of Negative Ease in Crochet Beanies
Negative ease is a crucial design element in crochet beanies where the finished hat measures slightly smaller than the actual head circumference. This intentional sizing creates a snug, well-fitted look that prevents the beanie from sliding or shifting during wear.
Understanding Negative Ease Percentages:
- Slight negative ease (1-2%): Creates a relaxed fit
- Moderate negative ease (3-5%): Offers a standard fitted look
- High negative ease (6-10%): Produces a very snug, stretchy fit
Let’s look at a practical example: For a head circumference of 22 inches, a beanie with 5% negative ease would measure approximately 21 inches. The natural stretch of your chosen yarn and stitch pattern allows the beanie to expand comfortably while maintaining its shape.
How Different Stitch Patterns Affect Negative Ease
Different stitch patterns affect how negative ease works in your project:
- Single crochet creates less stretch, requiring less negative ease
- Shell stitches offer more flexibility, accommodating more negative ease
- Ribbed patterns provide maximum stretch potential
Pro Tip: Test Your Yarn’s Stretch Capacity
Test your yarn’s stretch capacity by creating a small swatch. Pull it gently in different directions to understand how much negative ease your chosen material can handle without losing its shape or becoming uncomfortable.
The right amount of negative ease transforms a basic beanie into a professional-looking accessory that hugs the head perfectly while maintaining comfort throughout the day. Understanding these nuances can significantly improve your crochet skills and help you create stunning beanies that fit just right. For more insights into knitting and crochet terminology, you might find this glossary useful.
Gauge Considerations in Crochet Patterns for Hats
Gauge is an important aspect of crochet patterns for hats, as it helps you achieve the right size and fit for your beanies. It can be thought of as a personal fingerprint in crochet, representing the way you work your stitches and influencing the final look of your hat.
Understanding Gauge in Hat Making
When it comes to making hats, there are three key factors that contribute to gauge:
- The number of stitches per inch horizontally
- The number of rows per inch vertically
- The consistency of tension throughout the project
A gauge swatch is an essential tool when starting a new beanie project. Here’s a simple method to check your gauge:
- Create a 4×4 inch swatch using your chosen yarn and hook
- Work in the pattern stitch specified
- Measure both stitch count and row count
- Compare your numbers with the pattern requirements
Common Gauge Issues and Solutions:
Here are some common problems you may encounter with gauge, along with their corresponding solutions:
Too Many Stitches:
- Switch to a larger hook size
- Relax your tension slightly
- Practice maintaining consistent loose stitches
Too Few Stitches:
- Use a smaller hook size
- Increase your tension
- Focus on making tighter, more compact stitches
Using an incorrect gauge can turn your ideal beanie into something unwearable. Even a small discrepancy of one stitch per inch can lead to a hat that’s several inches too small or large. A tight gauge creates stiff fabric that feels uncomfortable, while a loose gauge results in floppy hats that lack structure.
Remember that different yarns and stitch patterns require different approaches to gauge. Natural fibers may need blocking before measuring, while synthetic yarns usually maintain their gauge without any additional steps.
Adjusting Patterns for Custom Sizes: A Guide for Crocheters
Creating perfectly fitted beanies requires the skill to adapt patterns to your specific needs. Here’s your guide to customizing crochet patterns for the perfect fit.
Basic Pattern Modifications:
- Add or subtract rounds to adjust height
- Modify starting chain count for circumference changes
- Adjust stitch counts in increase/decrease rounds
- Scale pattern repeats proportionally
Quick Sizing Formula:
Desired Size ÷ Pattern Size = Adjustment Factor
Multiply your original stitch count by this adjustment factor to determine your new stitch count.
Yarn Selection for Custom Fits:
Natural Fibers:
- Wool – Offers excellent stretch and recovery
- Cotton/Wool Blends – Provides stability with moderate stretch
- Merino – Creates soft, flexible fabric
Synthetic Options:
- Acrylic – Budget-friendly with good stretch
- Nylon Blends – Adds durability and elasticity
- Polyester Mixes – Maintains shape while allowing flexibility
Pattern Testing Tips:
- Create a small swatch with your adjustments
- Test stretch factor before committing to full project
- Document successful modifications for future reference
- Check gauge after each major adjustment
Remember to maintain pattern proportions when scaling up or down. Small adjustments in stitch counts can significantly impact the final fit of your beanie. For instance, when you’re adjusting patterns for custom sizes, it’s essential to remember that these small changes can lead to a more personalized and comfortable fit. Moreover, learning from tester samples can provide valuable insights into how different modifications affect the overall design and fit of your crochet project.
Conclusion: Craft Well-Fitting Crochet Beanies with Confidence!
You’re now equipped with the knowledge to create perfectly-sized beanies that’ll make your recipients smile from ear to ear! Remember that each stitch you make contributes to a unique piece of wearable art, and proper sizing ensures your creation will be treasured and worn often.
Key takeaways to remember:
- Trust your measurements but stay flexible with your approach
- Keep a sizing notebook to track successful projects
- Start with standard sizes and adjust based on personal preferences
- Test your gauge before diving into any new pattern
The journey to mastering beanie sizing is an adventure worth taking. Each project teaches something new, and those “happy accidents” often lead to creative breakthroughs. Don’t be afraid to experiment with different techniques and modifications – that’s how you’ll develop your signature style!
Ready to start your next beanie project? Grab your favorite yarn, your trusty hook, and put these sizing guidelines into practice. Your growing confidence in understanding measurements and fit will shine through in every beanie you create.
Happy crocheting, fellow makers! 🧶✨
FAQs (Frequently Asked Questions)
What is the importance of using a crochet beanie size chart?
Using a crochet beanie size chart is crucial for ensuring both comfort and aesthetics in your hats. Proper sizing helps achieve a good fit, which enhances wearability and overall appearance.
How do I accurately measure head circumference for crochet beanies?
To measure head circumference accurately, use a flexible measuring tape. Wrap it snugly but comfortably around the widest part of your head, typically just above the ears and eyebrows. Ensure the tape is level all around for an accurate measurement.
What are the standard sizes for crochet beanies based on age groups?
Standard crochet beanie sizes vary by age group. For example, newborns typically have a head circumference of about 13-14 inches, while adults average between 21-23 inches. Refer to a size chart for specific measurements across different age groups.
What additional dimensions should I consider when crafting crochet beanies?
In addition to head circumference, consider hat circumference, crown diameter, and hat height. These dimensions affect the overall fit and comfort of the finished product, ensuring a well-proportioned design.
What does negative ease mean in relation to crochet beanies?
Negative ease refers to creating a snug fit by making the finished beanie slightly smaller than the actual head circumference. This technique helps achieve a fitted look while maintaining comfort and wearability.
How can I adjust existing crochet patterns for custom sizes?
To adjust patterns for custom sizes, you can increase or decrease stitch counts based on your measurements. Additionally, selecting appropriate yarn types that allow for better stretch can help you achieve a more tailored fit.

