flower bouquet blanket crochet pattern free pdf
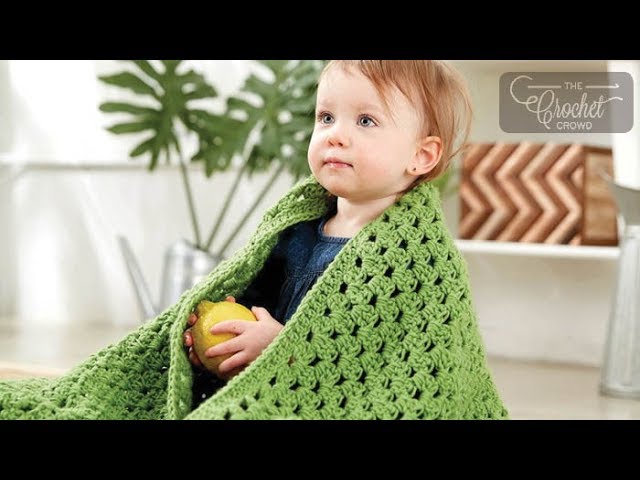
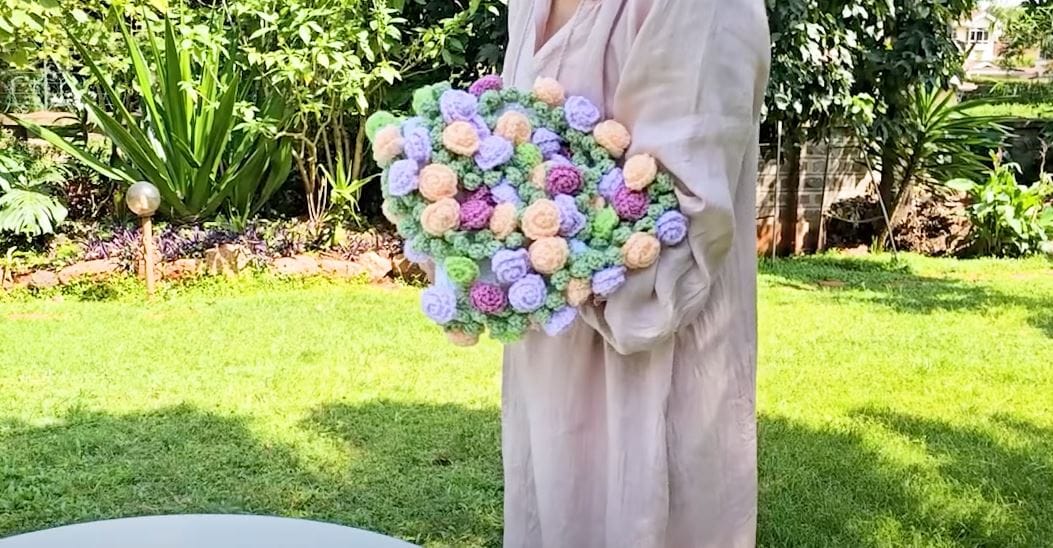
Imagine a cozy, handcrafted blanket that, with a clever twist, transforms into a breathtaking bouquet of roses. This isn’t just a project; it’s a piece of art that blends comfort with floral elegance. I’m Christa from The Secret Yarnery, and I’m thrilled to share this enchanting pattern with you. Whether you’re a beginner looking for a delightful challenge or an experienced crocheter seeking a relaxing and rewarding make, the Easy Crochet Rose Blanket is sure to bring you joy.
Why You’ll Adore This Crochet Rose Blanket
This isn’t just another pattern; it’s a project with a delightful secret. Here’s why it’s so special:
- Dual-Purpose Magic: It’s a warm, comforting blanket that cleverly folds into a stunning rose bouquet display.
- Seamless Simplicity: The spiral crochet method means you work continuously without the fuss of joining rounds, creating a smooth, professional finish.
- Uniquely Yours: Easily customize with your favorite yarn colors and adjust the size to create a truly personal piece.
Gather Your Supplies: What You’ll Need
Before we begin, let’s gather our materials:
- Yarn:
- For the Blanket Center (the ‘Vase’): Approximately 300g of worsted weight acrylic yarn. White is a classic, elegant choice, but any color you love will work!
- For the Leaves: About 50g of soft green yarn. Pick a shade that beautifully complements your chosen flower colors.
- For the Roses: A delightful assortment of springtime/summery colored yarns. This is a fantastic stash-buster! Feel free to mix brands and textures. (I’ve had great results with Saver, Favorite, Softly Baby, and Kenyon Acrylic.)
- Crochet Hook: A 6mm (US J/10) hook is ideal for worsted weight yarn.
- Other Essential Tools:
- Yarn Needle: For sewing flowers and weaving in all those ends.
- Stitch Marker (Optional but Recommended): Especially helpful for beginners to mark the start of each round in the spiral.
- Scissors: For snipping yarn.
Remember, these are suggestions! The beauty of this project is its flexibility. Use what you have, experiment, and let your creativity bloom!

Let’s Get Crocheting: The Blanket Base
Getting Started: The Magic Ring (or Chain Start)
To begin your blanket, you have two main options: the magic ring (for a tight, seamless center) or a chain-3, slip stitch to form a ring. I prefer the magic ring.
- Magic Ring Method:
- Lay the yarn tail over your non-dominant hand.
- Wrap the yarn around two fingers, forming an “X”.
- Hold the “X” with your thumb.
- Insert your hook under the first strand and over the second.
- Pull the second strand under the first, creating a loop on your hook.
- Chain 5 (this counts as your first triple crochet and a chain-1 space).
Round 1: Laying the Foundation
This round sets the stage.
- After your initial Ch 5 (counts as Tr, Ch 1).
- Work 1 Triple Crochet (Tr) into the center of the magic ring.
- Chain 1 (Ch 1).
- Repeat (Tr, Ch 1) 8 more times. You should have a total of 10 Tr stitches (including the initial Ch 5).
- Pull the yarn tail to tightly close the magic ring.
- Slip stitch (Sl St) into the 4th chain of the initial Ch 5 to join. (The original said 2nd chain, but for a Tr+Ch1, the 4th chain is the top of the Tr).
Christa’s Note: All my patterns are written in plain English on my website, secretyarnery.com!