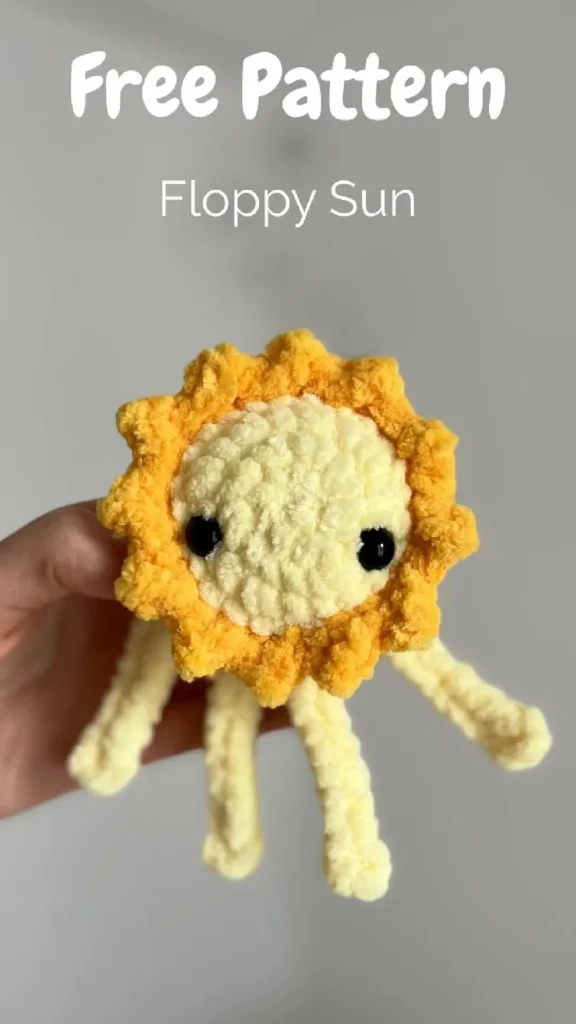
Crochet Your Own Floppy Sun: A Free Amigurumi Pattern to Brighten Your Day!
Looking for a quick, adorable, and incredibly satisfying crochet project? Get ready to hook a little pocketful of sunshine with this free pattern for the Floppy Sun plushie, designed by the brilliant @therapyonmyhook!
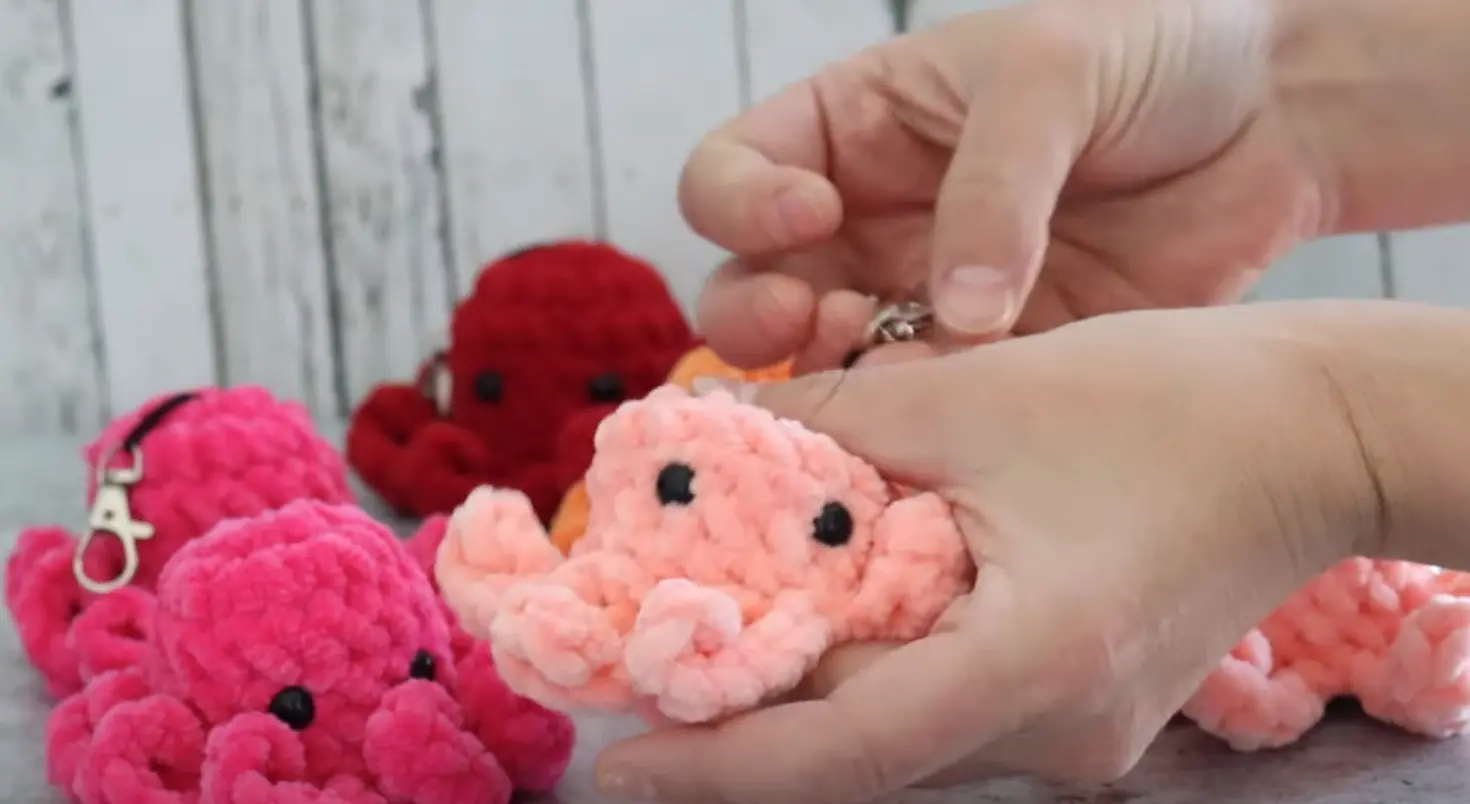
This isn’t just any amigurumi. Made with soft, plush yarn, this cheerful sun features the most delightful dangly legs and a radiant set of sunbeams. Best of all, it’s a nearly no-sew project, making it perfect for a relaxing afternoon of crafting. Whether you’re making it for a child, a friend, or to sit on your own desk, this little sun is guaranteed to bring a smile to anyone’s face.
So, let’s grab our hooks and create some sunshine!
Pattern Notes
Before you begin, here are a few important notes from the designer:
- This pattern is for personal use only. The pattern itself may not be copied, distributed, or sold.
- You are more than welcome to sell the finished plushies you create from this design. Perfect for market preppers!
Materials
- Yarn: Plush/chenille yarn in two shades of yellow (a main color and a darker one for the sunbeams). The designer used Alize Velluto.
- Crochet Hook: 5mm (or size appropriate for your yarn)
- Safety Eyes: 10mm
- Needle: For weaving in ends
- Scissors
- Stuffing: Fiberfill or your preferred stuffing material
Abbreviations (US Terms)
- mr: Magic Ring
- sc: Single Crochet
- inc: Increase (2 sc in one stitch)
- dec: Decrease (crochet two stitches together)
- sl st: Slip Stitch
- hdc: Half Double Crochet
- FO: Fasten Off
- BLO: Back Loop Only
- FLO: Front Loop Only
The Pattern
Sun Body
We’ll start by making the main body of the sun.
Work in yellow yarn.
- R1: 8 sc in mr (8)
- R2: inc x 8 (16)
- R3: (sc, inc) x 8 (24)
- R4: sc around (24)
- R5: in BLO, sc around (24)
- Working in the back loops only here leaves the front loops free. We’ll use these later for the sunbeams!
Pause to add the face! Insert the 10mm safety eyes between Round 3 and Round 4.
- R6: sc, leg*, 3 sc, leg*, 16 sc, leg*, 3 sc, leg*, sc (24)
- *How to make a leg*: This is the fun part where you create the legs directly in the round! When the pattern says leg*, do the following:
- Chain 13.
- Turn, and start working in the 4th chain from your hook.
- Work 9 slip stitches back down the chain, towards the sun’s body.
- Your leg is now complete! Continue with the next stitch of Round 6 in the body.
- *How to make a leg*: This is the fun part where you create the legs directly in the round! When the pattern says leg*, do the following:
- Start to stuff the sun firmly. Continue adding stuffing as you close the hole.
- R7: (sc, dec) x 8 (16)
- R8: dec x 8 (8)
Cut the yarn, leaving a tail. Use your needle to weave the tail through the front loops of the final 8 stitches and pull tight to close the hole. Hide the end.
Sunbeams
Now, let’s give our sun its glorious rays!
- Work in a darker yellow yarn.
- Connect your yarn to any front loop only (FLO) stitch from Round 5 with a slip stitch.
- Work the following sequence in the front loops all the way around: (sc, chain 2, sl st in 2nd chain from your hook, hdc in next stitch) x 12
- This pattern creates 12 beautiful, textured sunbeams around the face. The “chain 2, sl st” part makes a cute little point, called a picot.
Once you’ve completed all 12 repeats, cut the yarn, fasten off, and weave in your ends securely.
And… You’re Done!
Congratulations on your new Floppy Sun! There’s no extra sewing or assembly required—just pure, squishy, sunshiney joy.
A huge thank you to @therapyonmyhook for sharing this wonderfully creative and fun pattern. Be sure to follow them on social media for more amazing designs! If you share your finished sun, don’t forget to tag the creator @therapyonmyhook so they can see your brilliant work.
Happy Crocheting