🤣 Derpy Tiger Crochet Pattern: Make Your Hilariously Cute Amigurumi!
Unleash Your Inner Crafter: Your Guide to the Adorable Derpy Tiger Crochet Pattern!
Happy New Year, fellow crafting enthusiasts! We hope you’ve all enjoyed a truly delightful break. As we step into a fresh year, what better way to start than with a new, exciting project? We’ve been absolutely blown away by the incredible creations you shared in December – your talent is truly inspiring and brings so much joy!
For our first featured project of the year, we’re thrilled to present a pattern that’s bursting with character: the charming derpy tiger crochet pattern! This lovable amigurumi tiger is the perfect way to add a touch of handmade cheer to your home or to gift to a loved one. Get ready to dive in and create your very own whimsical companion.
Getting Started: Tools & Materials for Your Derpy Tiger Crochet Pattern
Before we begin crafting our adorable tiger, let’s gather everything you’ll need. For this project, you’ll be working with 8-ply 100% acrylic yarn. The beauty of this derpy tiger crochet pattern is its versatility in color!
- Yarn:
- Main Color (for tiger’s body – e.g., blue for a Water Tiger, or classic orange)
- Highlight Color (for snout/belly – typically white or a light cream)
- Stripe Color (for tiger’s stripes – e.g., black or a contrasting dark shade)
- Small amount of Black (for face details)
- Small amount of Pink (for nose)
- Safety Eyes: 18mm (16mm to 20mm will also work)
- Crochet Hook: 3.5mm
- Tools: Scissors, Pins, Yarn Needle, Stuffing
Crafting the Heart of Your Tiger: Head & Body Construction
We begin the journey of your derpy tiger crochet pattern by creating the head and body as one continuous piece, starting from the tip of the nose and working our way back to the tail end. This section involves working with color changes to create the white underside of the face, using your chosen highlight color. Remember, other stripes will be sewn on later.
Grab your 3.5mm hook and your highlight color. Start with a magic ring of six single crochets. As you progress, you’ll be performing color changes. A key tip for this derpy tiger crochet pattern is to always change color in the stitch *before* the new color needs to be active. For instance, insert your hook, yarn over with the old color, and pull up a loop. Then, yarn over with your new color and complete the stitch. This technique ensures a smooth transition.
For sections with frequent color changes, the “carry under” technique is your best friend. This involves working your stitches over the strand of the color you’re not currently using, bringing it along with you. This keeps your yarn neat and ready for the next color change, especially vital for the distinct look of this derpy tiger crochet pattern.
You’ll continue to work back and forth between your main and highlight colors for approximately 10 rows, carrying the unused yarn under your stitches. By the end of row 13, you should have a small “nub” with the white evenly along the bottom of the face.
Eye Placement & Shaping the Body
This is a crucial point for your derpy tiger crochet pattern‘s expression! Stop here to position the safety eyes. They should go between rows six and seven, with about five stitches visible between them. Position them so their edges just touch the white highlight section, then securely snap on the backs.
From here, you’ll work the rest of the body entirely in your main tiger color, trimming off the highlight yarn. Row 14 introduces front post single crochet, a technique that creates a lovely upward slope for the tiger’s back. Remember, with front post stitching, you work around the post of the stitch rather than through the loops. Since these rows combine different stitch types, it’s wise to count backward from your hook after finishing a section of front post stitches to ensure your next stitch is placed correctly.
Continue working until after row 28, when you’re down to 18 stitches. Now is the time to firmly stuff the head and body. Start with small pieces of stuffing to ensure the nose tip and cheeks are well-formed, then fill the rest of the piece. Finish off by working rows 29 and 30.
Bringing Your Derpy Tiger to Life: Facial Details
Your tiger’s face might look a little “foxy” at this point, but don’t worry – we’re about to add those signature tiger features! This part truly brings the “derpy” charm to your derpy tiger crochet pattern.
First, we’ll form the cheeks. Using your yarn needle and a bit of your highlight color, stitch along row 10 (the first row where your main color is wider than the white). Stitch over the top, pulling gently to create a slight corner to the face. Continue for six stitches down on both sides, forming distinct cheeks.
Next, form the snout. With your highlight yarn emerging from the center of the magic ring, count three stitches out along the white section. Insert your needle and loop around, going back through the starting magic ring. Continue this process, maintaining a width of three stitches and a height of three to four stitches, forming a straight line down the center of the face. Repeat on the other side. This creates the base of your tiger’s adorable snout for your derpy tiger crochet pattern.
Now, grab your pink yarn to finish the nose. Create one long stitch across the top of the snout, exiting just under where the first side of the snout stitching began. Gently tug into position. Then, add one more stitch directly underneath. This gives your tiger a sweet little pink nose!
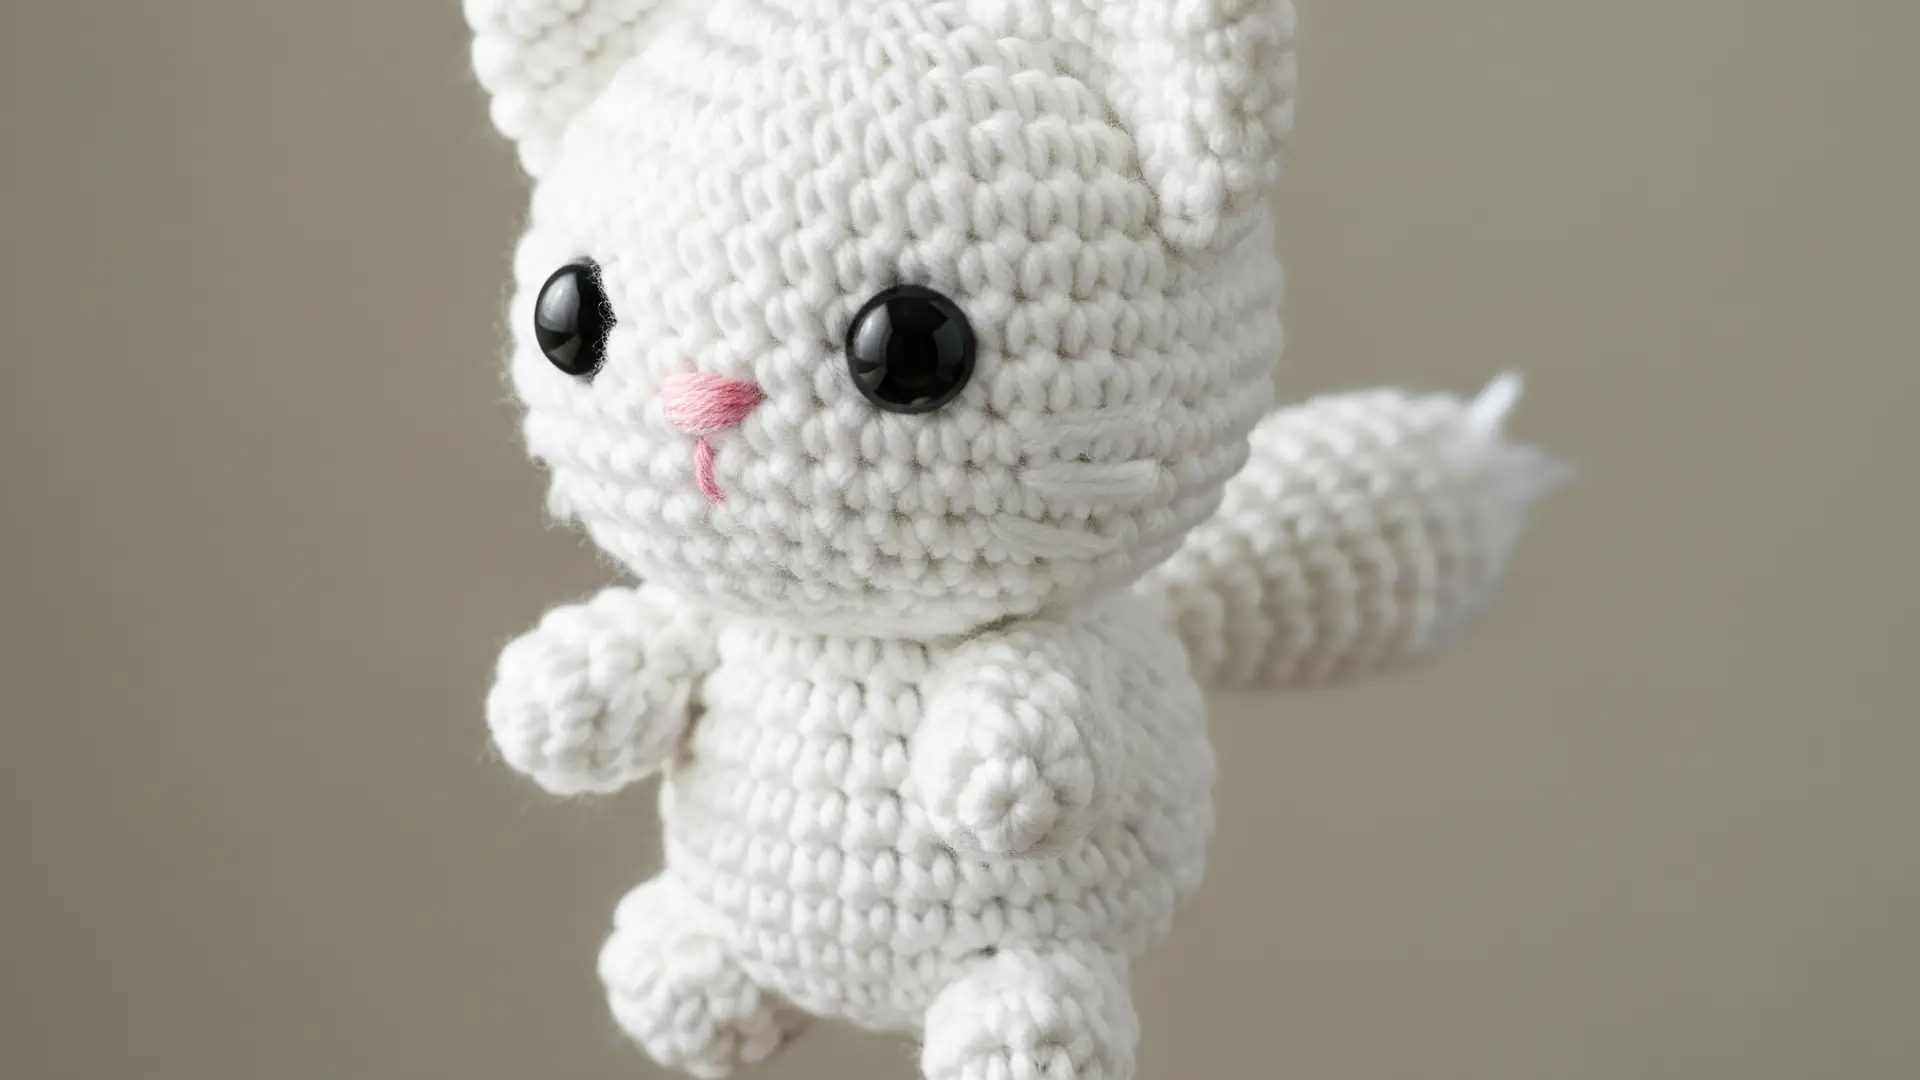
Finally, for the mouth, use black yarn. Stitch a small black line at the bottom of the nose stitching. This transforms the “kitten” look into a distinctive tiger smile, adding to the unique character of your derpy tiger crochet pattern.
Here’s a visual aid to help you along your crafting journey:

Paws & Tail: Adding Character to Your Derpy Tiger Crochet Pattern
Pop your head and body piece aside for a moment; it’s time to create the limbs and tail that bring your derpy tiger crochet pattern to life!
Front Paws
The front paws are identical. Start the first few rows in your highlight color, then switch to your main tiger color for the rest of the arm. Only stuff the bottom two-thirds of the piece. Once crocheted, use your stripe color (e.g., dark blue or black) to stitch on toe lines on the underside of the foot and trace the zigzag line between the two colors. Then, add half-stripes along the outer edge of the arm, every two rows, ensuring they don’t go all the way around.
Back Legs
The back legs are similar to the front paws, starting in highlight and switching to your main color. Only stuff the foot portion. Stitch on toes and the border line between colors, just as you did for the front feet. Then, add stripes up one side of the leg, one stripe every two rows of stitches, stopping about halfway around the leg. Remember to make two, with stripes on opposing sides for left and right legs.
(During the making of this pattern, a lively fly, Ferdinand, made a brief but memorable cameo – a true sign of Australian summer crafting!)
Tail
The tail is a basic tube, starting in your highlight color and changing to your main color after a couple of rows. Do not stuff the tail. Once completed, use your stripe color to stitch on the border between the two colors and add stripes that go all the way around the tail.
Ears with a Twist: The Unique Details of Your Derpy Tiger Crochet Pattern
The ears of your derpy tiger crochet pattern are unique, featuring multiple color changes to mimic a tiger’s distinctive ear markings. Tigers famously have white spots on the backs of their ears!
Start with white yarn, working a magic ring of six. Then, change to your dark stripe color and work a row of six increases (12 stitches). This is where it gets interesting: chain one and turn your work, working back into the stitches you just made. This creates a flat section. You’ll then switch to your main color for the next row, using back post single crochet to create a nice rim for the ear.
The final row takes the piece from a flat shape to an ear-like cup. Work five decreases along the main color stitches, and then slip stitch into the first decrease to finish off. Trim any excess strands and tuck them inside the ear. Pinch around the row of back post stitching to form a cup shape. Make two identical ears for your derpy tiger crochet pattern.
Final Touches: Assembling Your Adorable Derpy Tiger
With all your pieces made, it’s time for the exciting part: stitching stripes onto your head and body, and then assembling your complete derpy tiger crochet pattern! Many crafters find it easier to stitch the stripes onto the body before attaching the limbs.
Adding Body Stripes
All body stripes will be done in your dark stripe color. Start with the face stripes: three main triangular stripes on the forehead and a small triangle on either side of the face. You can mark these points with pins first if you prefer. Then, add two small eyebrow dots in white at the upper corner of each eye. Continue by adding four or five small triangle shapes down the tiger’s back, keeping them relatively centered and about one row apart. Remember, tiger stripes are as unique as a thumbprint!
Assembly
Front Paws: Position the front paws with the stripes facing outwards. Line up the shoulder joint a couple of rows behind the cheek-forming stitches. Curve the paw up and pin it roughly between the bottom of the head and the cheek line. Stitch securely in place using your main color, attaching at the shoulder and a simple stitch at the foot to the face; the rest of the leg can remain unsewn.
Ears: Position the ears about two rows behind your forehead triangles. Remember the dark side faces towards the back. The outer edge of the ear should line up with the top of the cheek stitches. Pin them so they curl over slightly, forming a cup shape. Don’t be afraid to pinch the tip of the ear to give it a more pointed, tiger-like appearance. Stitch securely around the base of each ear.
Tail: Position the tail at the top of the tiger’s “butt” area. This gives your tiger a playful, pounce-like posture. You could even insert a bit of wire for posability, though the design often stands quirkily on its own.
Back Legs: This can be the trickiest part to position! Ensure you have the correct left and right leg. The idea is for the tiger to appear to be up on its hind legs and down on its front ones. Bend the “toe” of the back foot forward to form a foot. Pin the hindquarters into position, adjust for the desired pose, and then securely stitch around the tops of the hindquarters and the base of the tail using your main tiger color.
And there you have it – your very own finished, delightful derpy tiger crochet pattern! We hope you had a fantastic time bringing this charming creature to life. Creating this amigurumi tiger is a rewarding experience, resulting in a unique piece that’s sure to brighten any day.
Happy crafting!